Ben_Jammin420
-
Posts
64 -
Joined
-
Last visited
-
Days Won
1
Content Type
Profiles
Forums
Events
Store
Gallery
Community Map
Everything posted by Ben_Jammin420
-
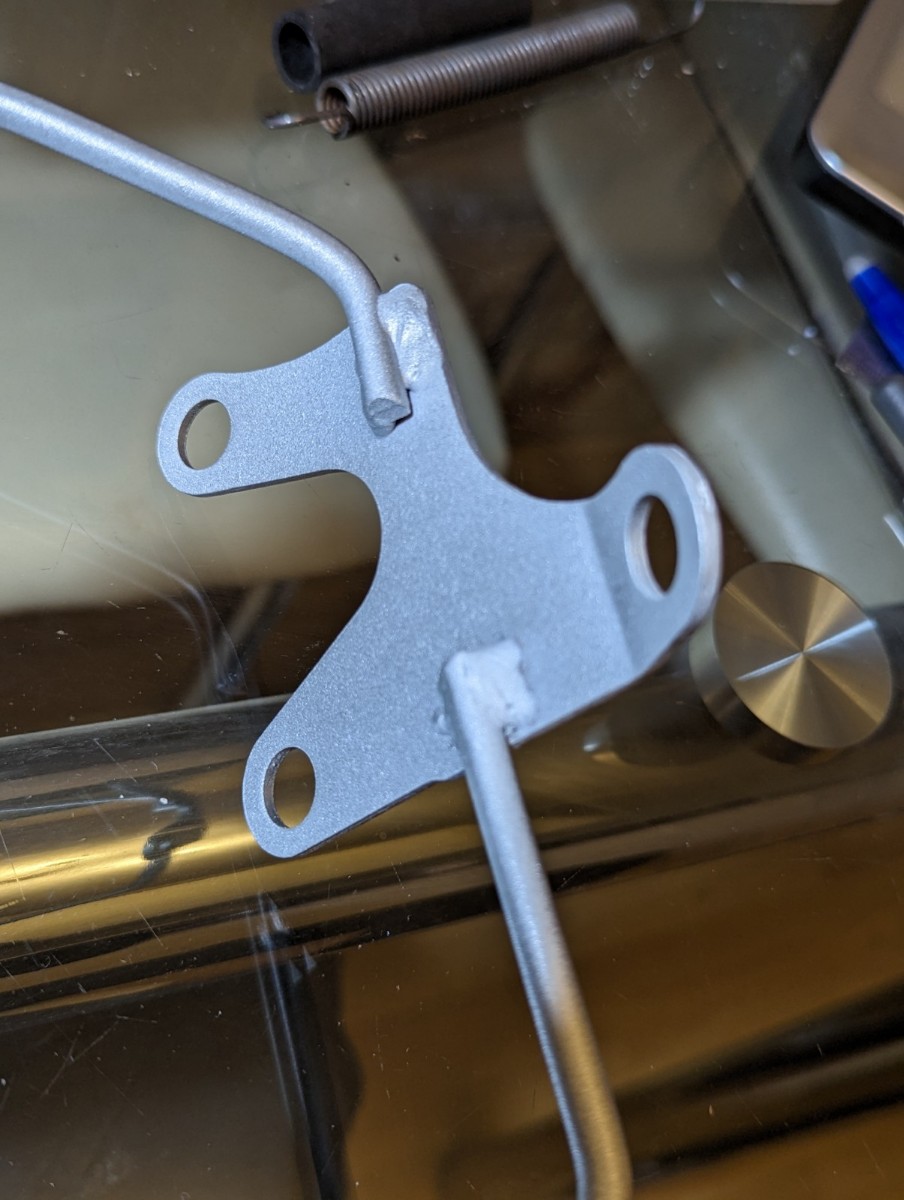
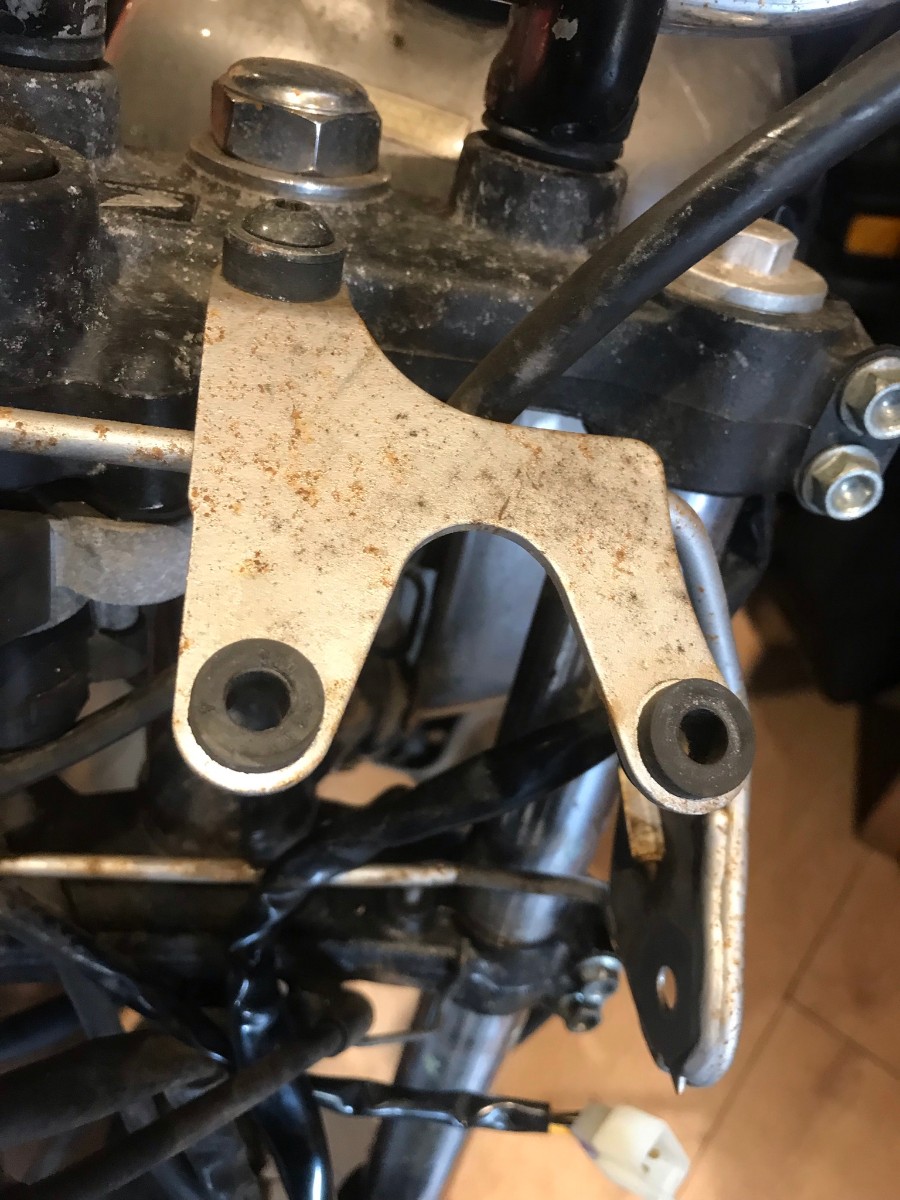
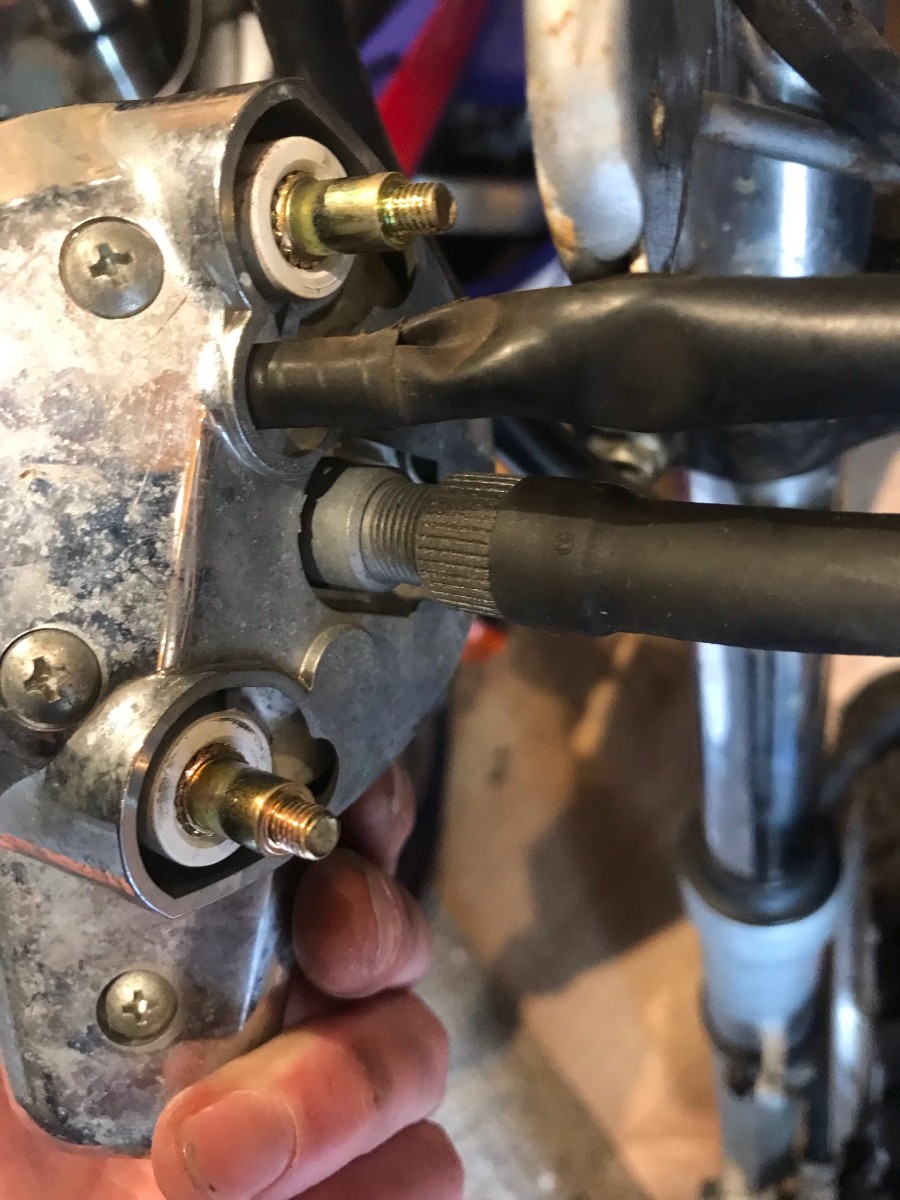
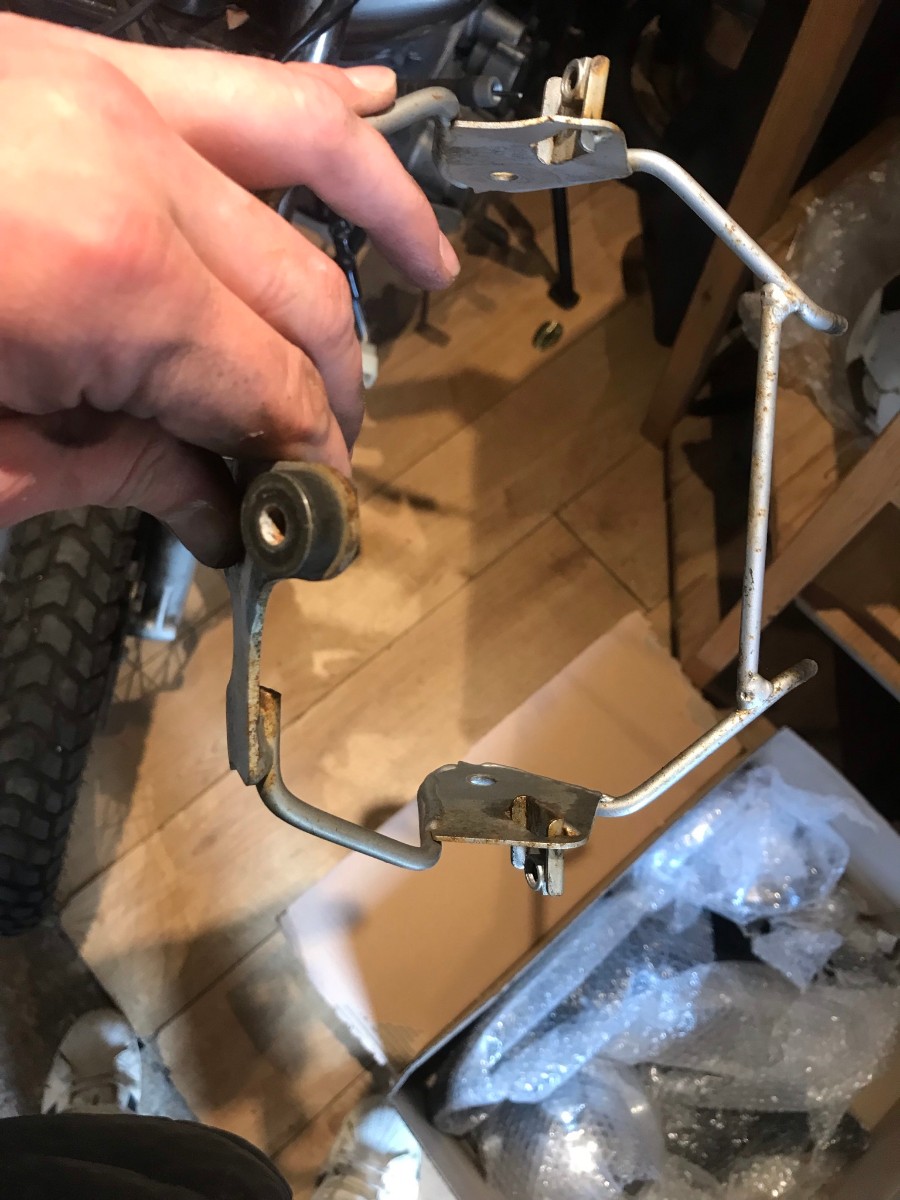
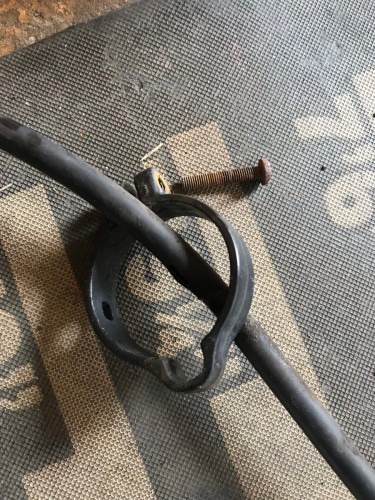
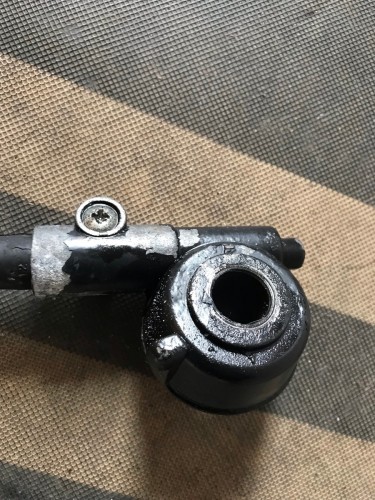
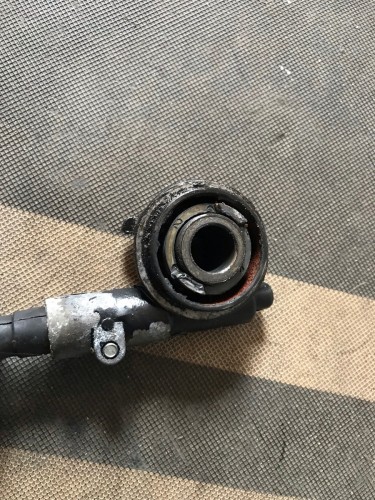
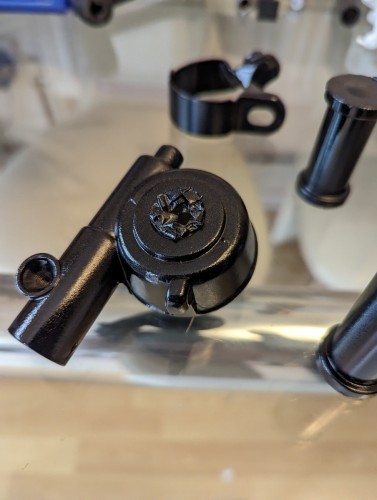
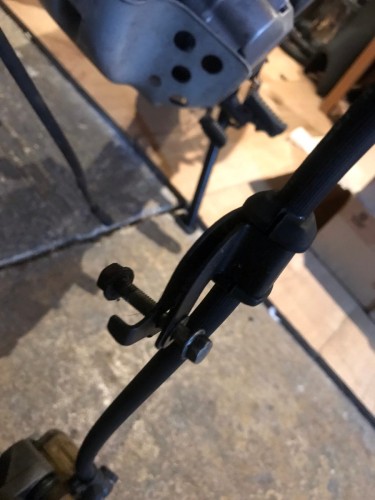
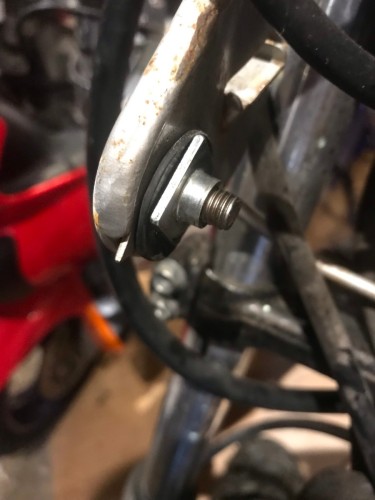
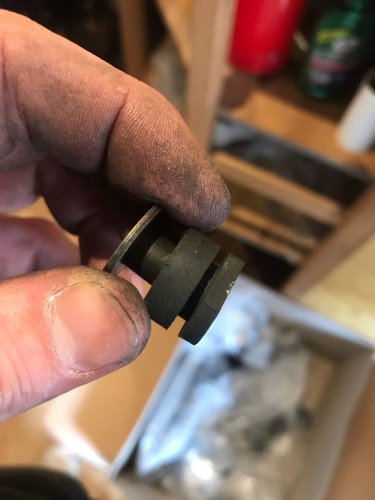
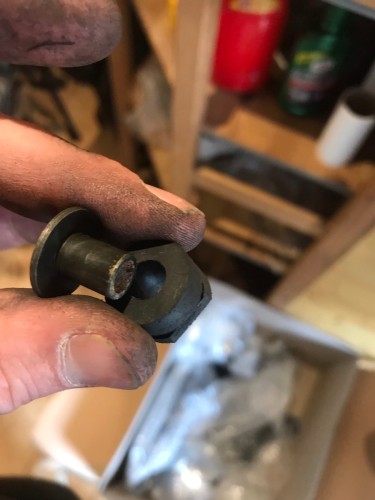
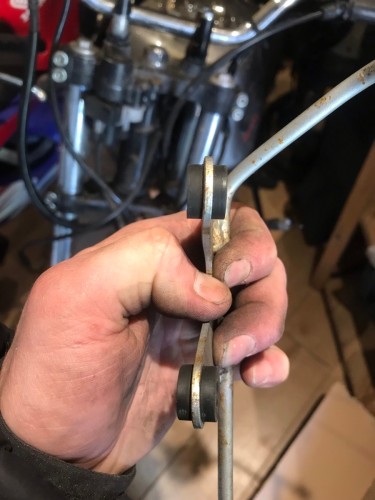
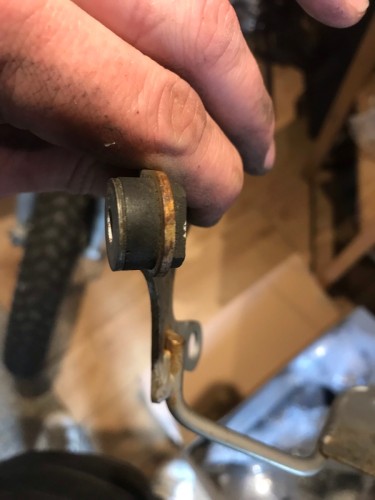
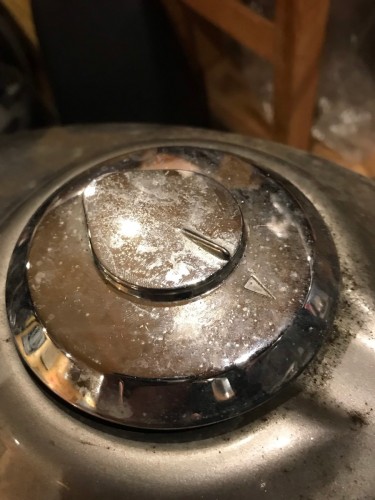
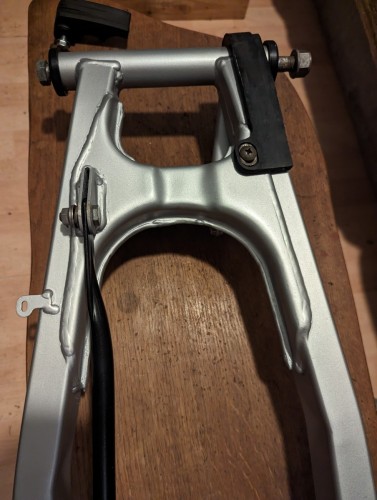
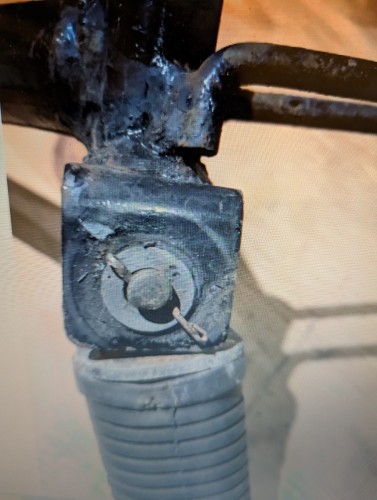
 Next I removed the speedo gear and securing bracket Sanded, primed then painted
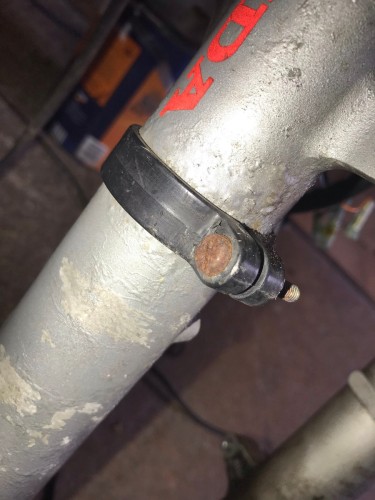


-
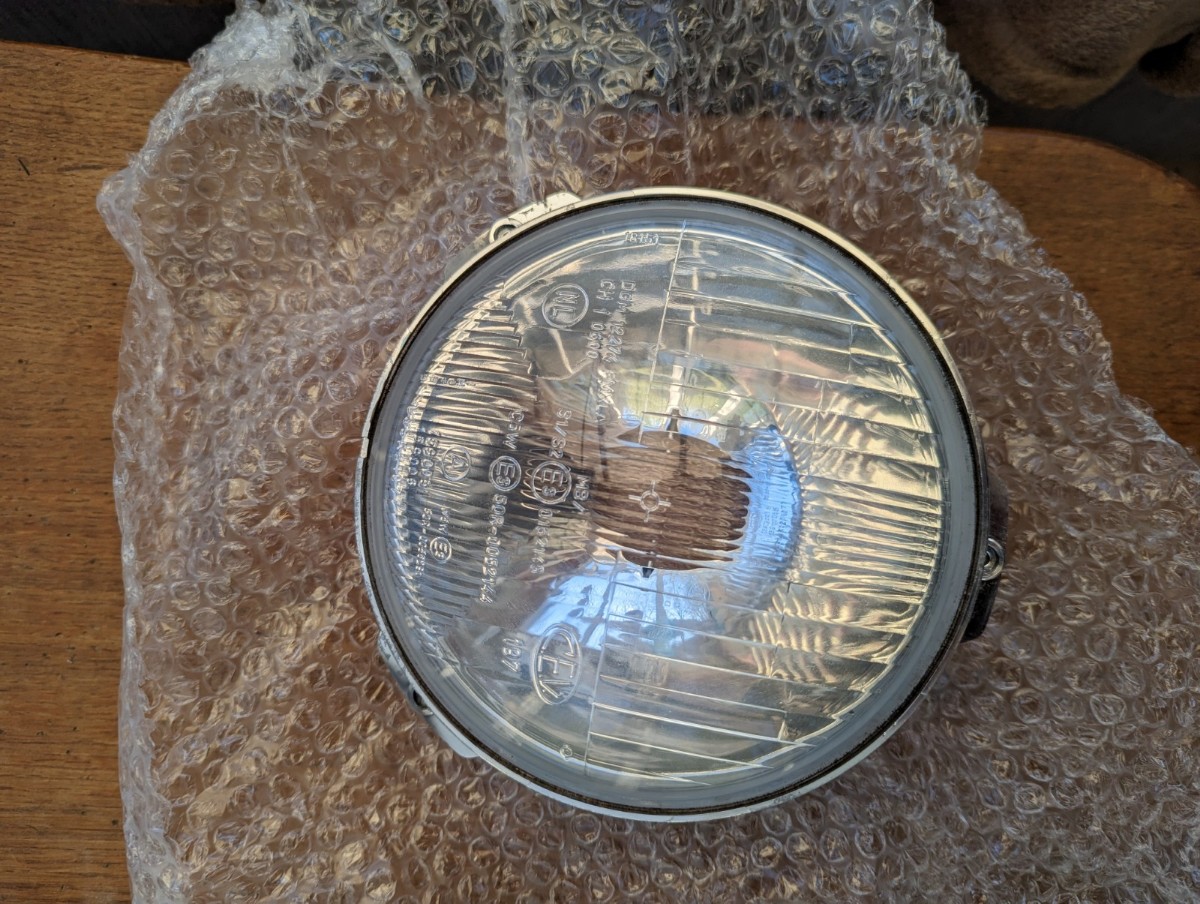
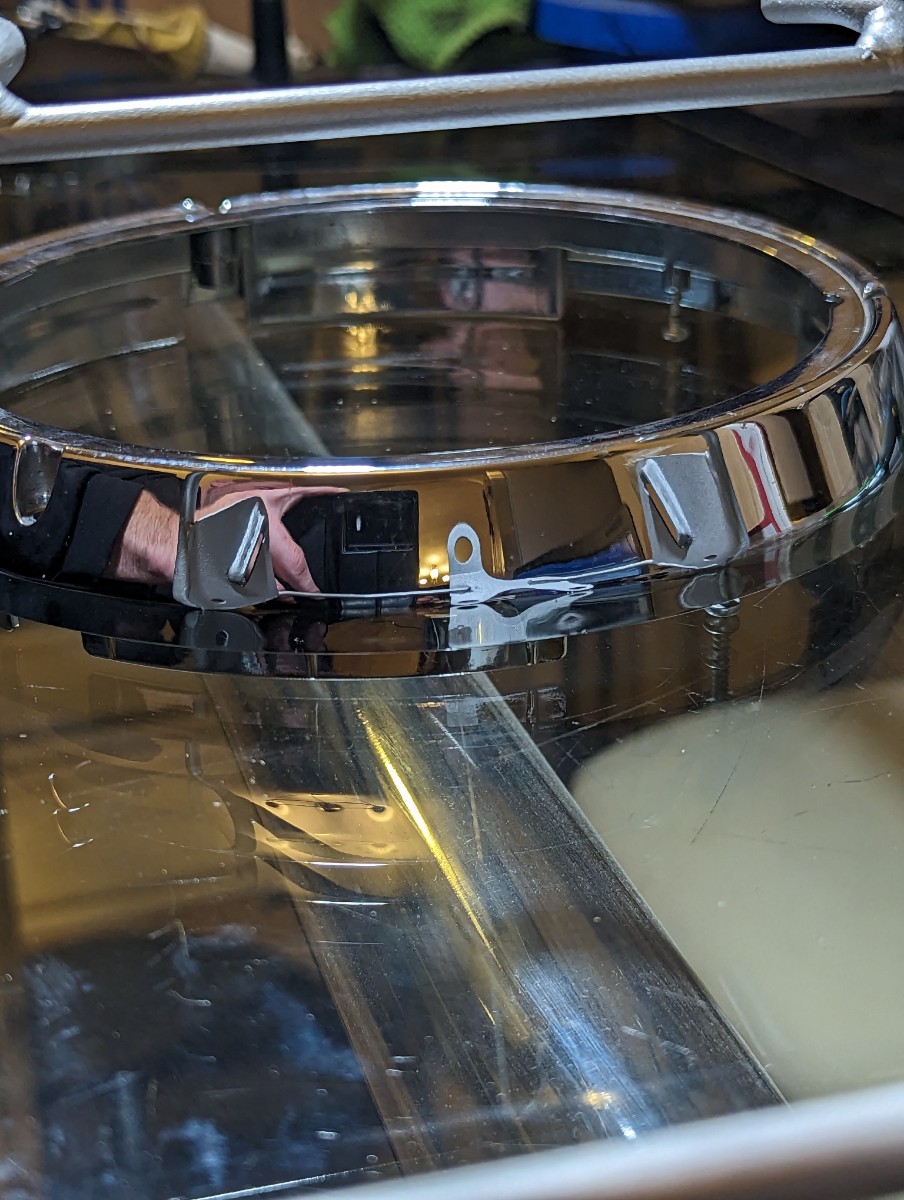
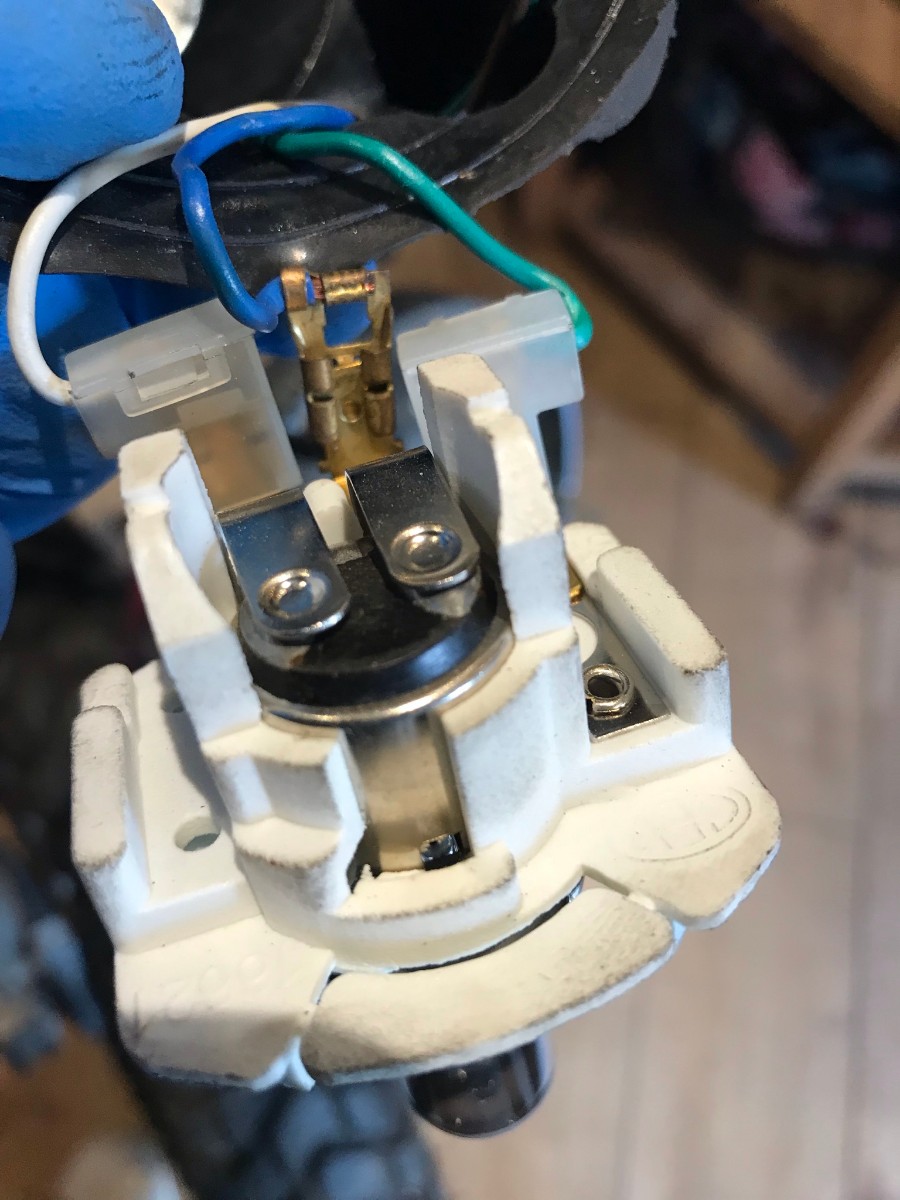
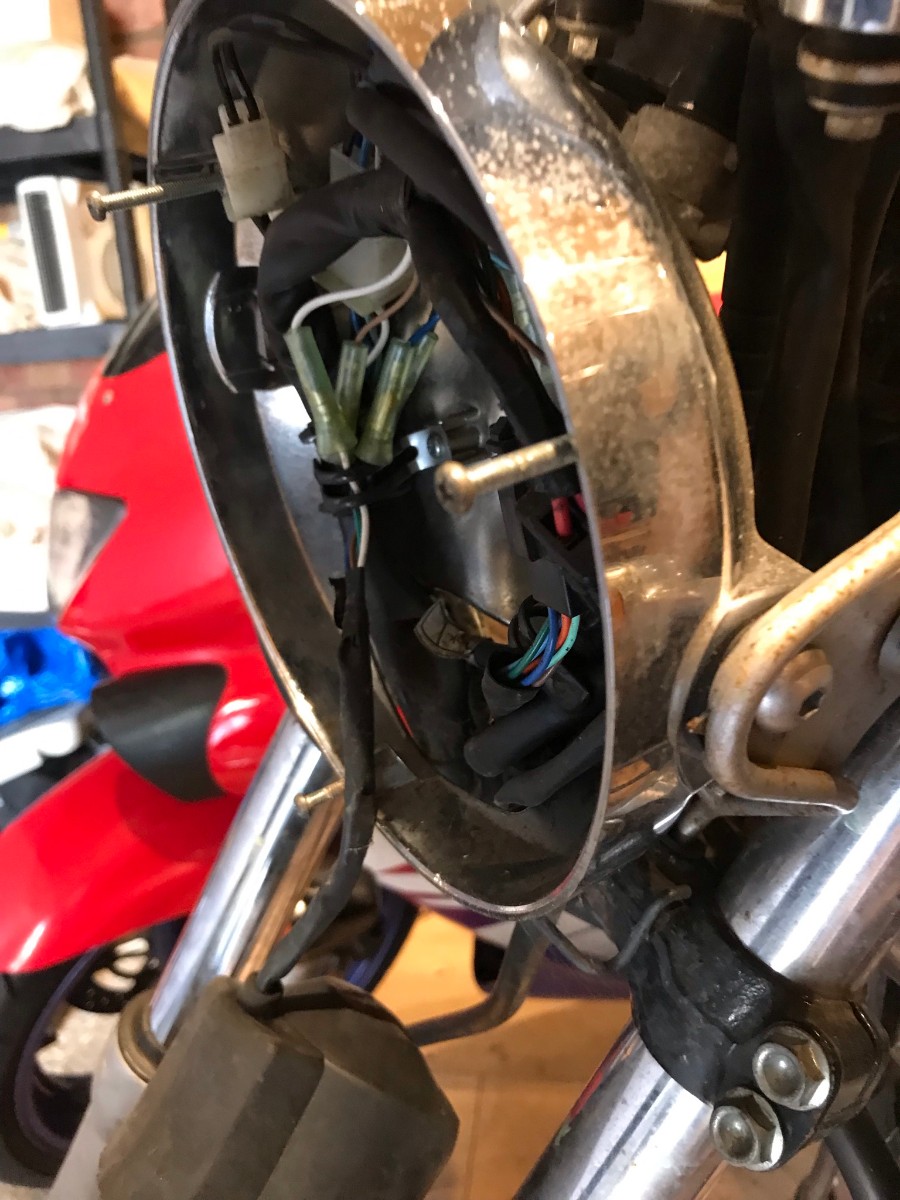
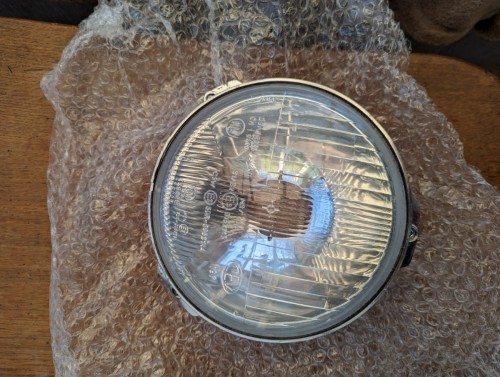
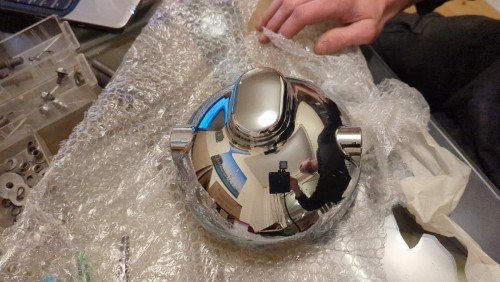
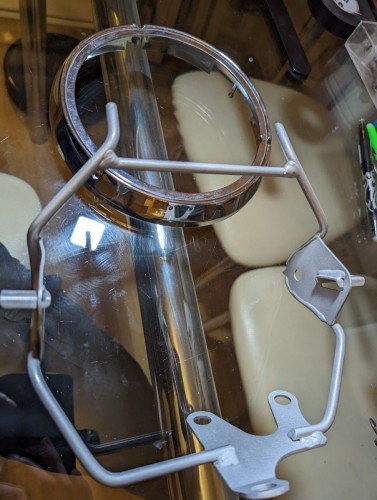
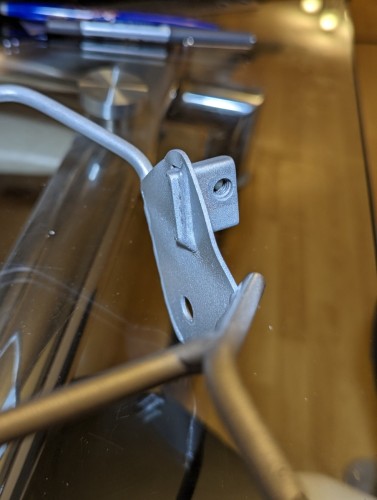
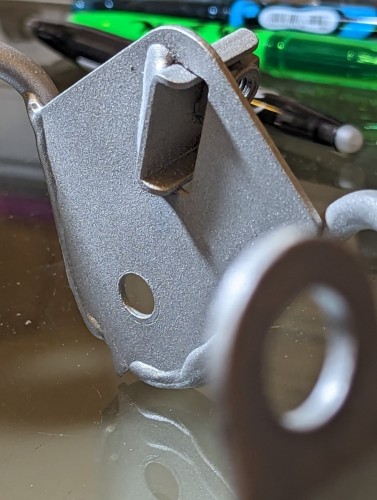
Finished headlamp, surround, backing and mounting frame: I've not yet re-attached them although I think this may be the next step for the rebuild (will have to check the dismantling pictures just to be sure lol) - The headlamp casing, surround and other bits were simply cleaned and polished - nothing major required as these are all plastic parts with a chrome finish - the headlamp itself was cleaned with de-greaser and then glass cleaner,, worked a treat... The front frame = clock/headlamp mounting piece was stripped down, sanded, cleaned, primed then painted - really like how this came out...


-
Cheers Fiddlesticks! Apart from a couple of friends the only people to see any of this resto are those of you following the thread so any and all feedback welcome and much appreciated!
-
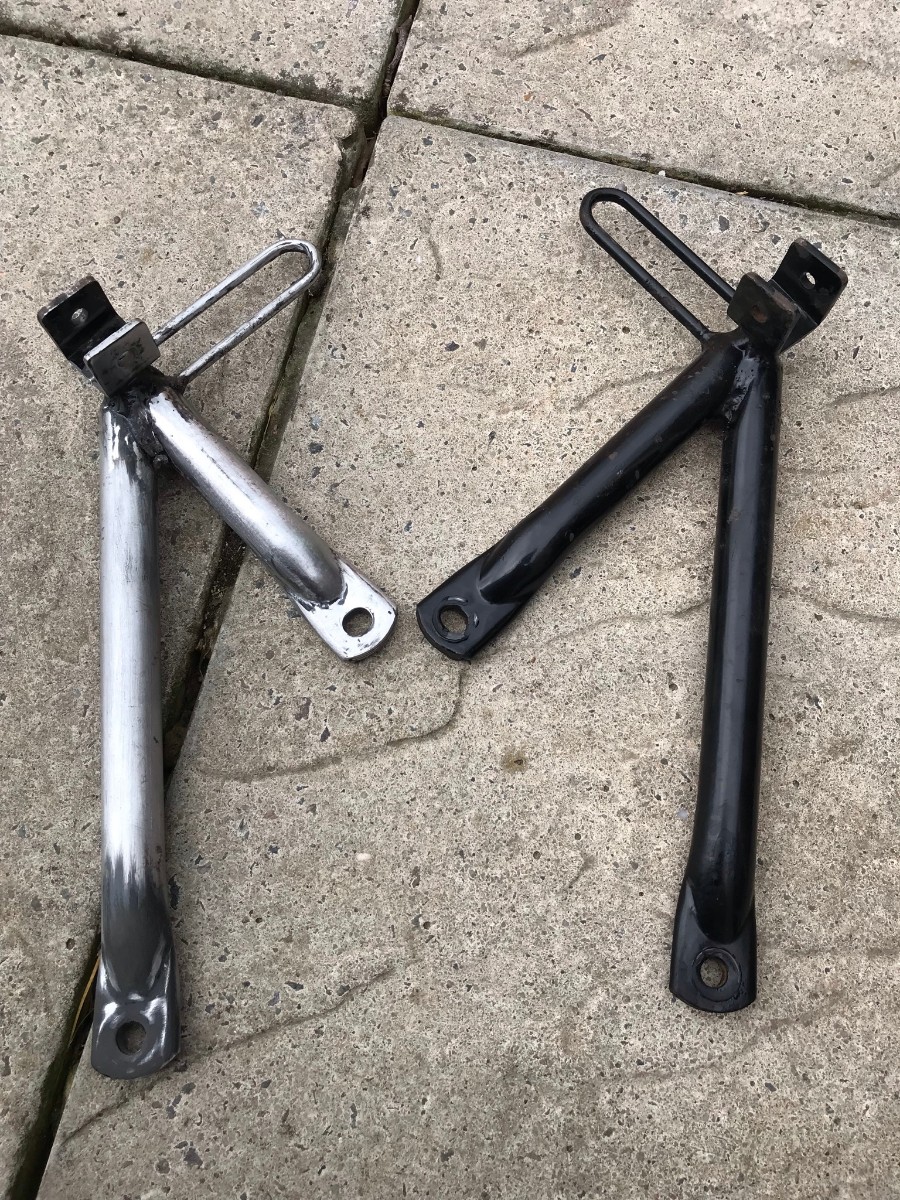
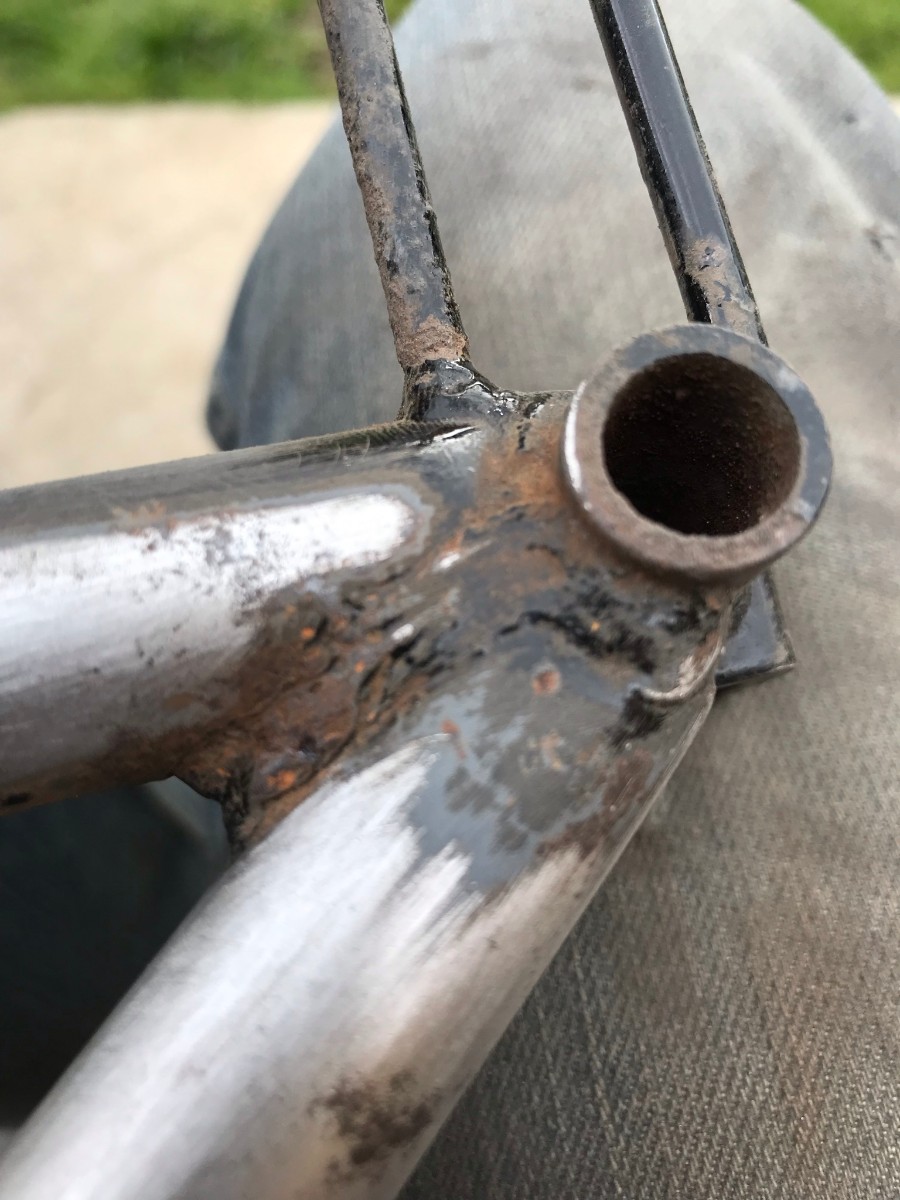
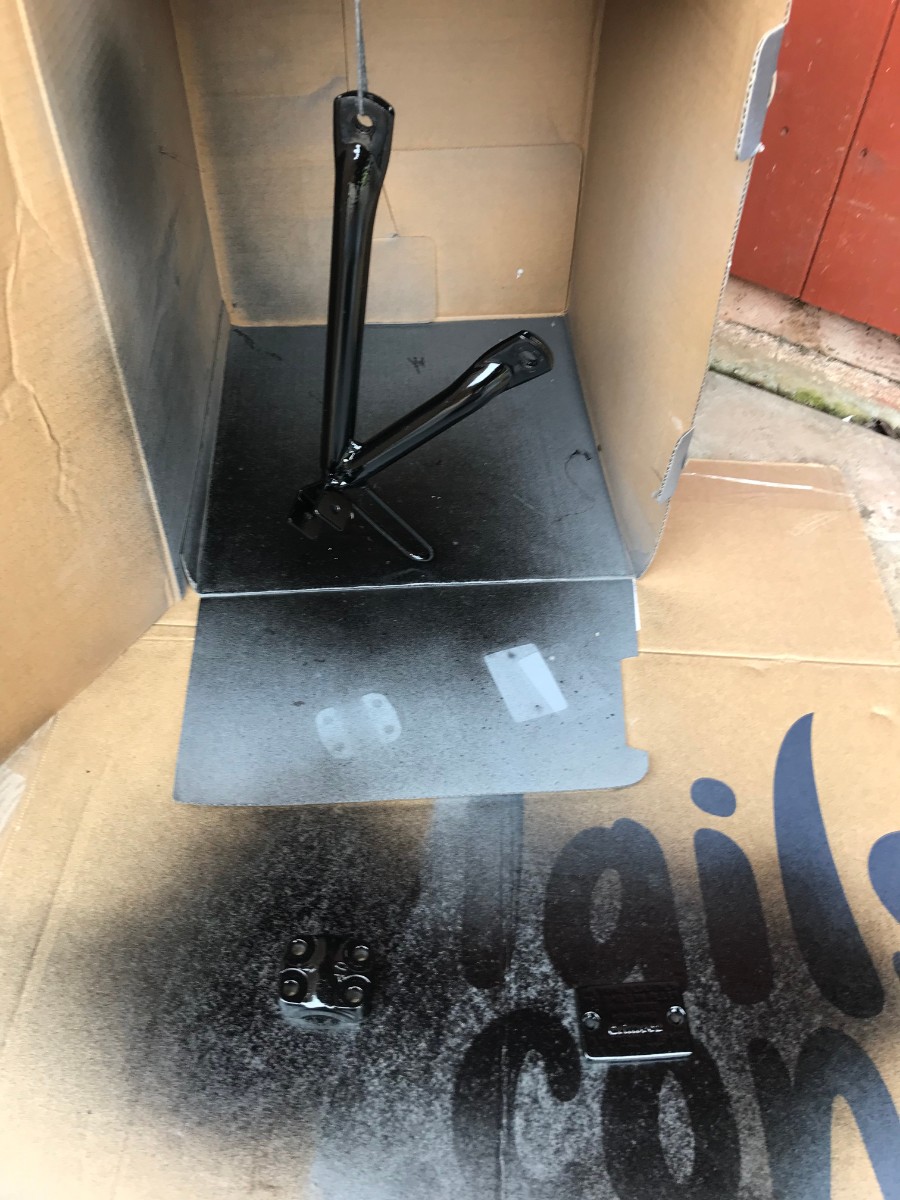
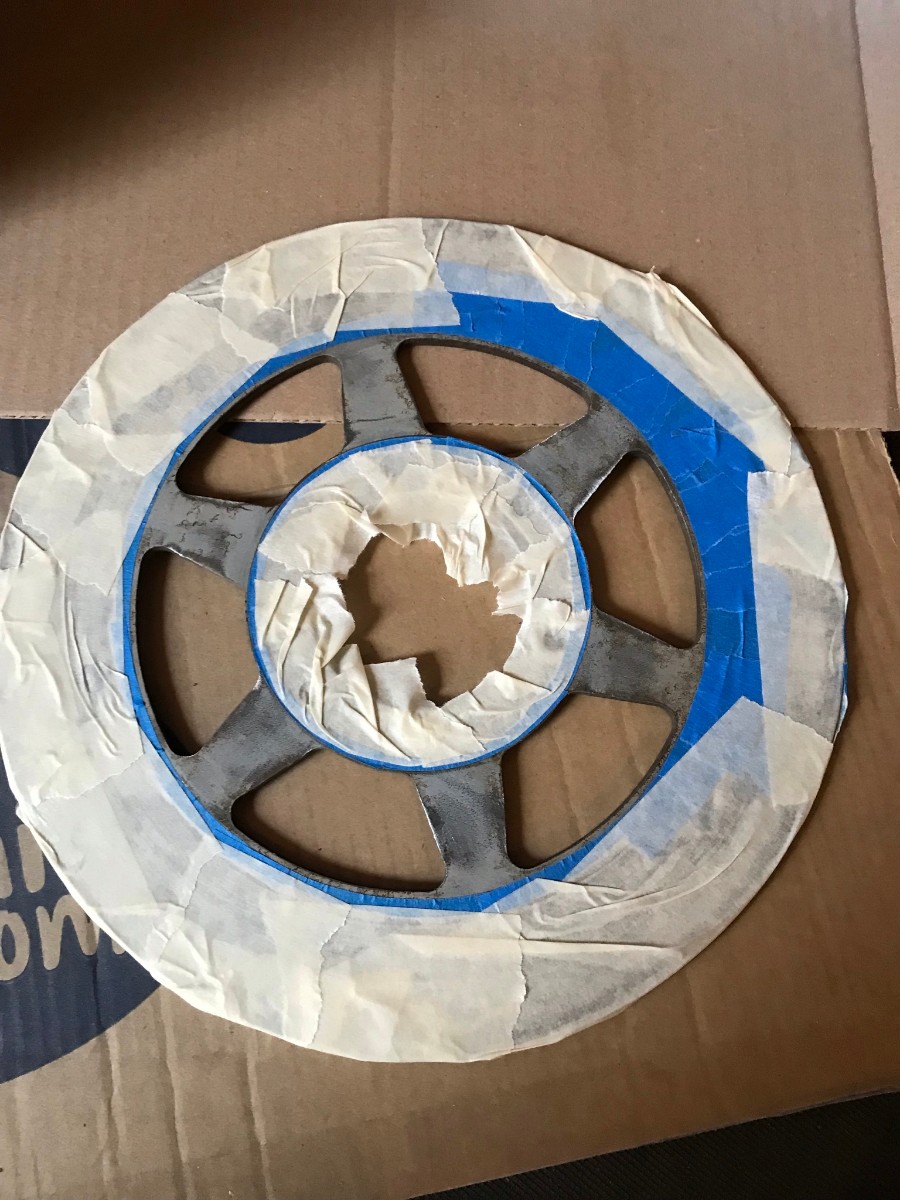
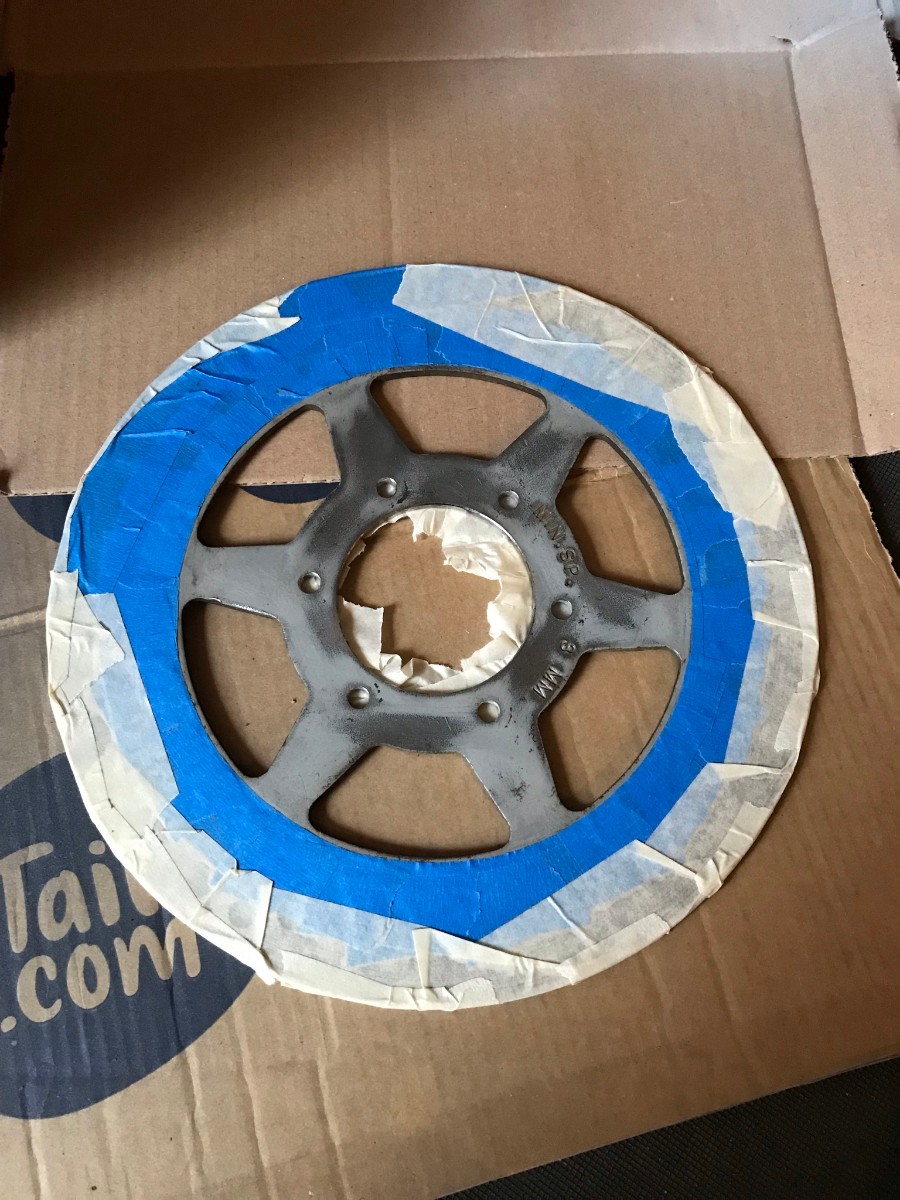
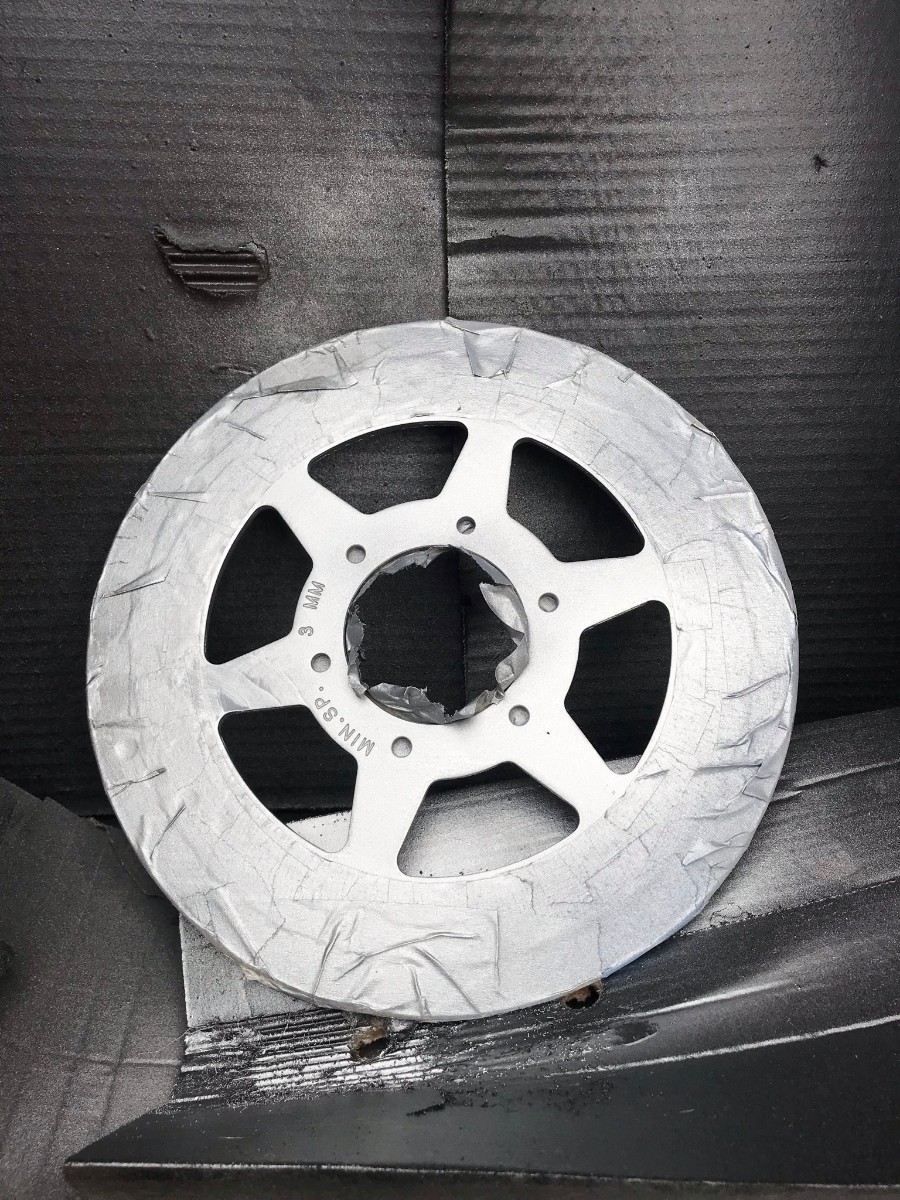
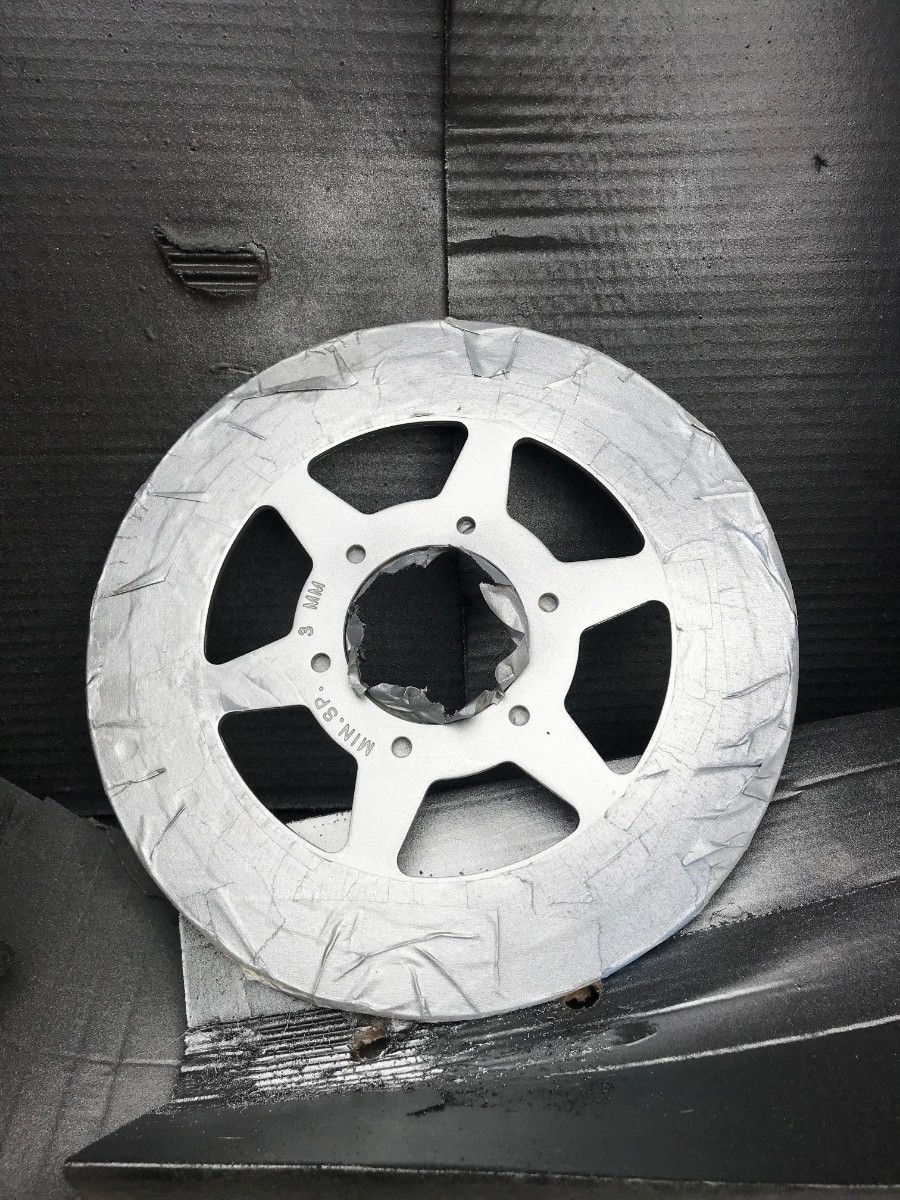
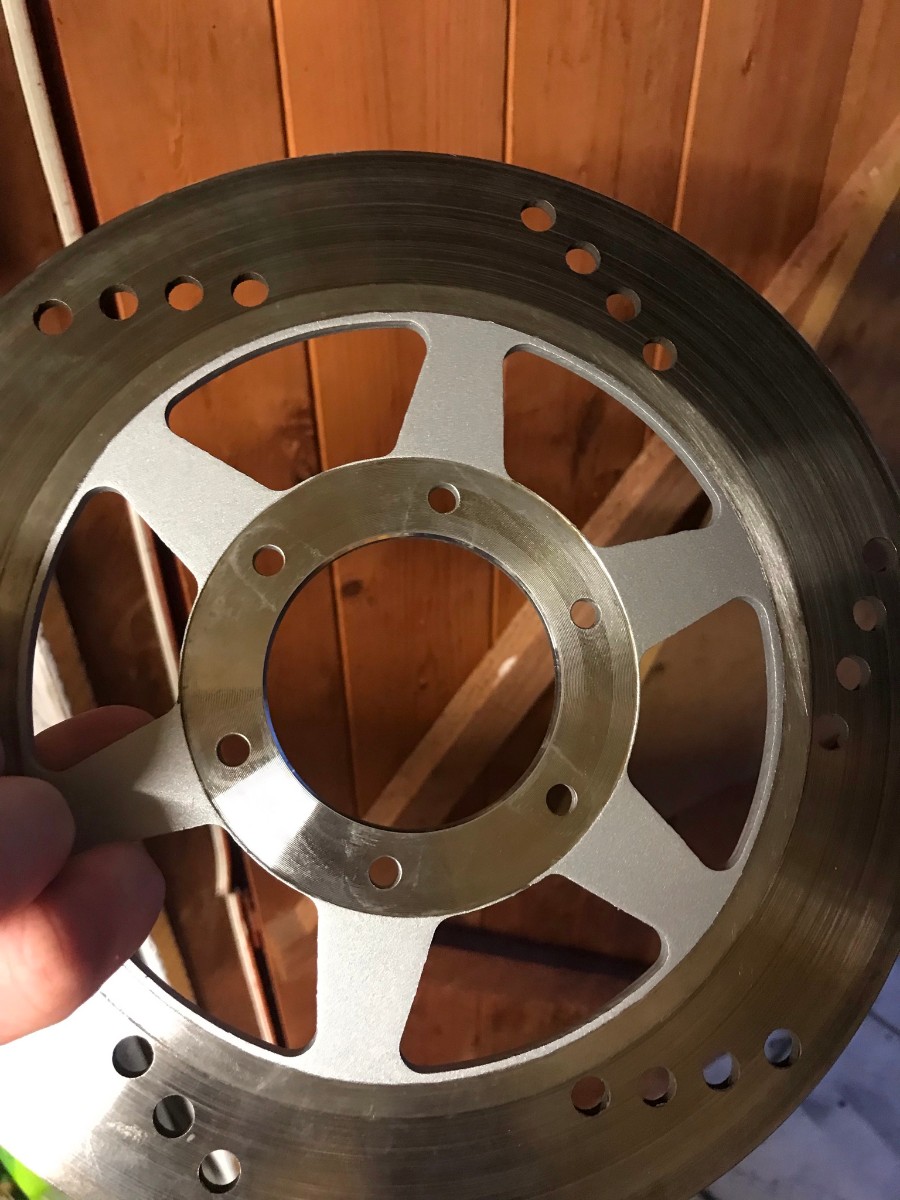
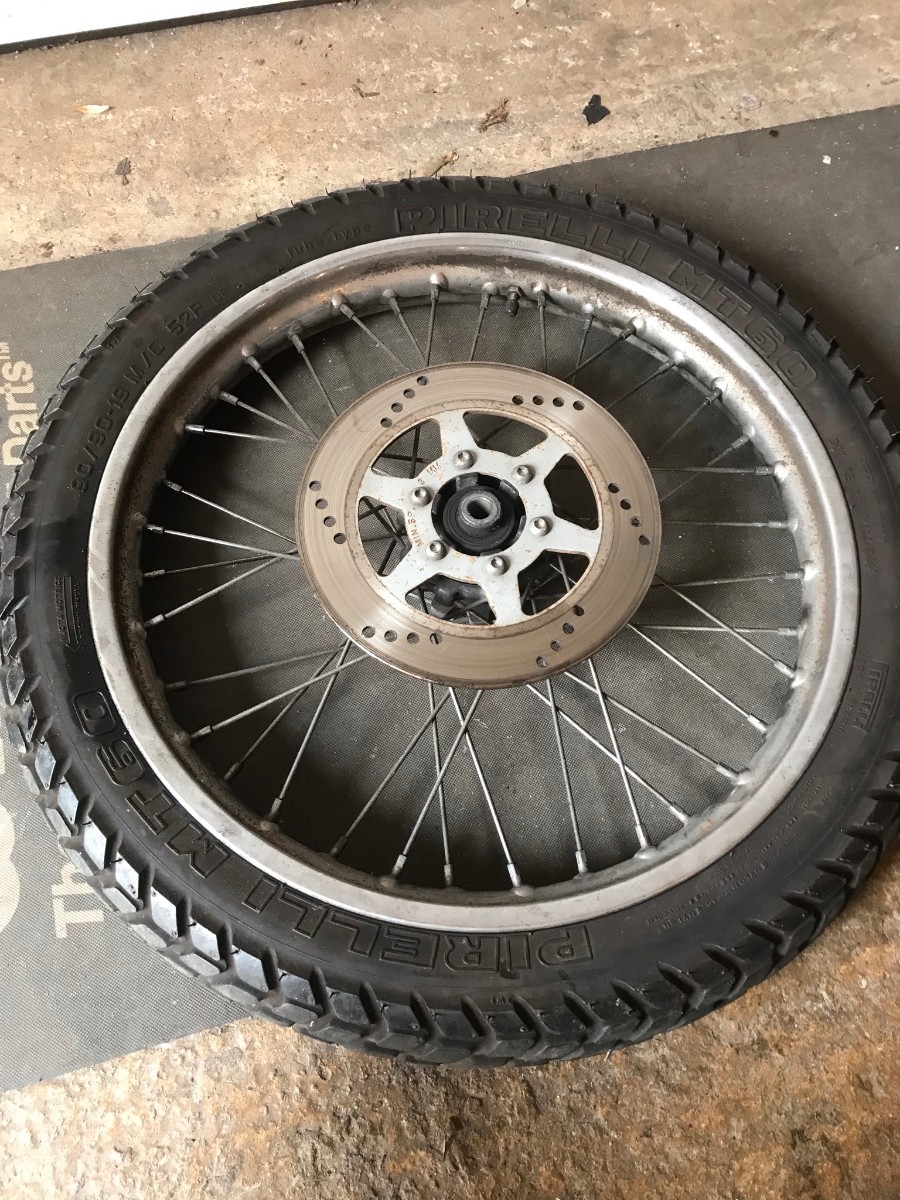
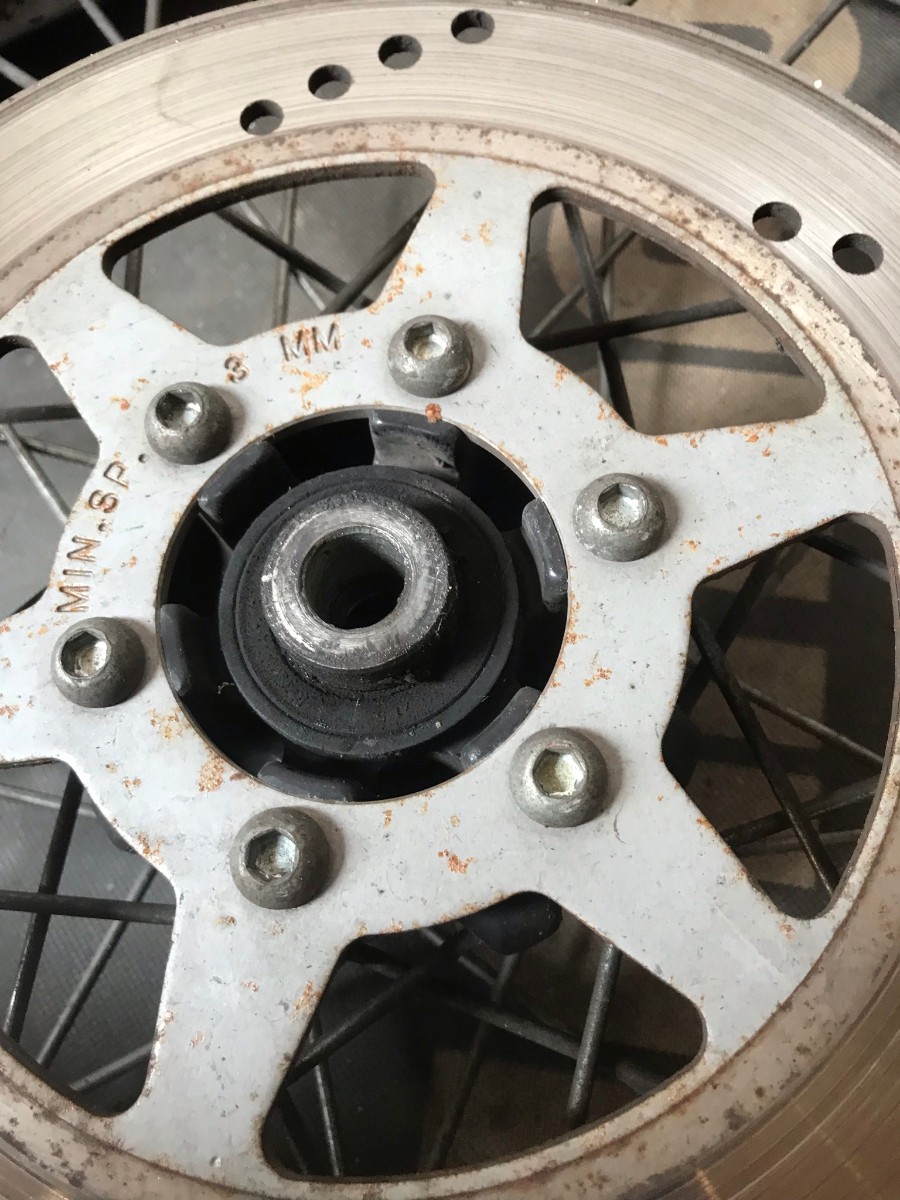
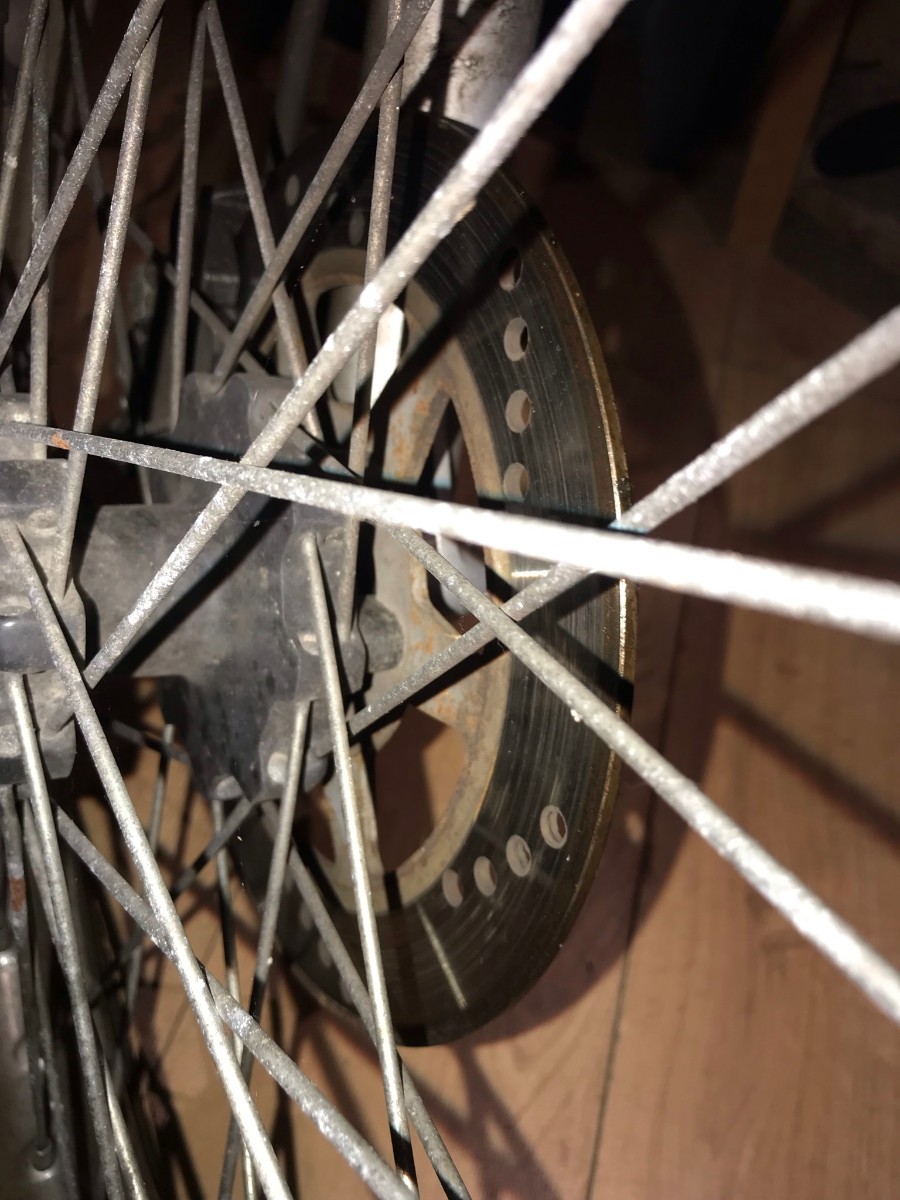
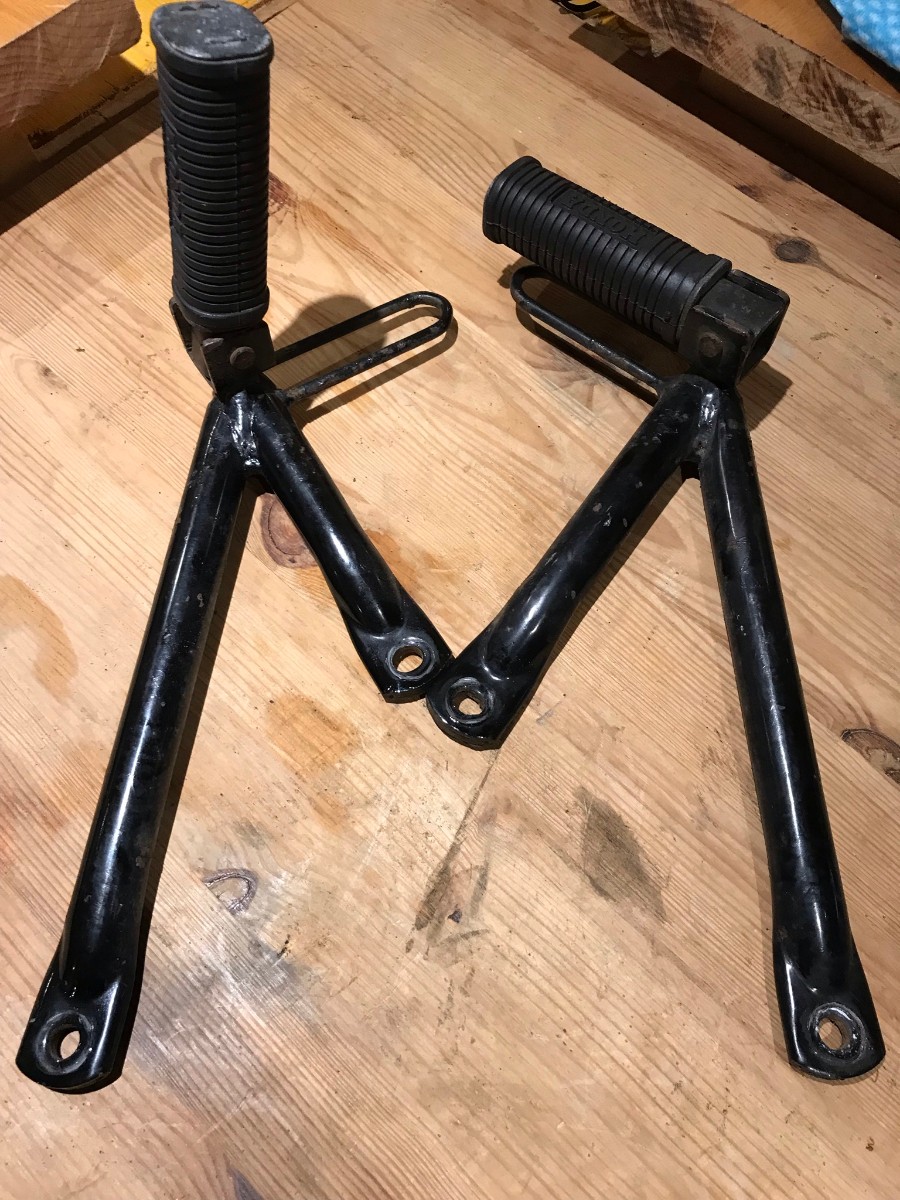
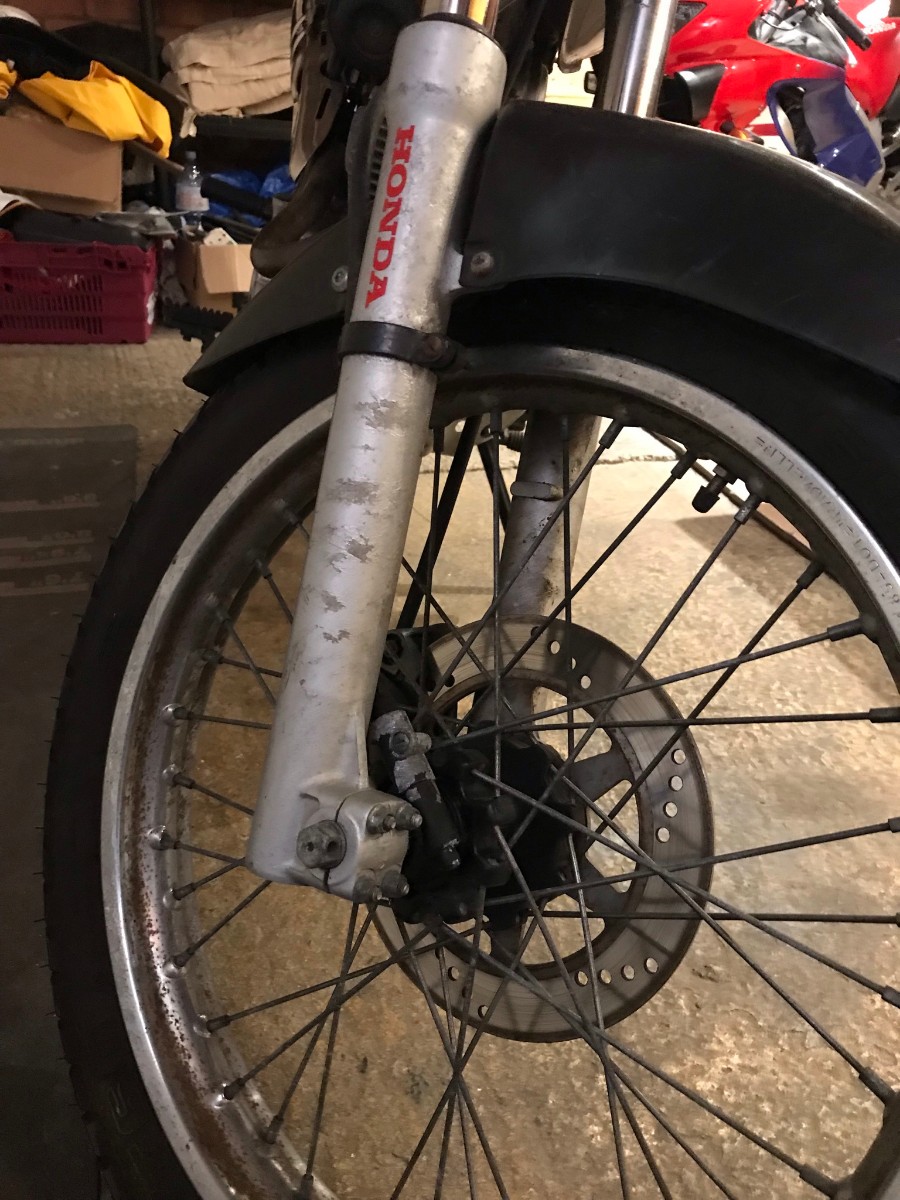
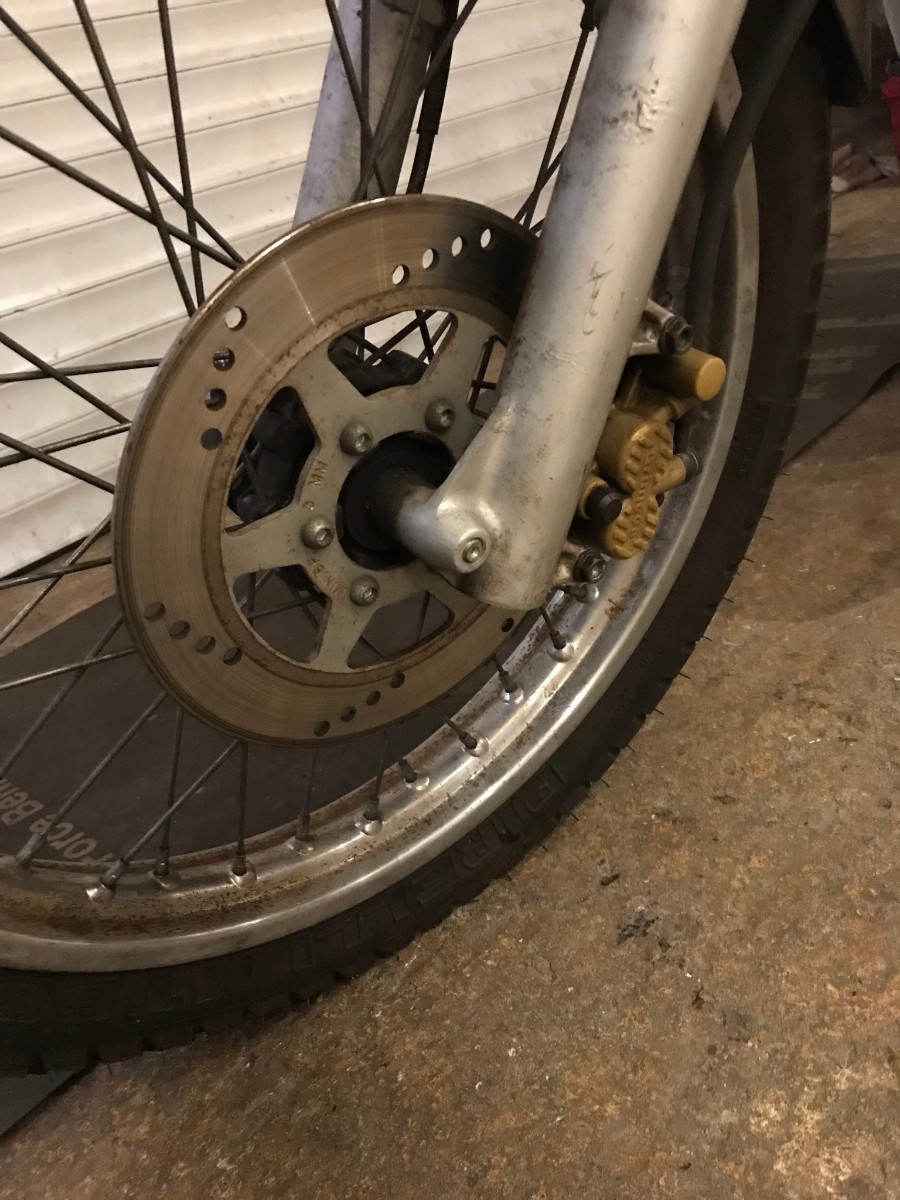
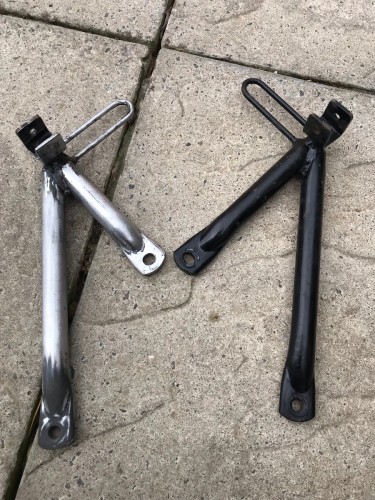
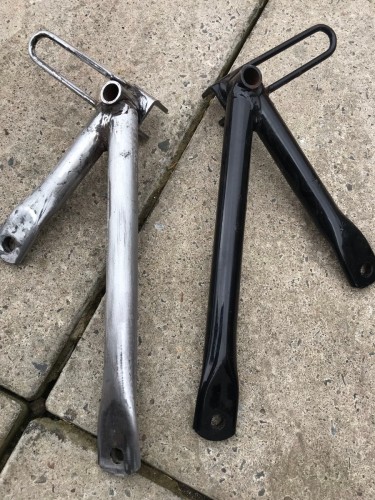
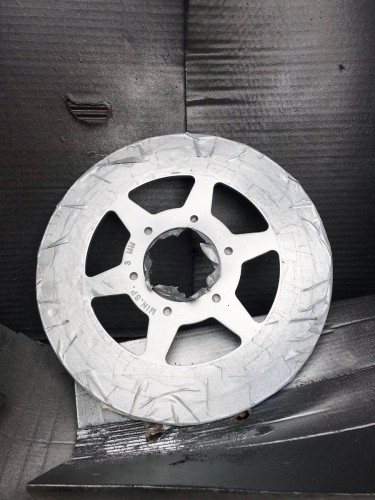
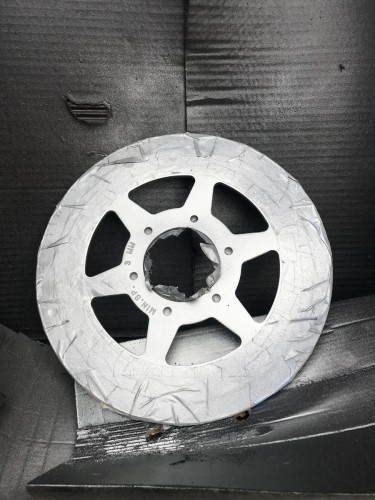
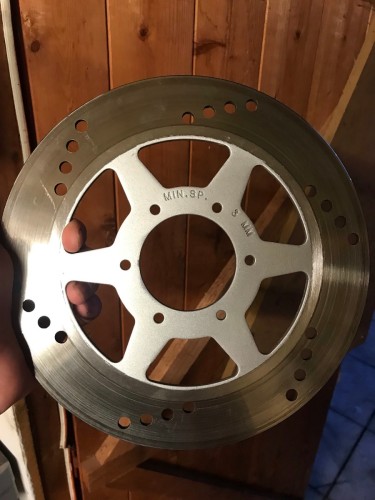
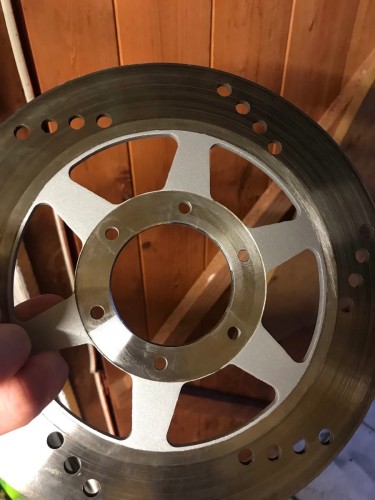
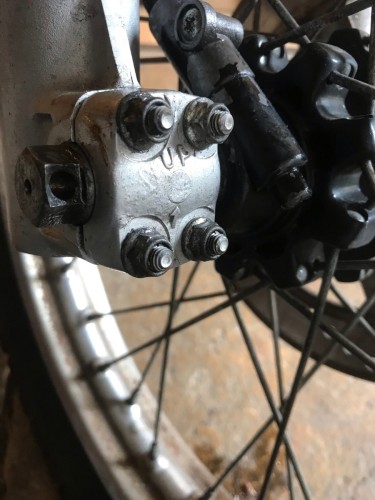
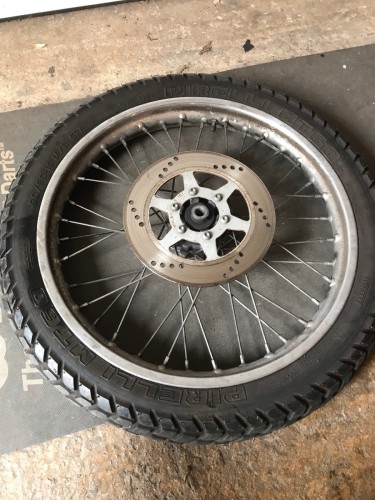
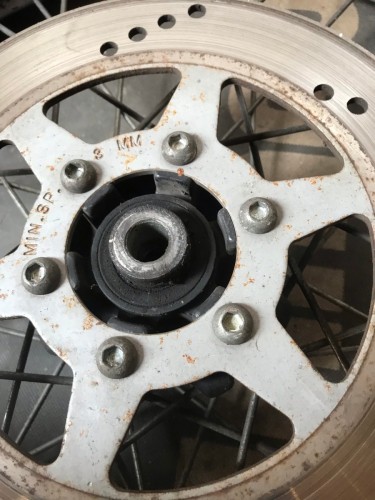
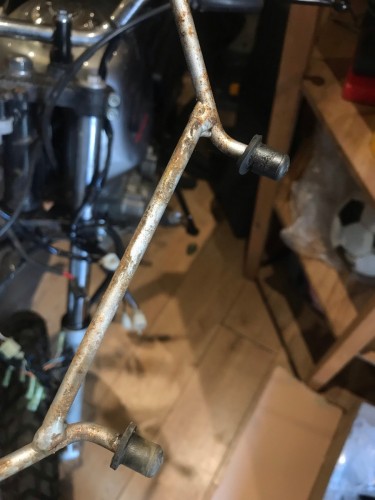
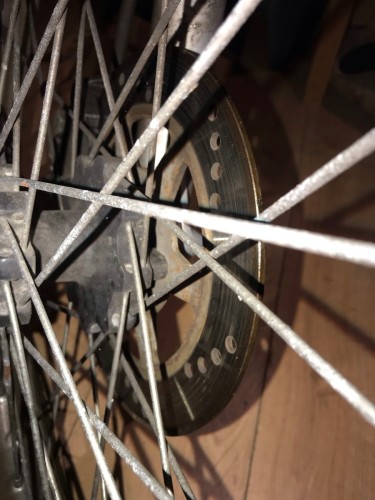
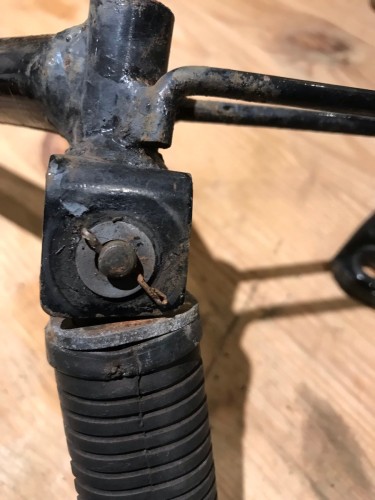
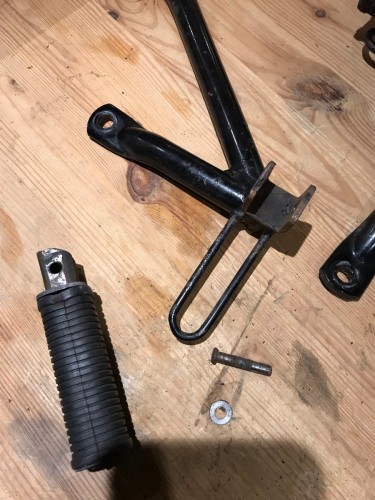
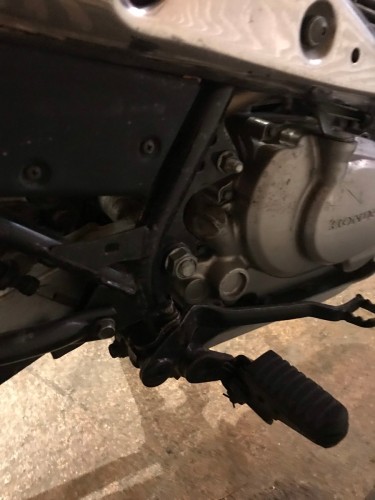
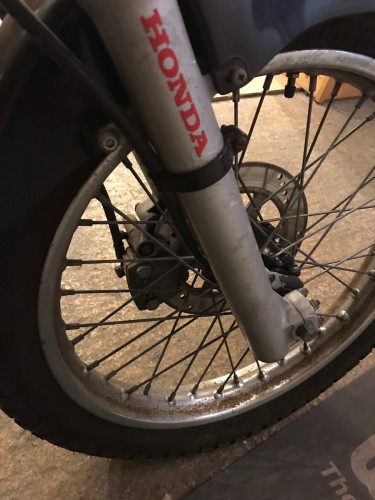
Some parts already removed were then stripped down, prepped and re-painted - I was going to wait until i'd posted the full strip down before posting these, however, changed my mind and wanted to show off how they are looking now - ready to be put back on when required... Rear foot hangers - One mostly sanded ready for de-greasing, then primer & paint... Front disc


-
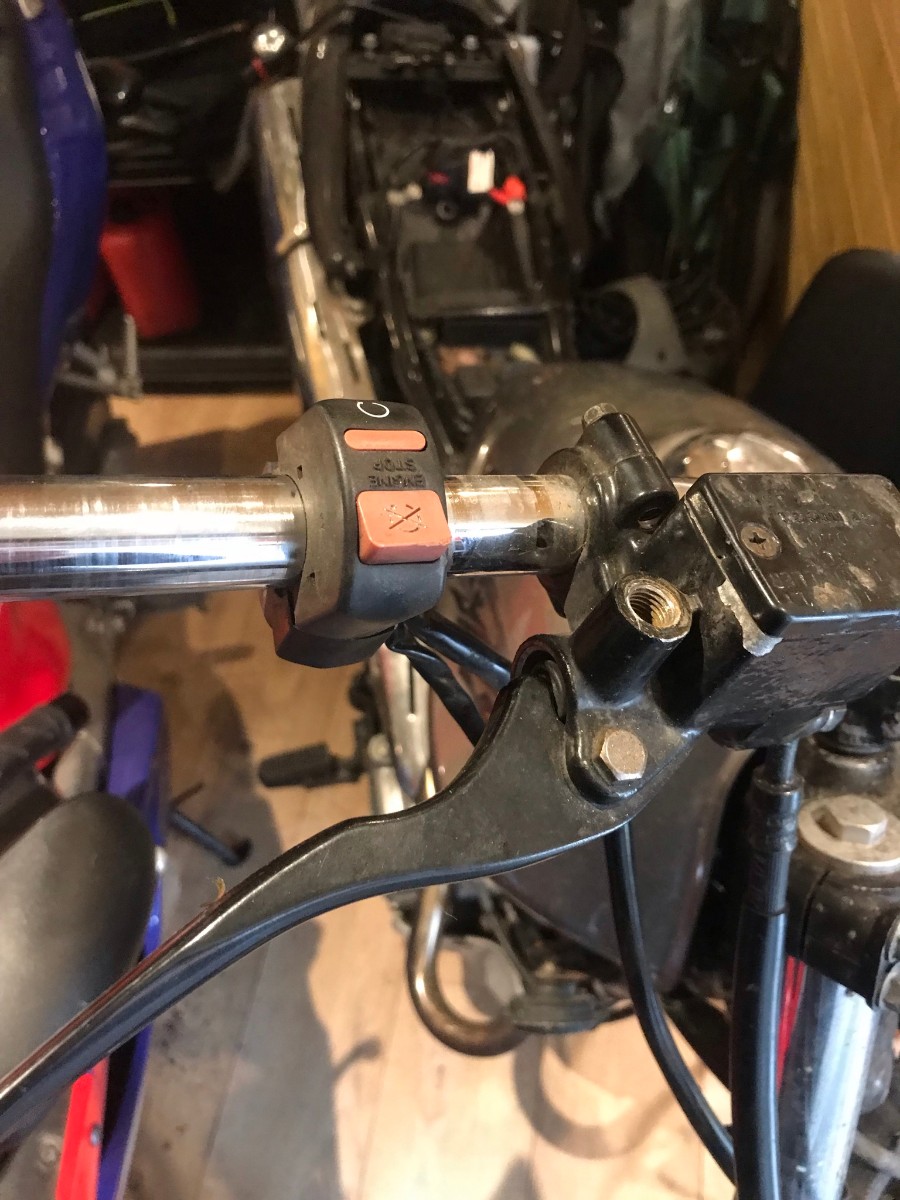
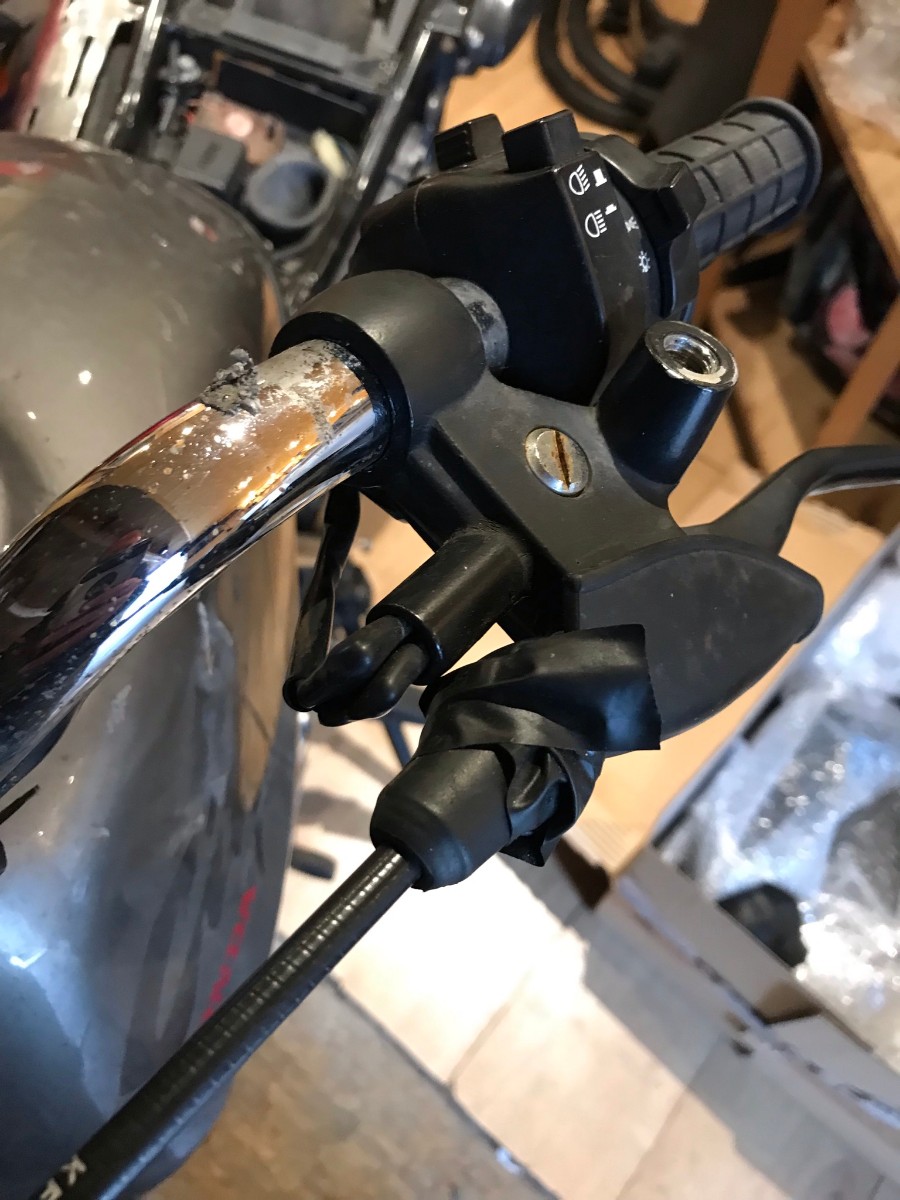
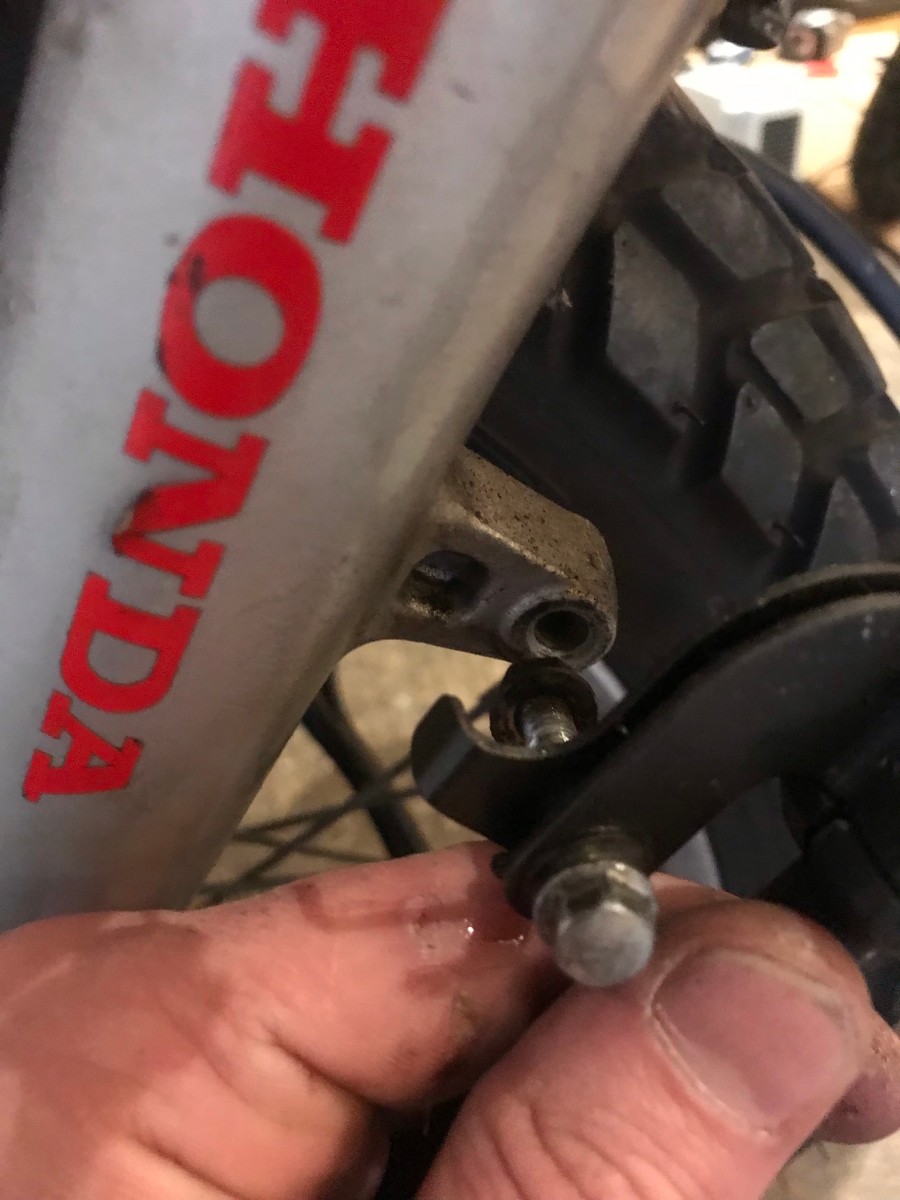
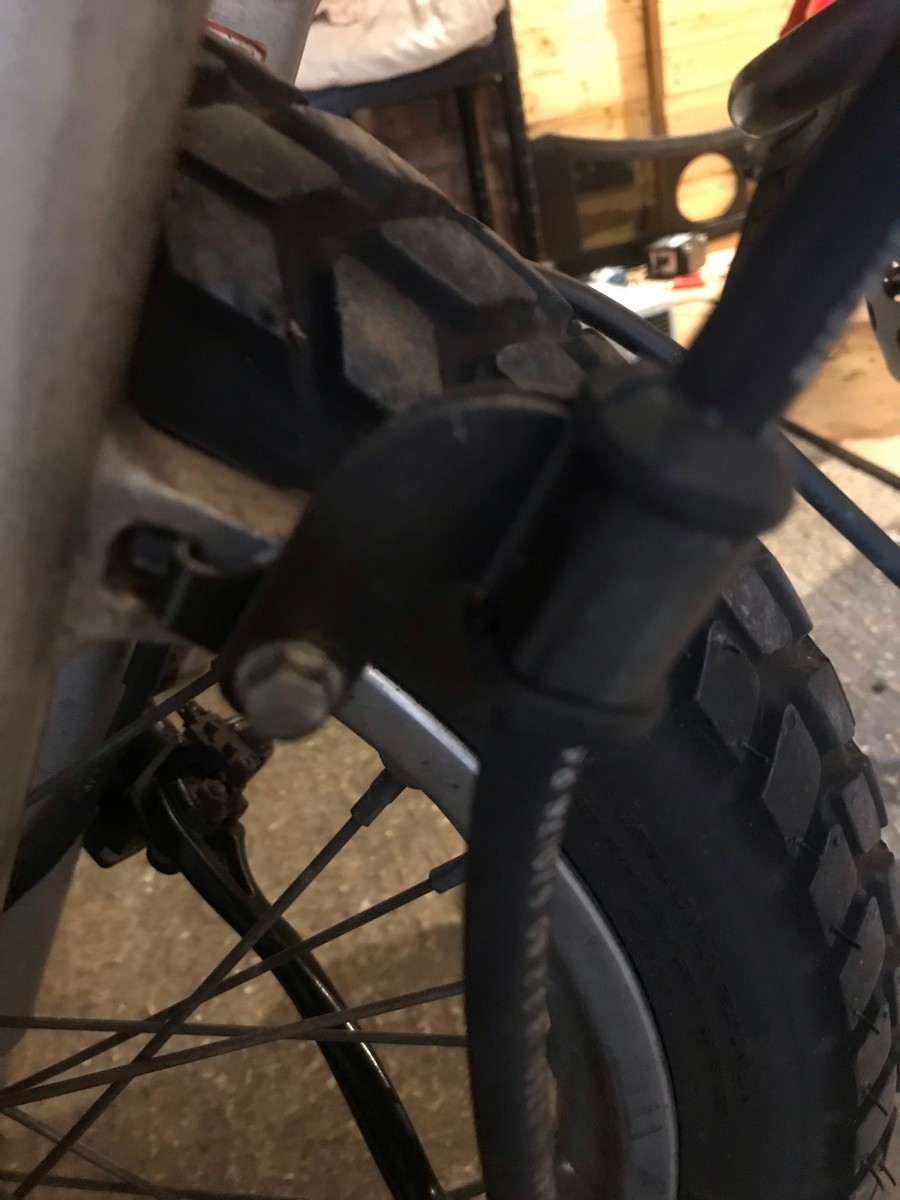
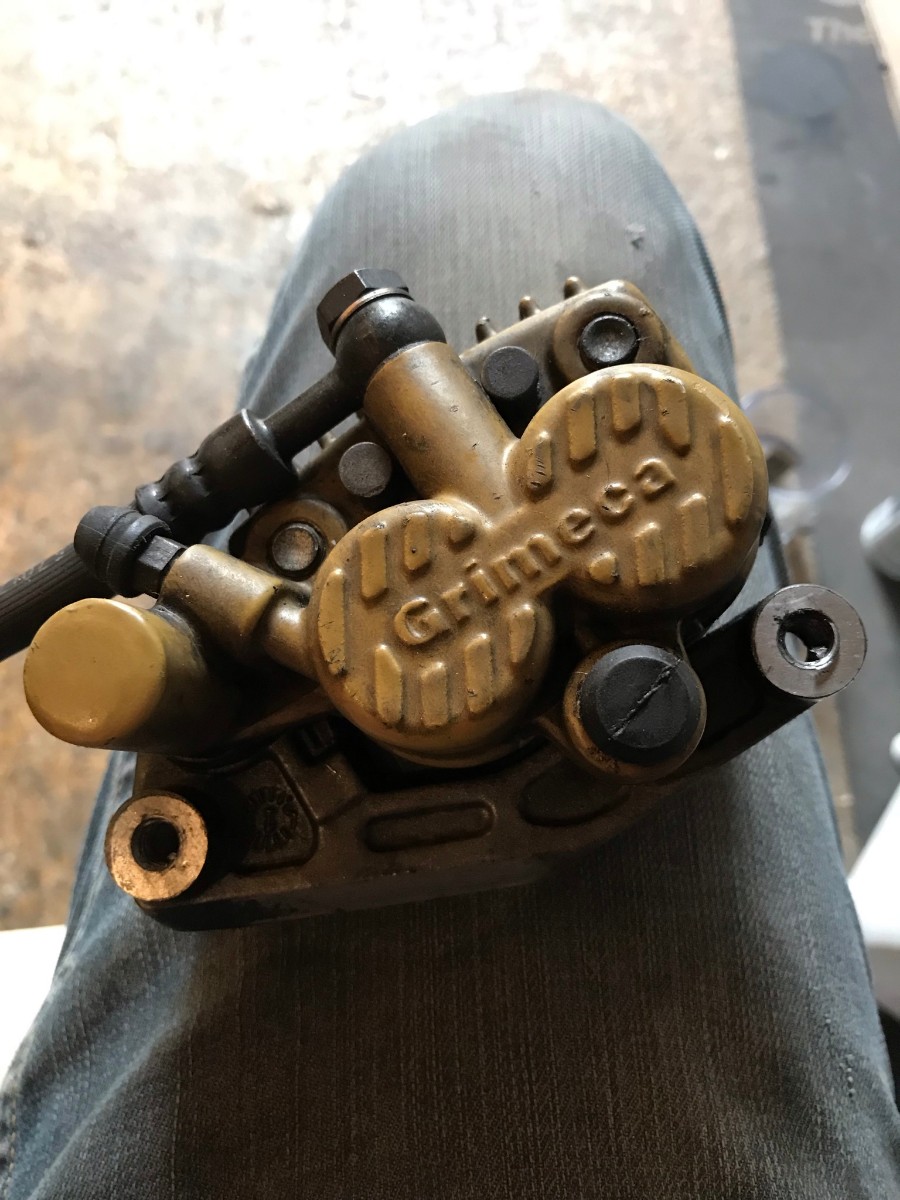
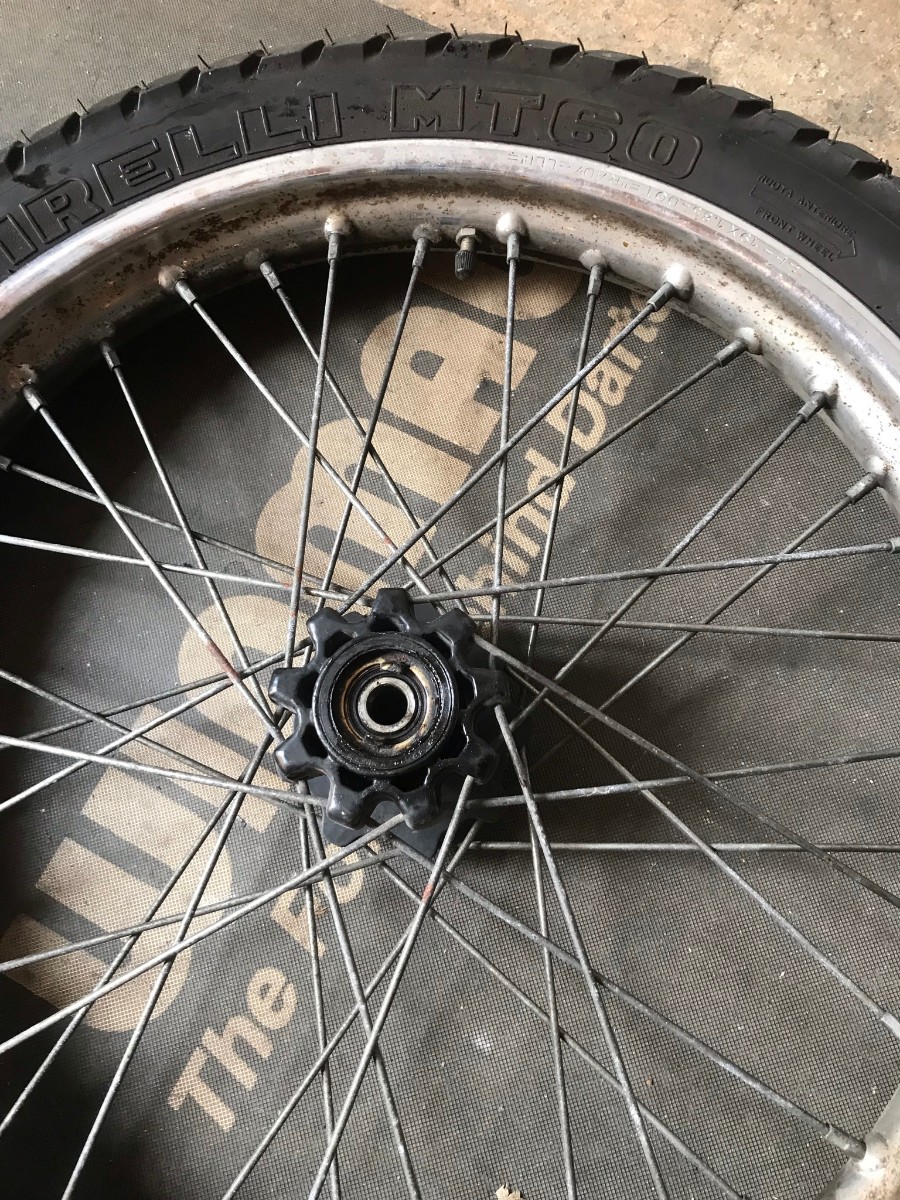
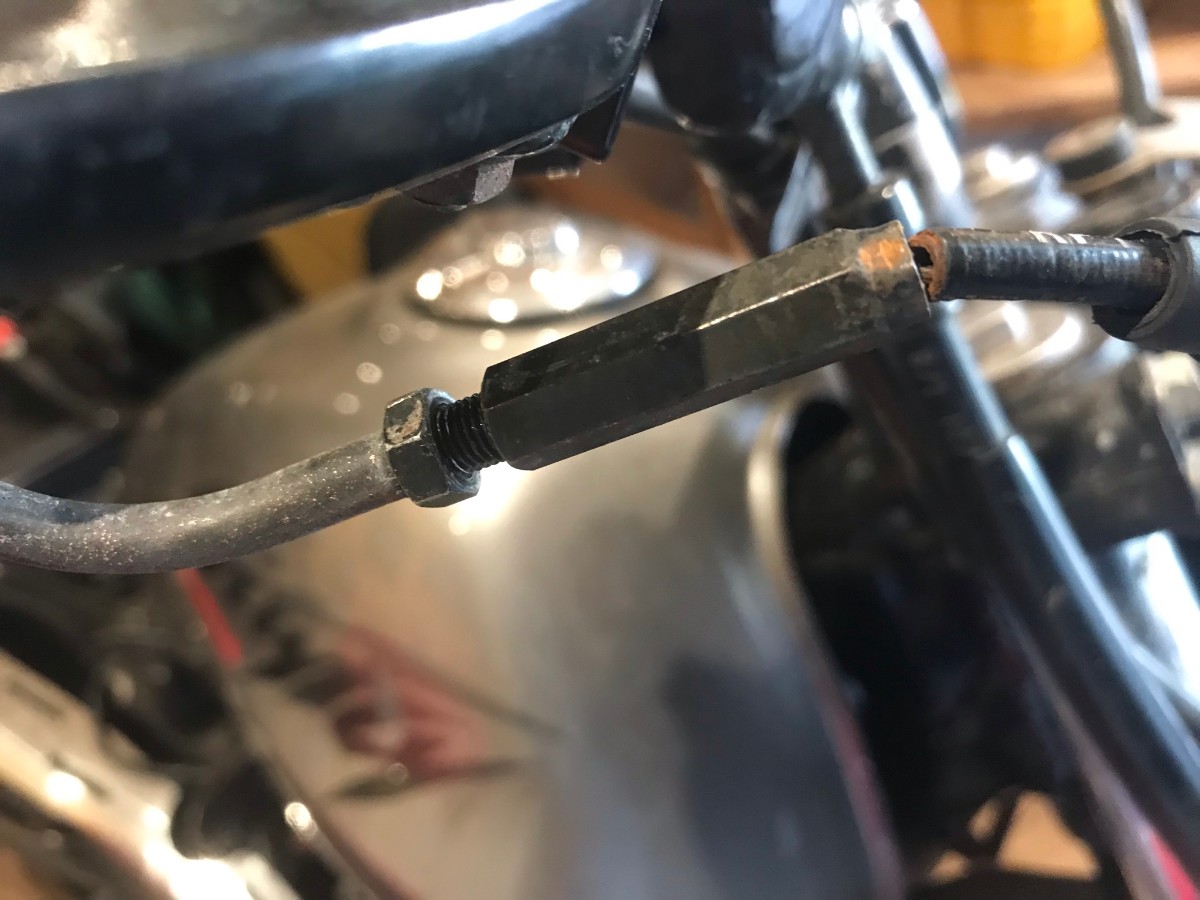
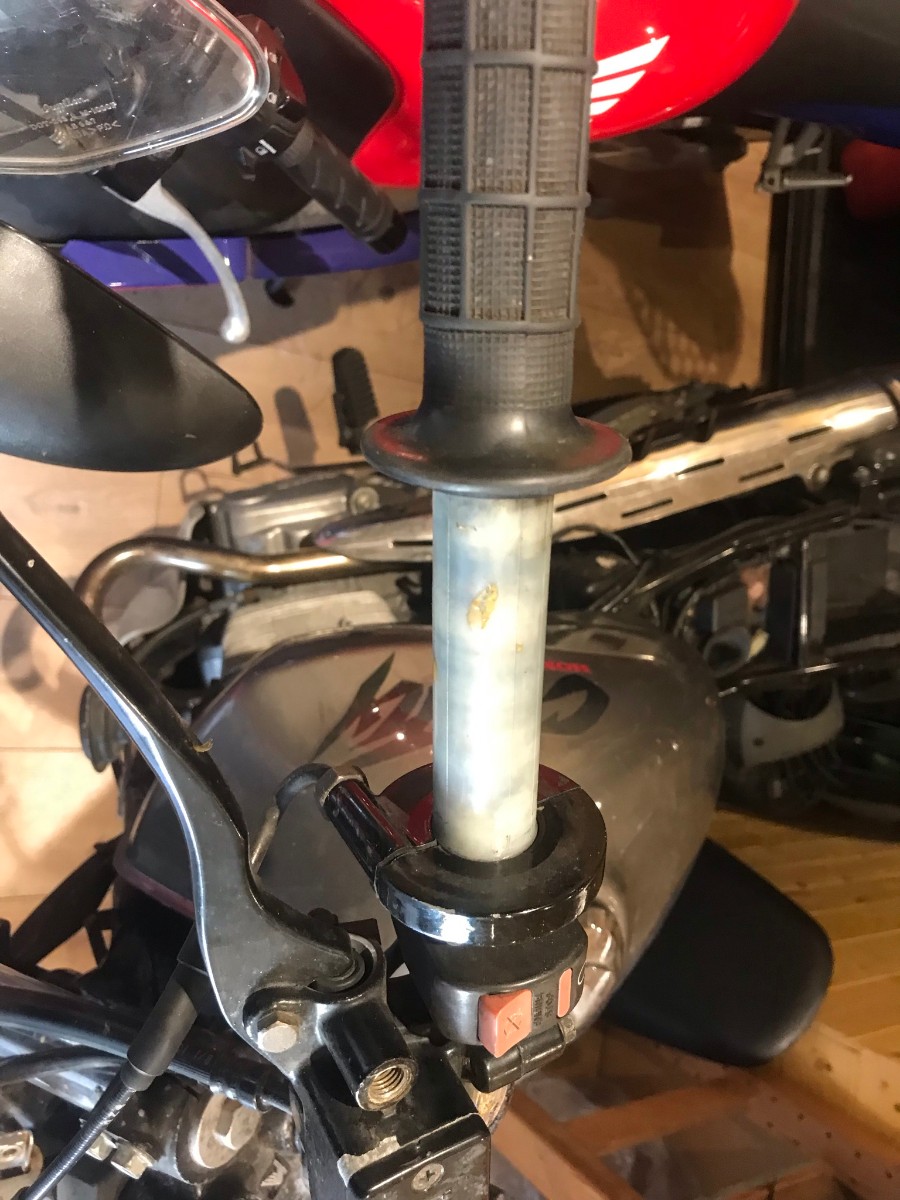
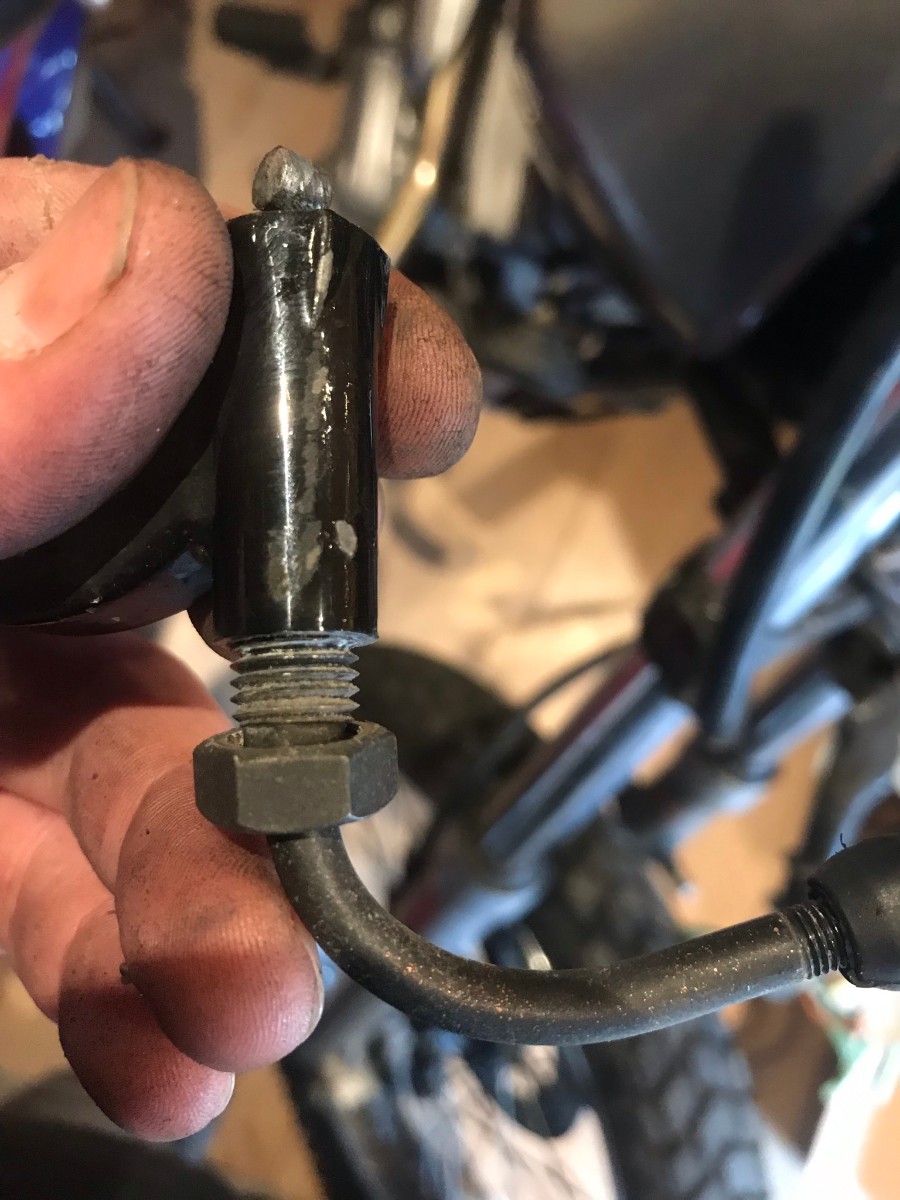
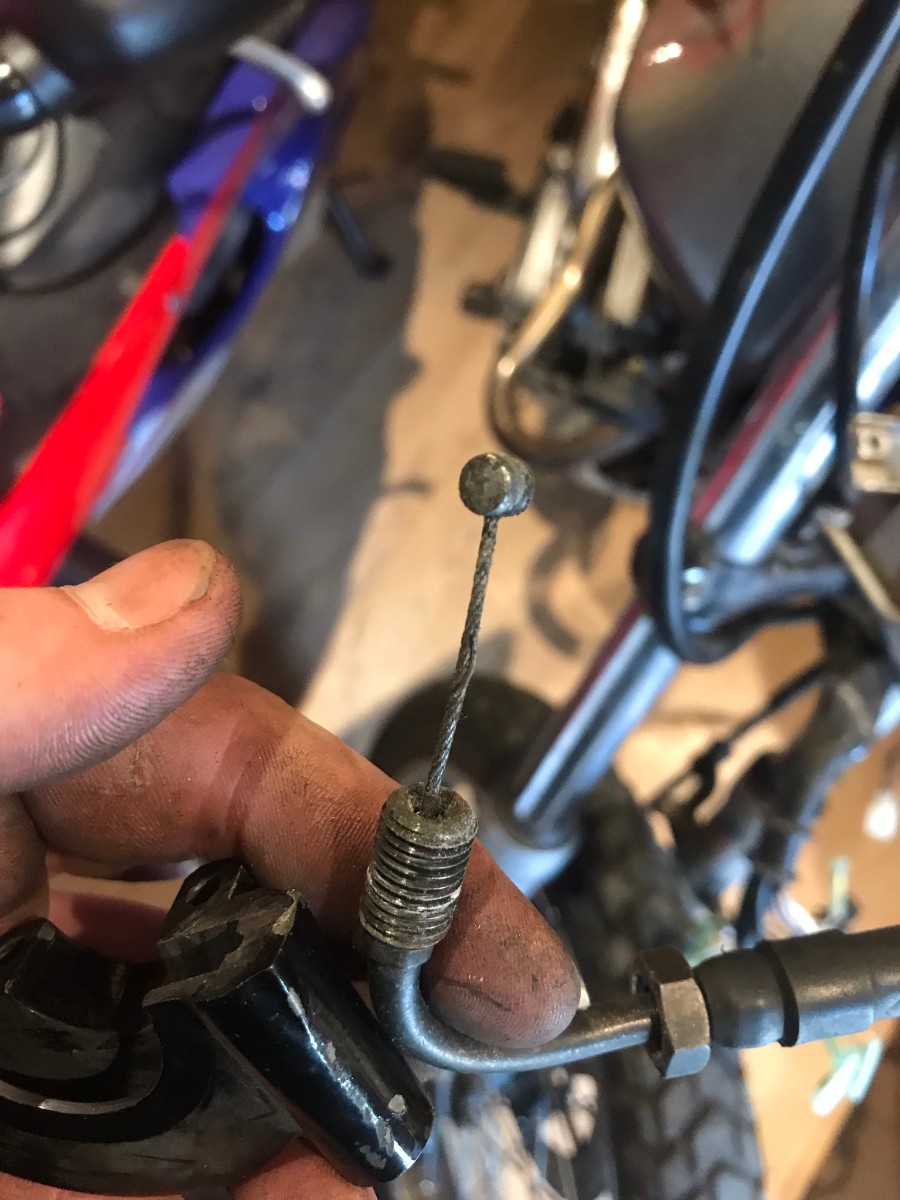
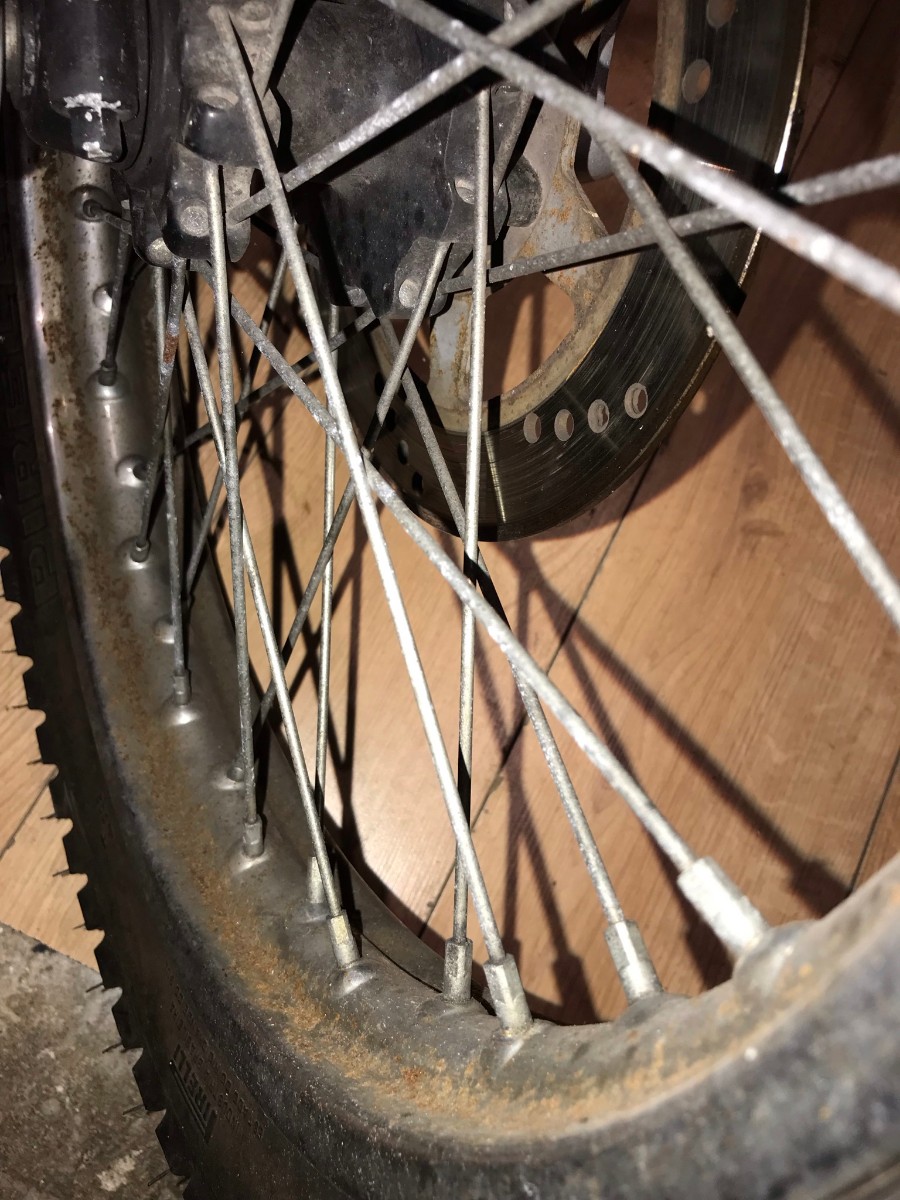
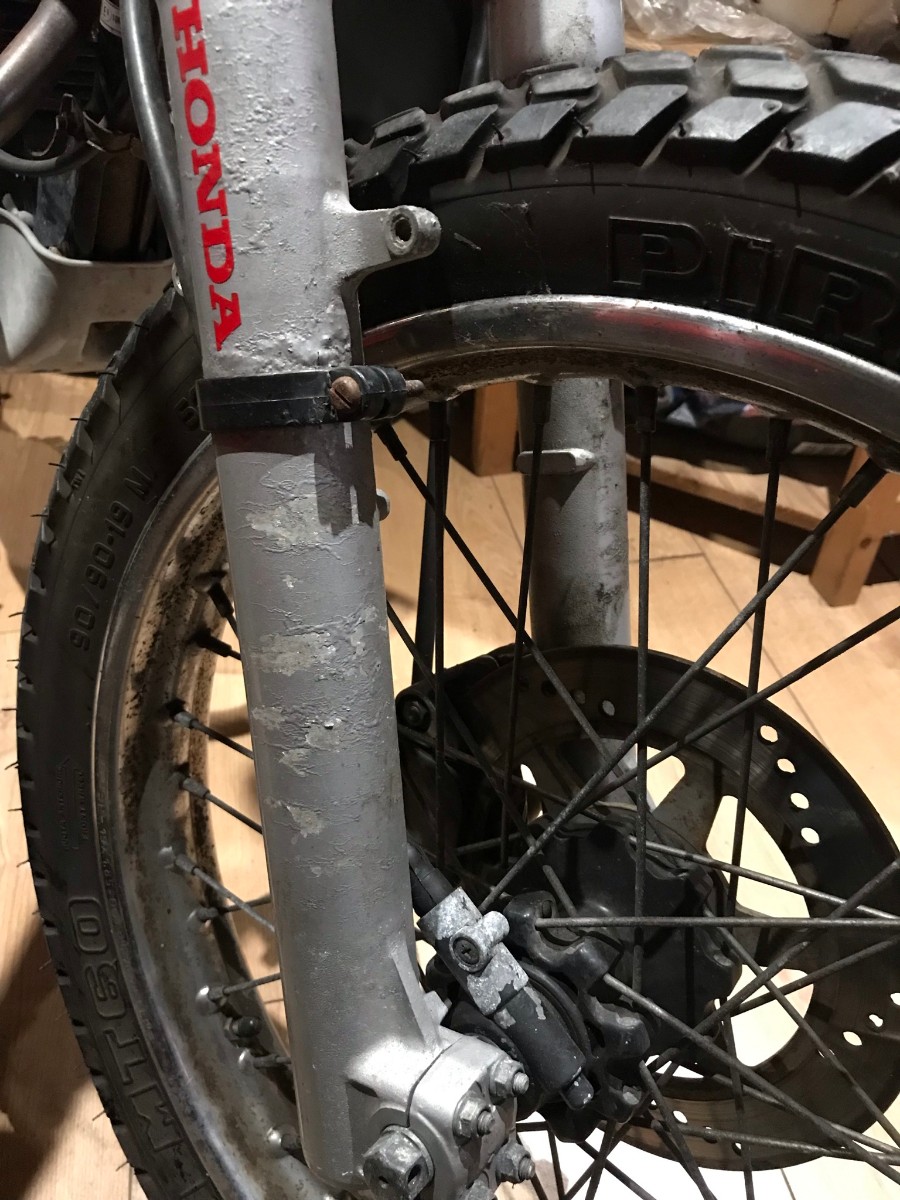
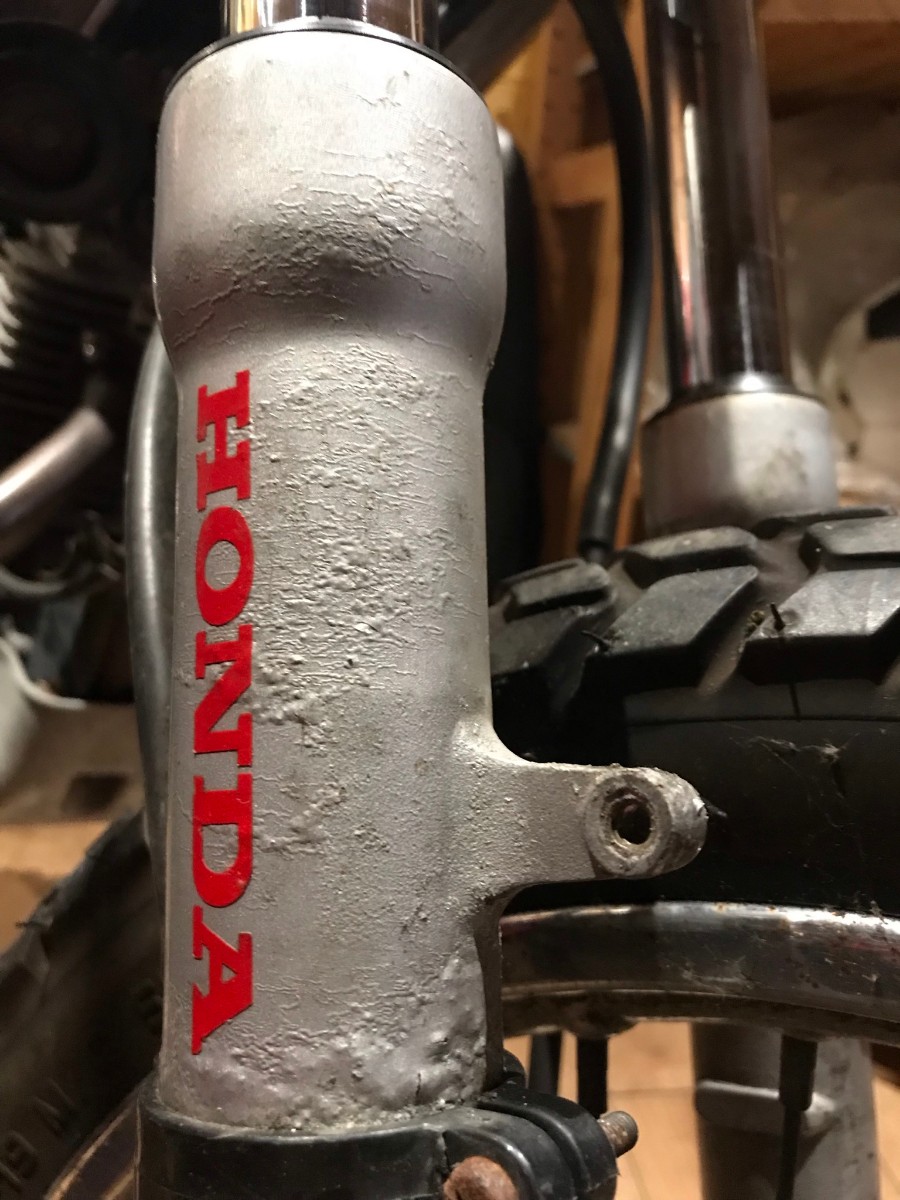
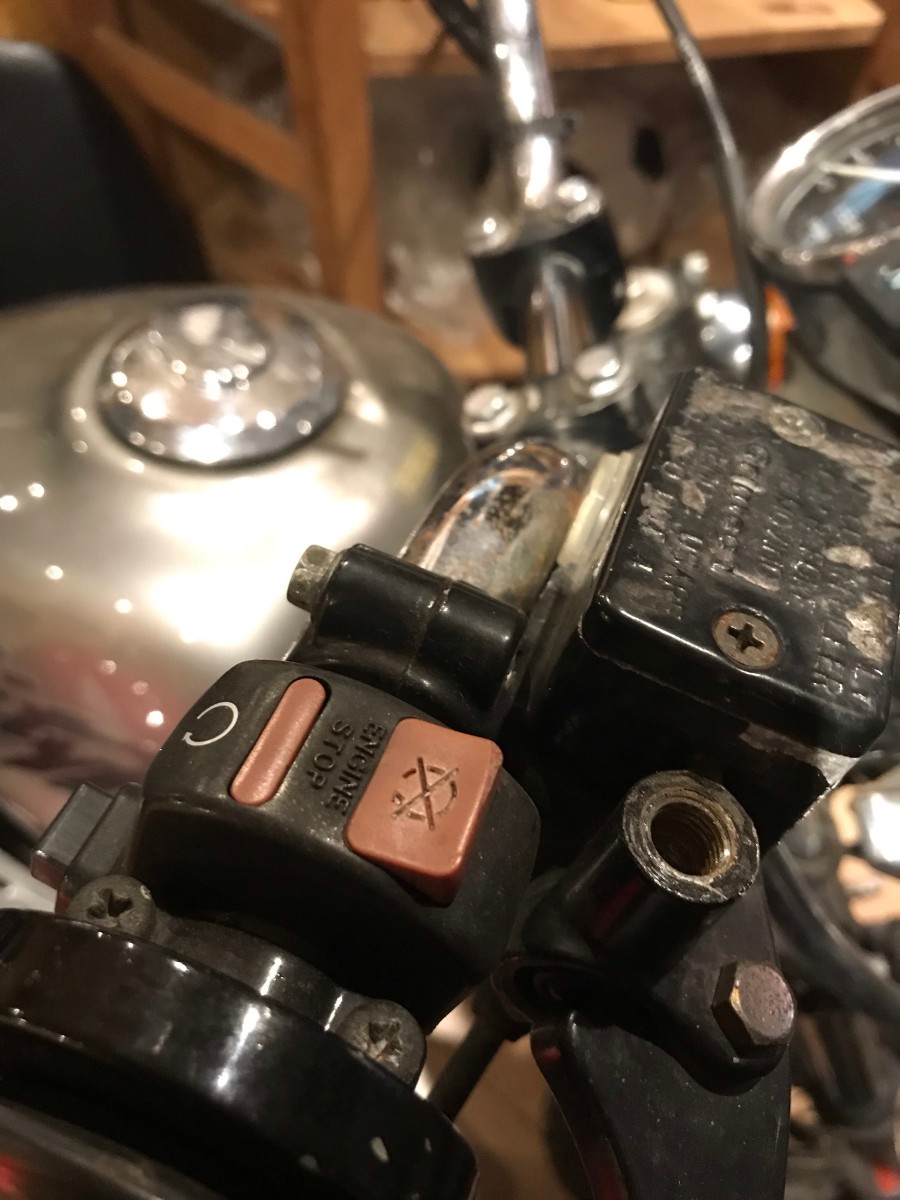
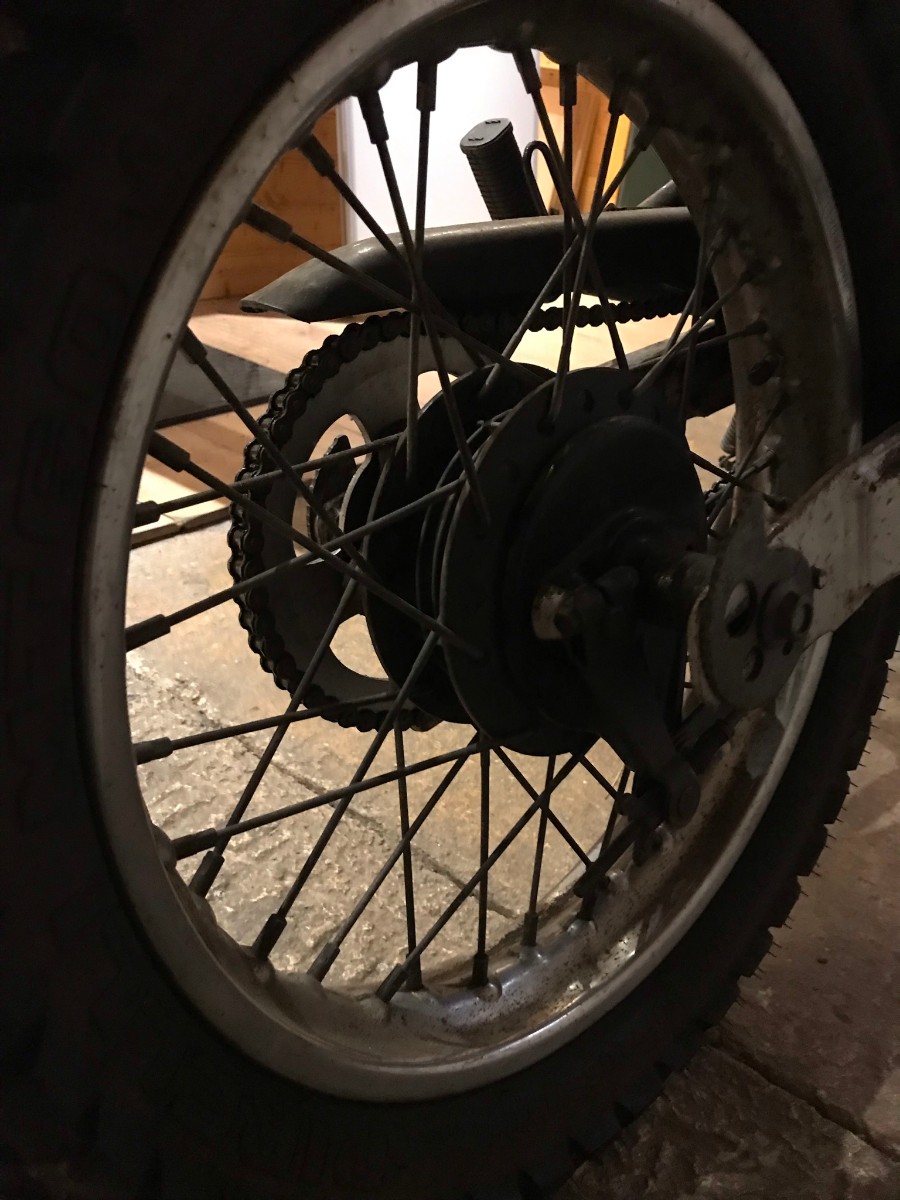
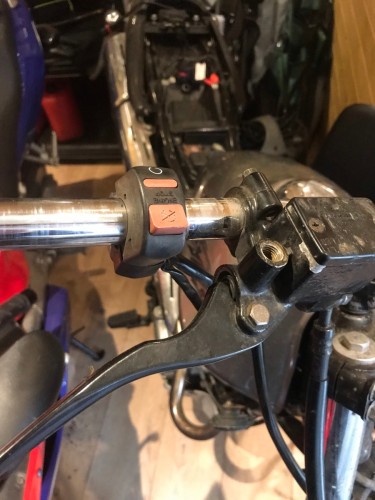
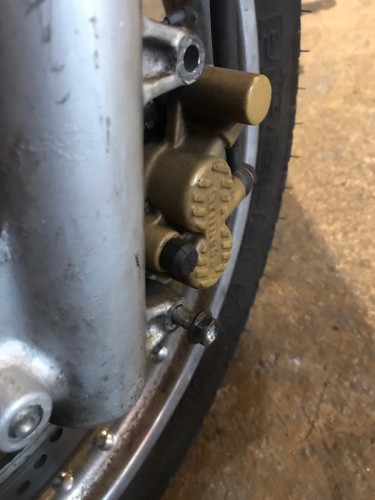
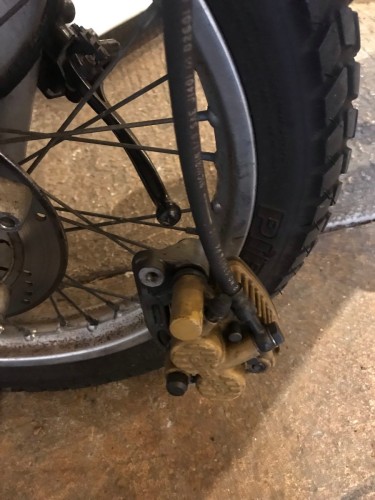
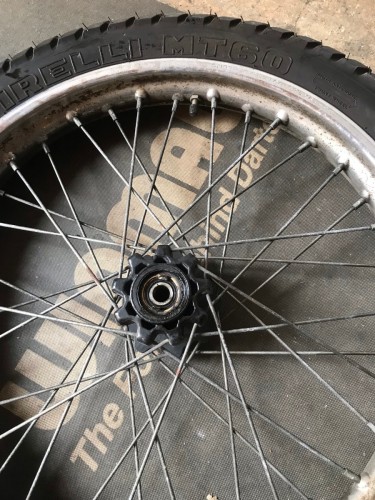
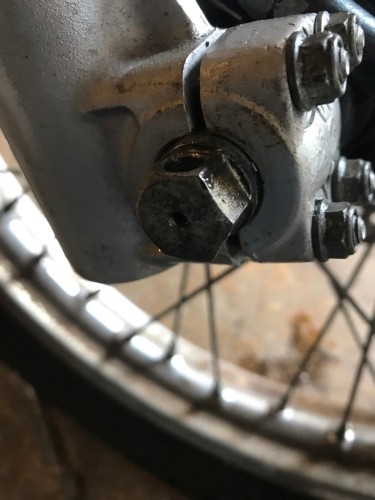
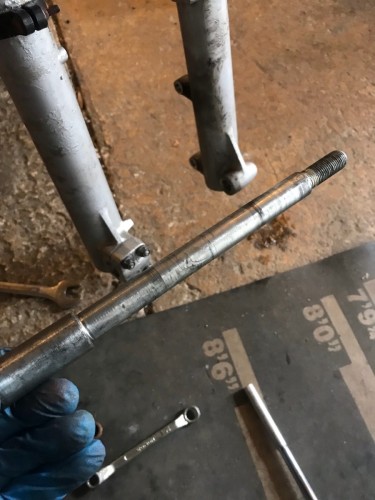
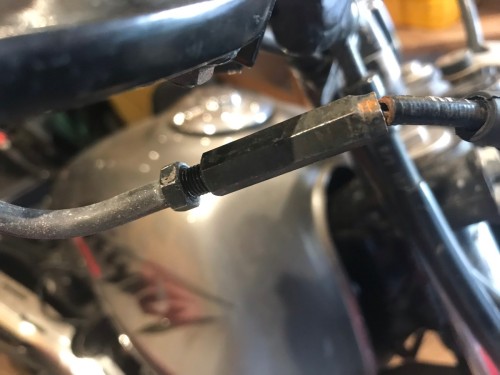
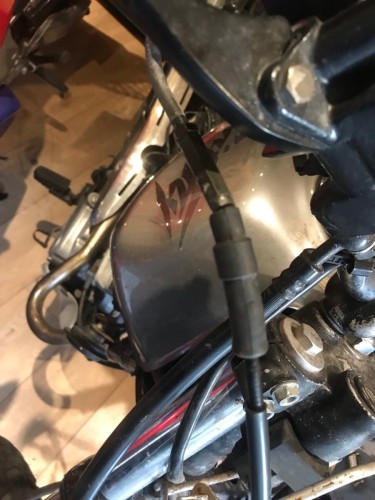
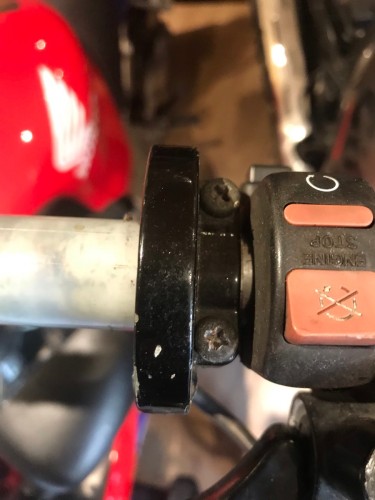
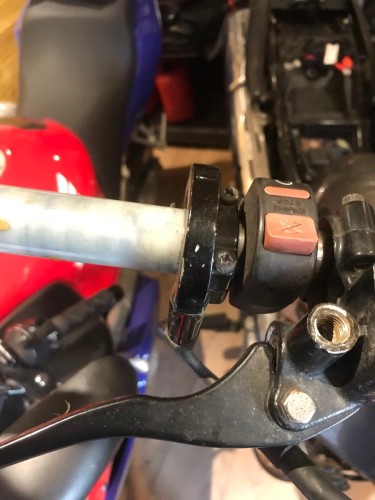
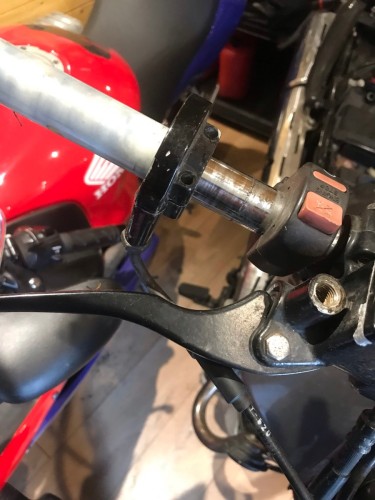
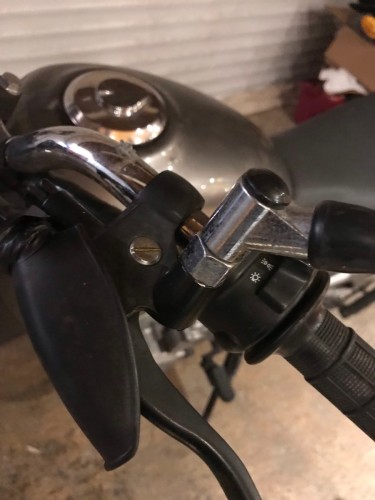
Handlebar switches and levers next... Front brake and cable Front wheel removed


-
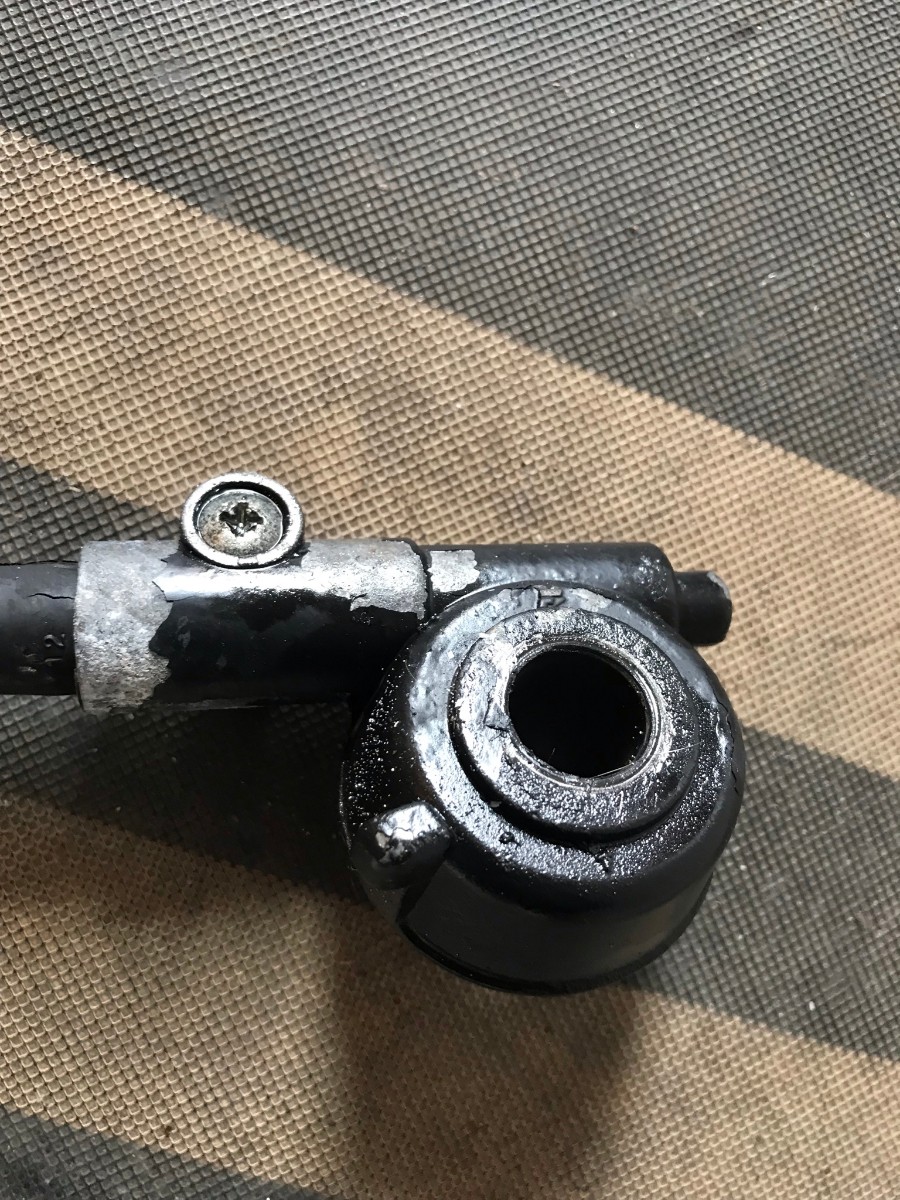
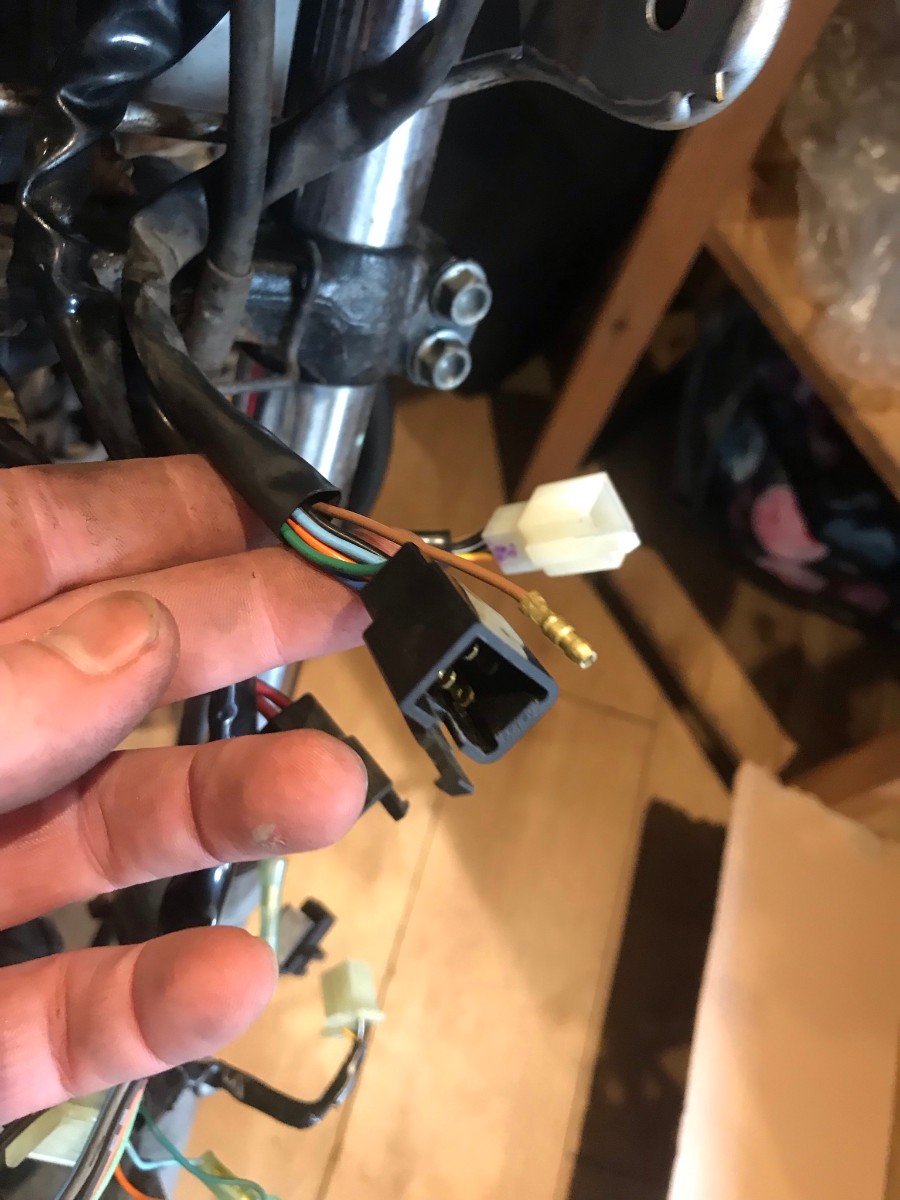
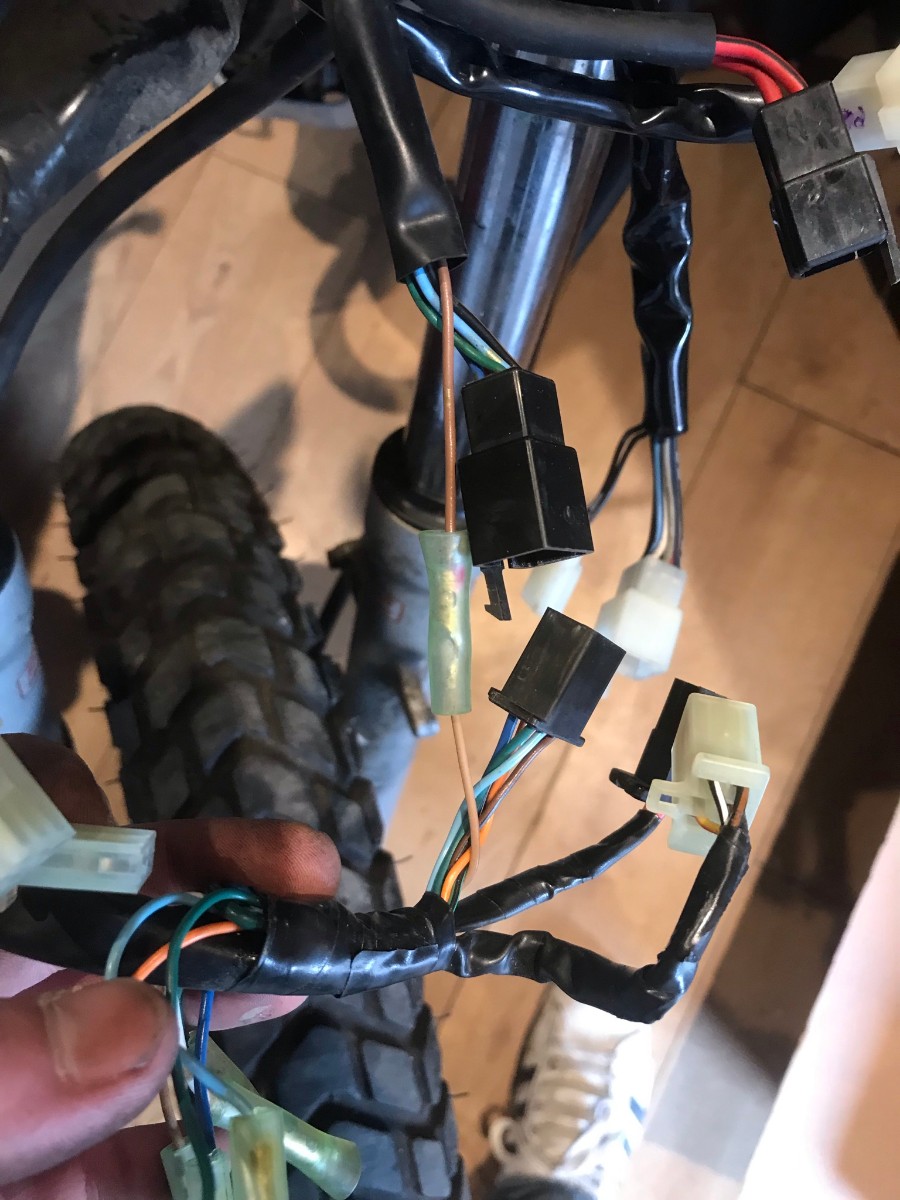
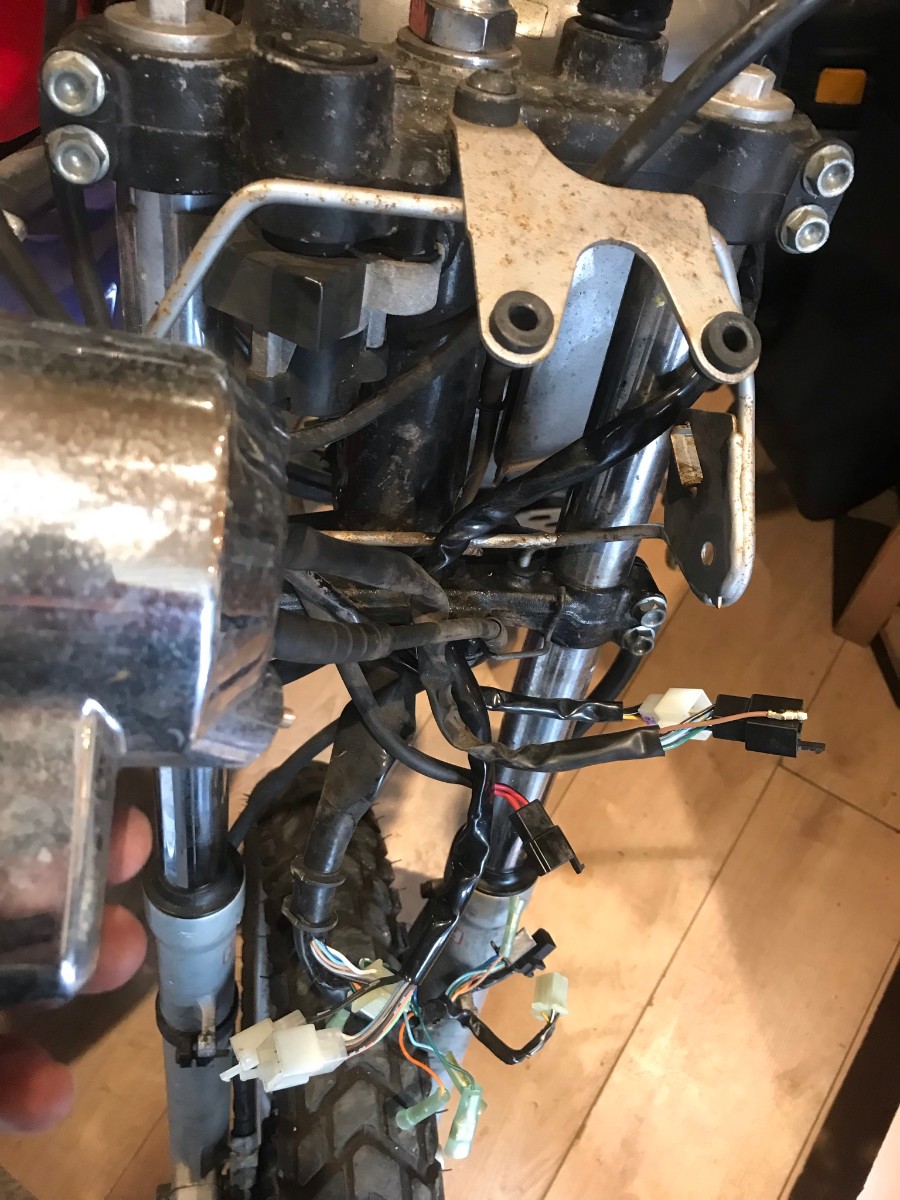
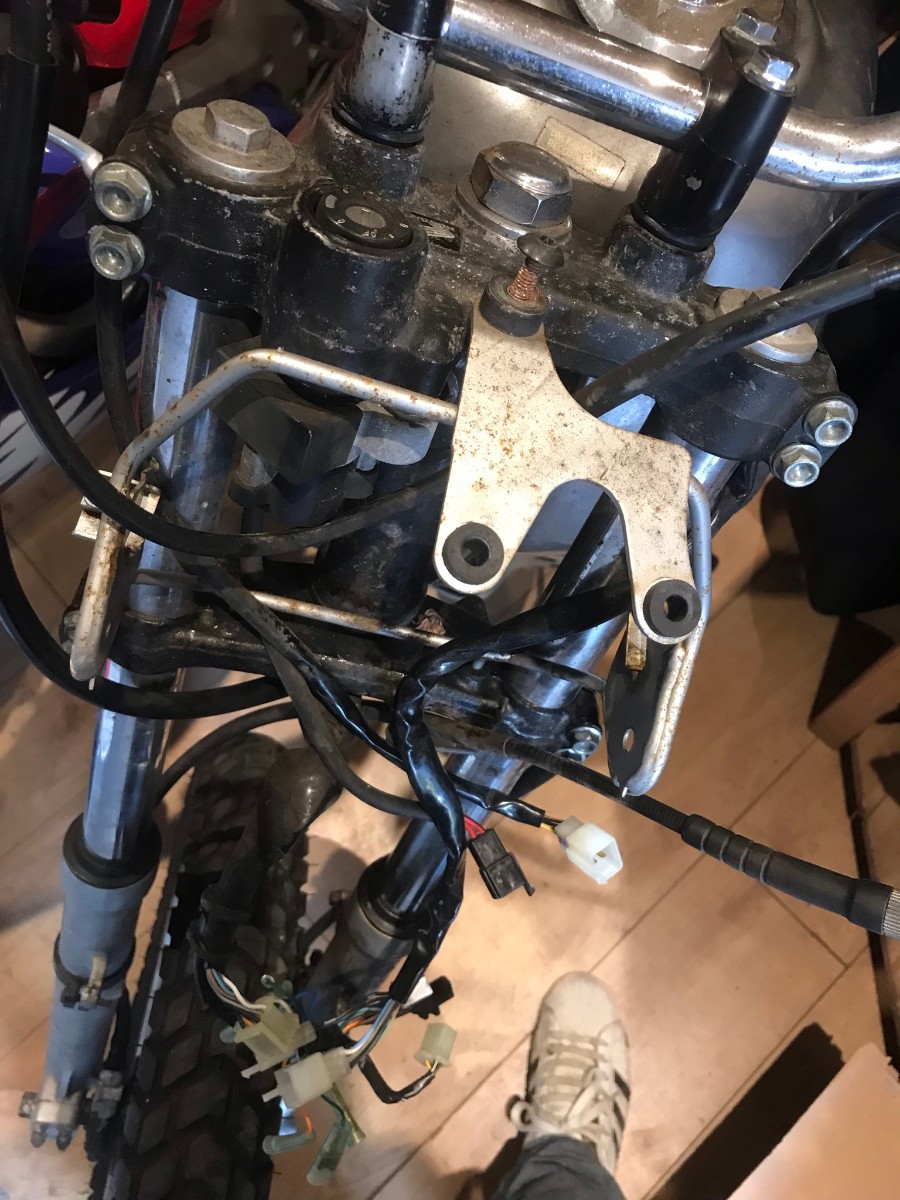
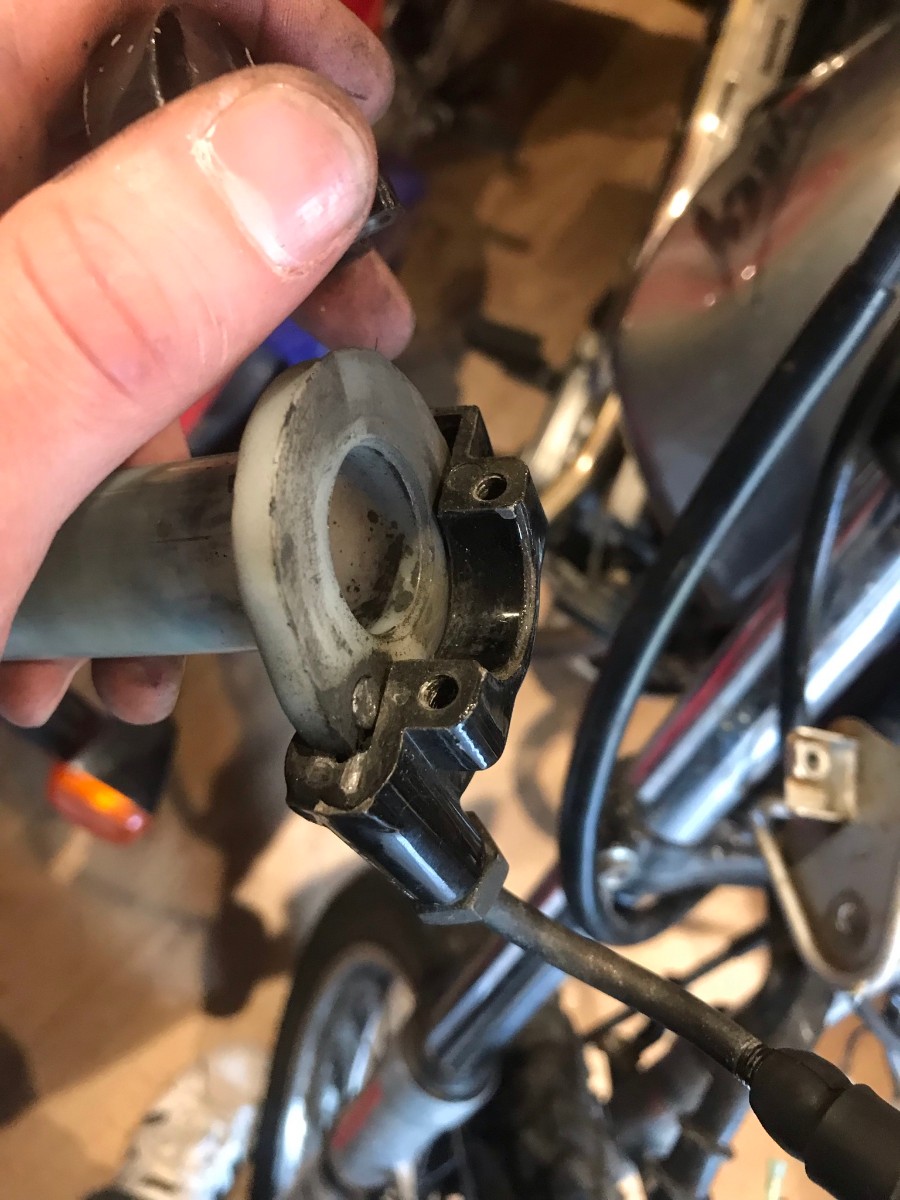
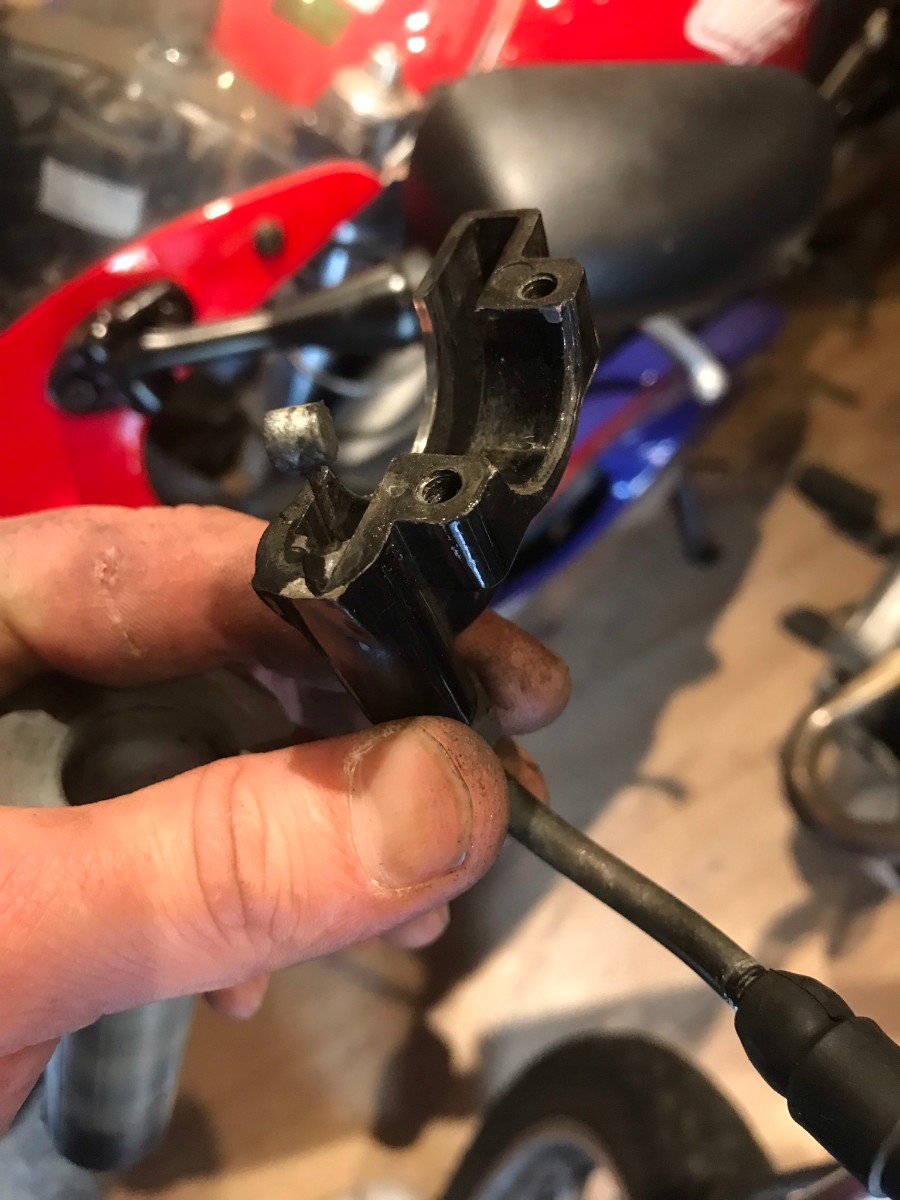
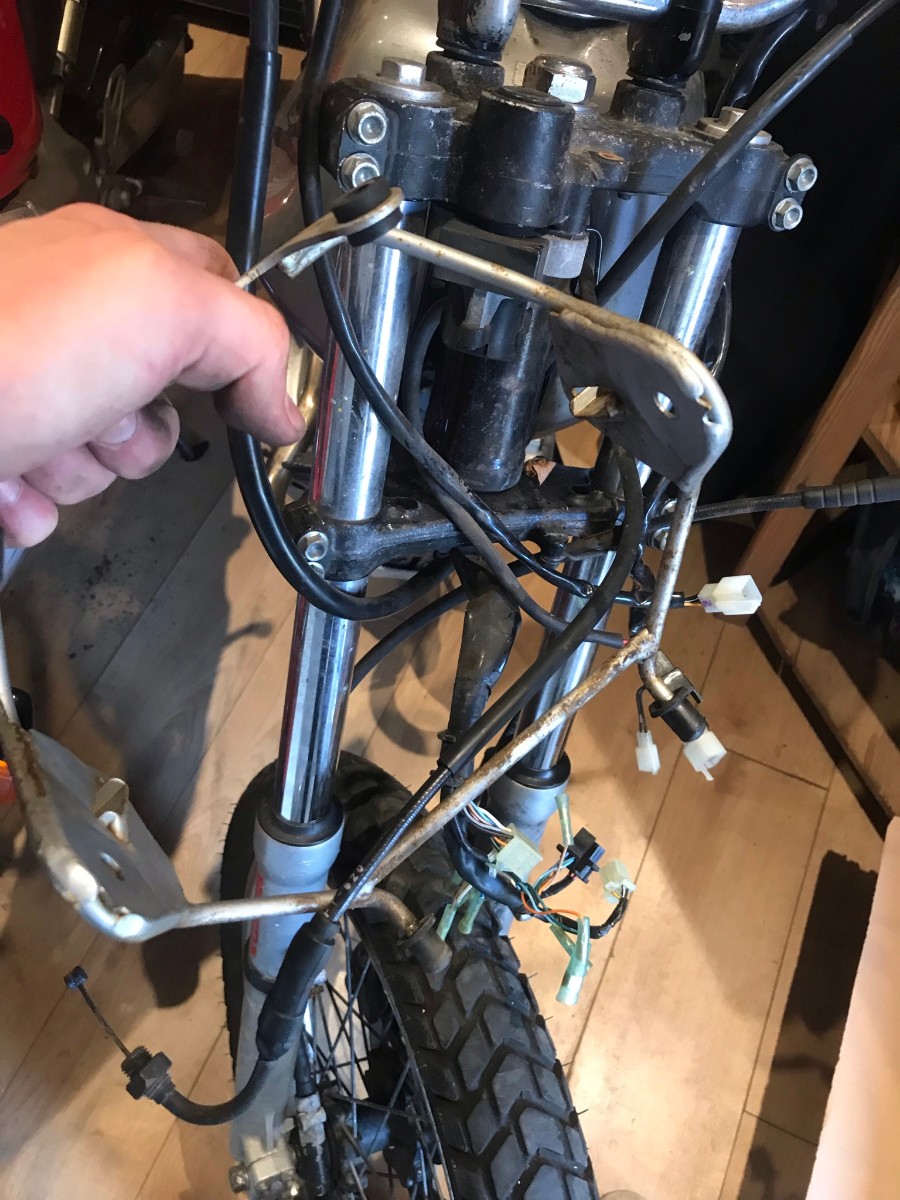
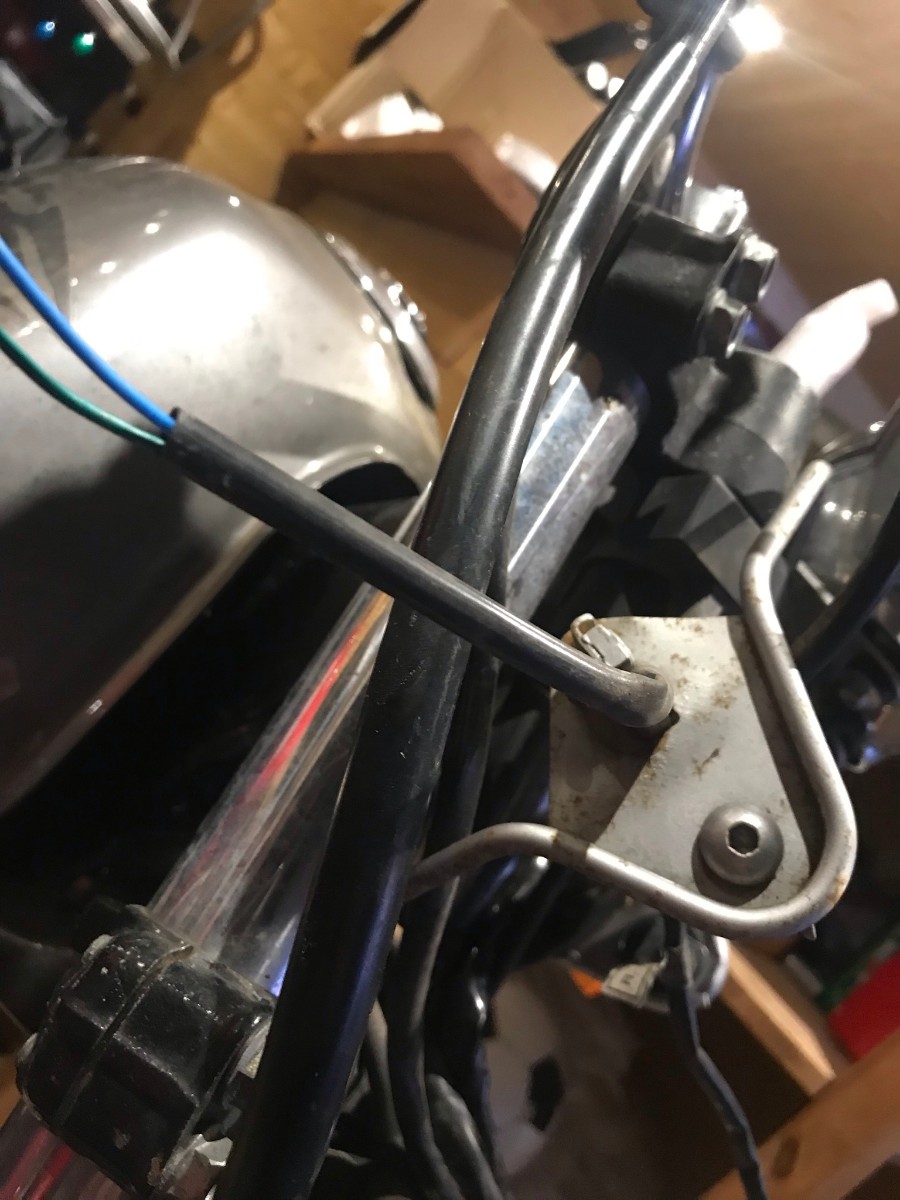
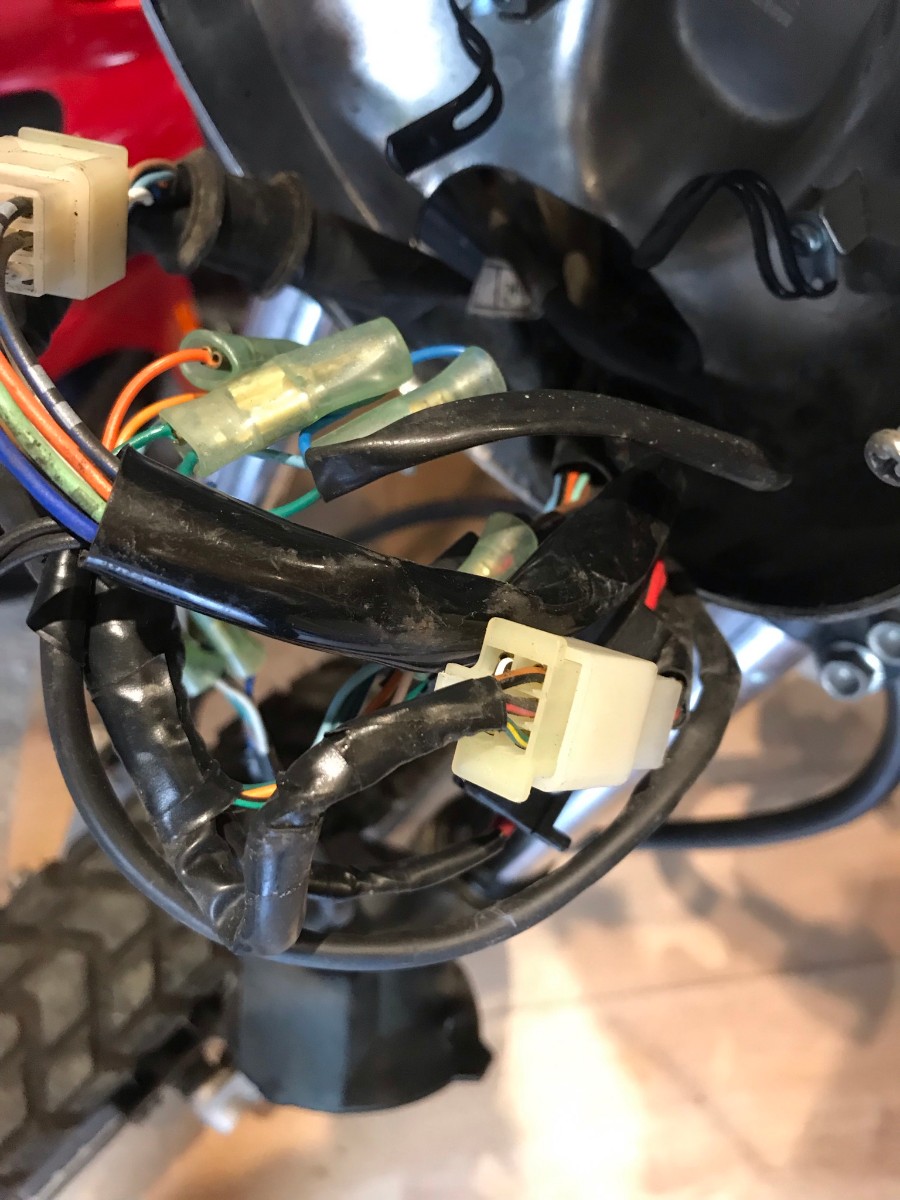
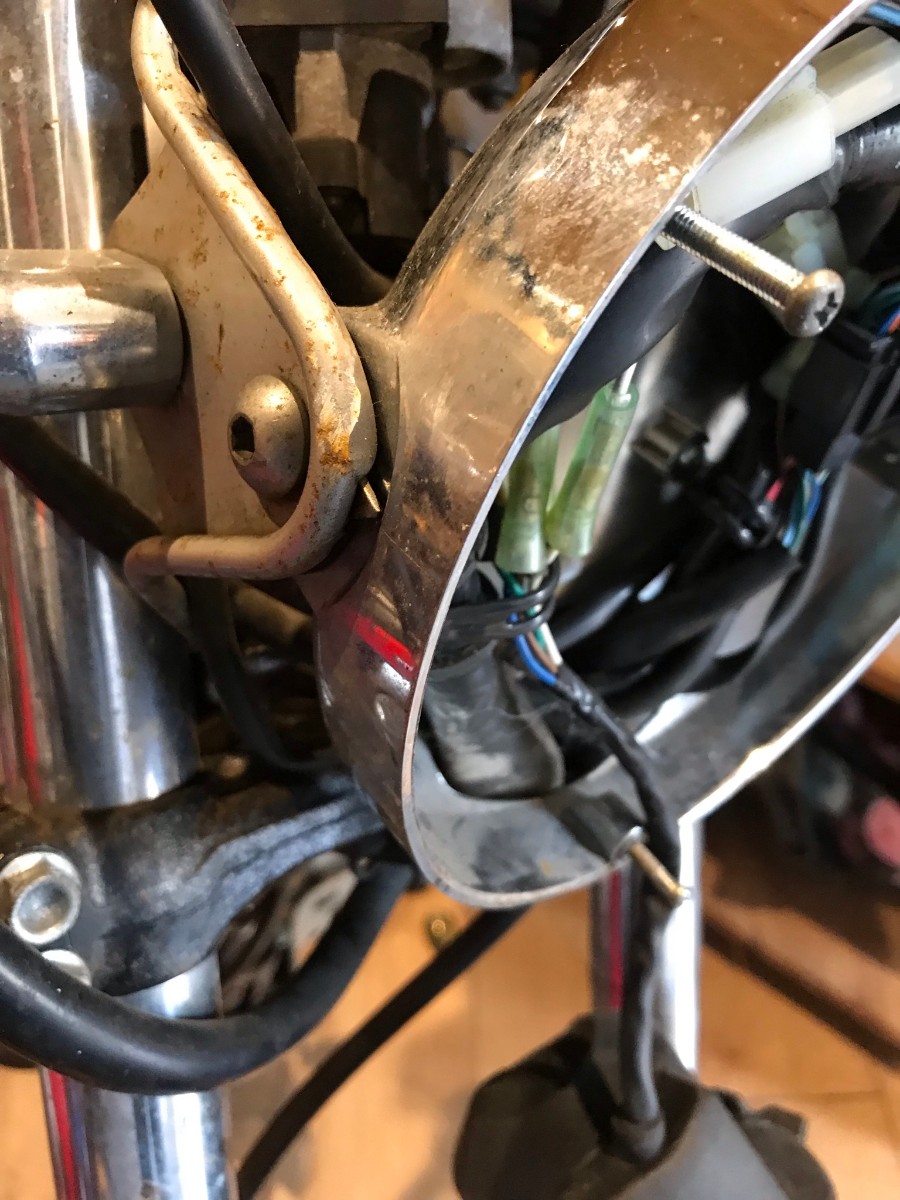
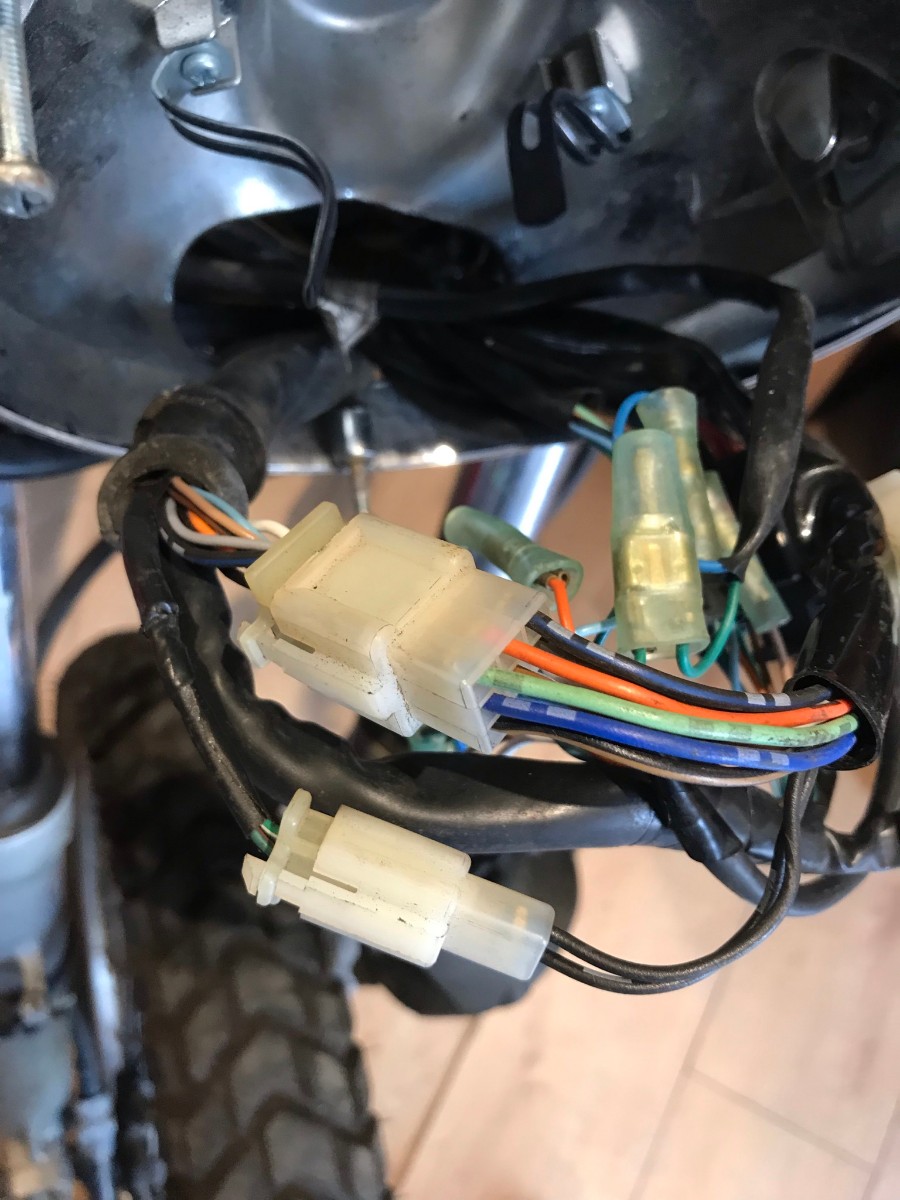
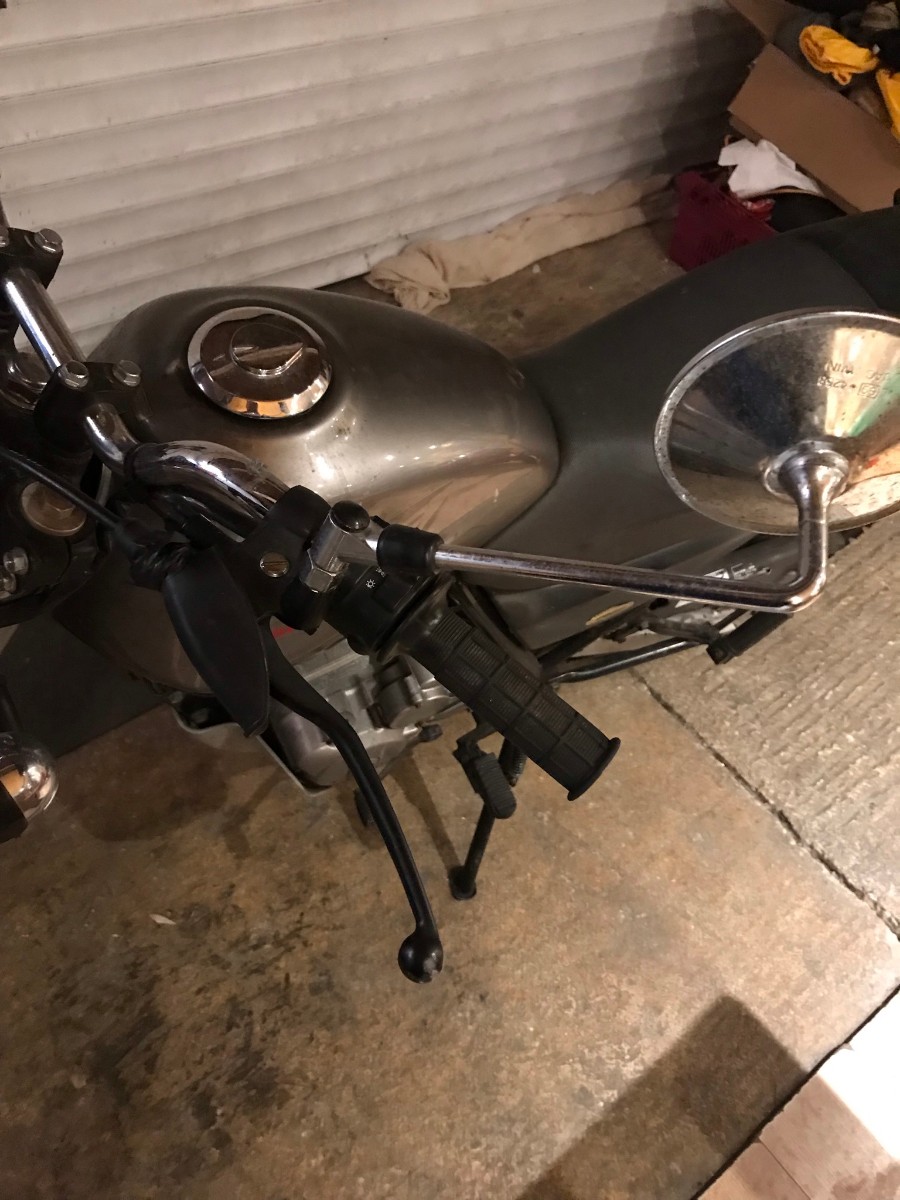
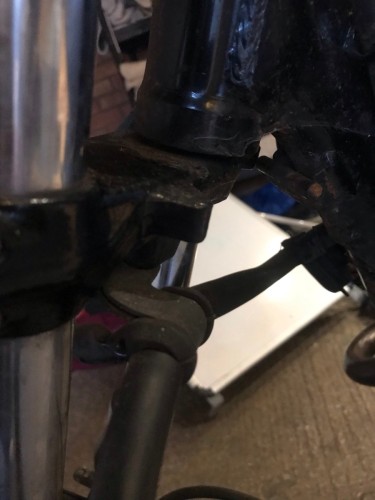
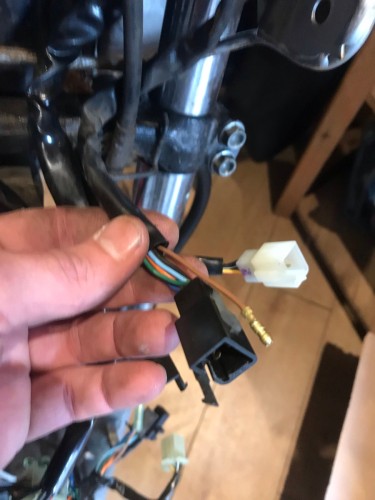
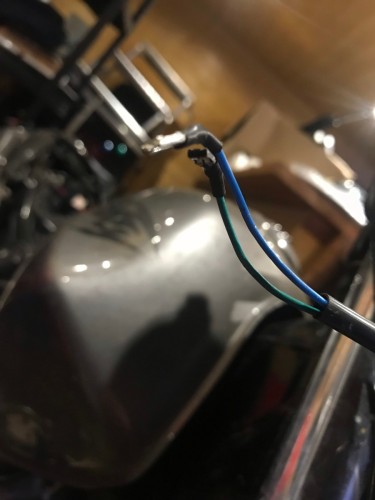
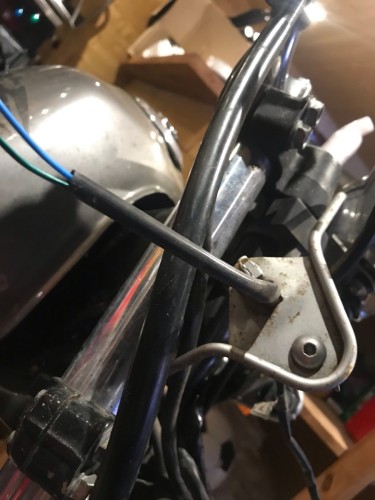
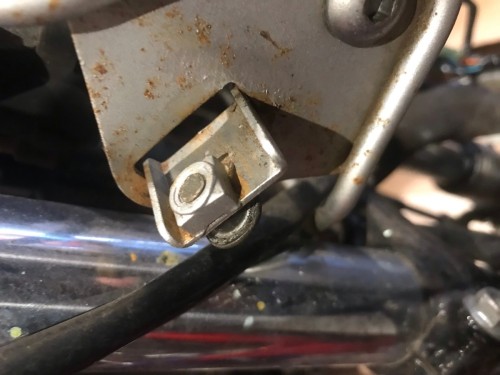
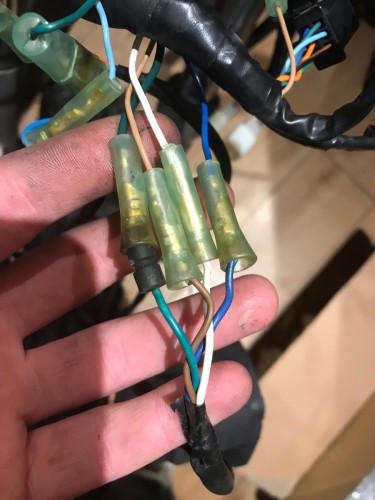
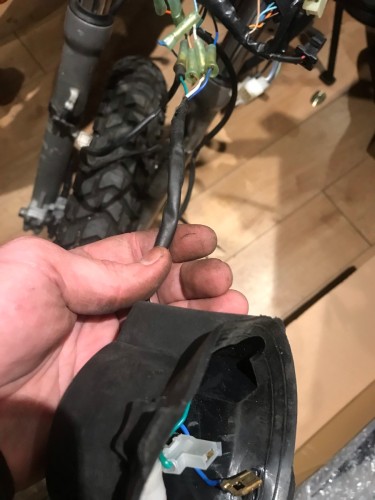
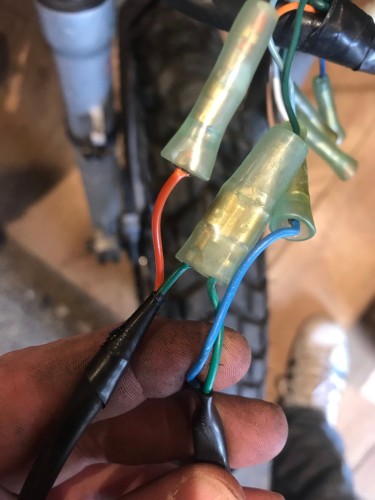
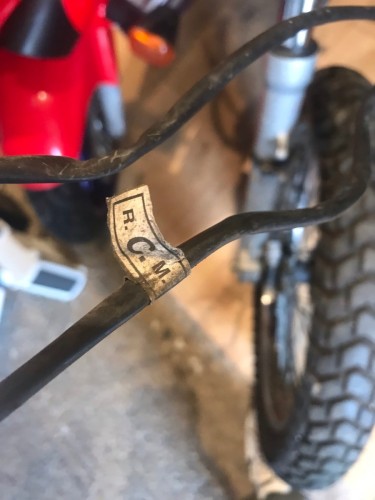
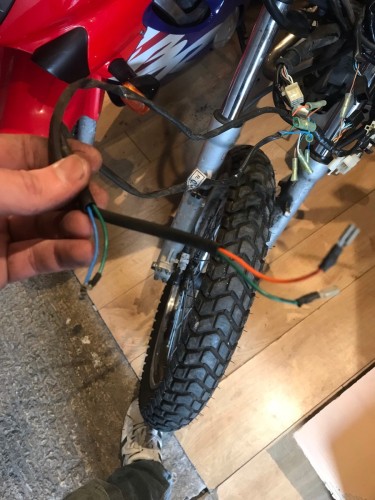
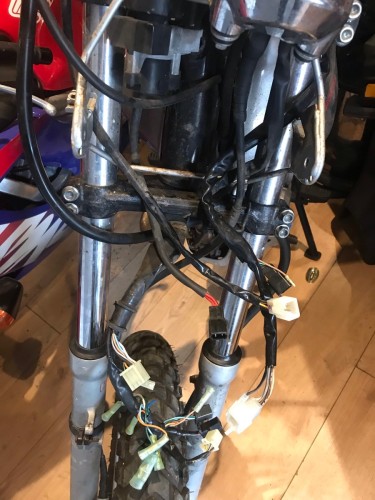
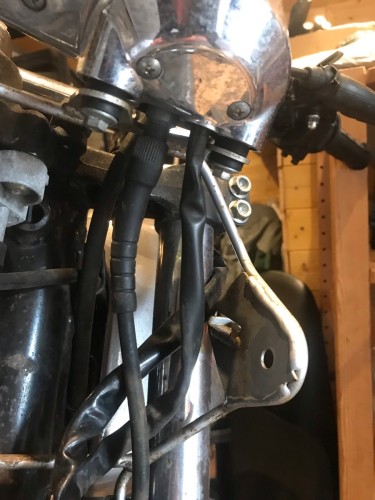
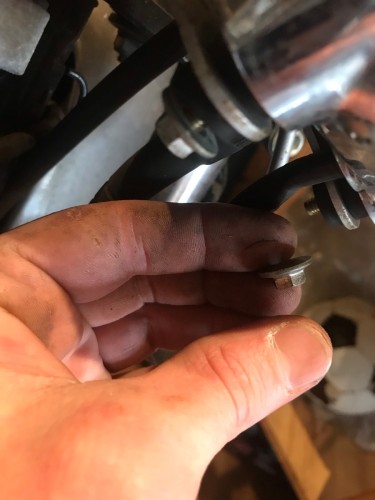
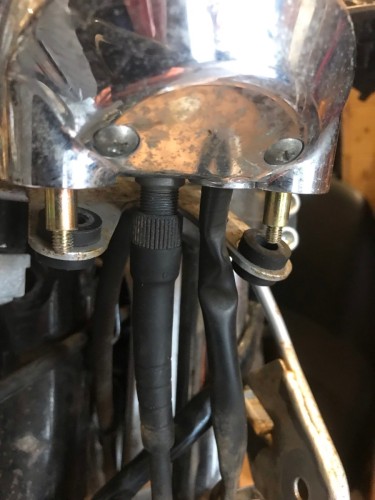
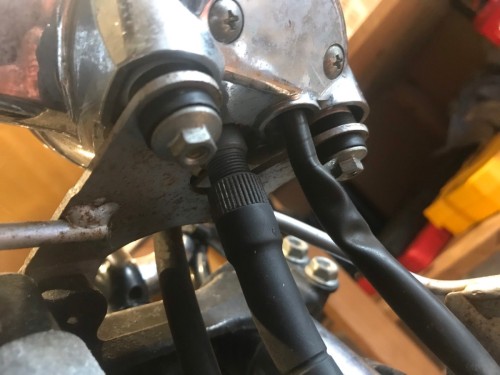
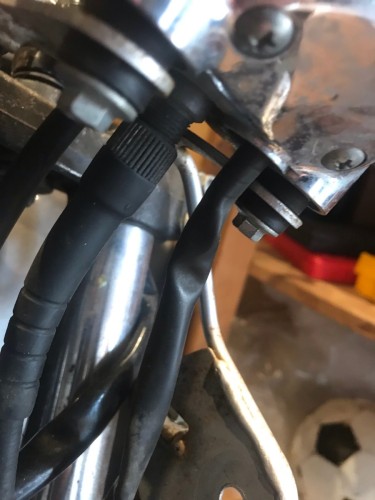
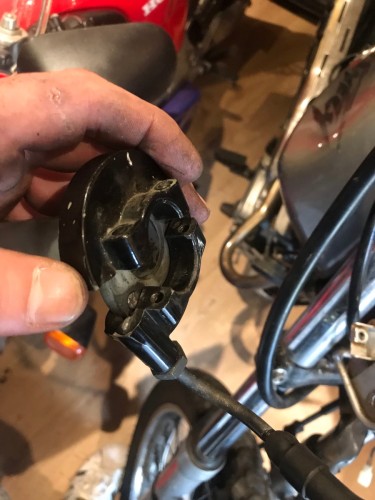
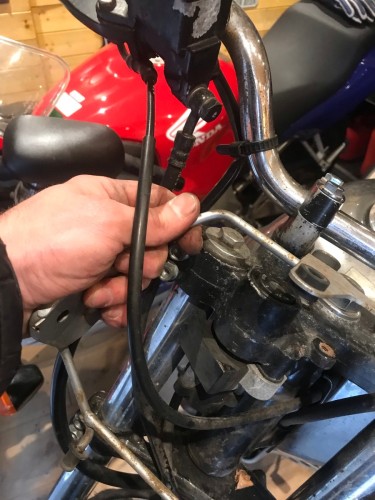
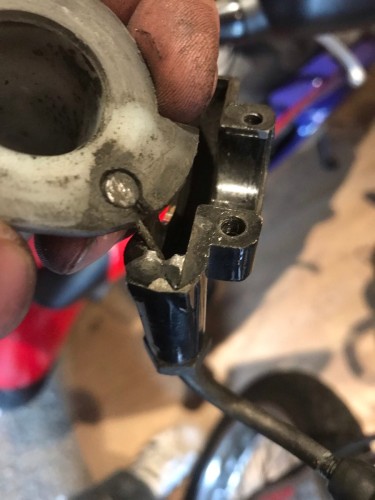
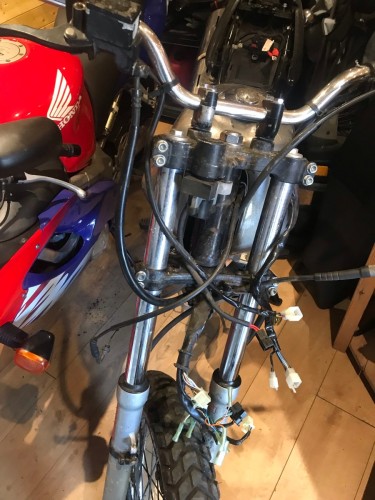
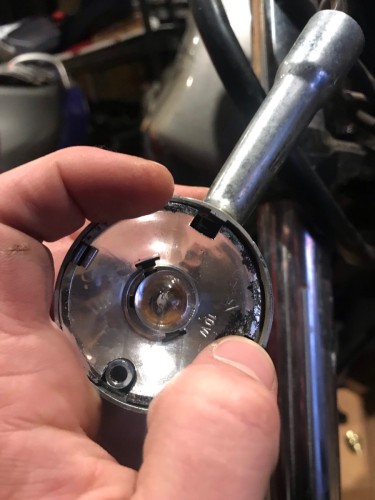
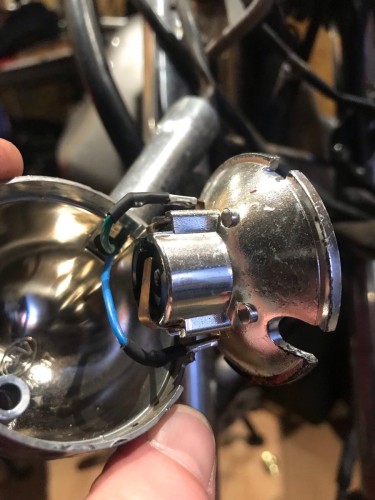
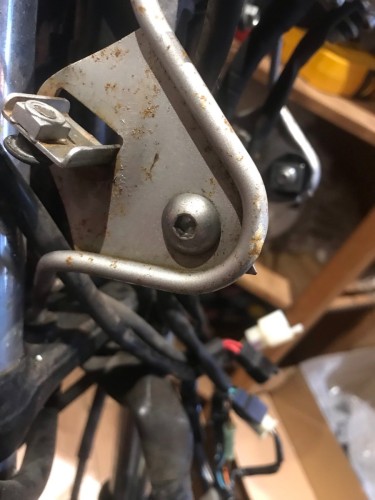
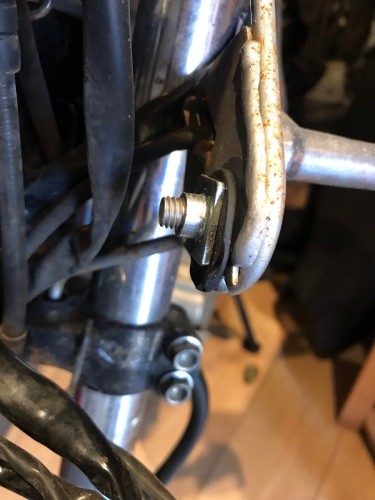
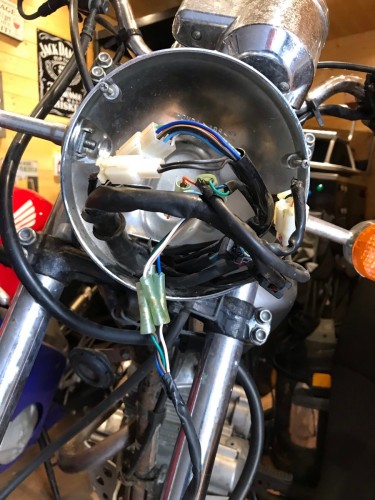
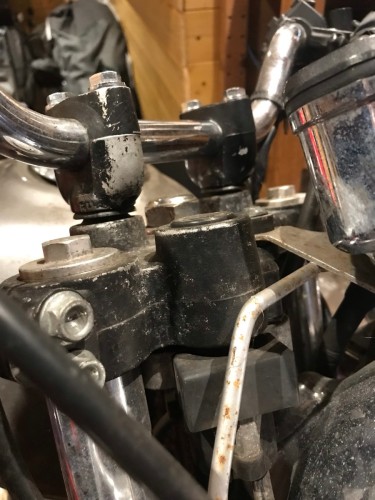
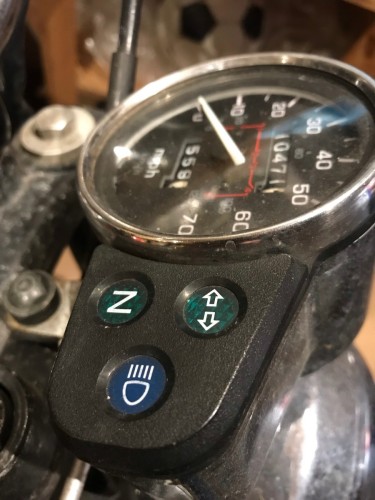
I then disconnected all the front wiring to allow me to remove the clocks, handlebars and other frontal pieces - Plenty of pictures taken although I now wish I had labelled the wires as and when disconnecting as the pictures are proving slightly difficult to see where everything feeds from/to... Removed the speedo unit.. Throttle cable and handle bar attachment And finally the front mounting frame piece..


-
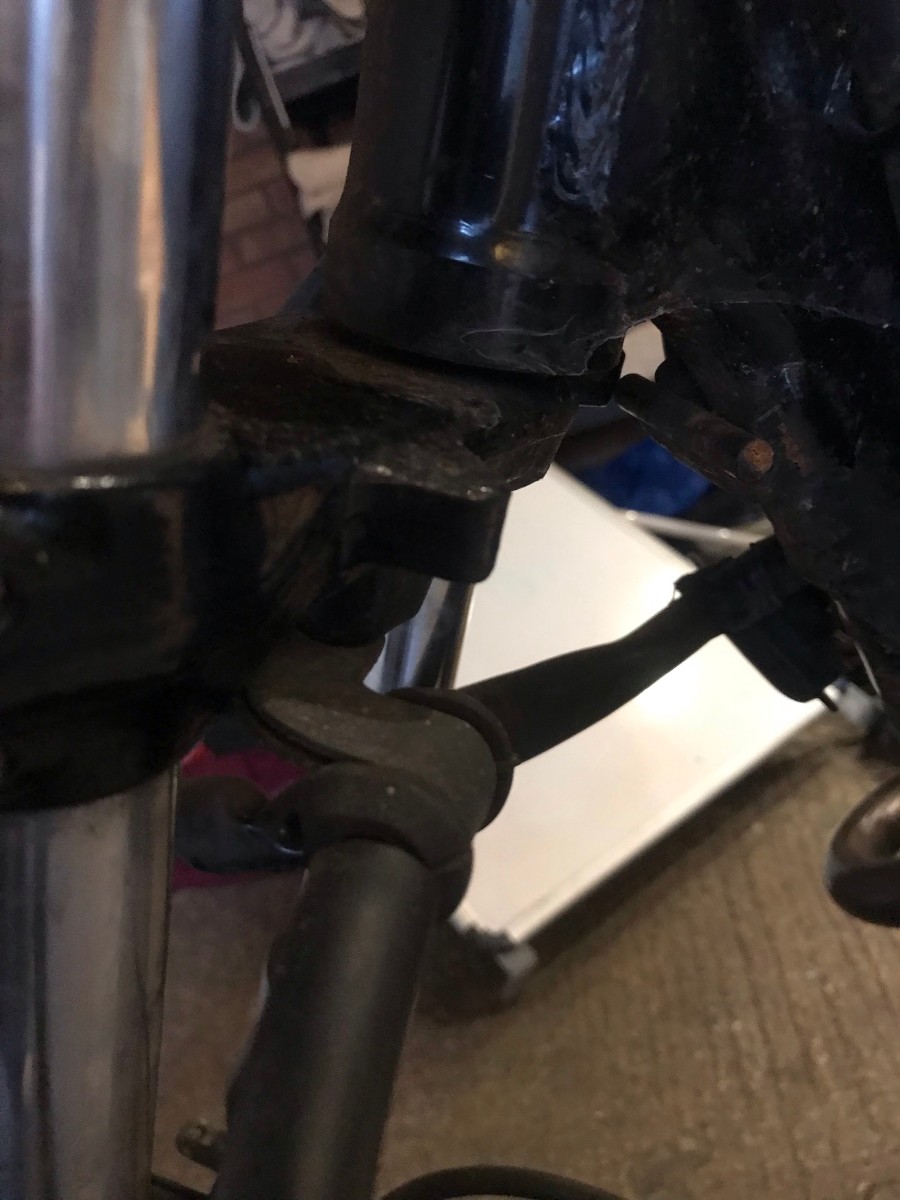
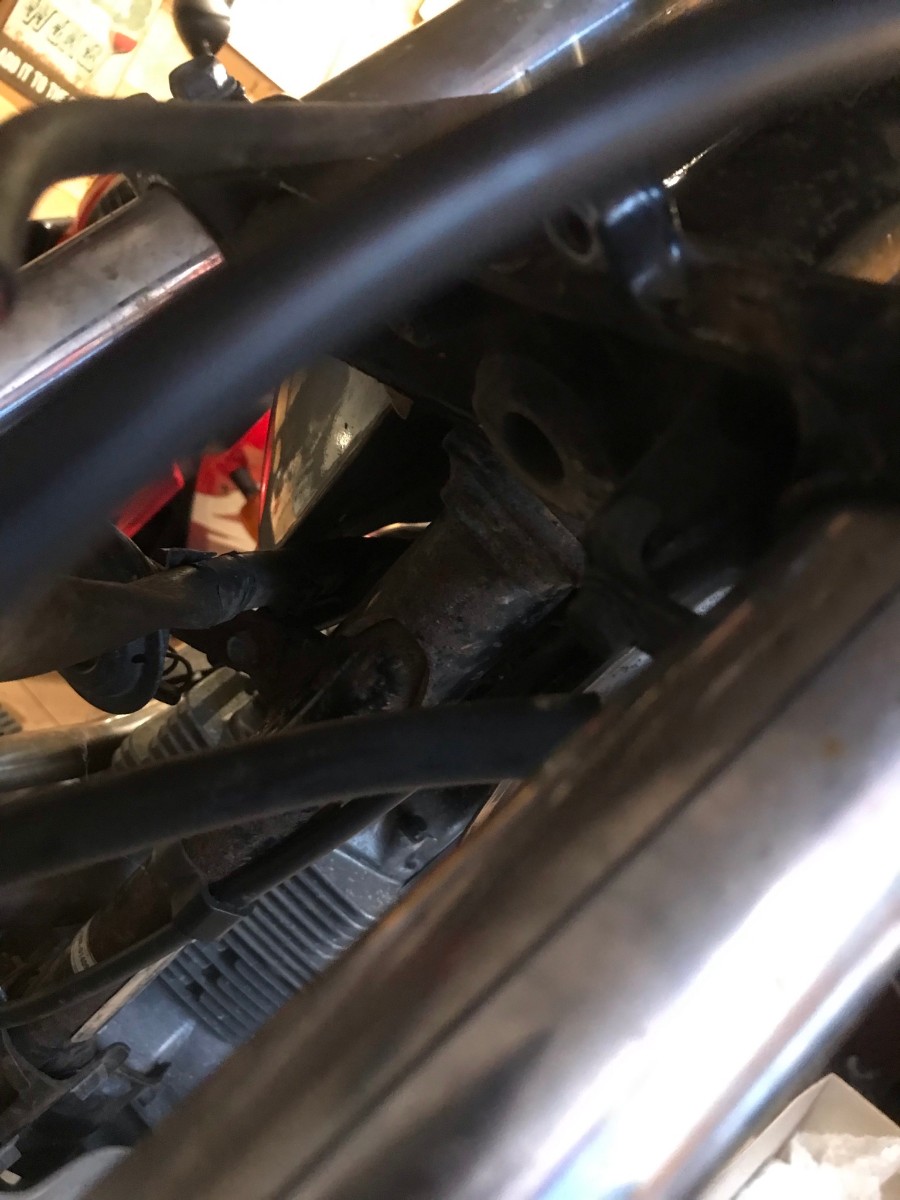
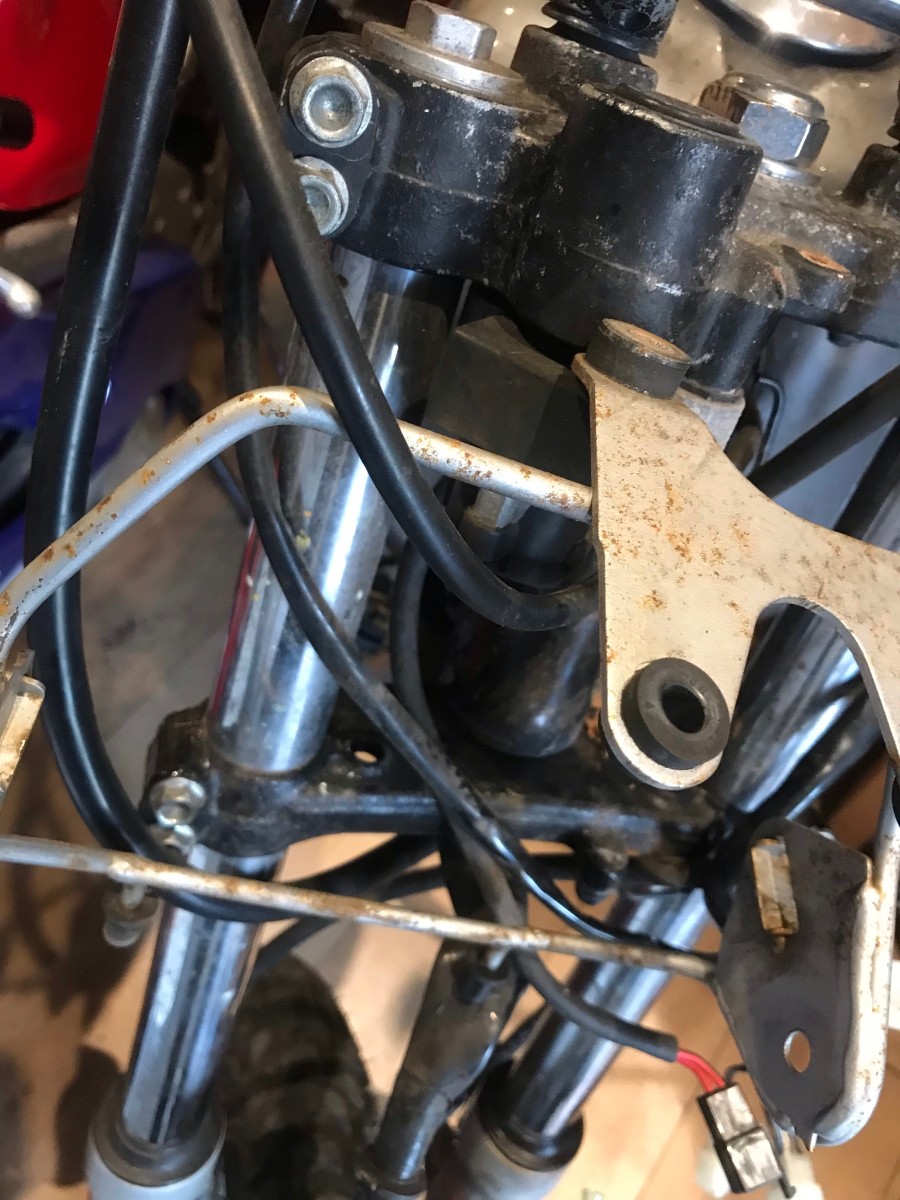
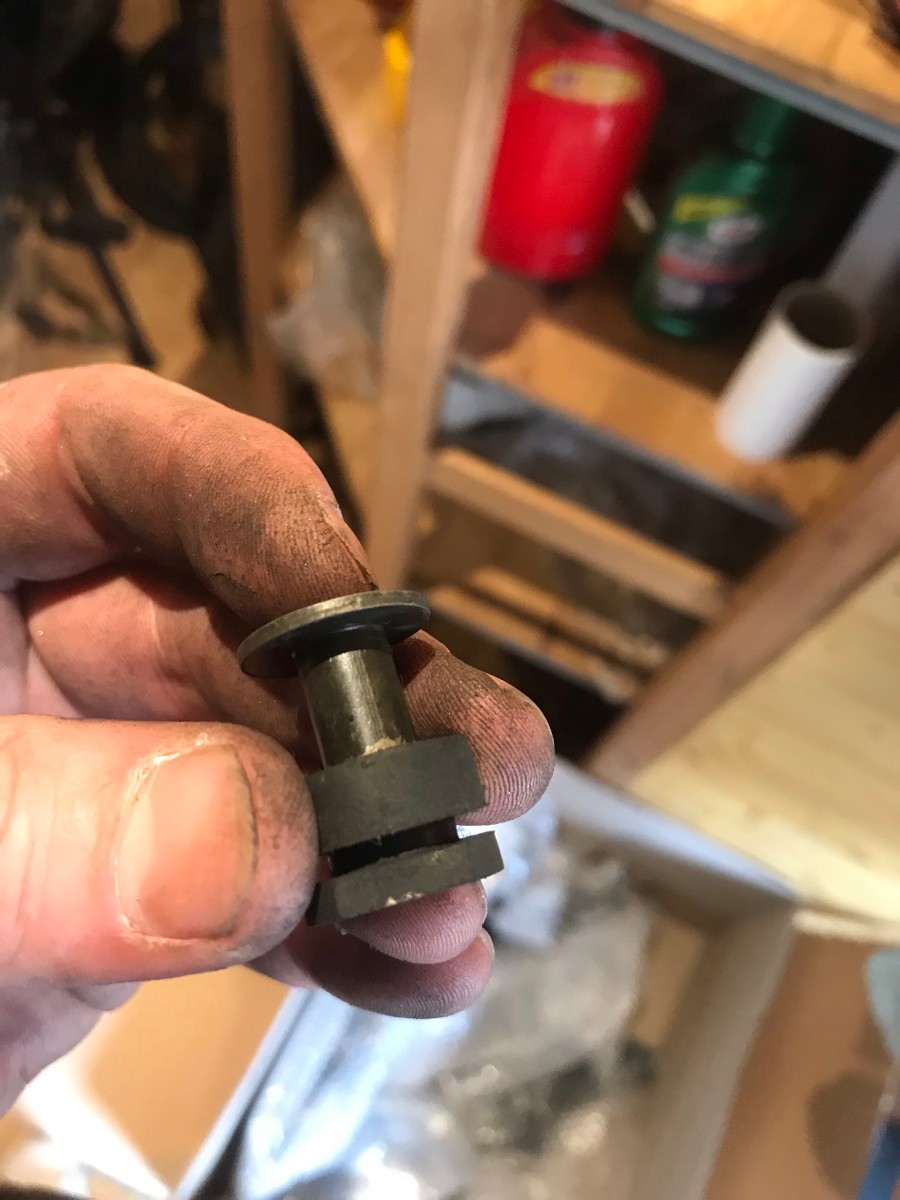
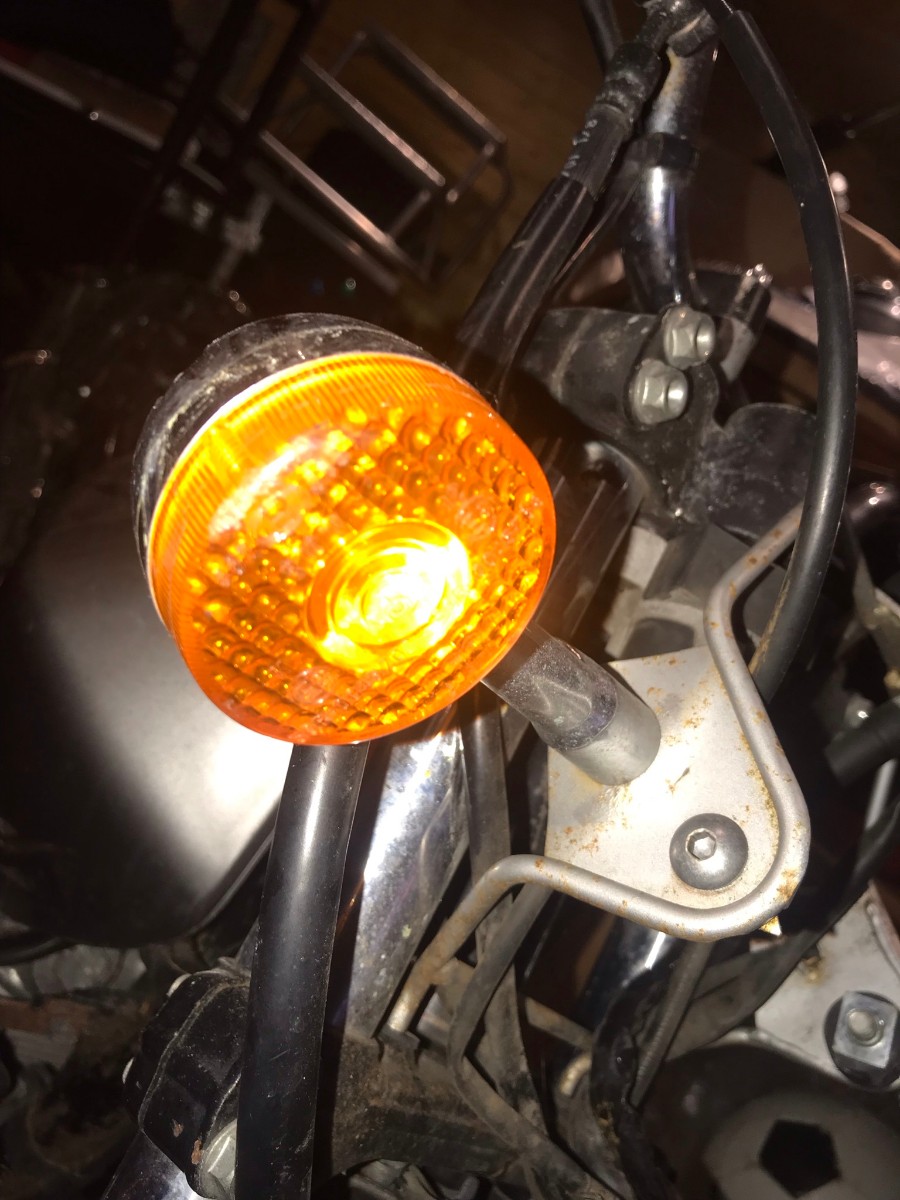
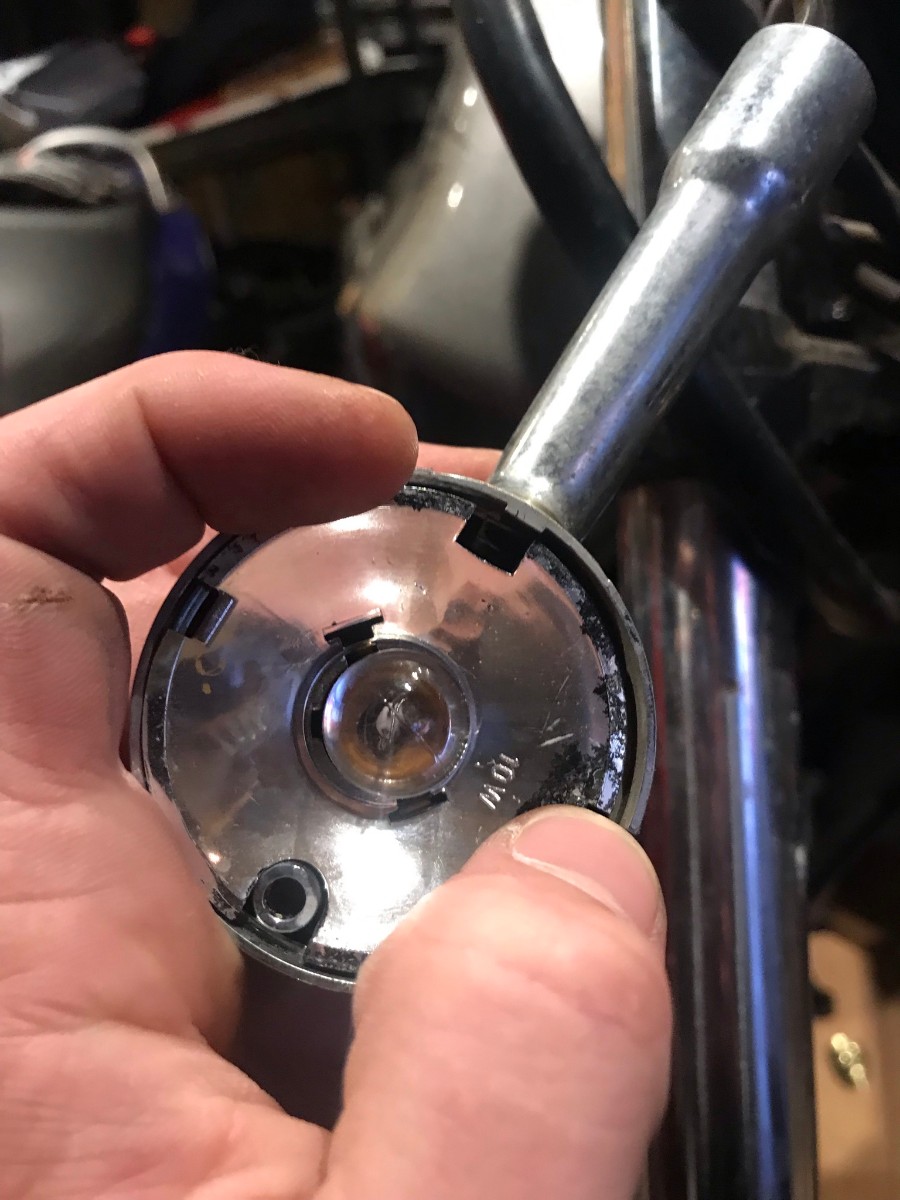
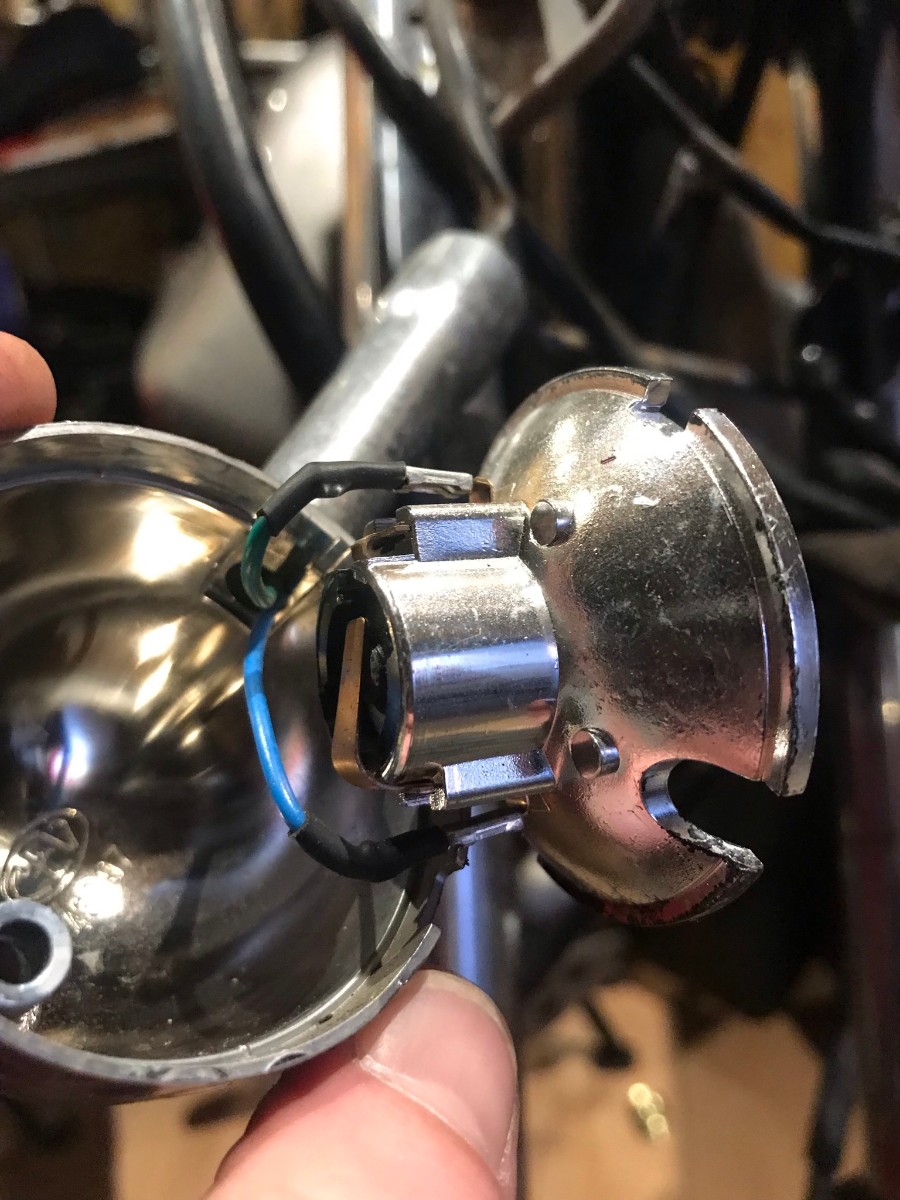
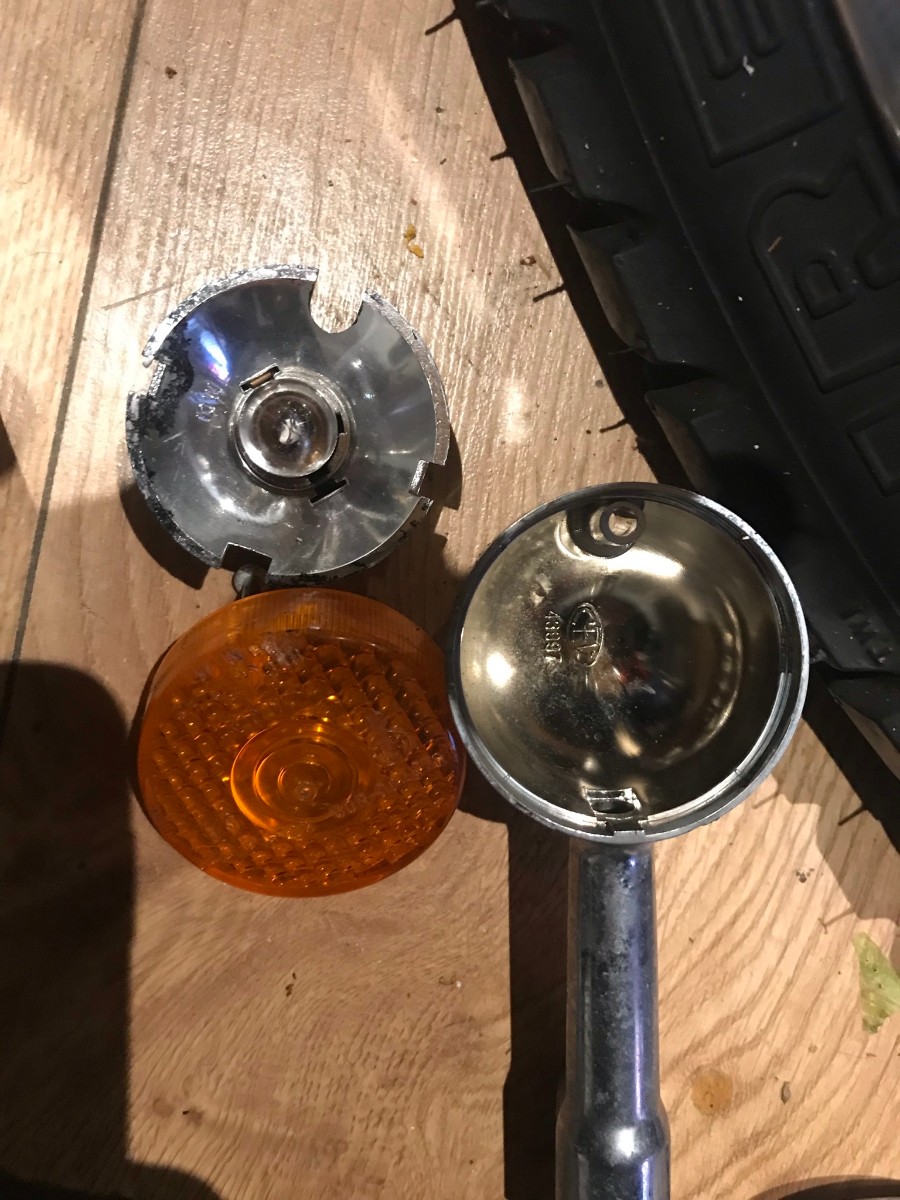
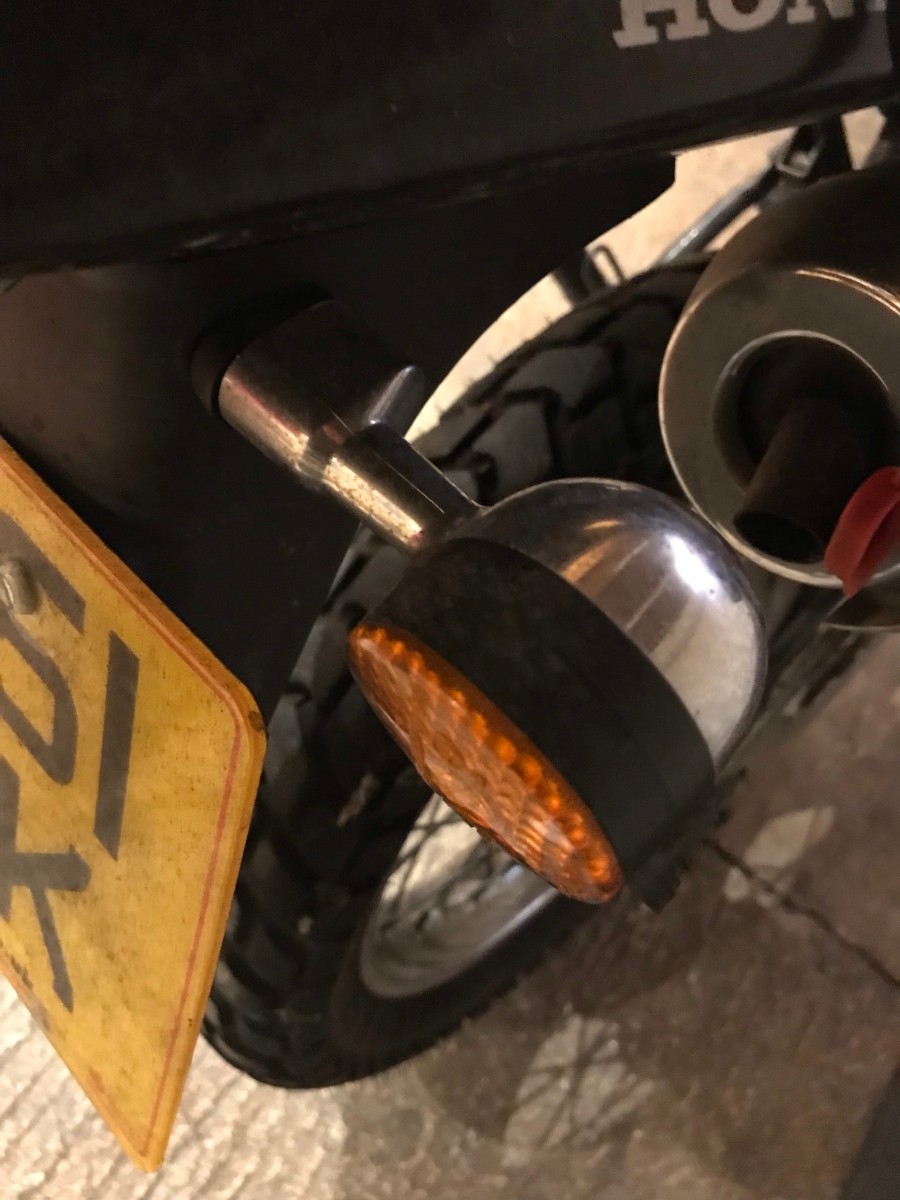
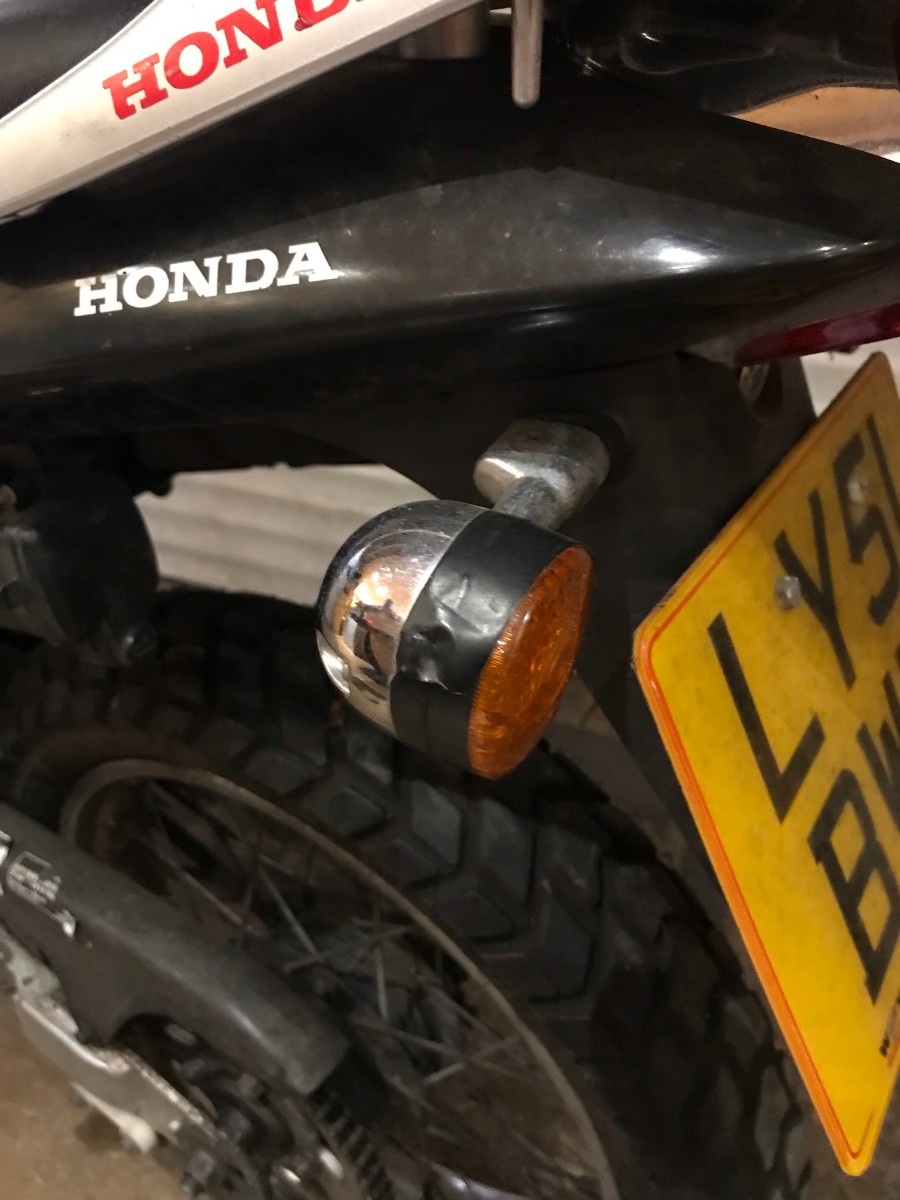
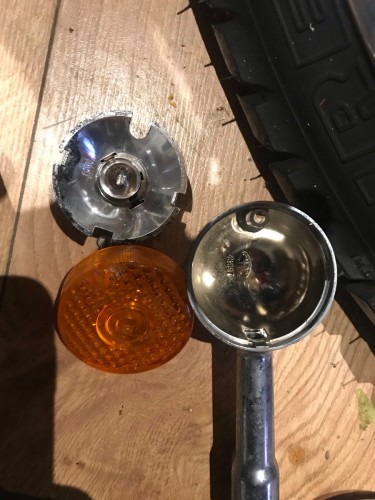
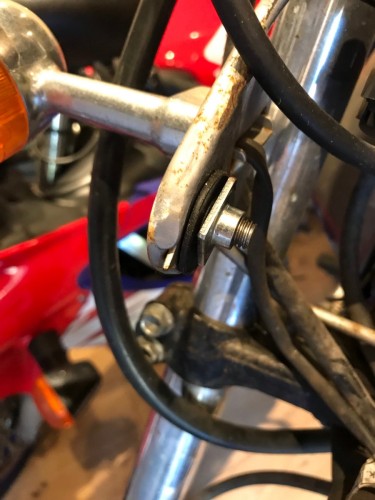
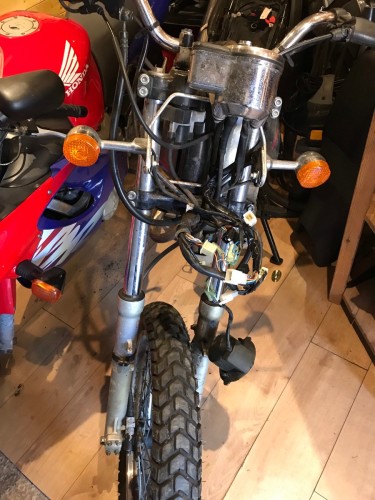
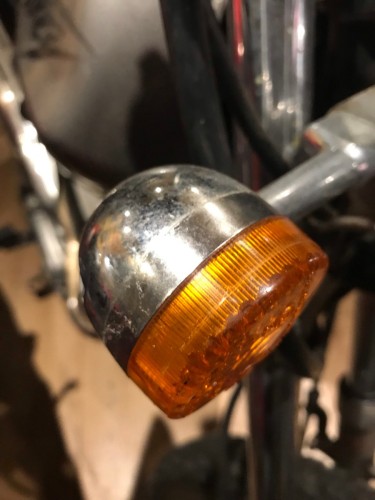
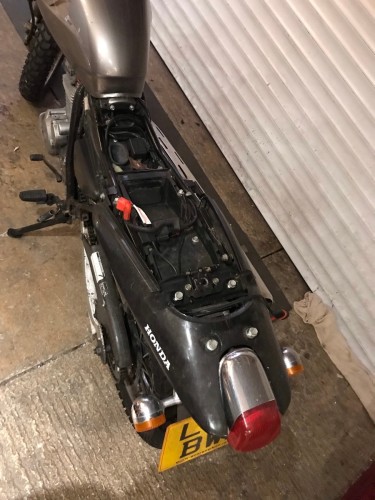
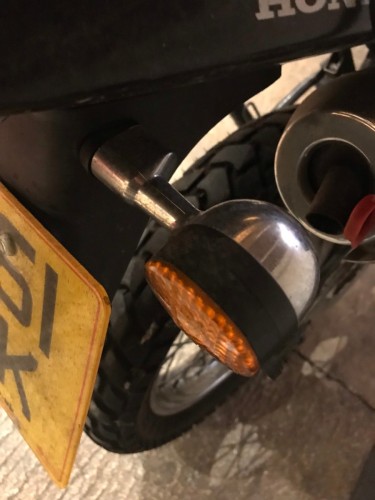
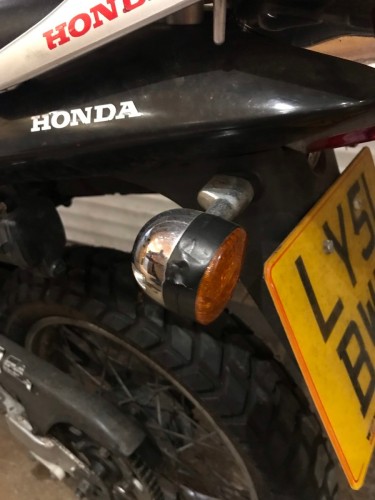
Front indicators and front support frame


-
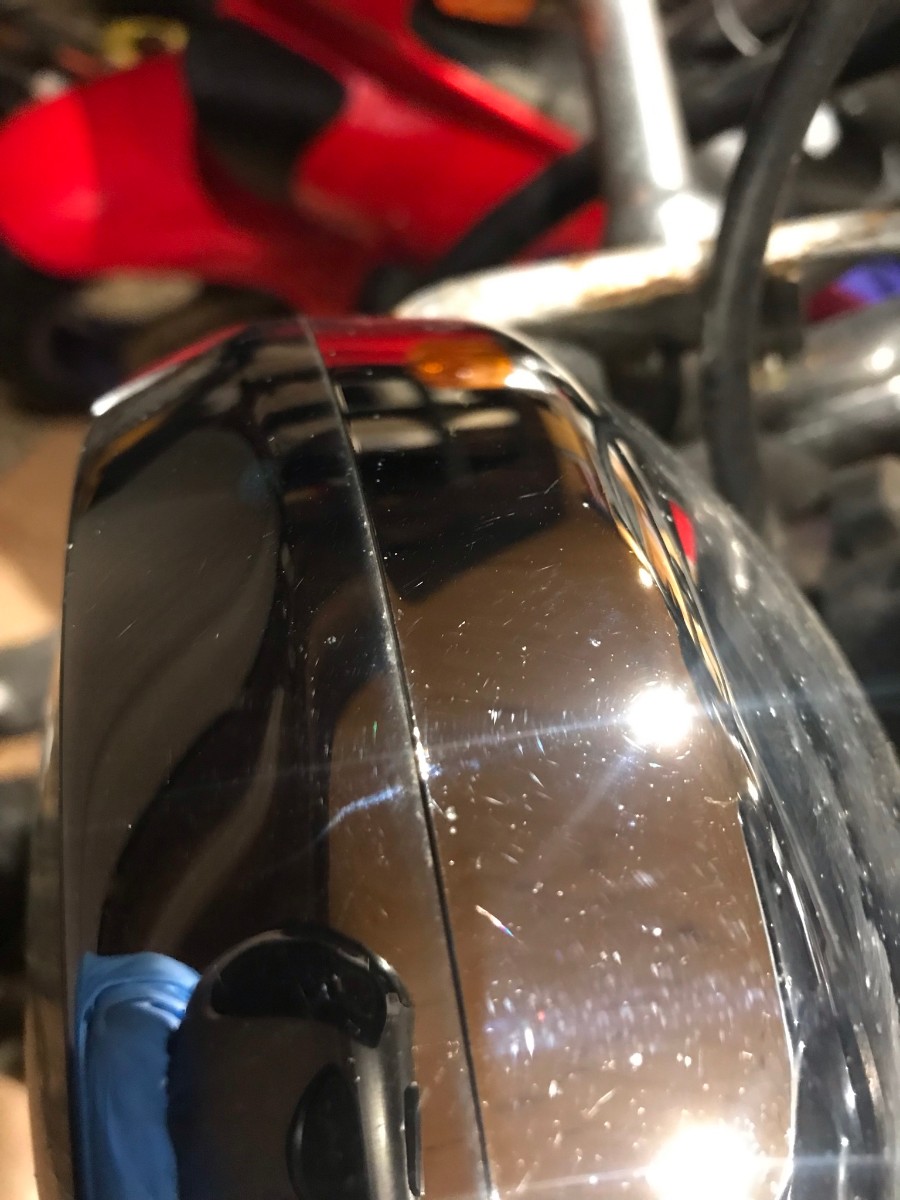
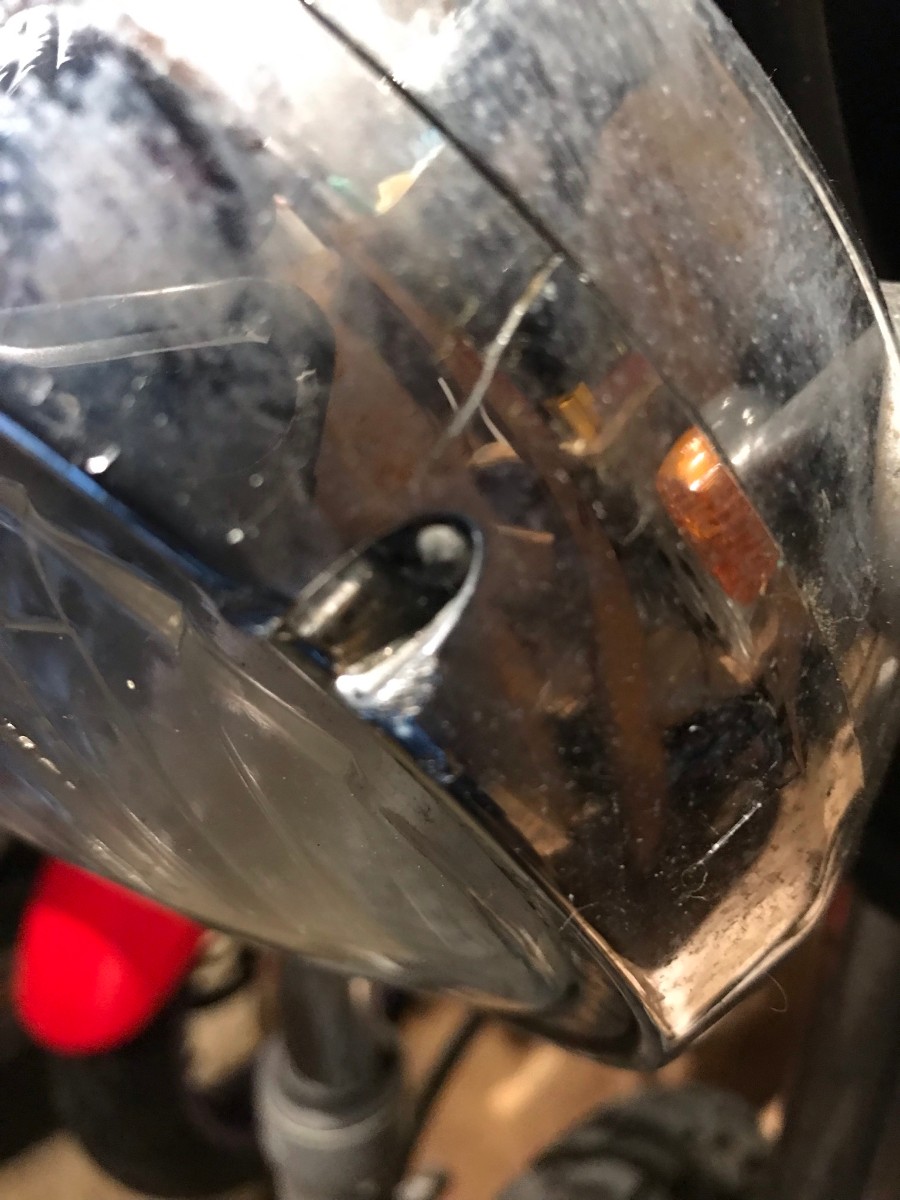
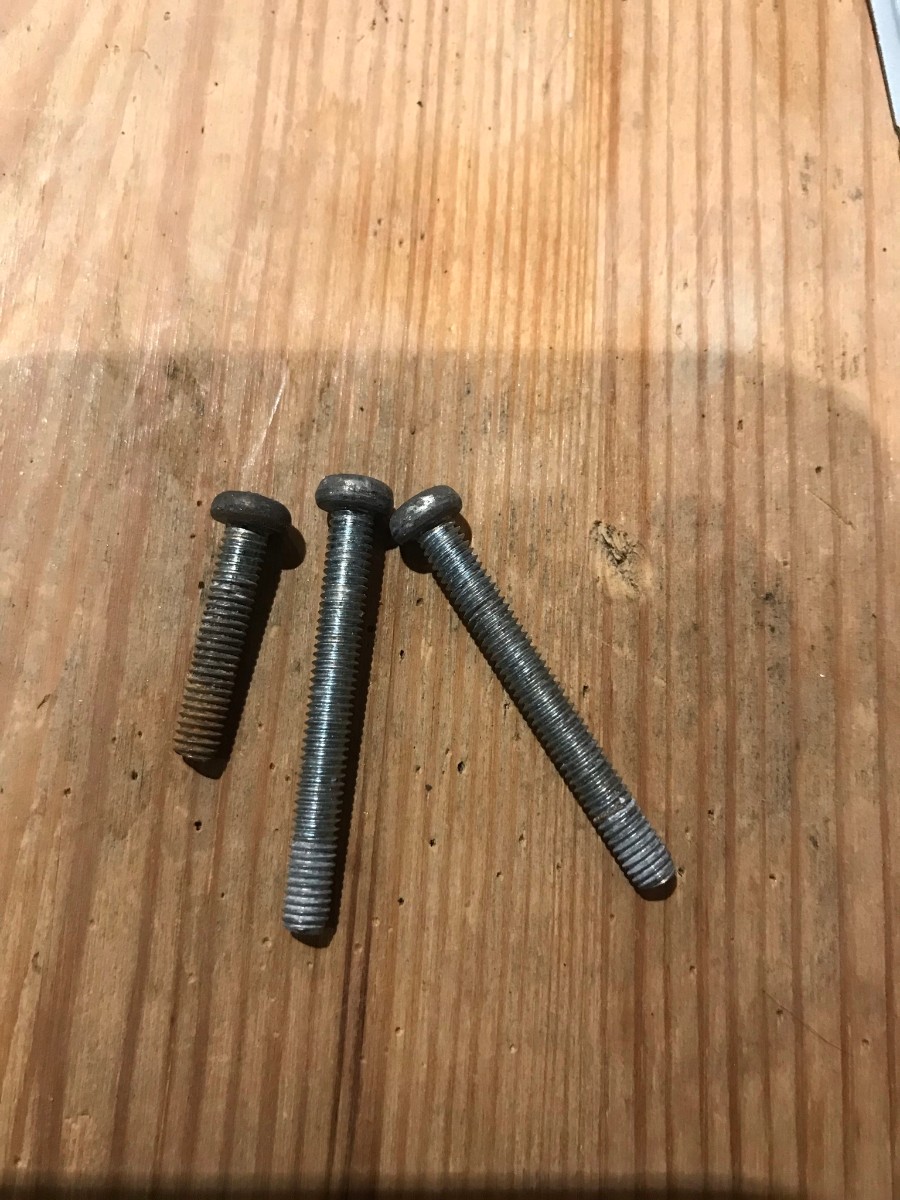
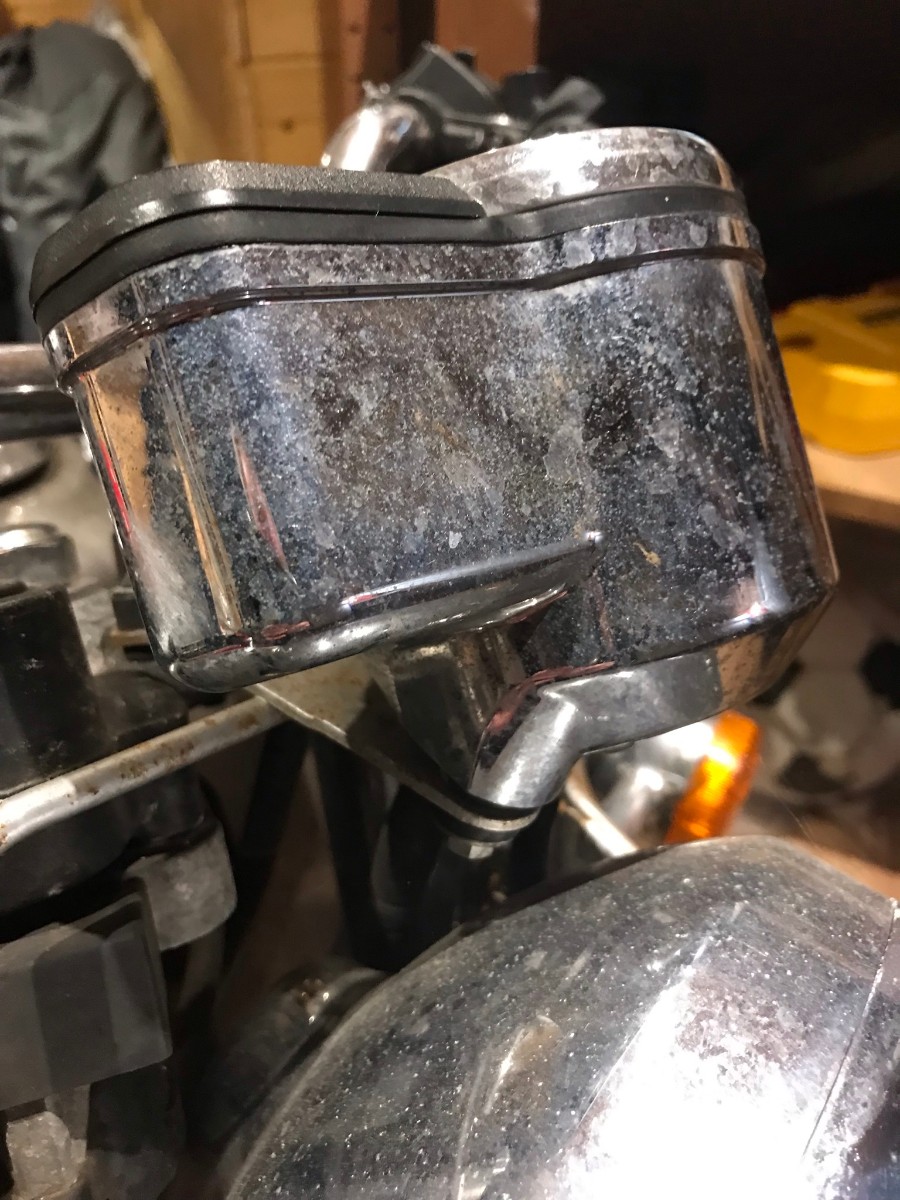
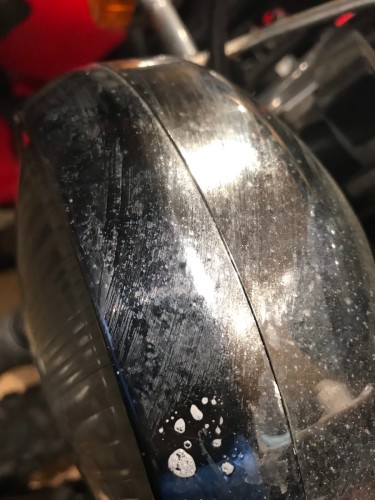
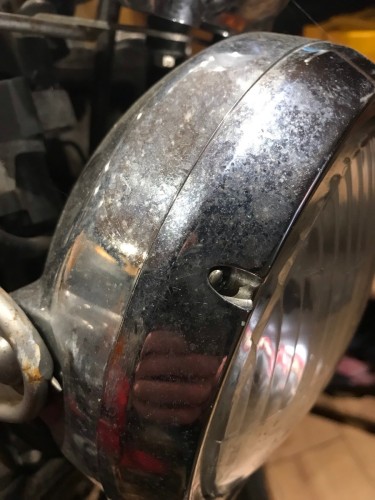
Headlamp, dirty and scratched - quick clean with anti-bac and light polish Small crack in the headlamp surround Was OK but not the result I was looking for... I think it was around this point where I decided to dismantle the entire bike and make this a full strip and rebuild.. Removed the surround with 3 screws -


-
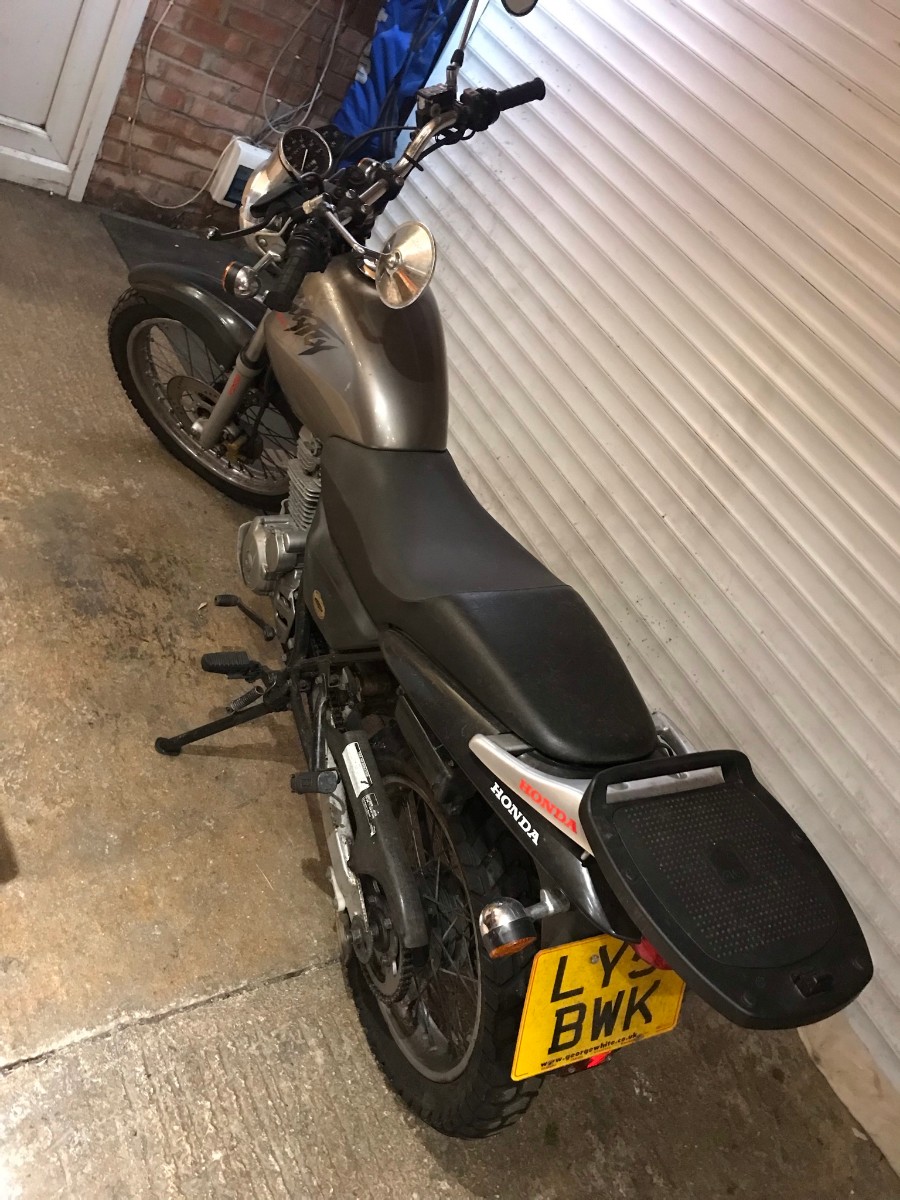
A few more of before condition:


-
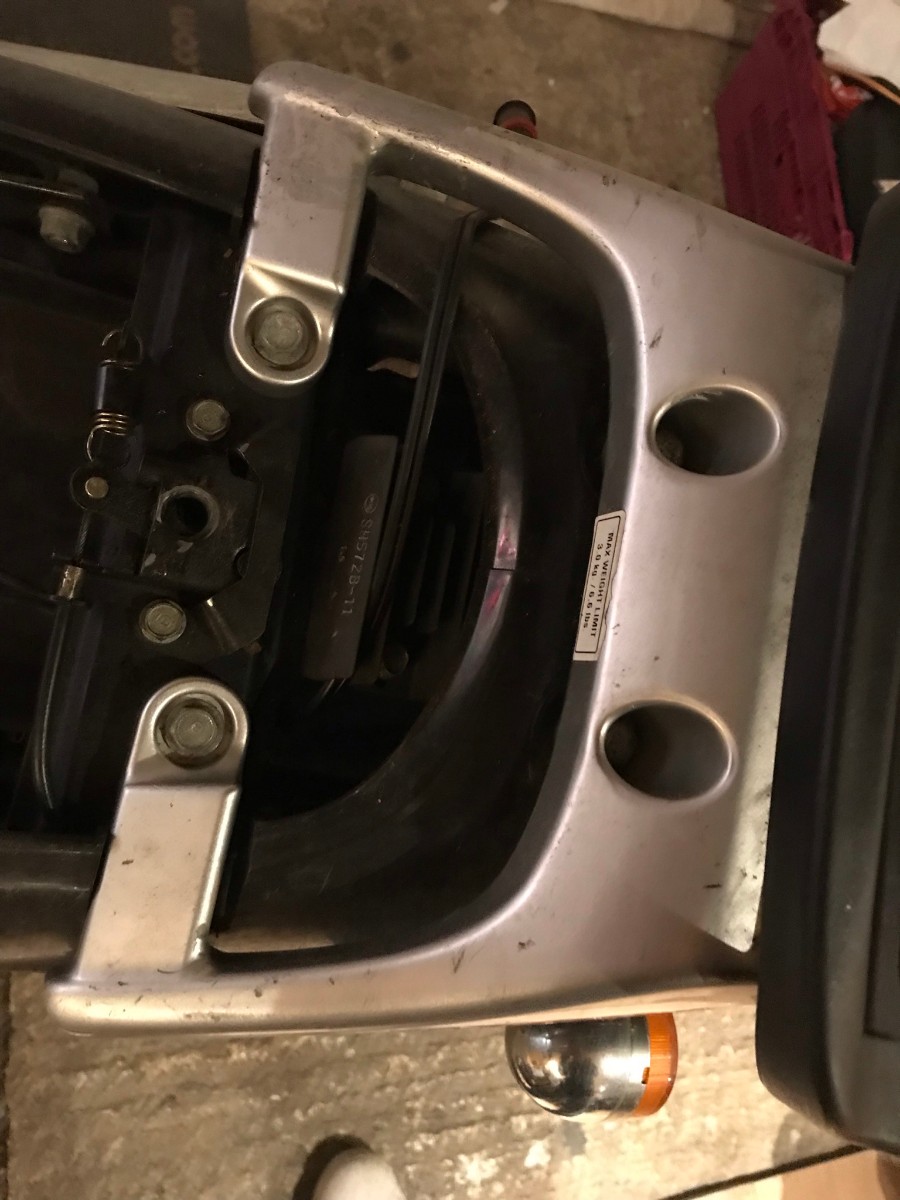
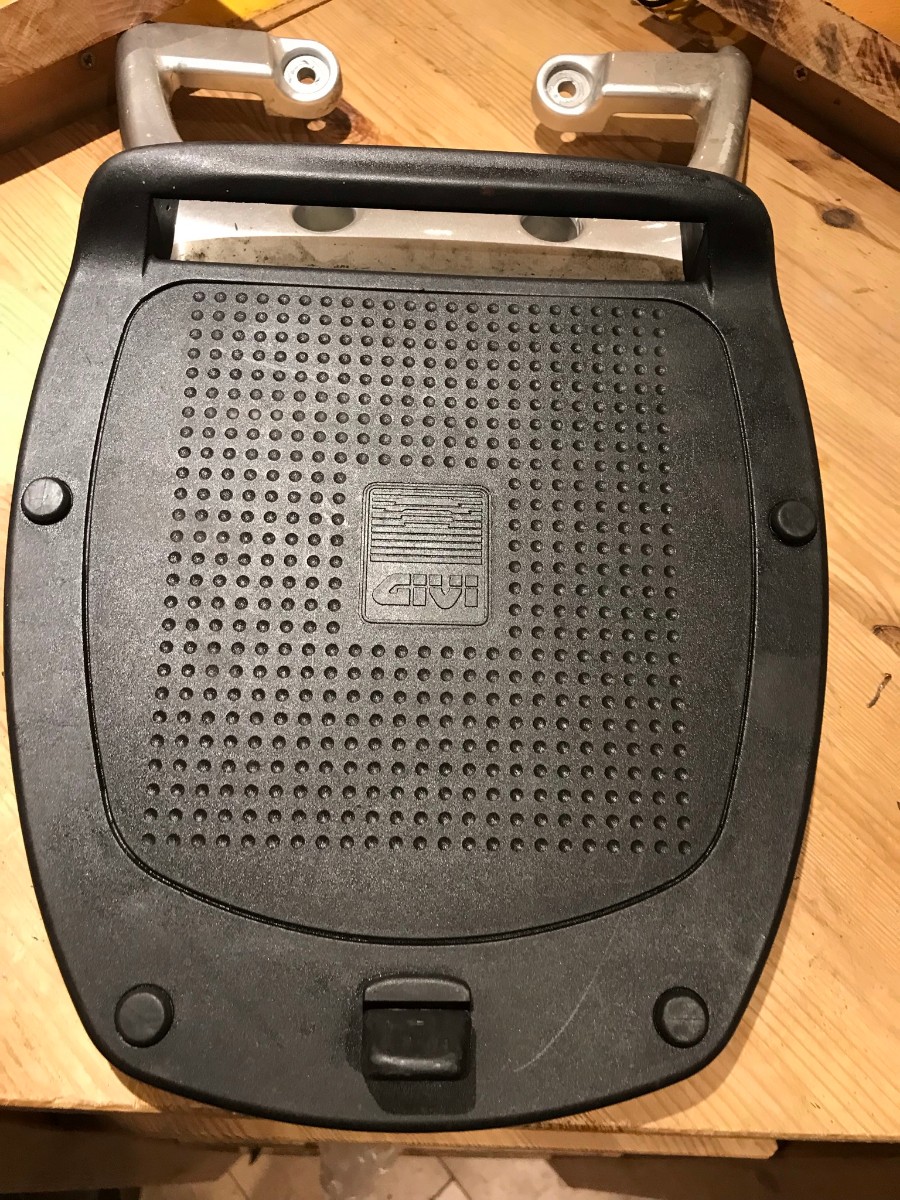
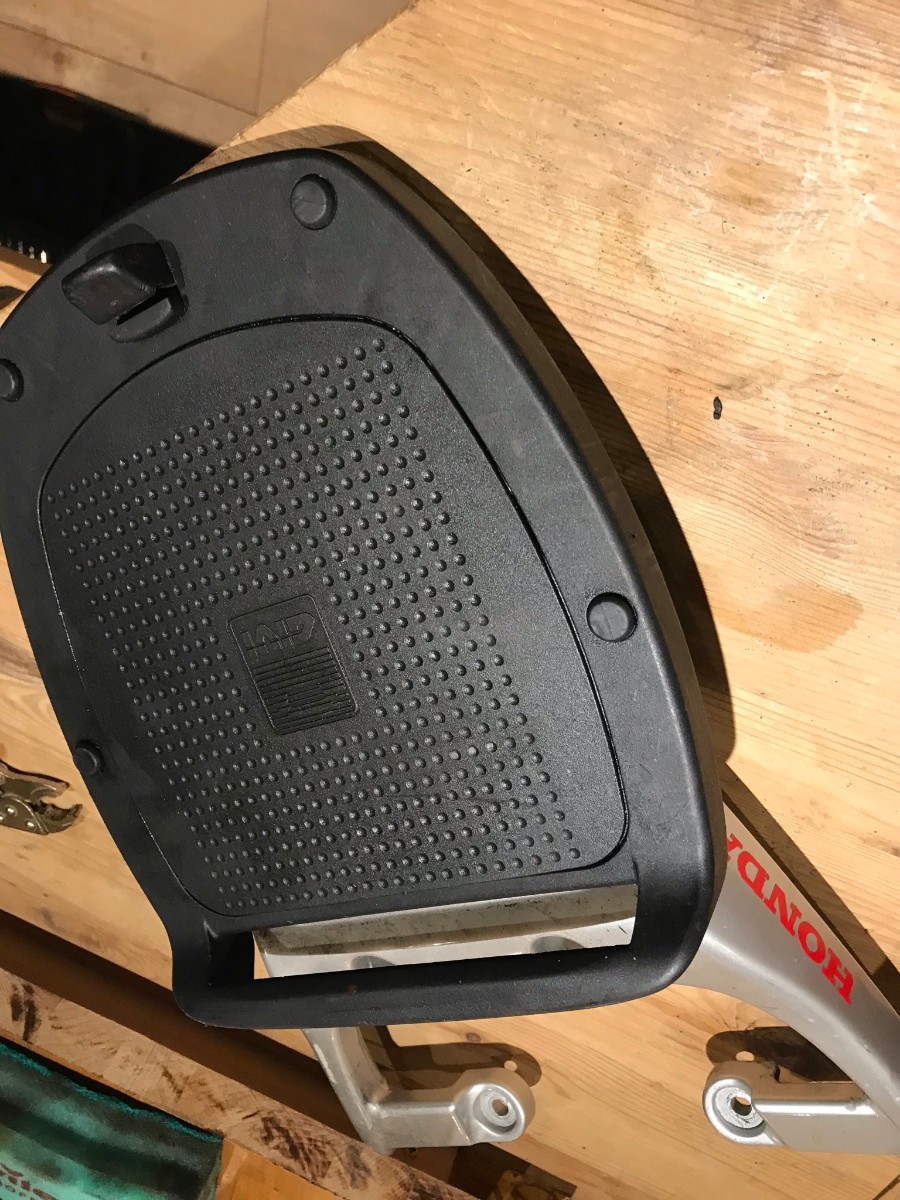
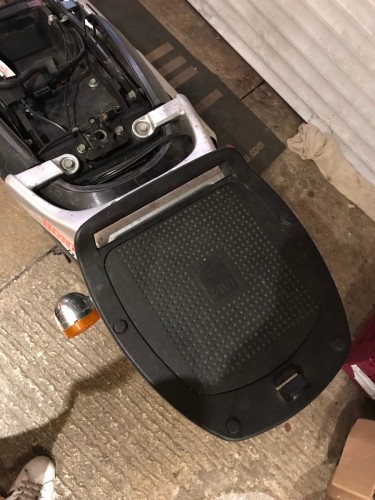
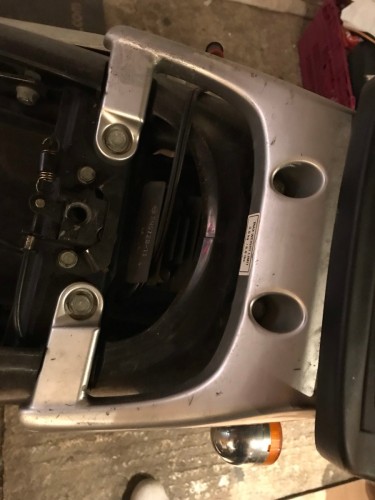
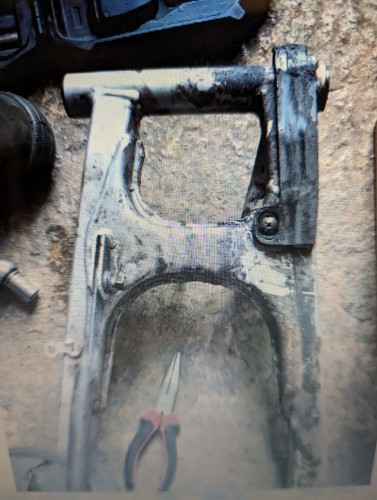
Then removed the rear foot peg hangers and rear luggage rack Rubber and plastic parts cleaned and stored, metal parts will be stripped and painted (shown later), nuts/bolts to be cleaned and polished


-
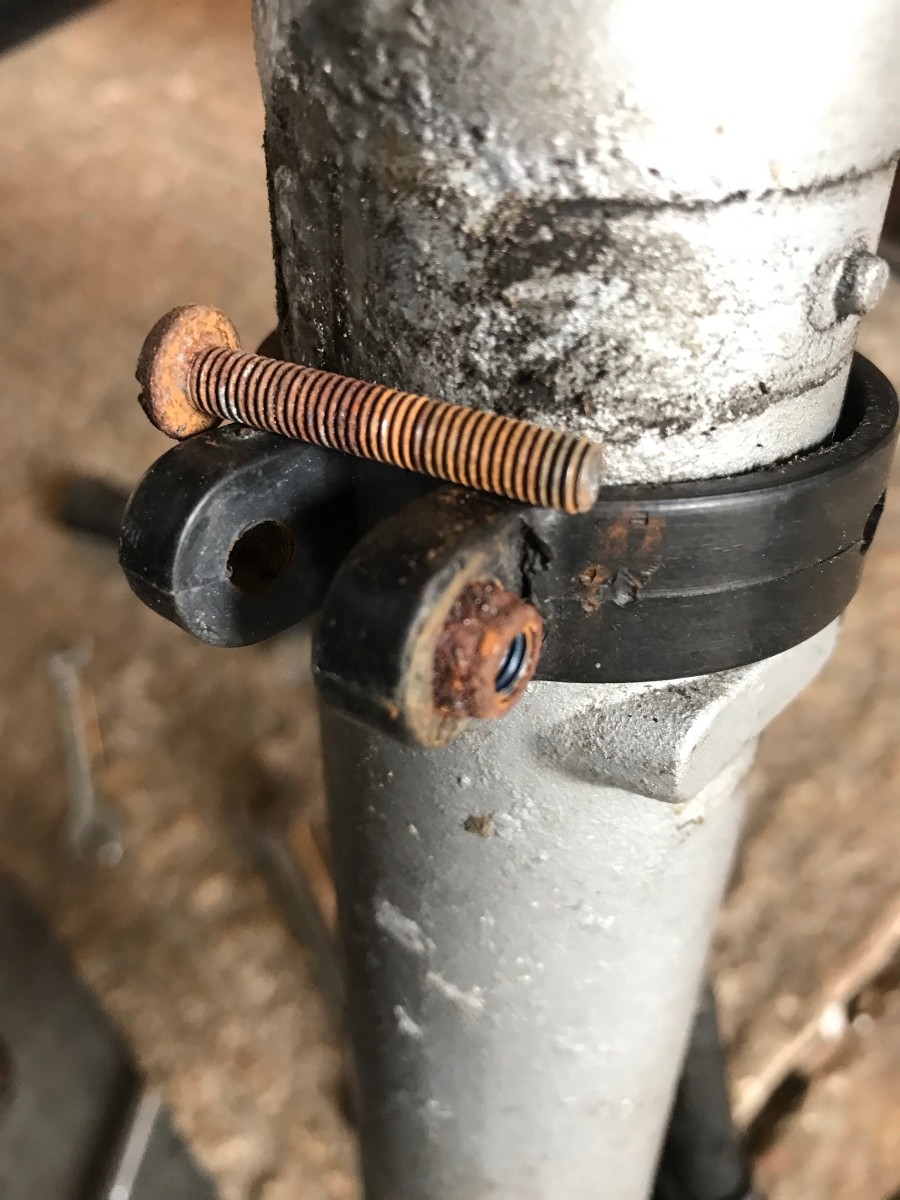
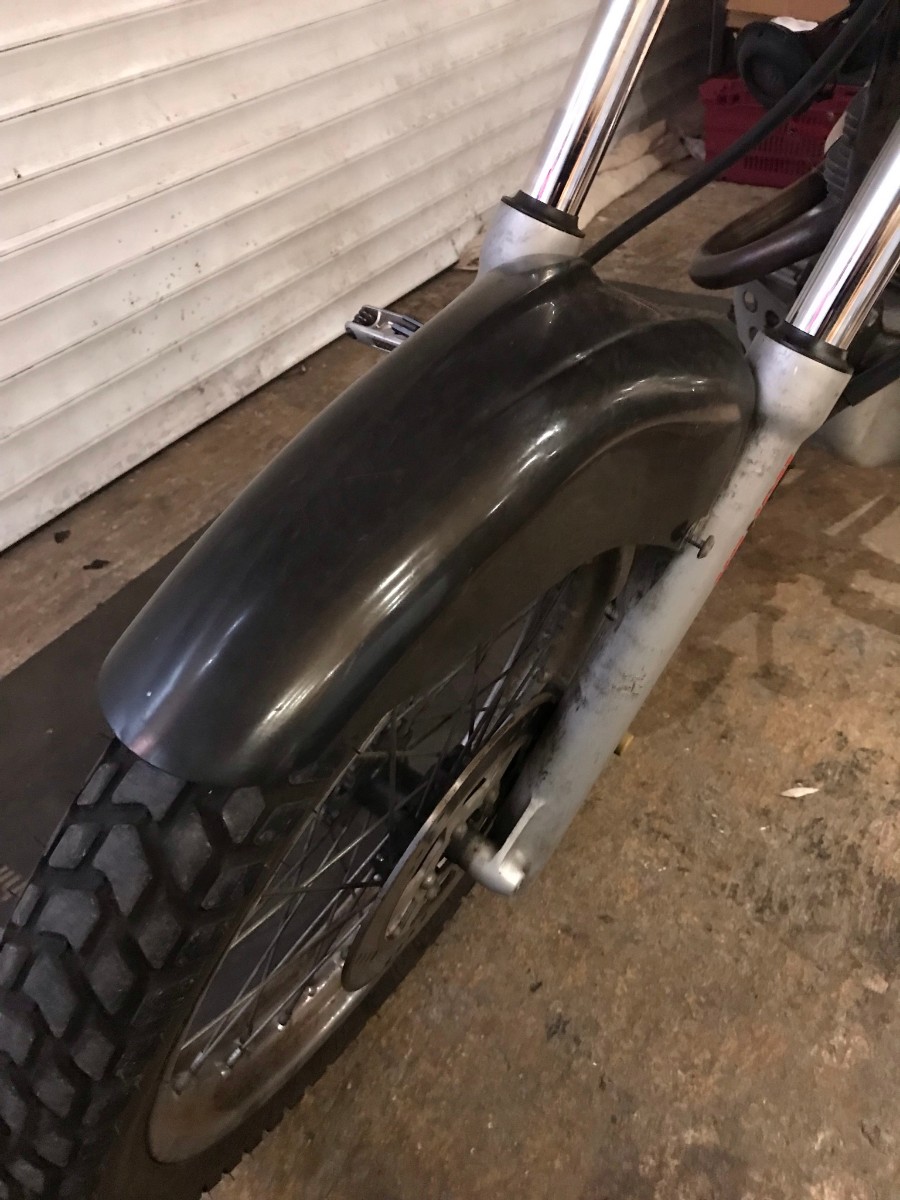
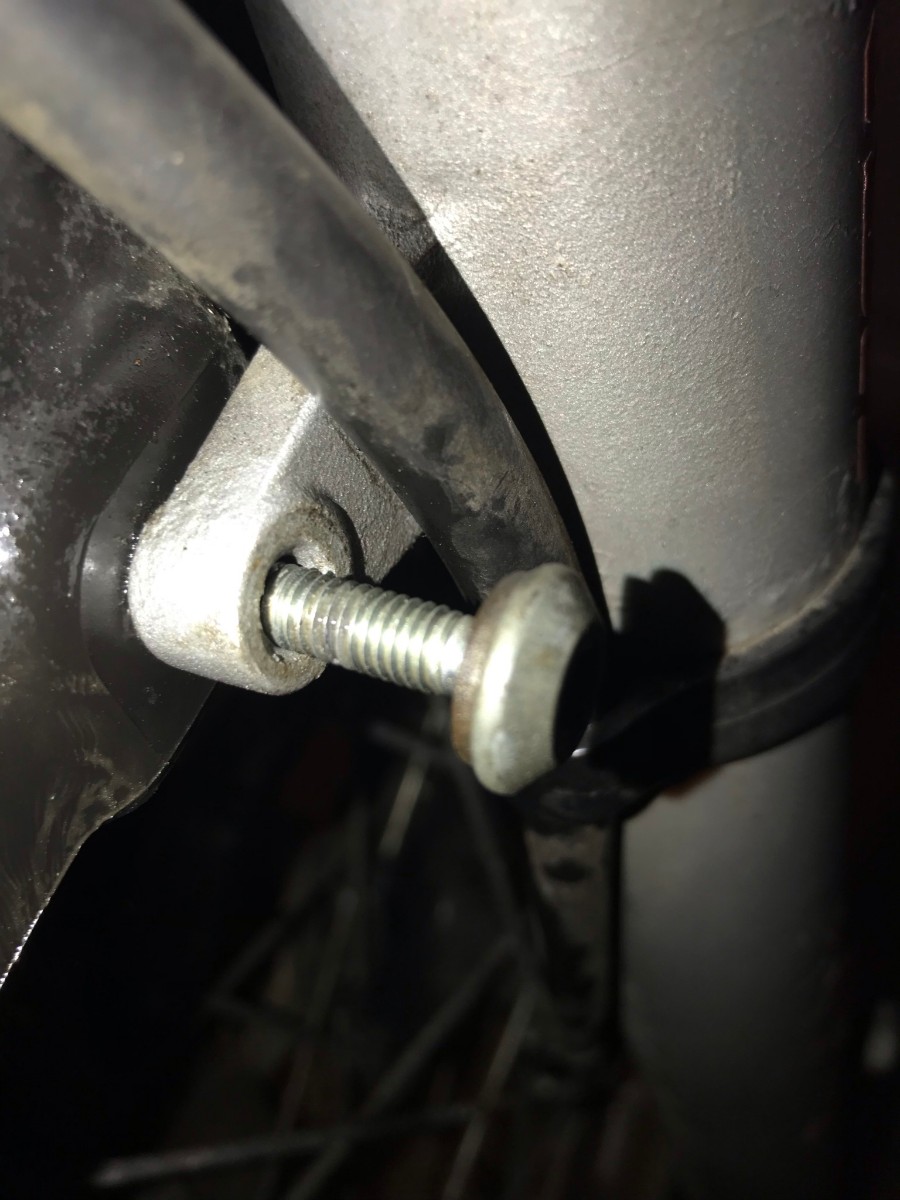
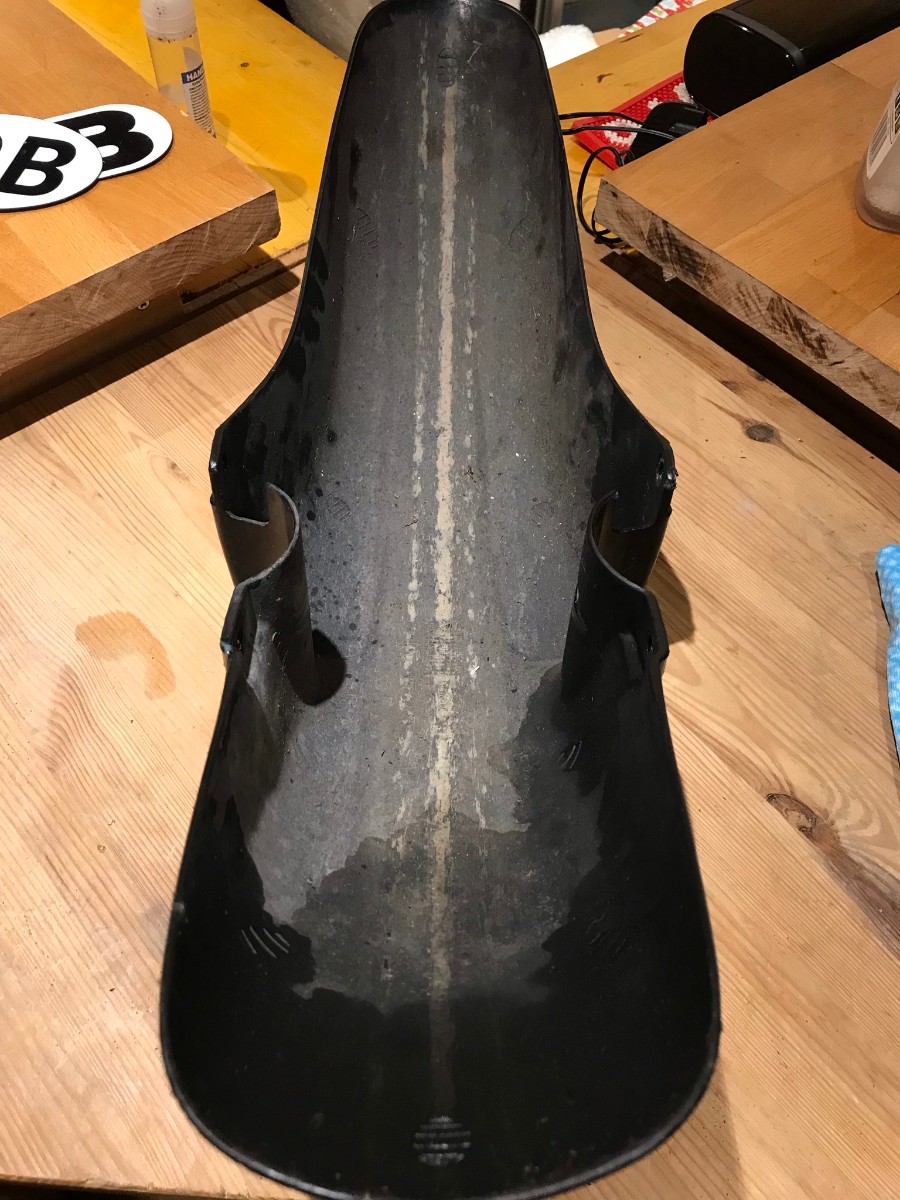
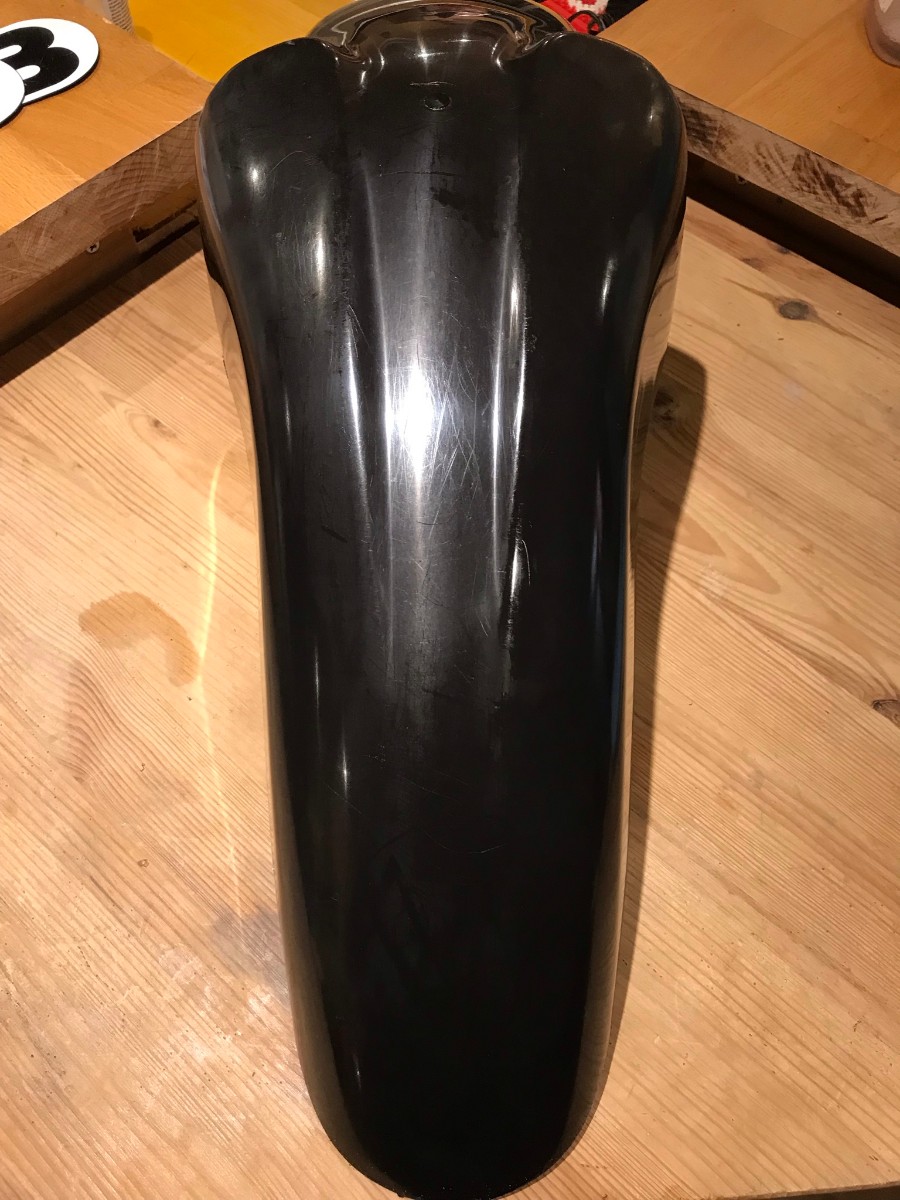
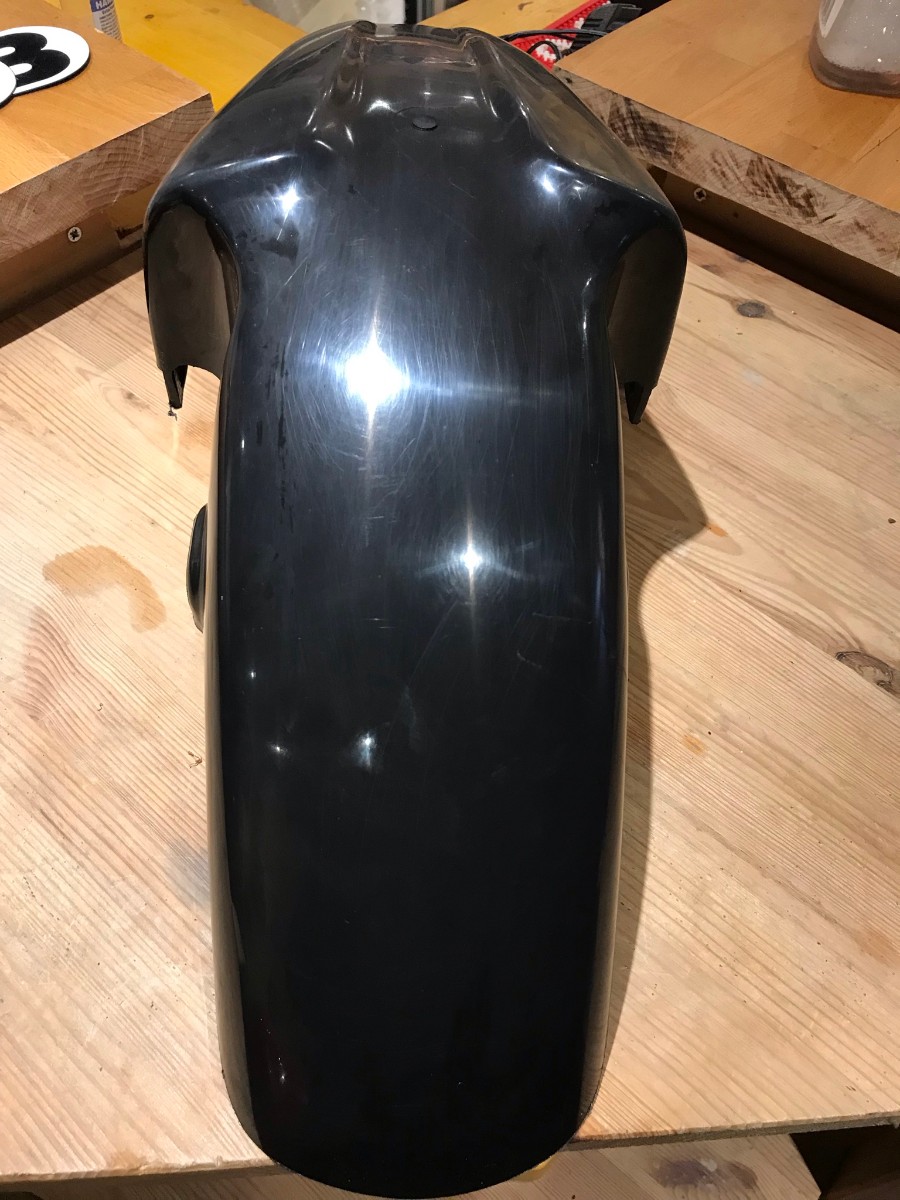
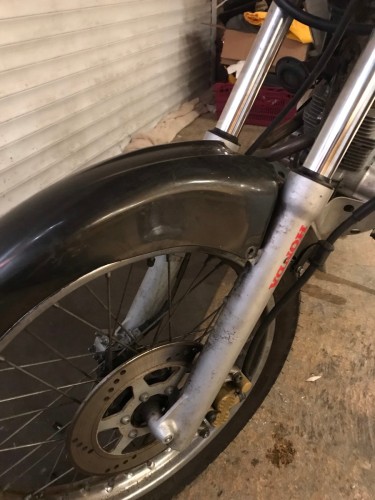
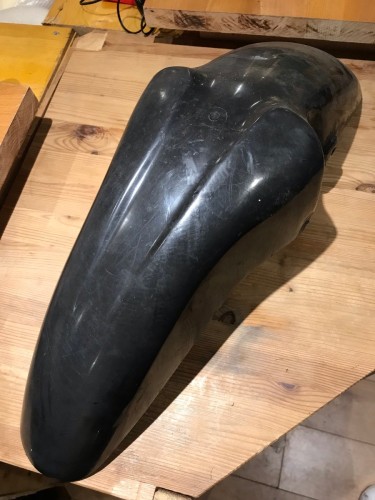
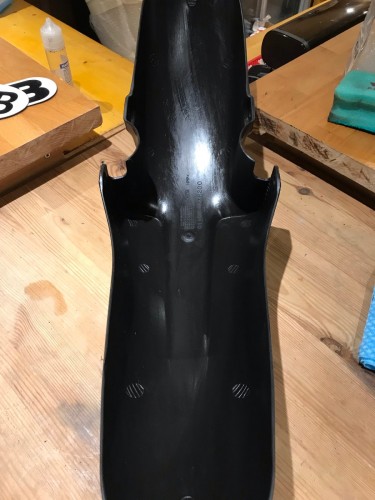
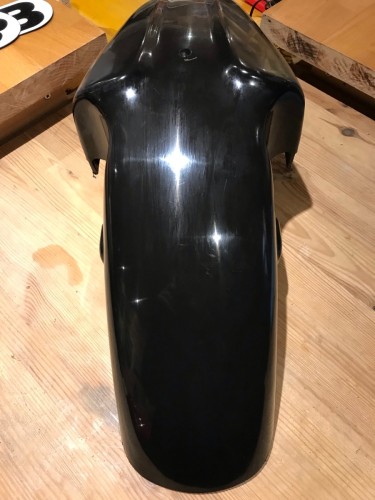
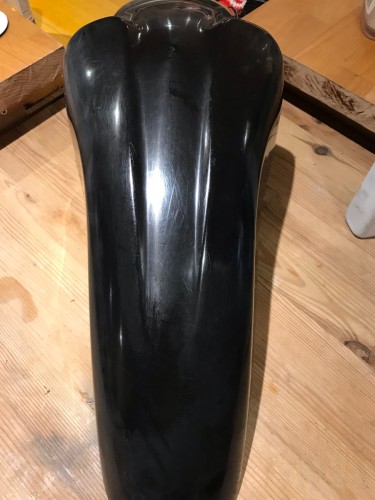
Next, the front mudguard... This required the removal of 4 bolts, one required a spanner, another a screwdriver and the other two were hex bolts - which I've come to find out is standard!? And it's off Used some household cleaning spray to start, results were instantly better Then some Autoglym bumper and trim The underside done the same way: Wrapped and stored, not yet at that stage of the rebuild - hopefully will be soon!!


-
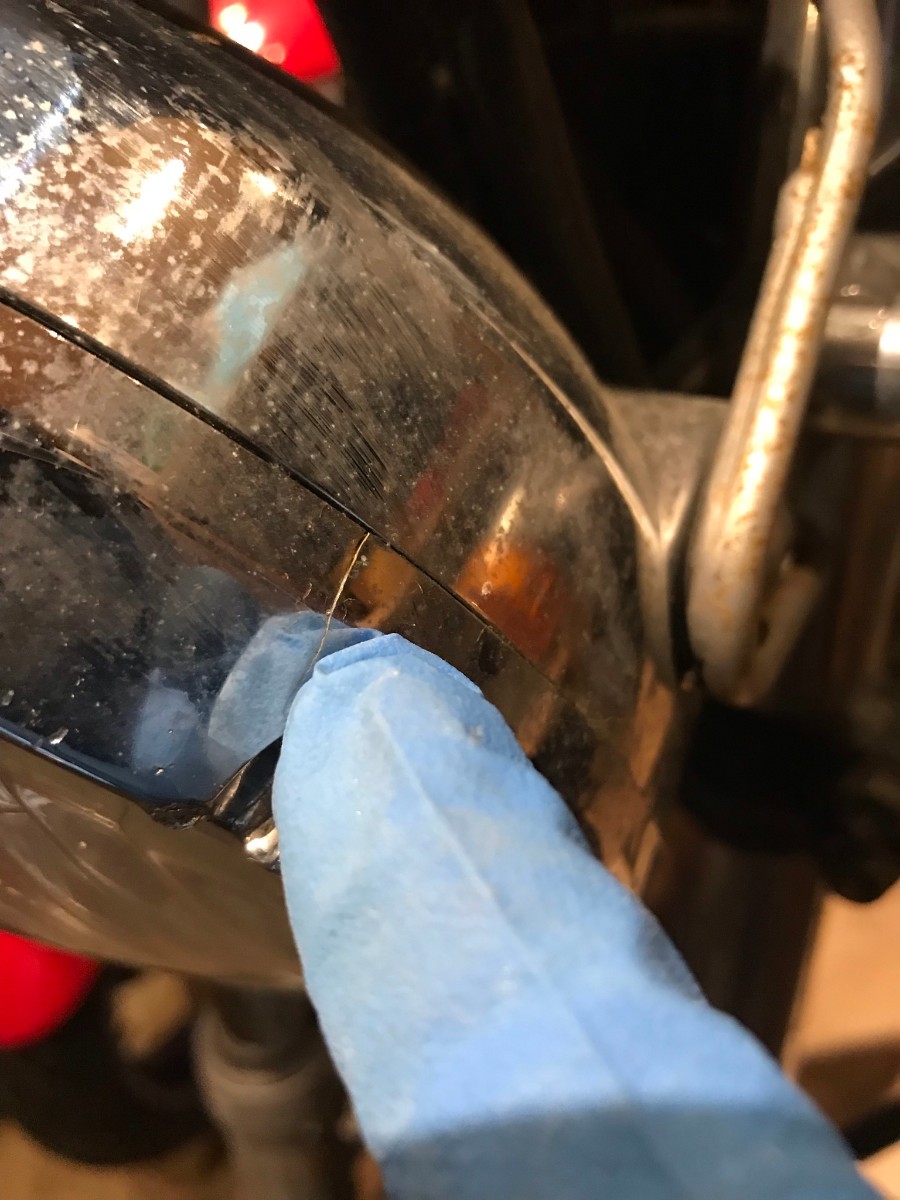
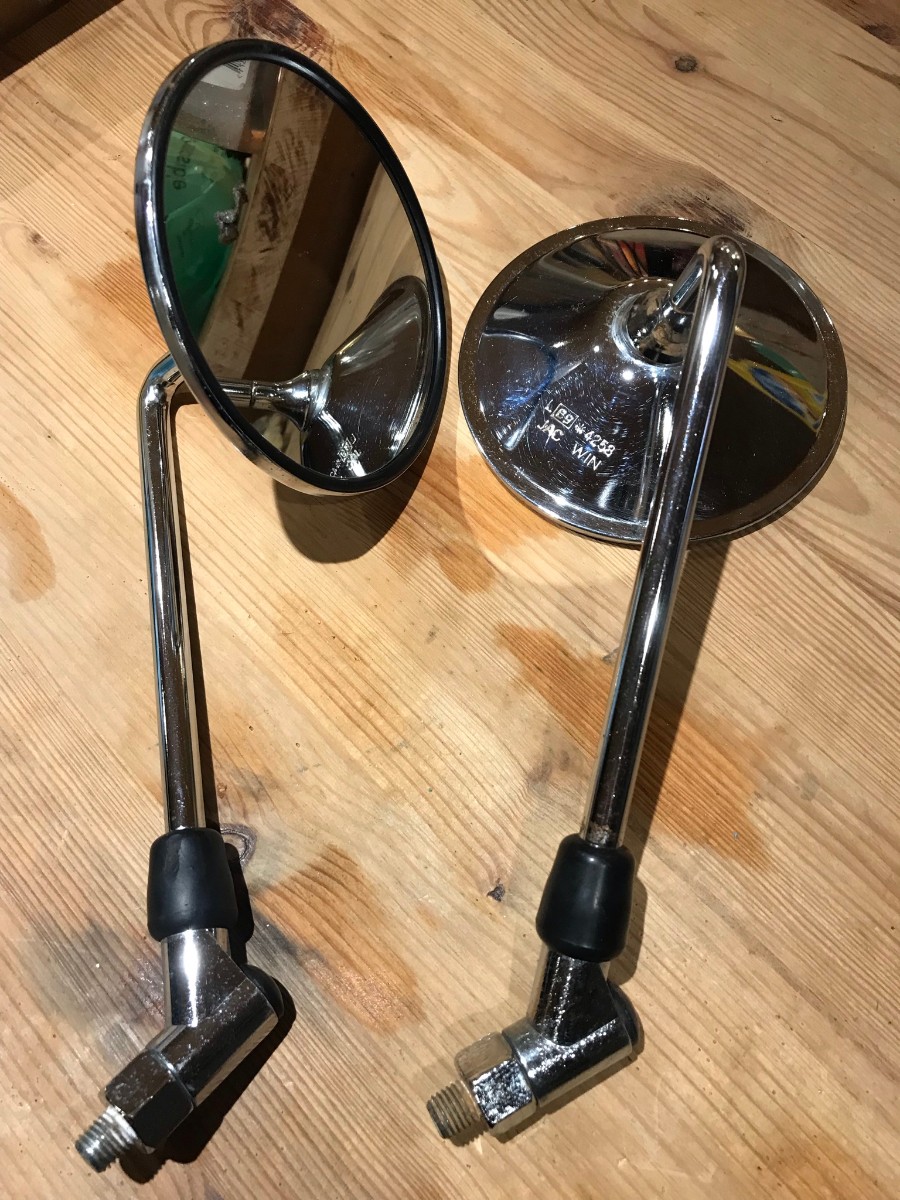
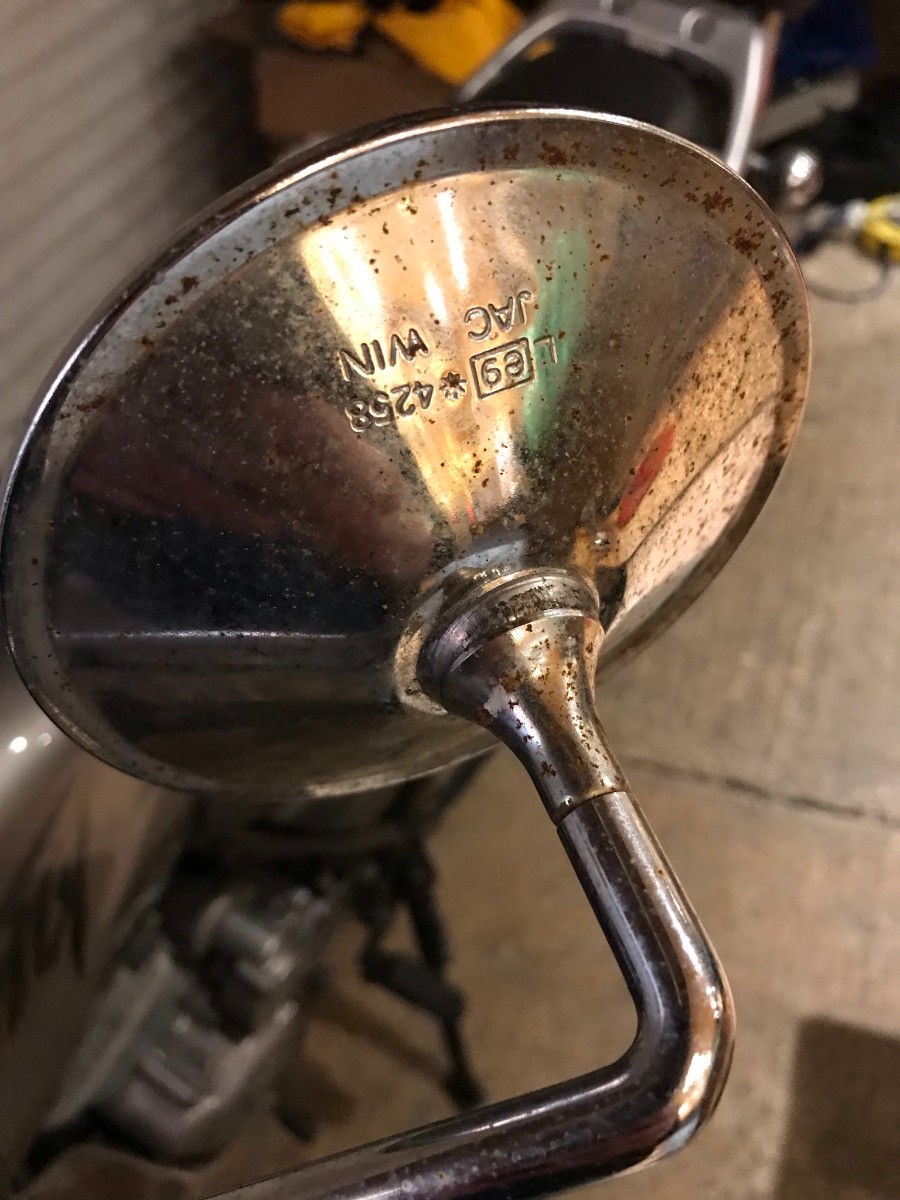
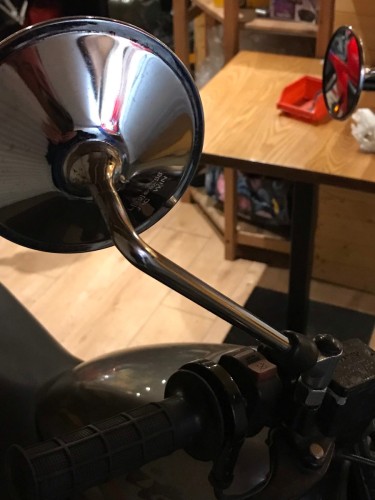
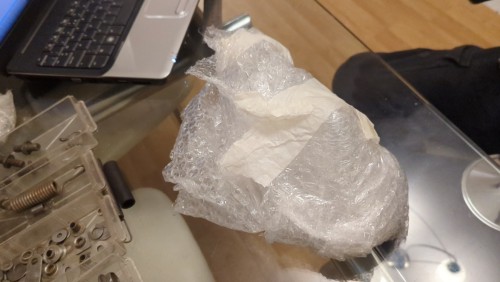
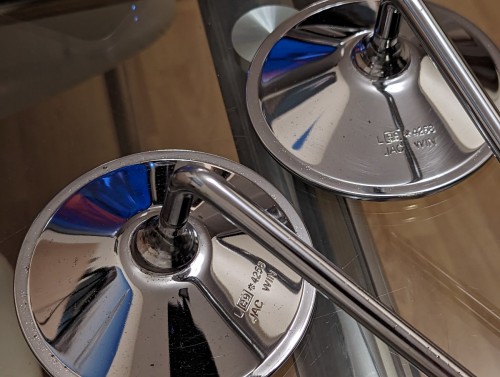
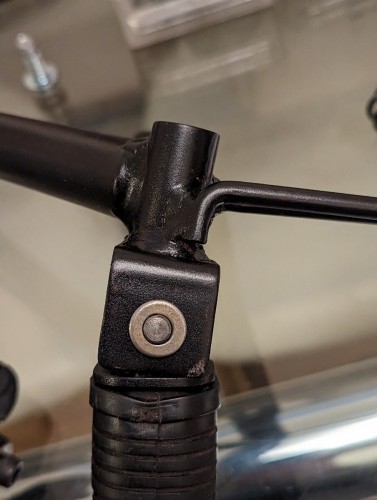
Wasn't sure where to start...so I chose the mirrors - undamaged but the chrome was marked and rusted. Started with a general clean (i think window cleaner?!) then went on to the tinfoil and water technique I found online...seemed to work very well Few light scratches left by the foil so I then used Autosol metal polish, twice I think (been a while since I started all this so going by the pictures I took sorry) and attached back to the bike for overall reference of the difference... After removing again, more polishing/cleaning etc I wrapped them in bubble wrap And literally opened them up while writing this post, I actually forgot how good they came out...


-
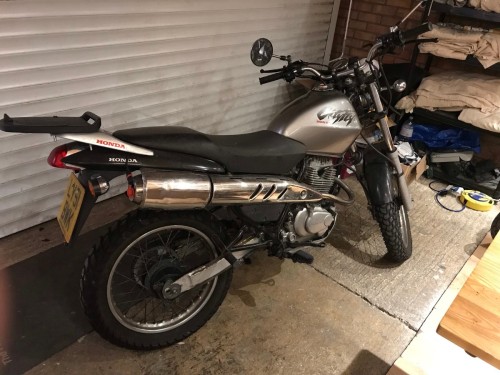
A few more pics of what I was about to undertake - bearing in mind I started this project almost a year ago in March 2022! But before that I should say that I've just (4 days ago) finished stripping, painting, restoring all the parts and started the rebuild - here's a couple before and after pics of finished parts: Since starting this project i've taken 1000's of pictures and many videos...I wont post them all lol... but enough to hopefully help anyone wanting to do the same sort of thing as i've done here...


-
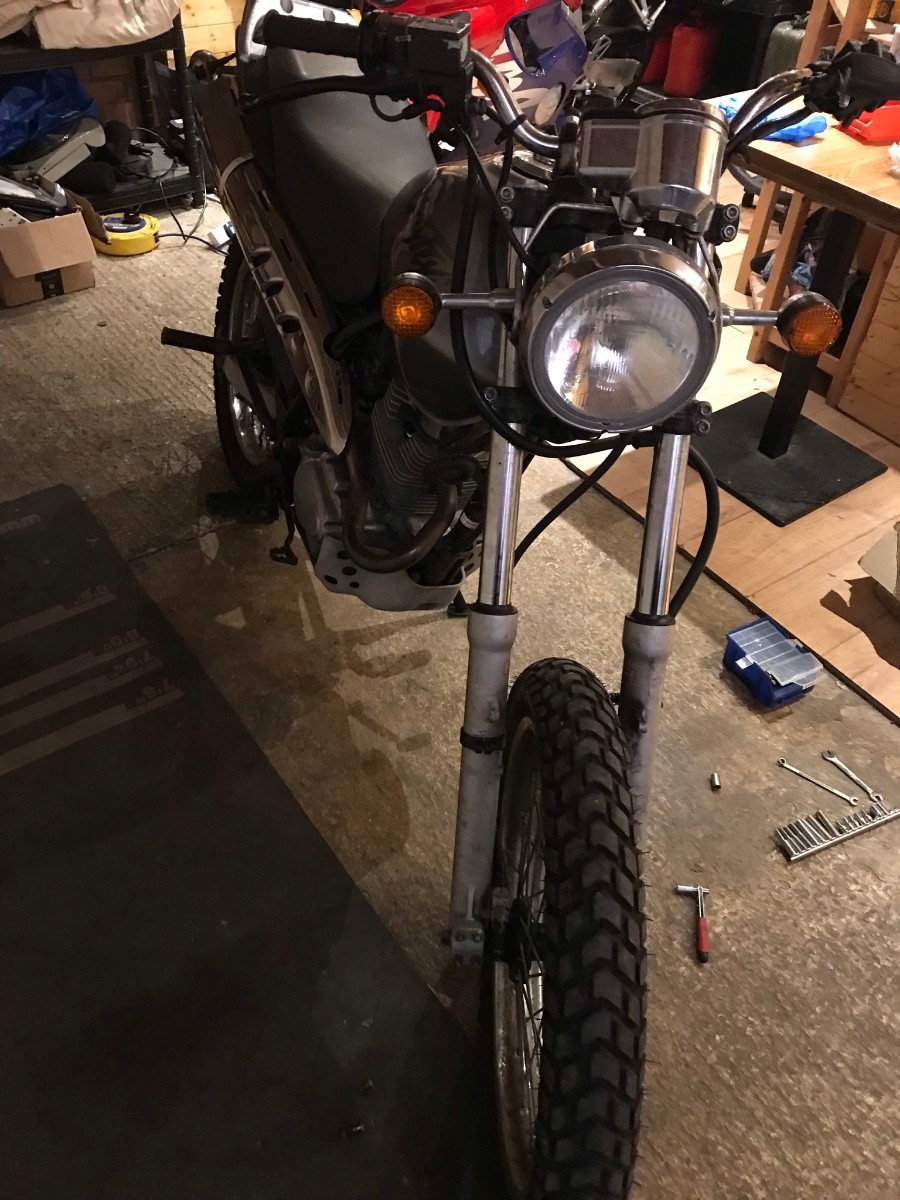
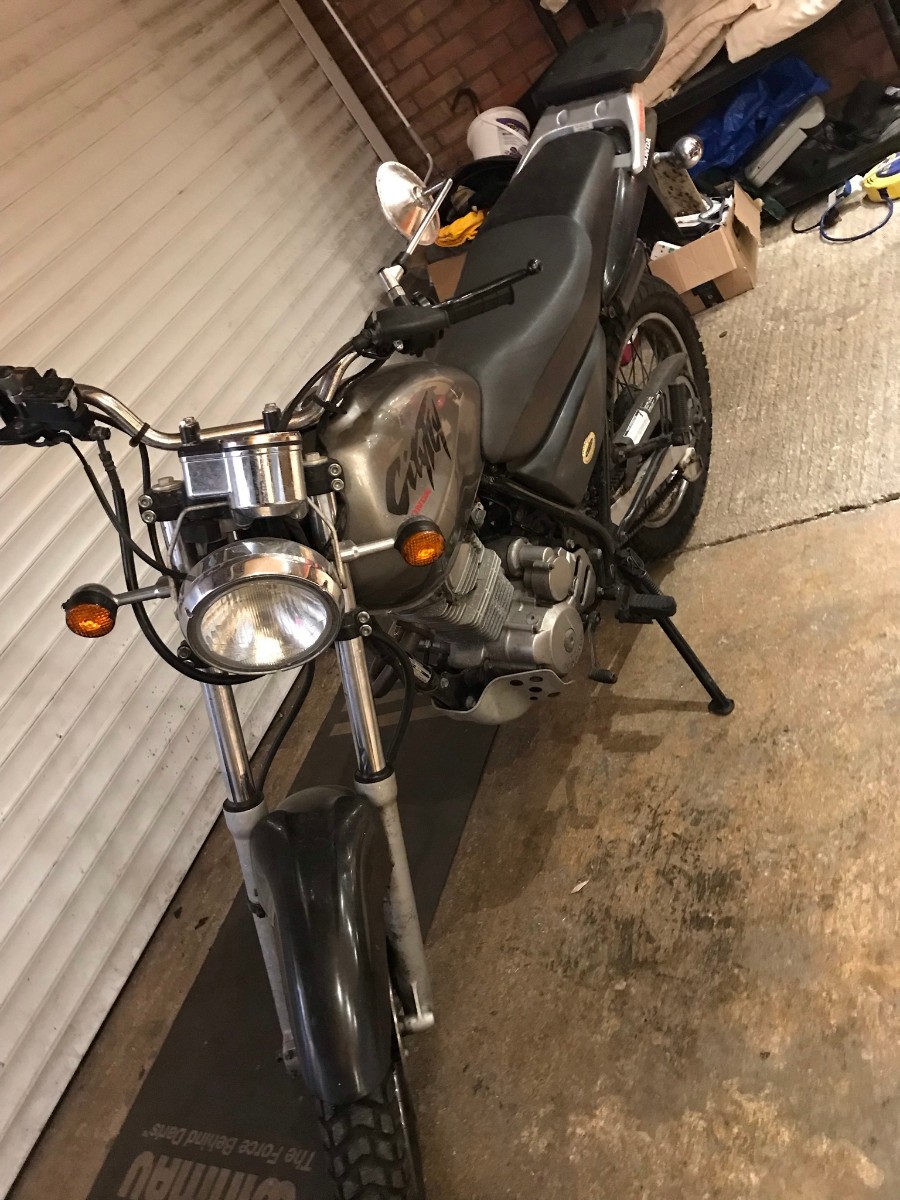
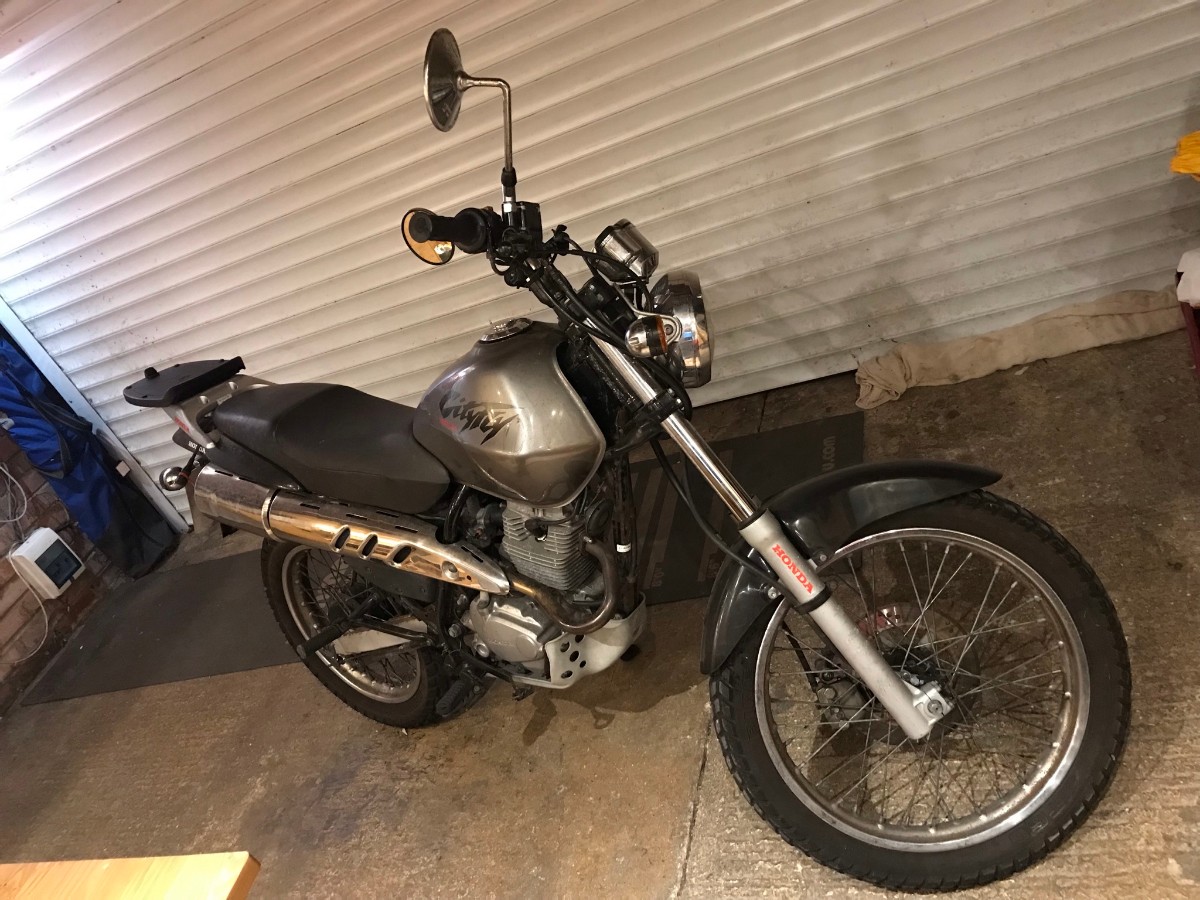
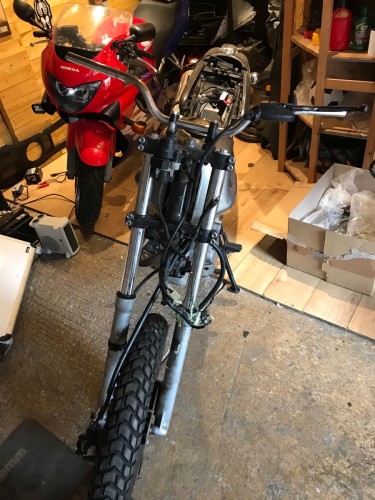
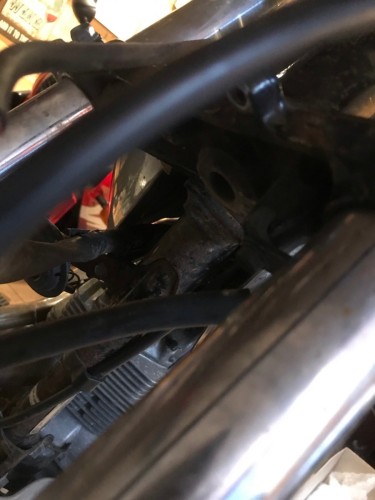
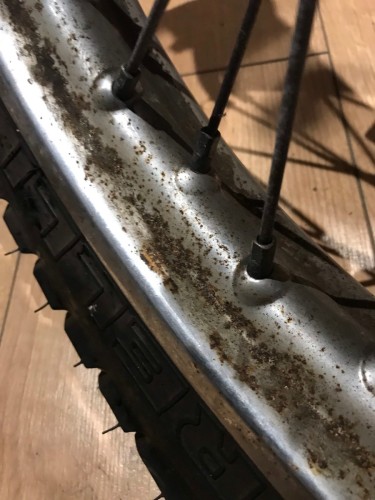
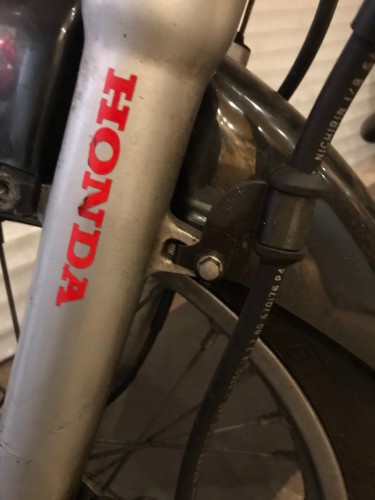
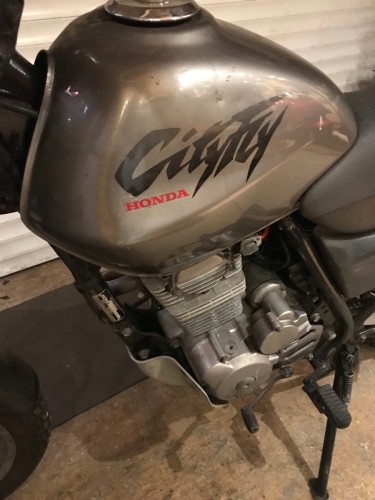
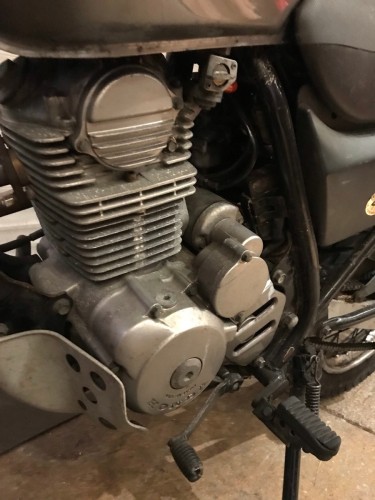
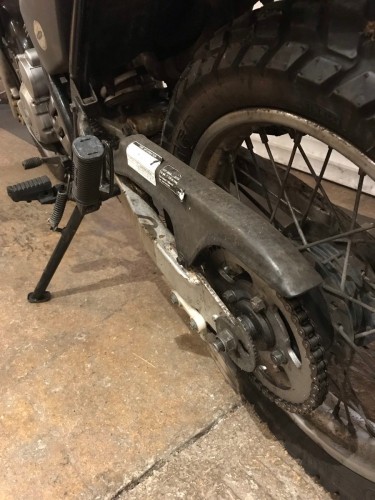
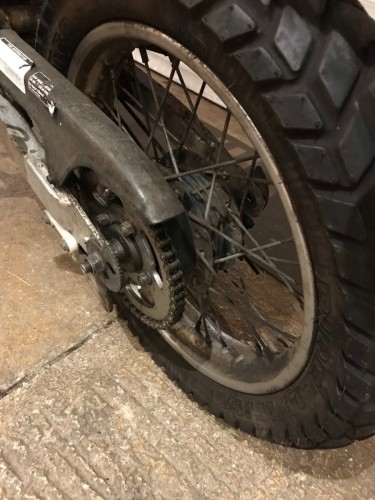
Hi everyone, i'm new to this but wanted to share my latest project. I was asked to clean up a CLR125 which initially I thought would be as easy as removing old dirt and polishing the metal... but I was very wrong - the closer I looked, the more rust I could see along with flaking paint and several other untidy bits... So I decided to do a full strip down, clean, repaint, and rebuild...for the first time ever...with no manual or much knowledge on how to do it. And thought I would share it with others who may want to do the same. Here's a few before pics (doesn't look so bad from this distance!)..