-
Posts
64 -
Joined
-
Last visited
-
Days Won
1
Ben_Jammin420 last won the day on September 10 2023
Ben_Jammin420 had the most liked content!
Personal Information
-
Gender
Male
-
Bike(s)
1999 CBR600 FX
-
Location
Gloucestershire
Recent Profile Visitors
The recent visitors block is disabled and is not being shown to other users.
Ben_Jammin420's Achievements
106
Reputation
-
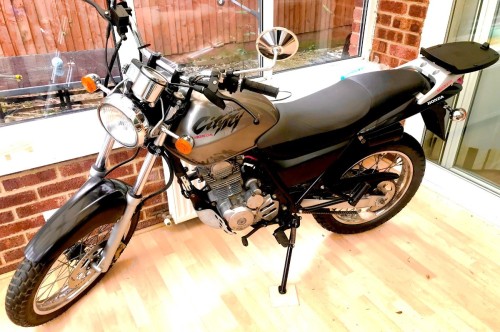
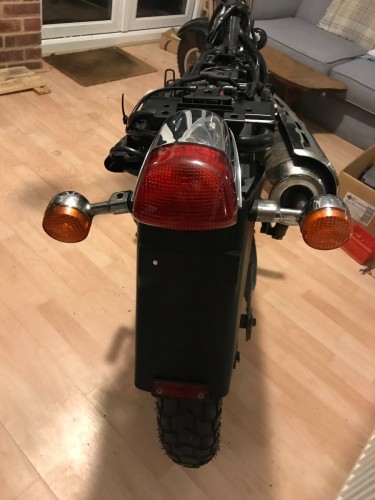
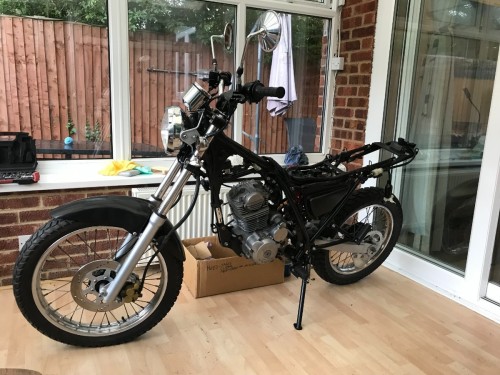
No jokes although I was slightly off on the budget as forgot to include the purchases by the person i'm doing this resto for - so actual costs were more around the £200-£250 area The hours are very approximated as I calculated them by taking an average of 1 or 2 months work - but mostly I was doing around 6 - 10hrs Sat/Sun and then at least 2 hours on week nights it does turn over and all electrics seem to be working - Although i'ts not yet been started nor been for a ride....... so if it all falls apart i'll delete the entire post and start again lol Cheers all!!
-
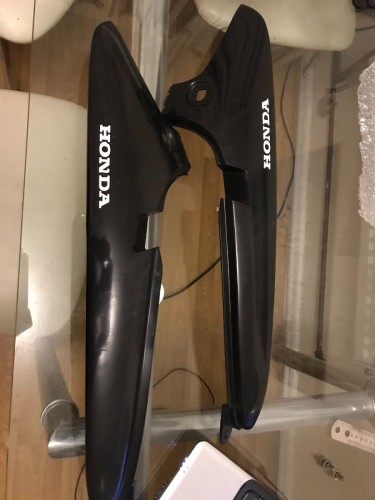
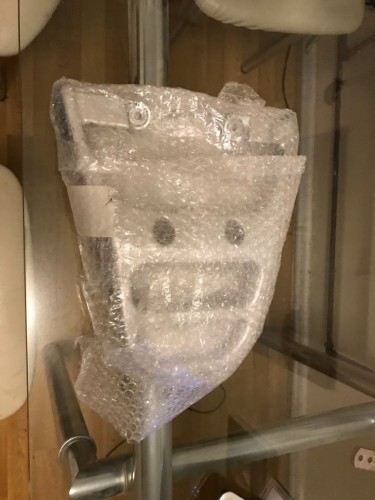
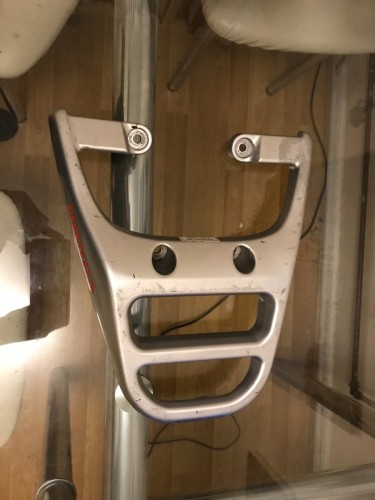
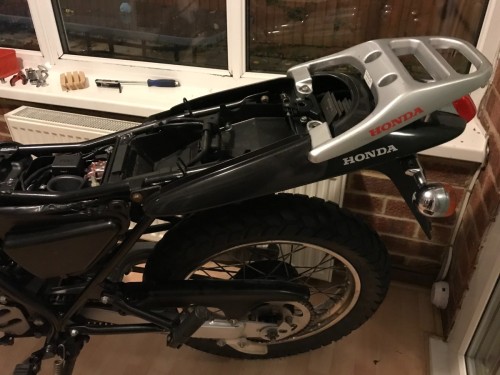
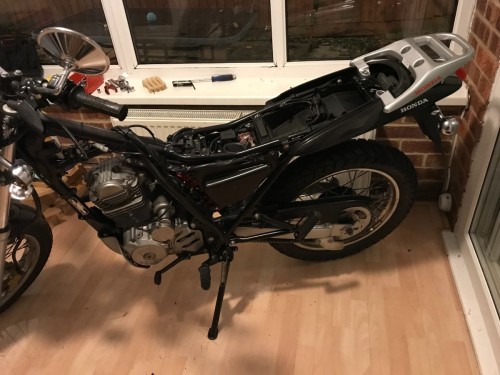
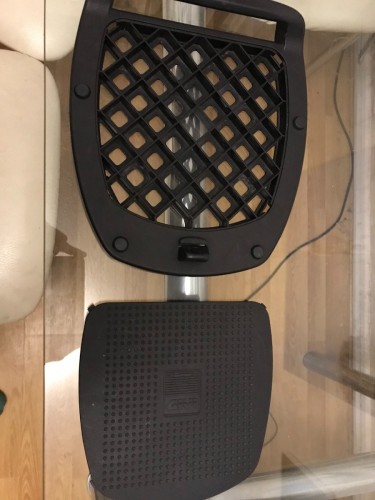
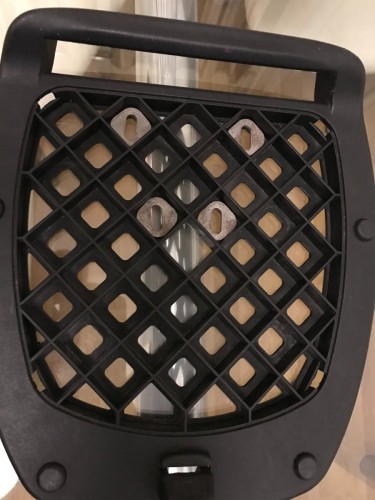
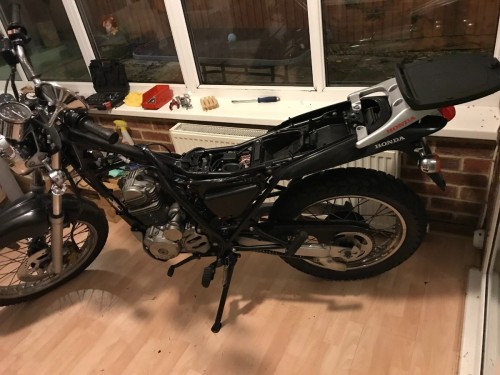
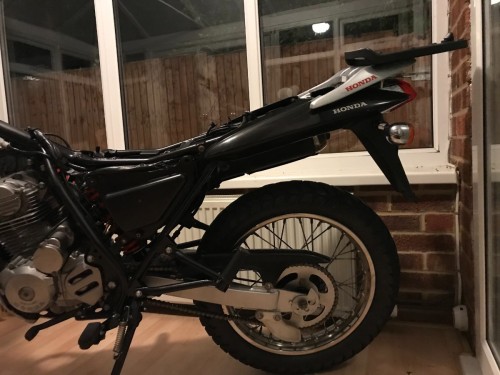
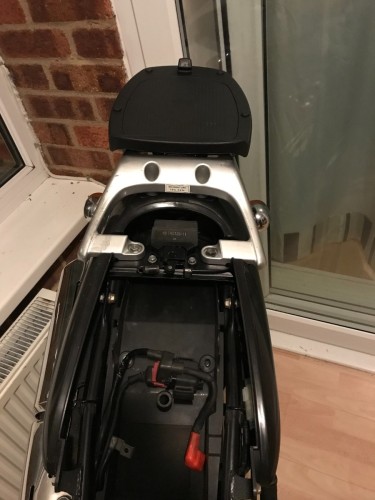
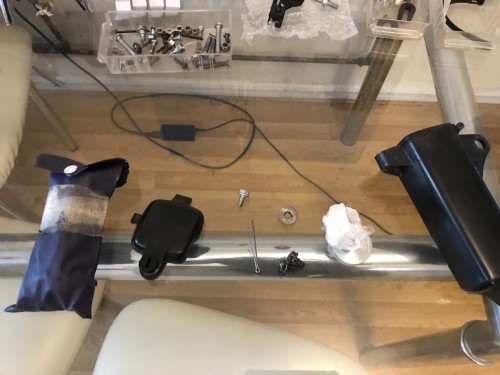
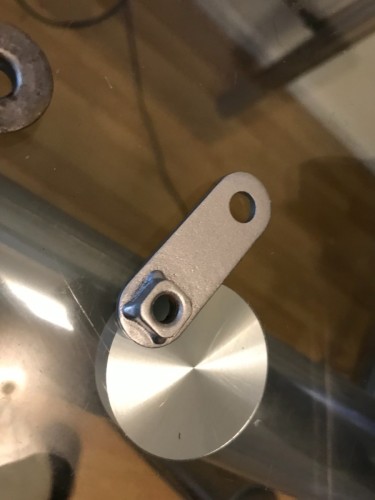
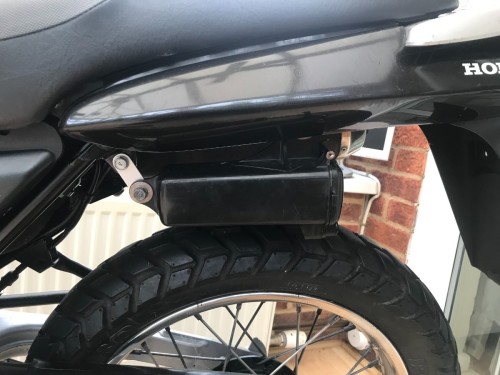
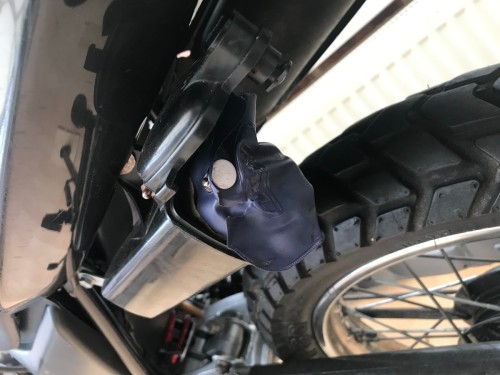
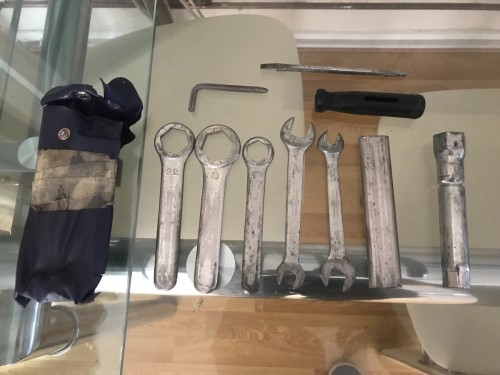
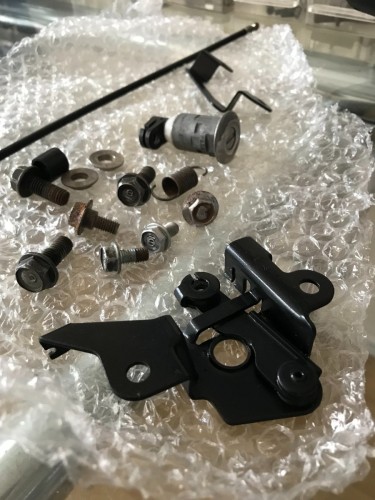
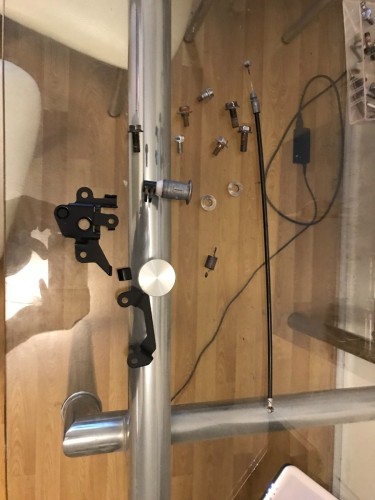
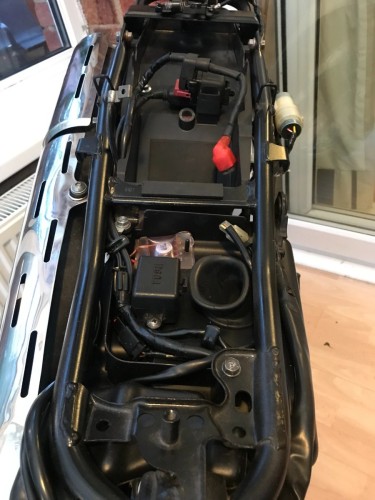
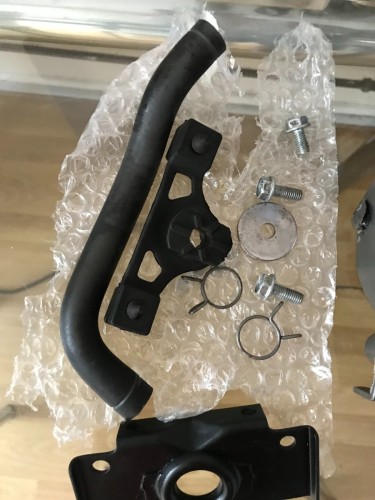
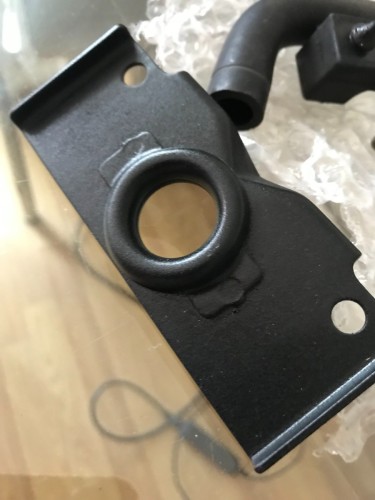
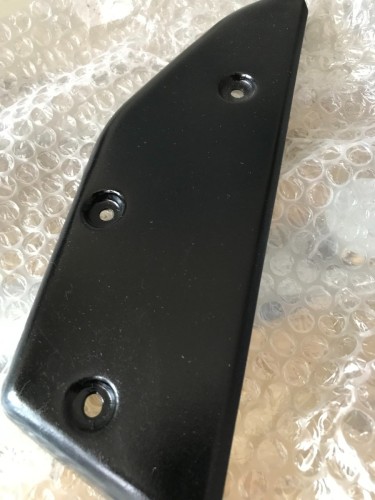
Got round to attaching the rear side covers, grab handle and luggage rack - nothing really done to these parts, just a good clean and polish with the bumper and trim gel...could've definitely done more to the grab handle as it's looking a bit shabby compared to the rest of the bike, easy enough to do in the future though. Tool kit: Mounting bracket:
-
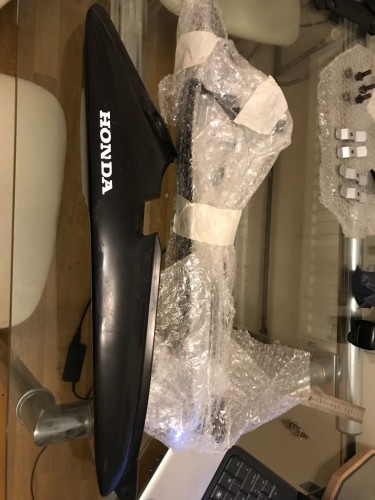
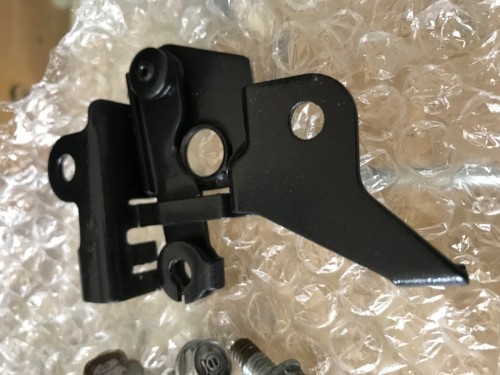
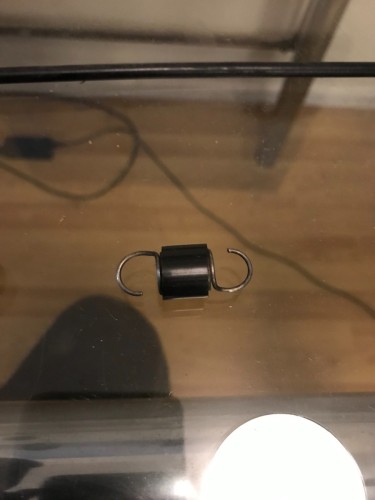
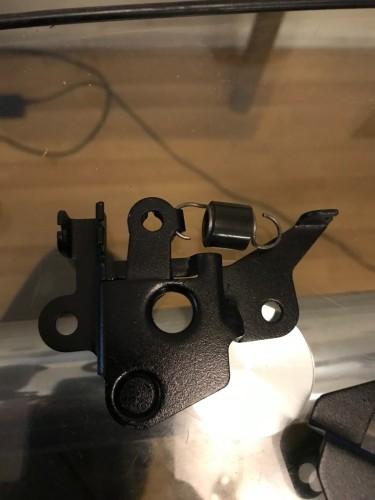
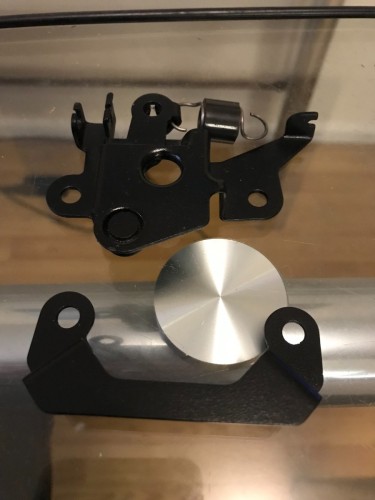
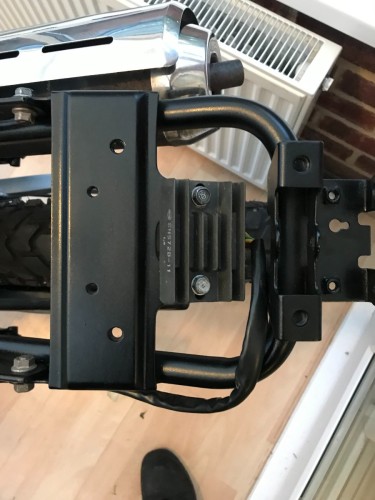
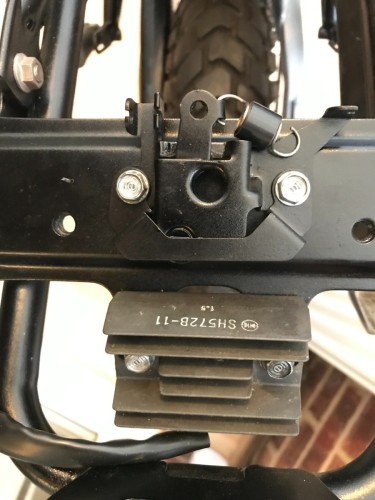
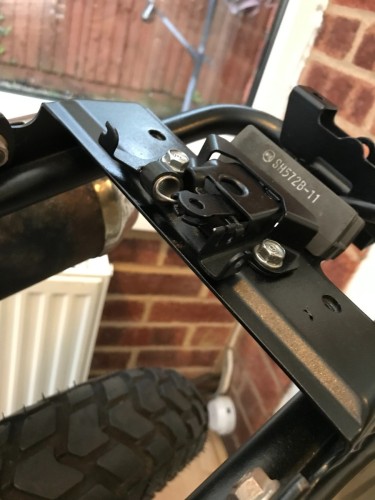
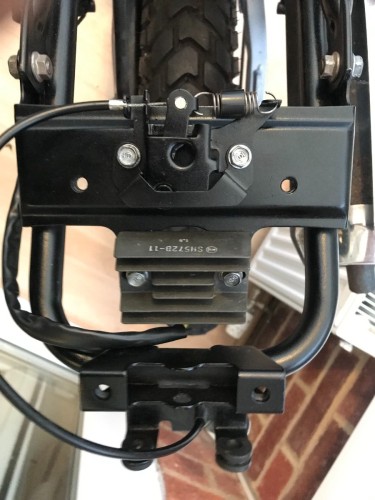
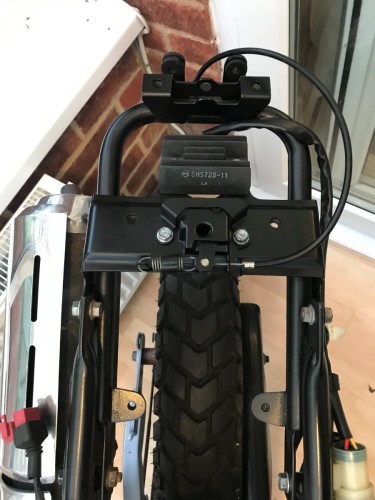
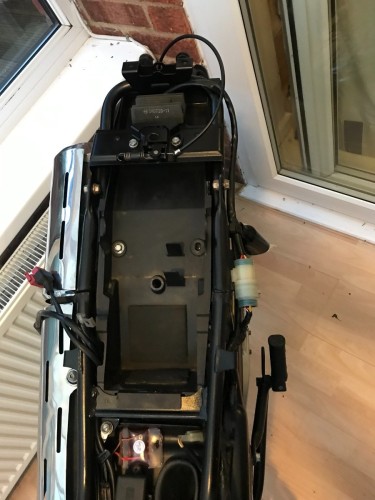
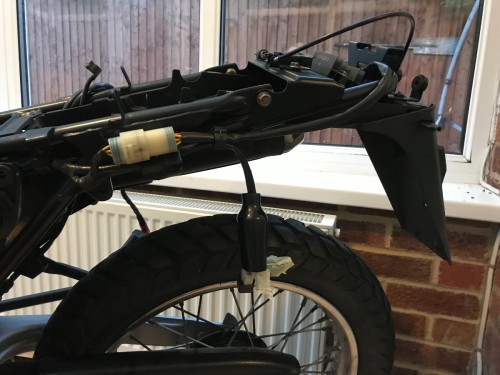
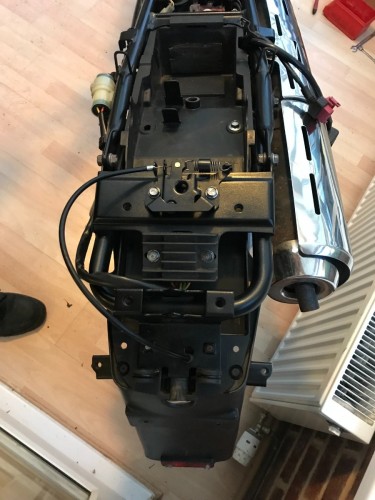
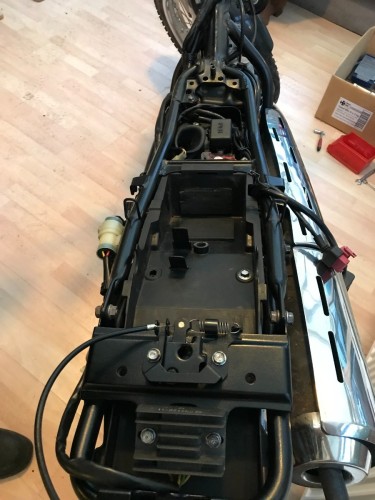
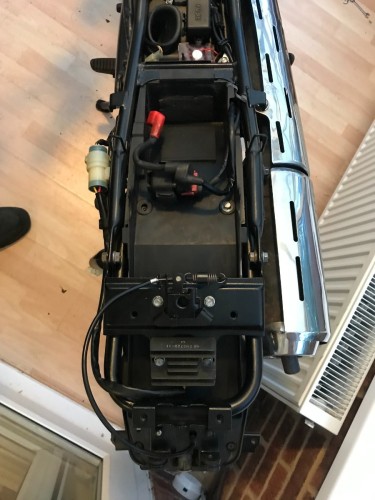
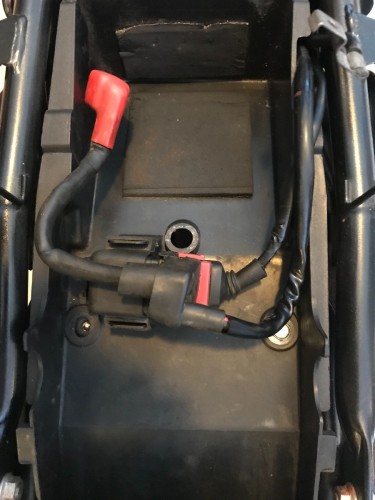
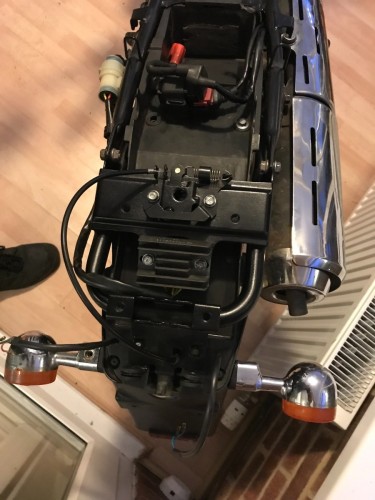
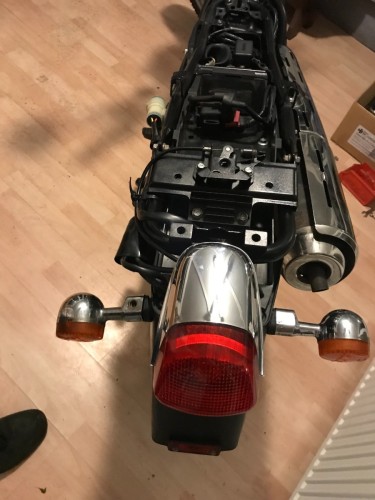
Evening all! This week has been a very progressive week, and..I think...I'm almost finished with this project - very much looking forward to completion to see how it compares to when I first started Next to fit - rear seat catch assembly and rear mud shield/lamp holder/frame panel etc etc (sorry not sure of the exact terminology for this part)... Rear frame: Catch assembly: And fitted : Along with mud shield: Battery cables put back into place: Fuel tank mount and support, unwrapped and re-installed, along with rear indicators and brake lamp assembly (install images have been lost unfortunately):
-
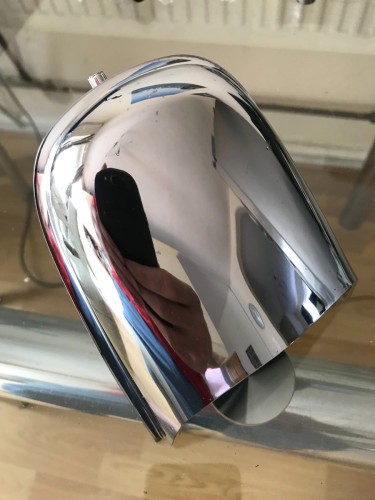
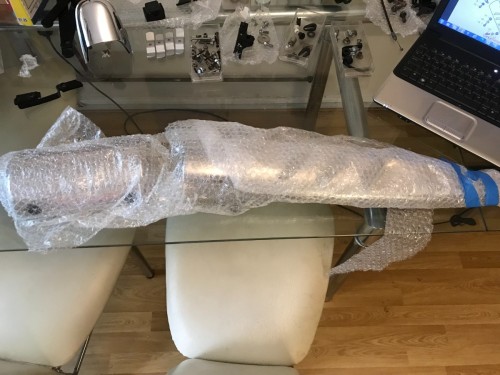
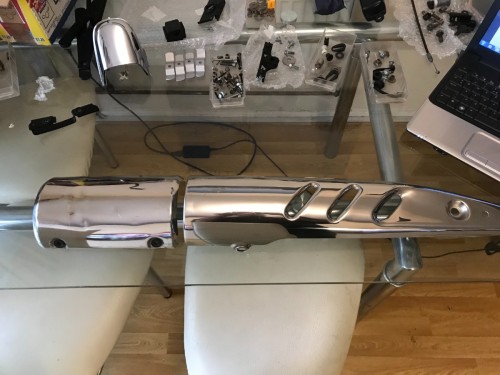
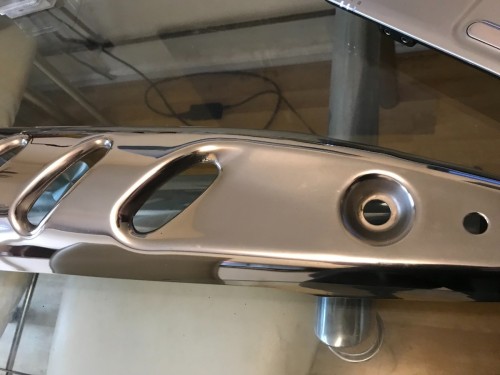
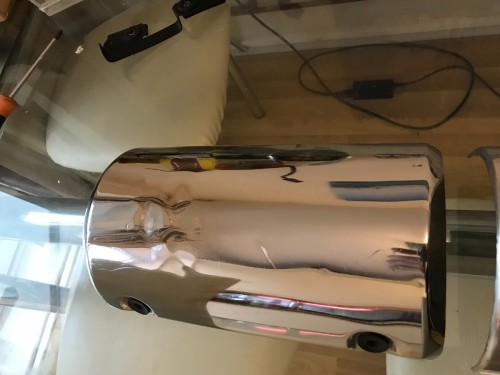
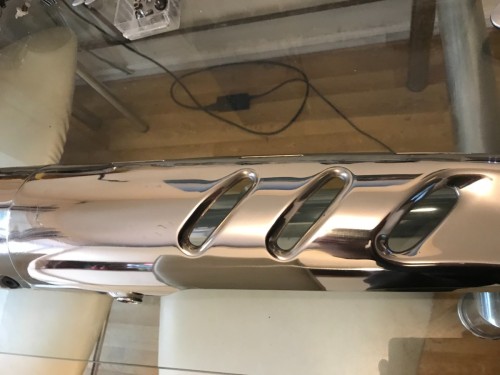
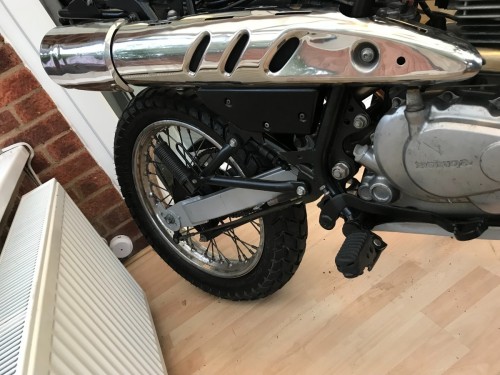
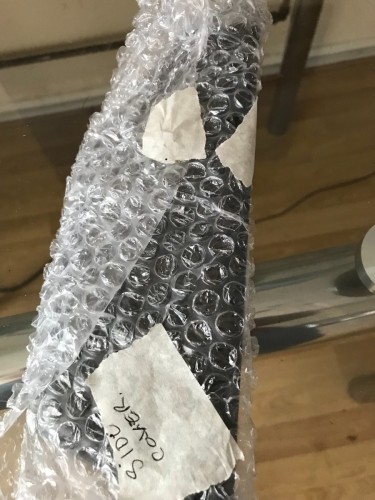
Exhaust covers/trim unwrapped after several months...wow it's shiny, I actually forgot how good this came out after cleaning and polishing...bit of a dent in the end piece unfortunately All mounting rubbers installed and ready to attach, lower side cover (stripped and painted) put back on aswell: and what a difference it makes visually...very pleased once again.
-
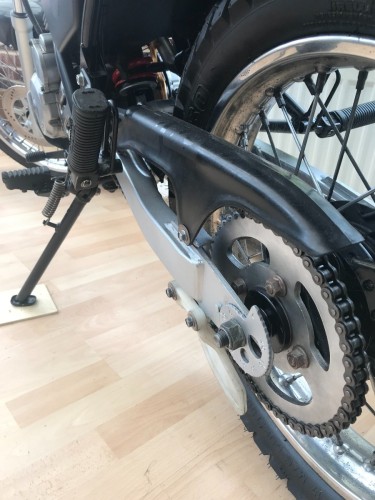
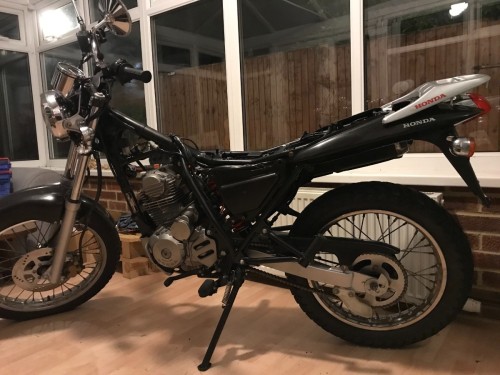
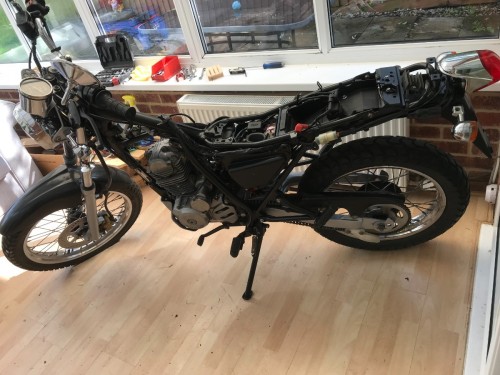
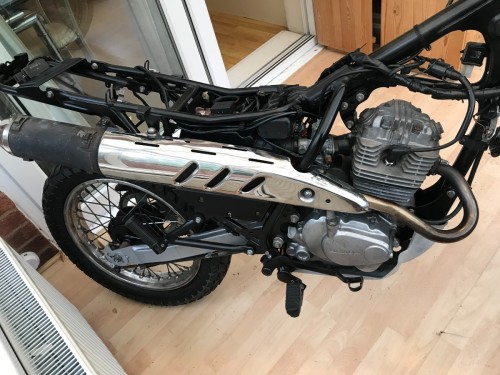
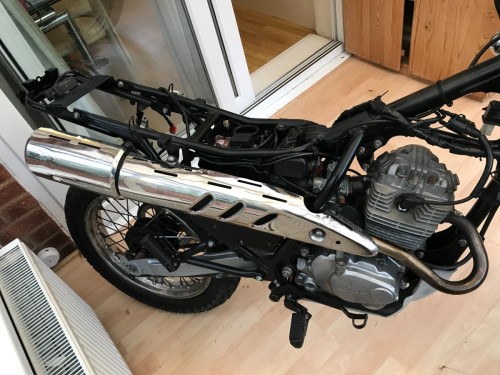
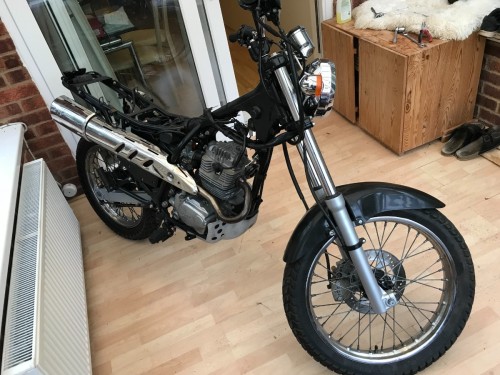
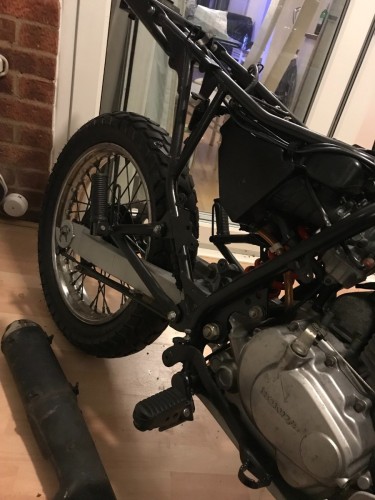
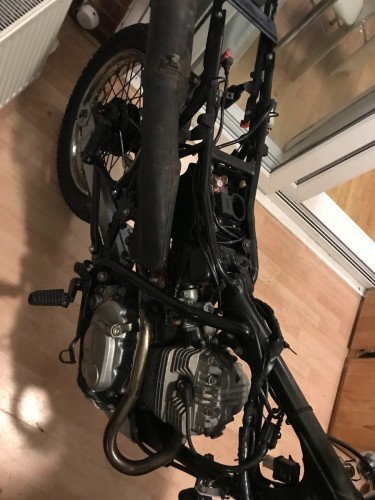
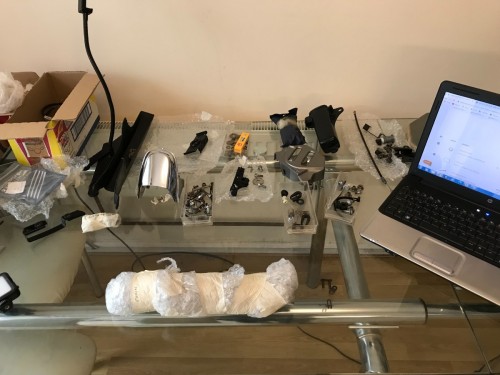
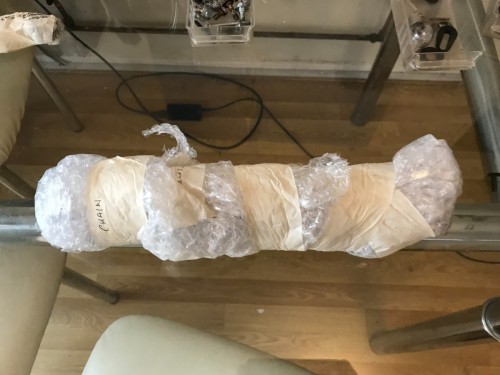
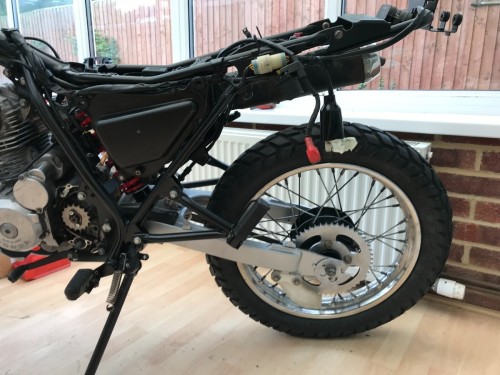
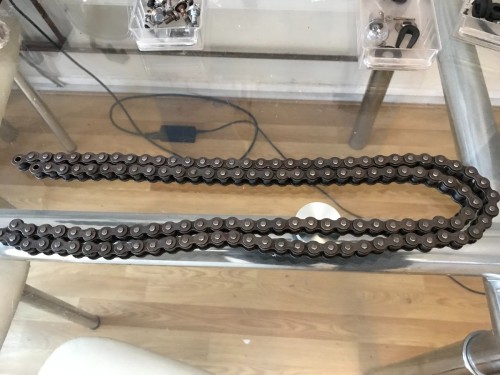
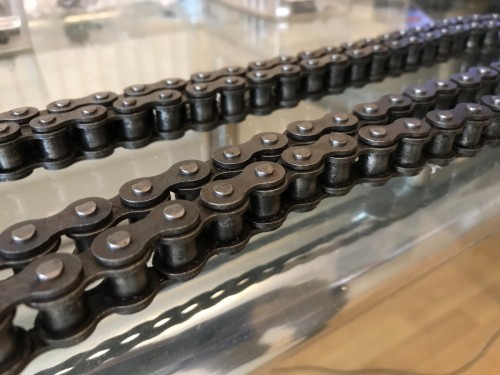
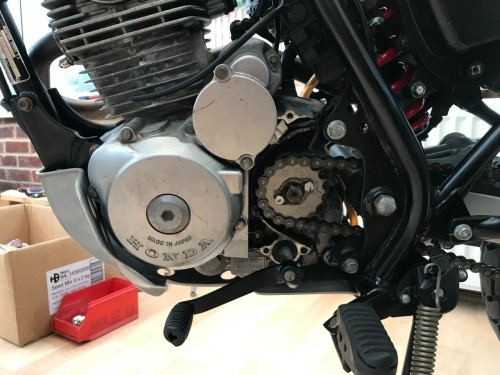
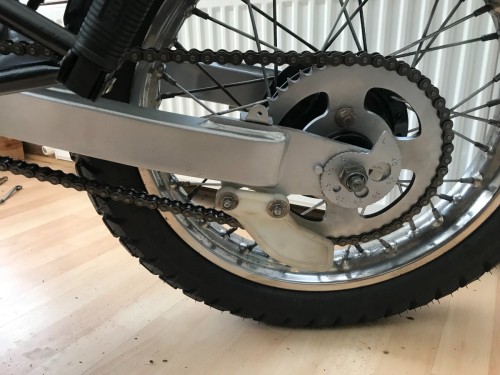
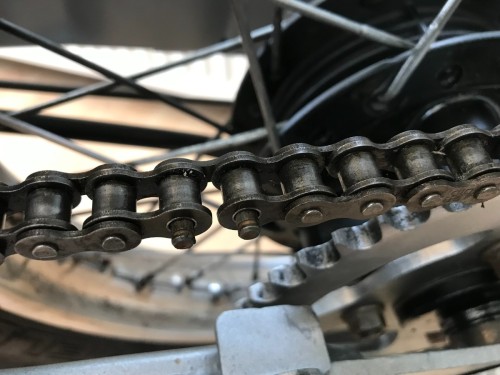
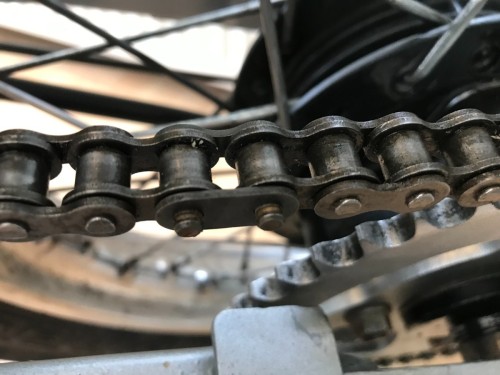
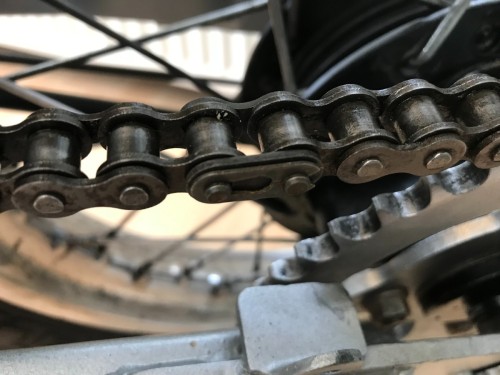
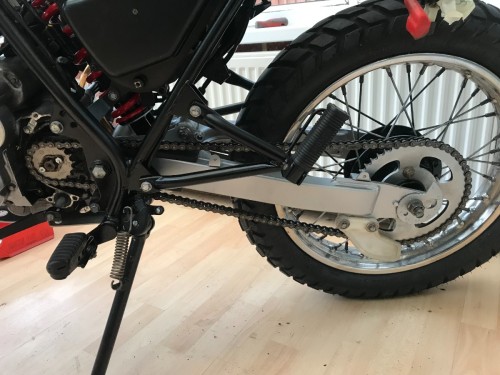
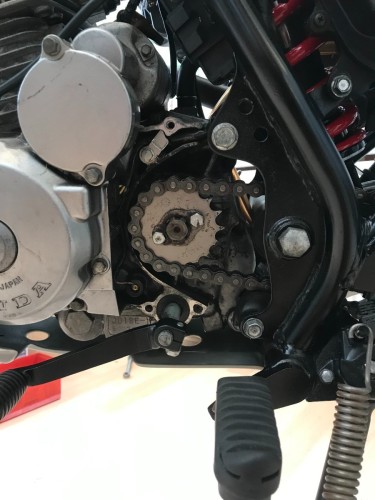
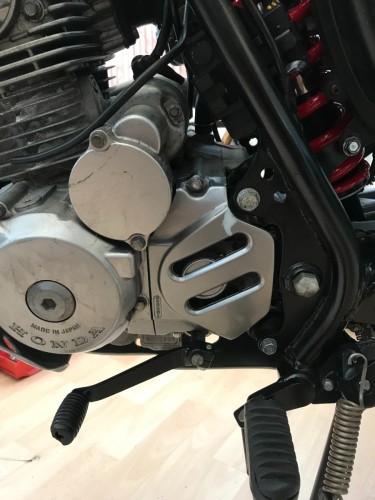
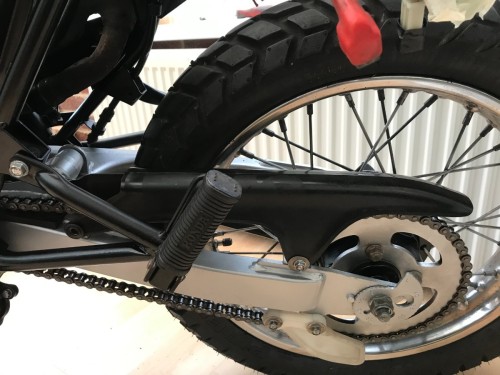
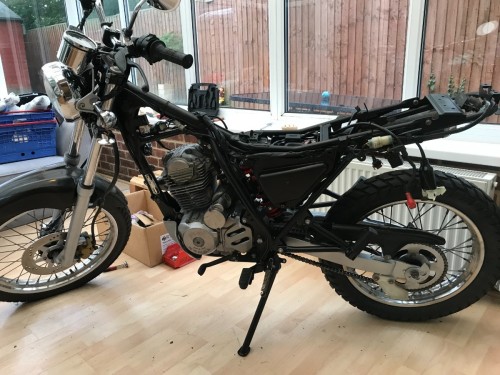
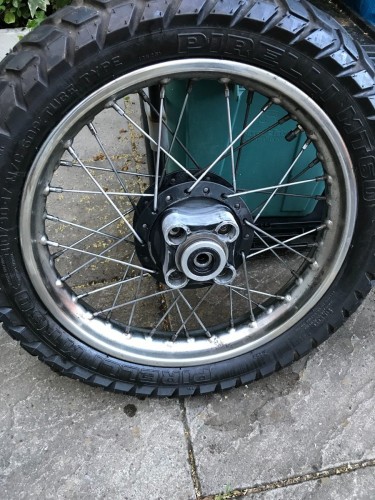
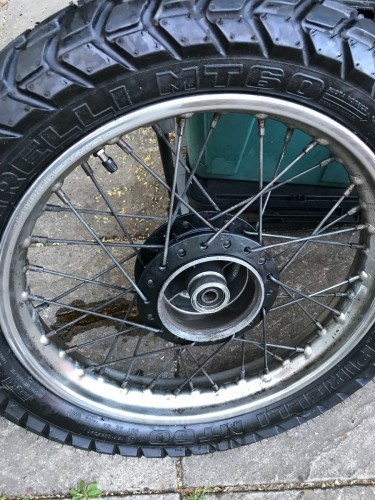
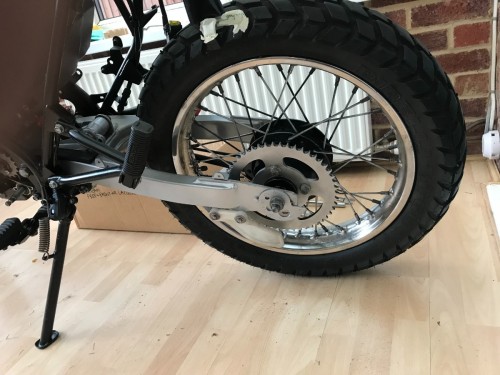
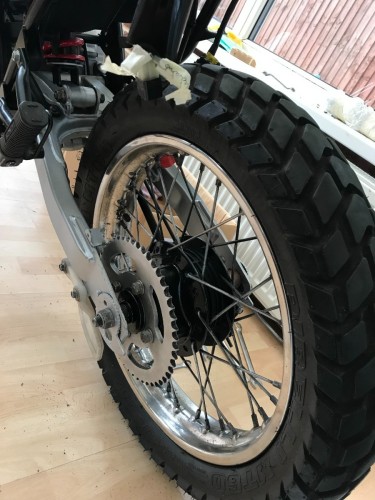
Again cheers for the support/likes and comments all! So...back wheel on and rolls in a straight line lol! So I think now its time to fit the exhaust silencer and pipe assembly... Slightly more difficult than I thought trying to wind it inside the frame without damaging anything...but got it eventually: Decided not to attach the chrome exhaust covers yet just (can't remember why but I think it was an access issue?) so unwrapped and installed the chain, not many small parts, nuts and bolts left on the table now Split link re-attached: And finally the front drive gear cover and chain guard, cleaned as best as I could although due to the scrape/chip at the top I should have probably repainted it..ah well it can be done later if needs be.. Again very happy with everything so far...I didn't replace the sticker on the chain guard just because I believe overall it looks nicer/cleaner without it!
-
Cheers Goju, I can literally swear by the Autoglim Bumper & Trim Gel for anything plastic or rubber...doesn't really remove any deep scratches/scrapes but its absolutely brilliant for making bits shine like new again. Shame you're missing bits as they are becoming harder and harder to find originals for these older bikes! I think there was around 4 or 5 bolts which weren't supposed to be where they were so not too bad... I must have around 30 pics of the carb area and the exit point of the hose is hidden behind various parts in every single one...typical although access is quite easy so will move it if necessary later in the build (which is almost done btw!).. Very much looking forward to starting the next project (Honda C90) after this one is finished...all the best with your build (which i'll have a look at again shortly) and just keep pushing forward mate, it'll all start coming together nicely!
-
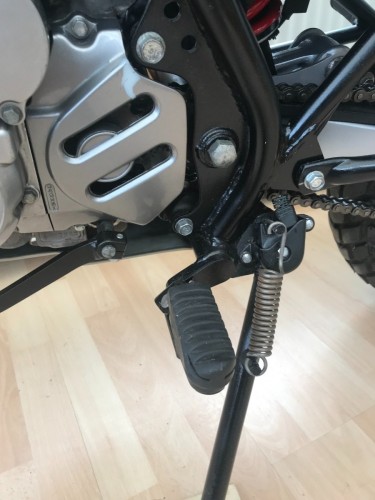
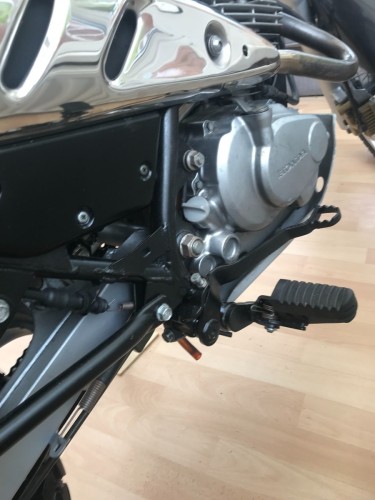
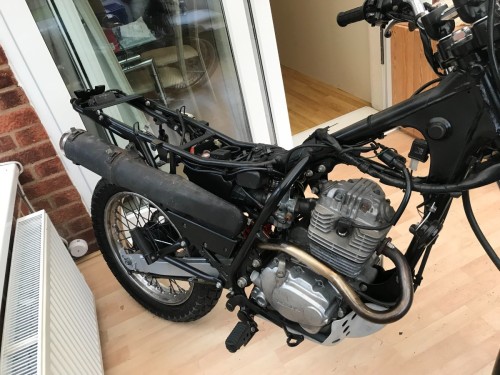
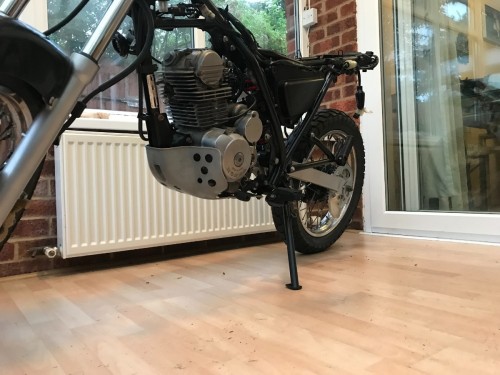
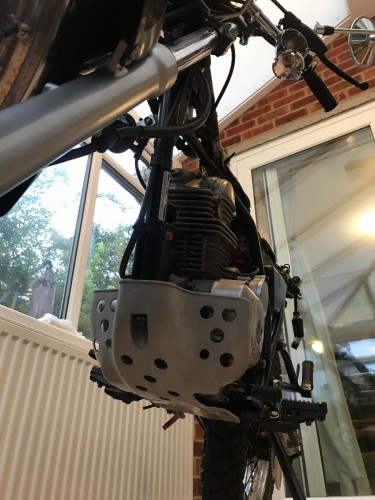
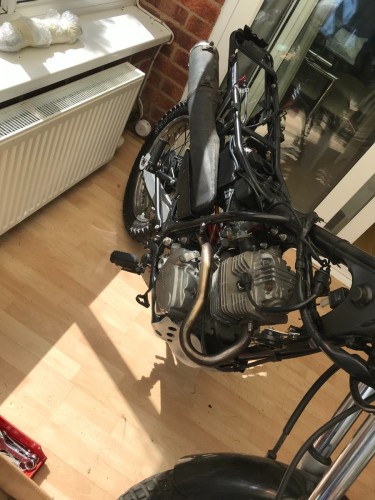
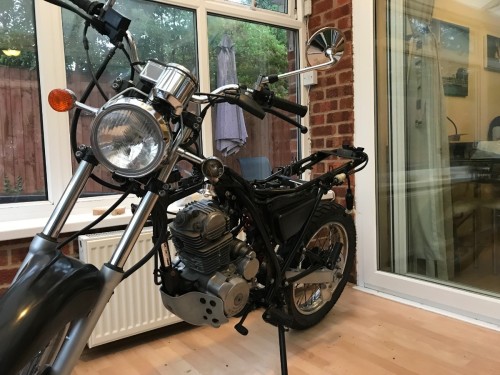
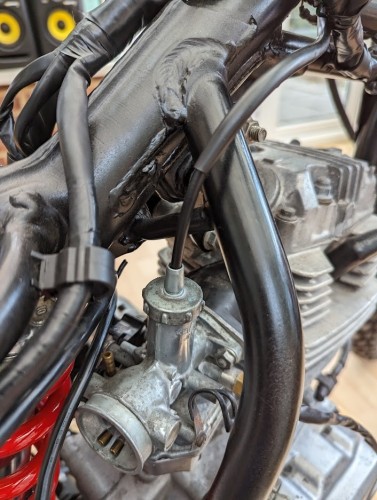
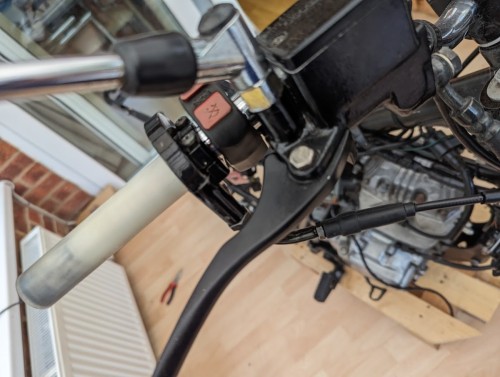
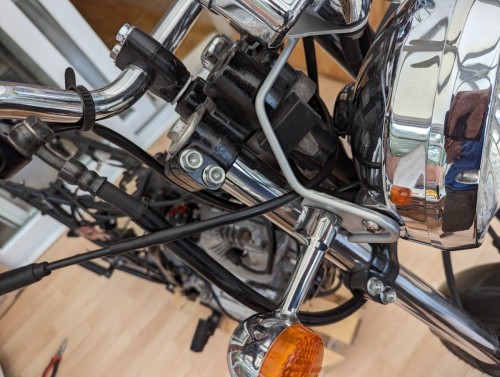
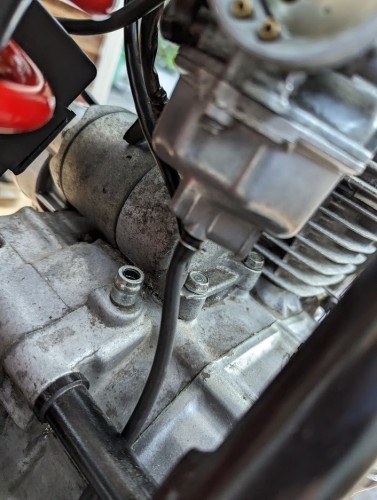
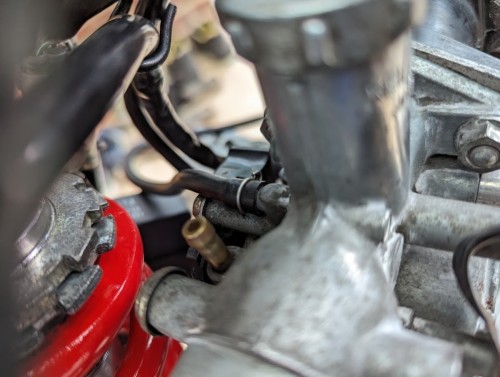
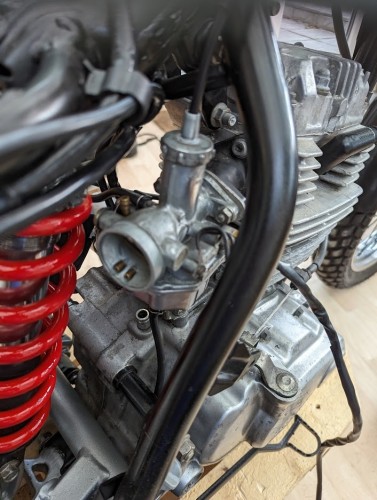
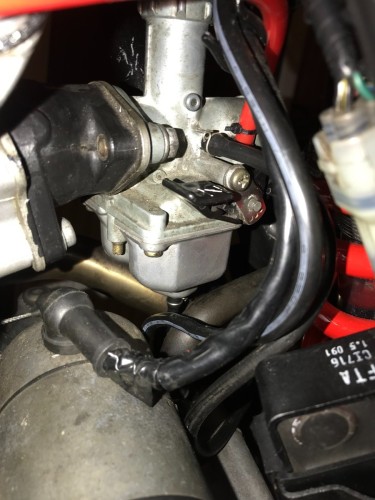
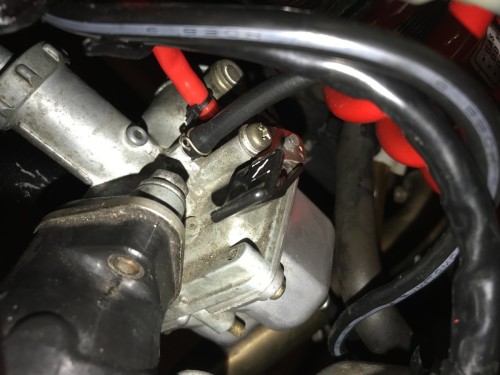
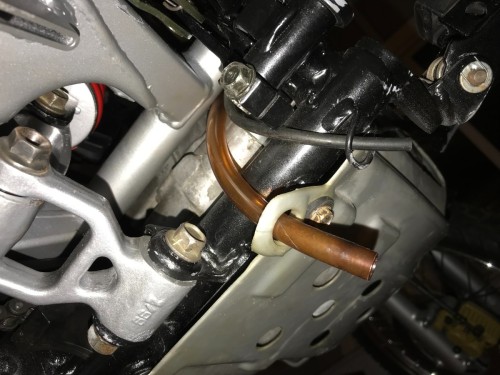
Evening all, after some help/advice... I've finally started to put the carb back on however none of my pictures or online advice has helped with one thing, so i'm hoping someone knows lol... Basically I can't seem to figure out where the upper overflow tube ends up (black tube just above the choke lever) - - the lower overflow tube (from bottom of float bowl) goes down behind swingarm mount and ends up just behind right footrest (pic below) and breather pipe through hole in under shield, however the upper overflow tube doesn't seem long enough to get this far and only reaches the swingarm mount - does this just rest behind the swingarm mount or was the hose not long enough to start with and should end up in same place as float bowl overflow?.... Hope the above makes sense and any help would be much appreciated! Thanks!
-

My Honda CB100N project - “Rusty”
Ben_Jammin420 replied to GojuRyu5's topic in Old Motorbikes, Projects and Restorations
Nice work so far.. doing an amazing job here Goju! Certainly taking some of your techniques/methods for myself hope ya dont mind! also noticed the dart board in the latest pic...do you play? basically if not restoring parts I'm throwing darts while thinking of what to do next lol


