Hairsy
-
Posts
410 -
Joined
-
Last visited
-
Days Won
7
Content Type
Profiles
Forums
Events
Store
Gallery
Community Map
Everything posted by Hairsy
-

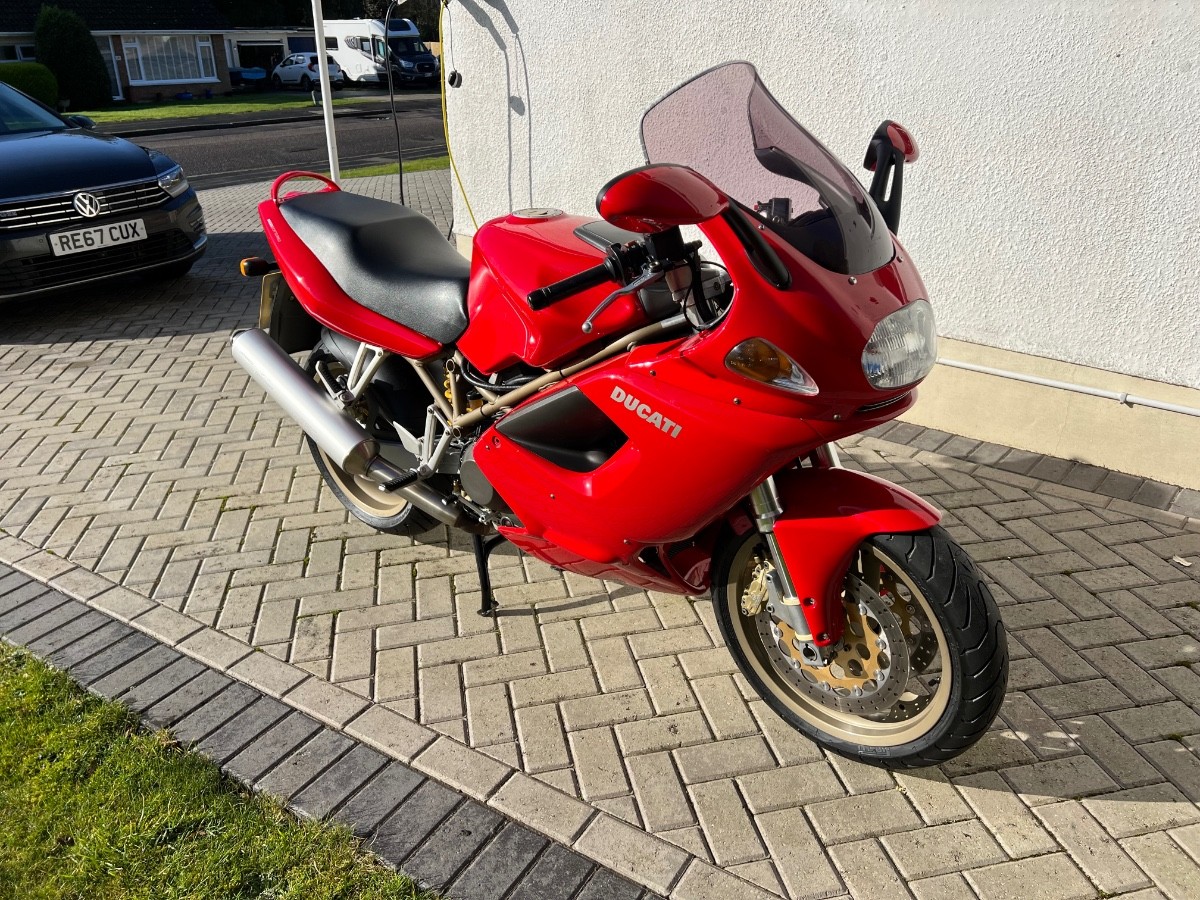
Ducati ST2 : Amateur Restoration Take 2
Hairsy replied to Hairsy's topic in Old Motorbikes, Projects and Restorations
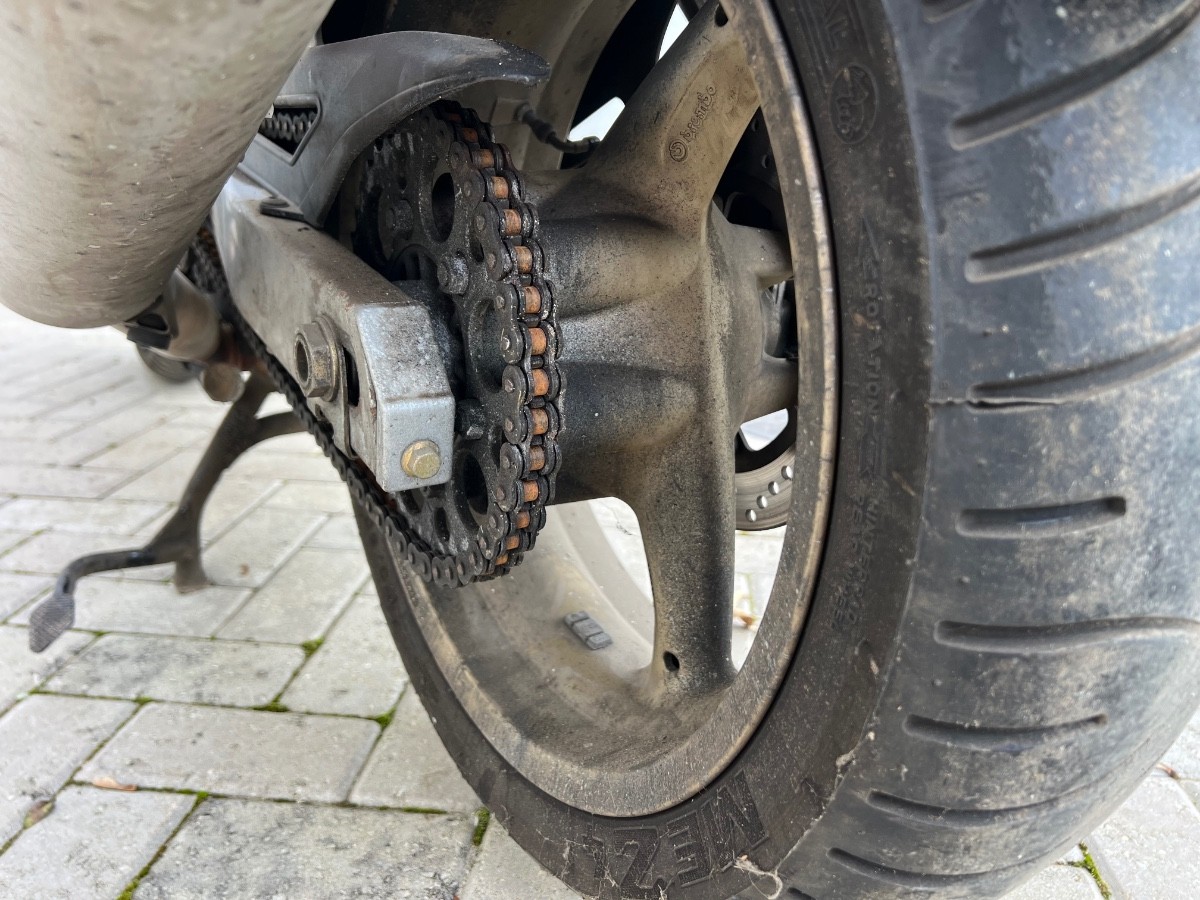
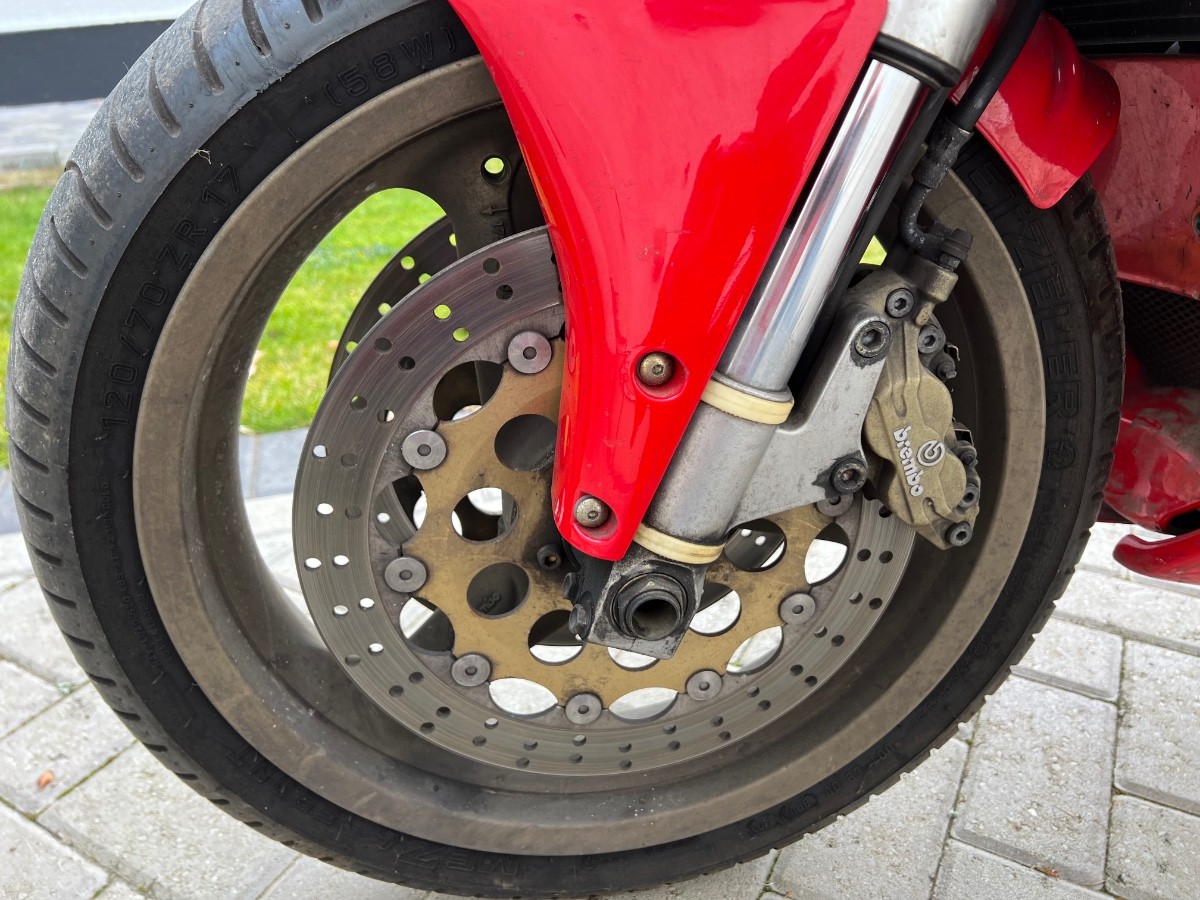
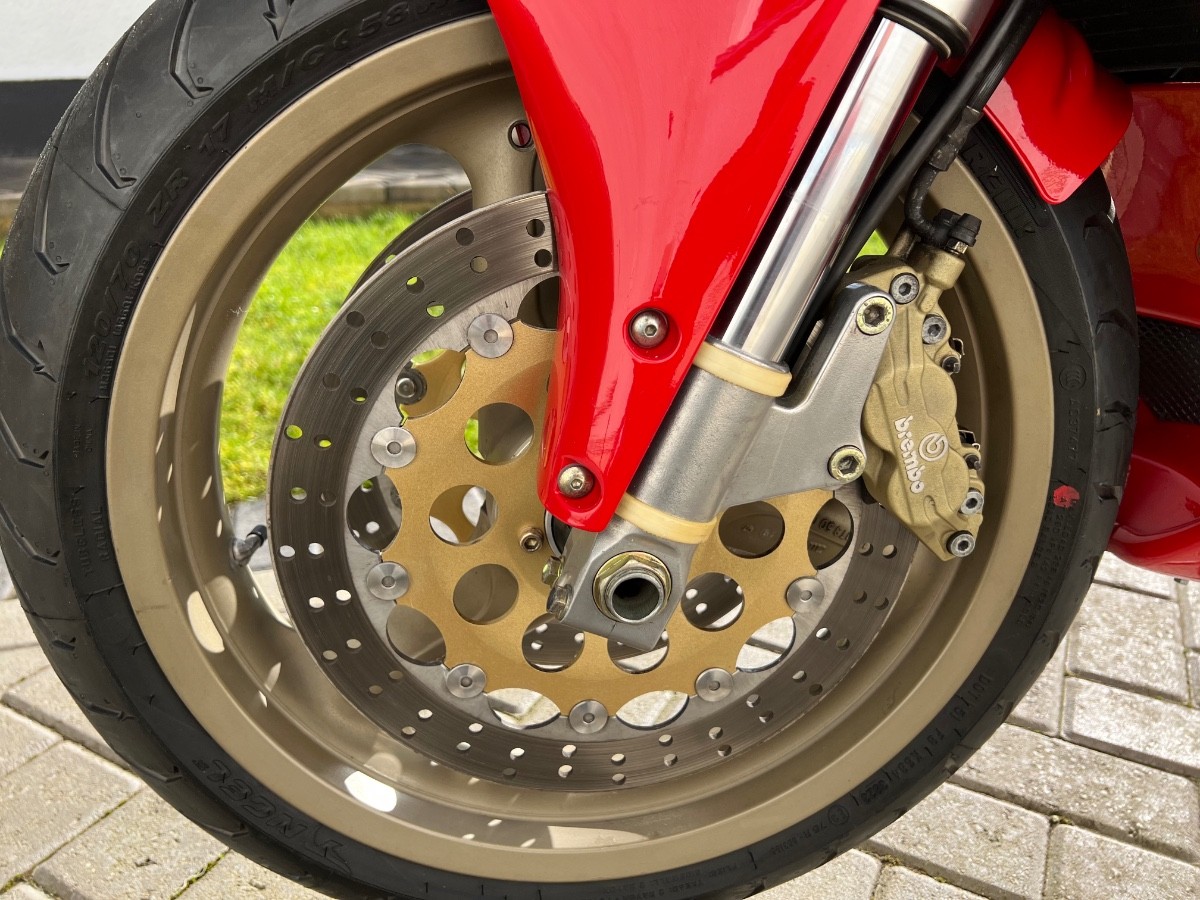
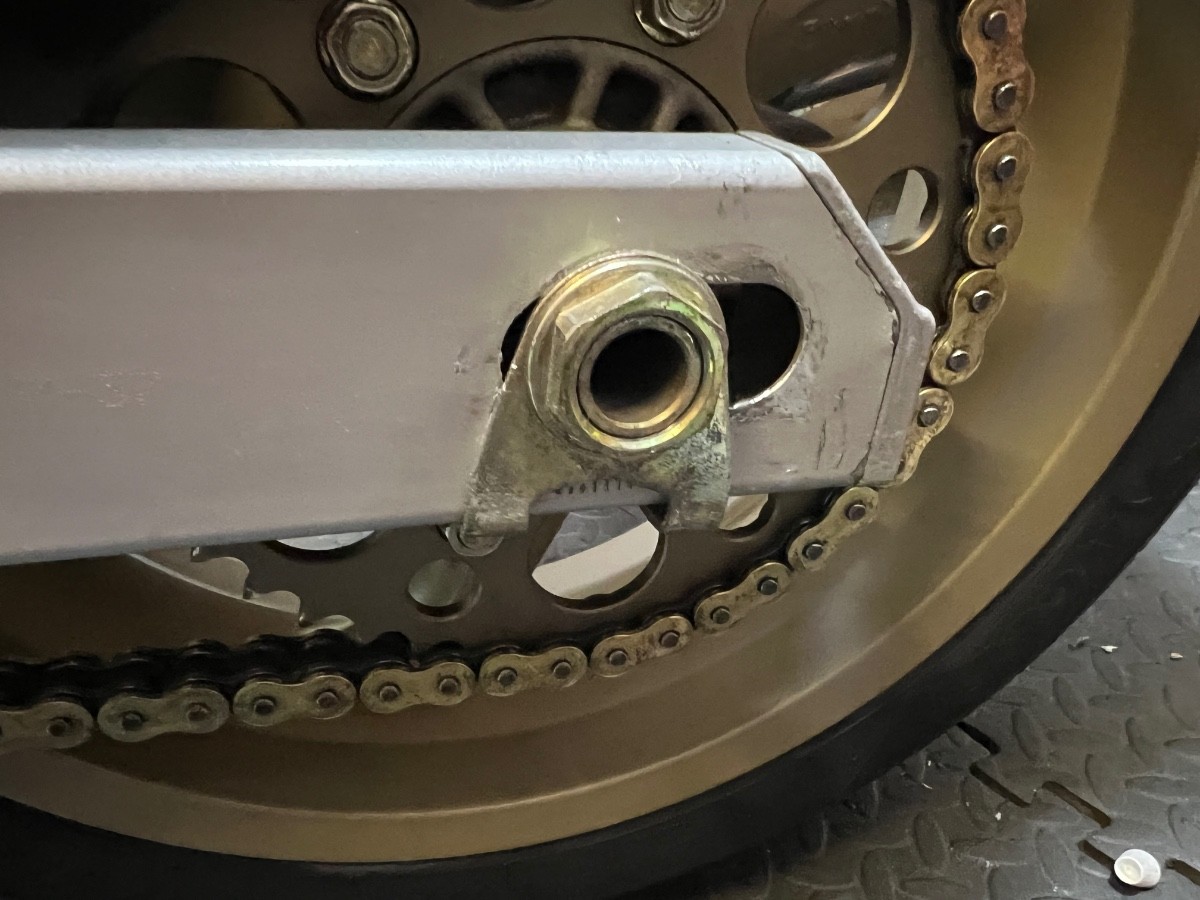
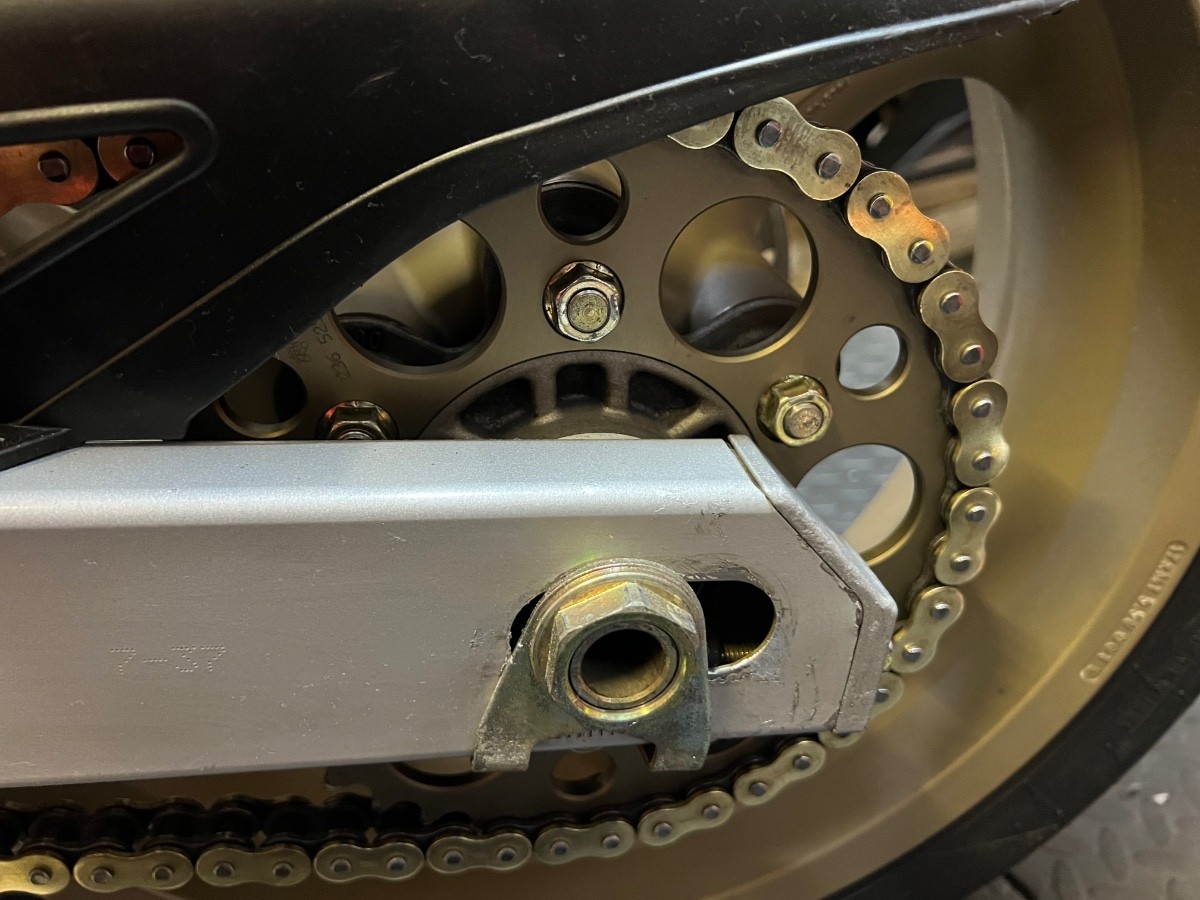
Only very minor things today but couldn't manage to spend a whole day without doing something: - Checked chain tension - something has clearly bedded in and it needed slightly tightening - Checked torque on both axles and all brake calipers - all fine - Ordered replacements for the tools that were missing from the original toolkit (the original bag and a couple of tools were there but some bits were missing) - Front forks felt a bit firm so dropped the pre-load a little. Feels better now. Added a cable tie to stanchion so I can check travel after riding. - Checked tyre pressures - tyre fitter had set them both too hard so dropped to factory spec (32/36 psi). I'm afraid none of that felt picture-worthy! Tomorrow I may see if I can get an MoT booked for later in the week ... -
Yamaha TDM 850 hesitation
Hairsy replied to ReptileVPK's topic in Old Motorbikes, Projects and Restorations
My apologies - you did say that. I missed it. If you're confident that it was a quality kit with good quality jets then I'm afraid I don't know what to suggest. -
Yamaha TDM 850 hesitation
Hairsy replied to ReptileVPK's topic in Old Motorbikes, Projects and Restorations
Remote diagnosis is very tricky but my best guess is that you may not have 100% fully cleaned the pilot jets originally. Are you absolutely certain that they were absolutely pristine, with every hole in every pilot jet perfectly clean? If you have any doubt at all then do it again. If it's any consolation, I've been there. My guess is that your replacement pilot jets may have been cleaner but will have messed up the mixture. I'd definitely be wanting everything back to factory sizes / settings. And I agree - don't change the exhaust until this problem is solved. -
1990 CBR1000FL...Sat for 14 years, alone....
Hairsy replied to Egon247's topic in Old Motorbikes, Projects and Restorations
Oh stop it! -
Ducati ST2 : Amateur Restoration Take 2
Hairsy replied to Hairsy's topic in Old Motorbikes, Projects and Restorations
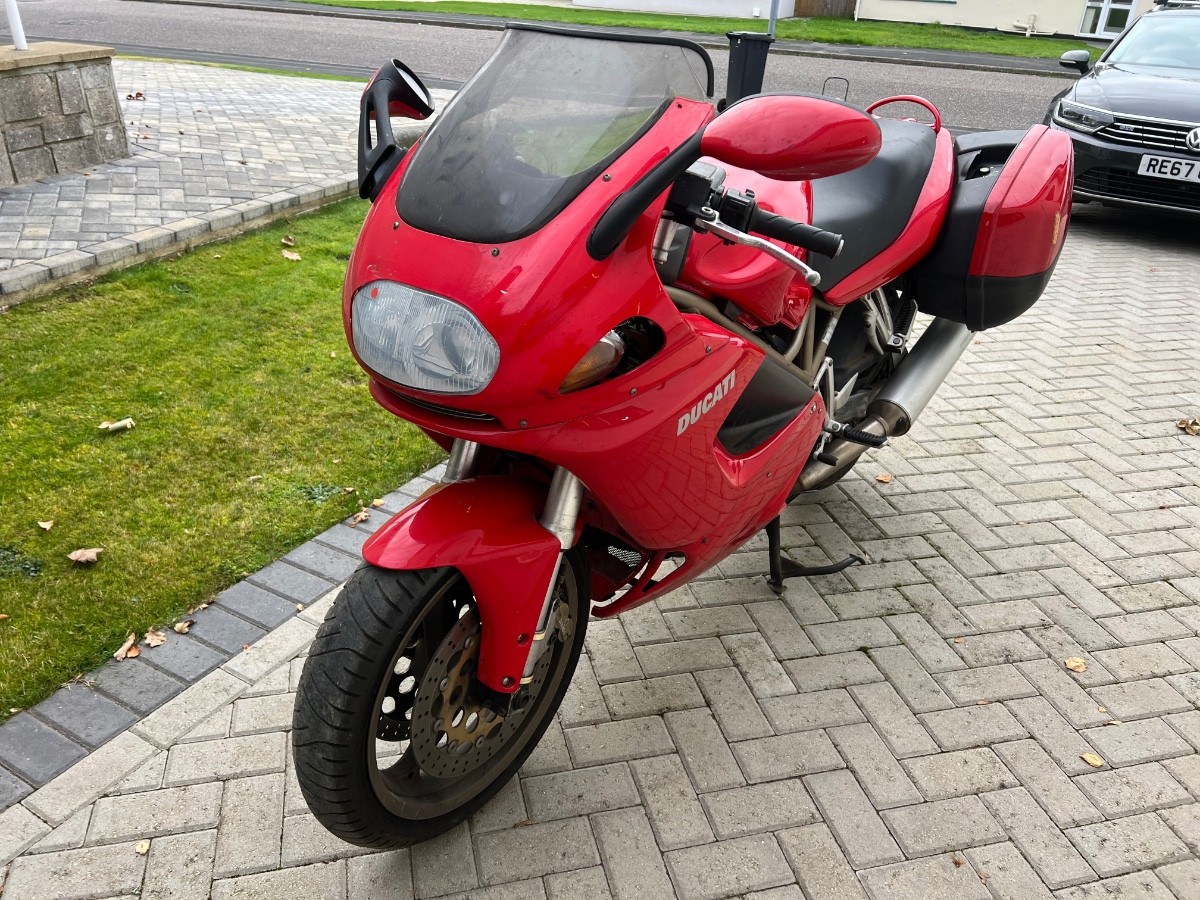
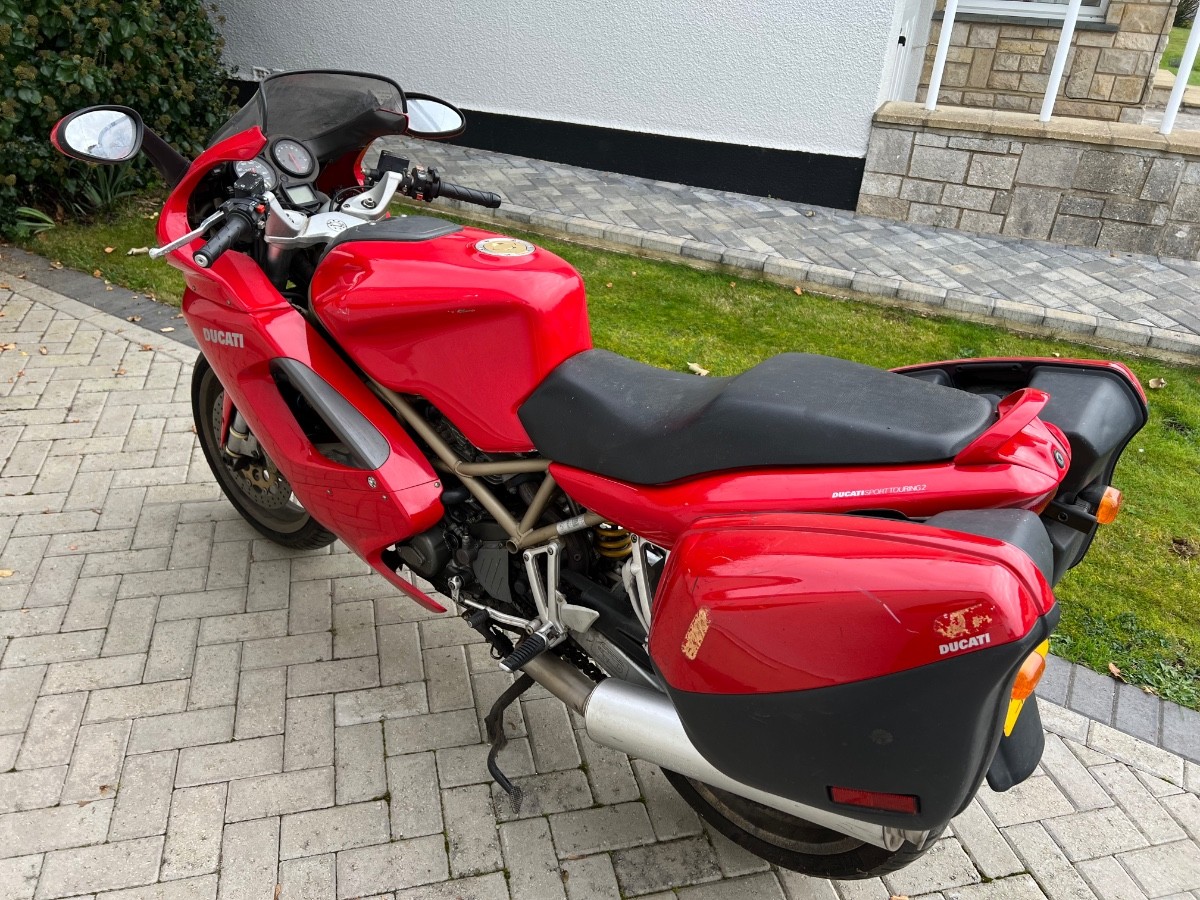
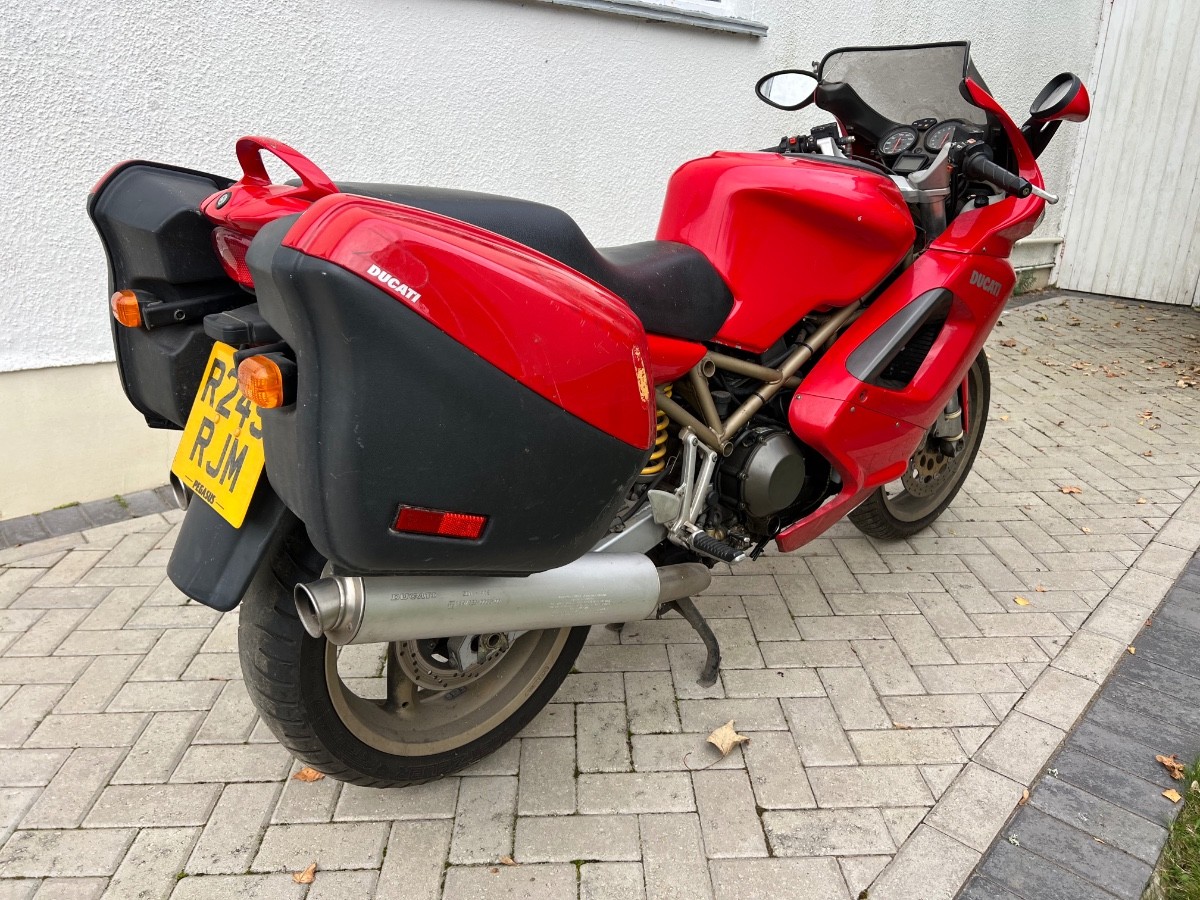
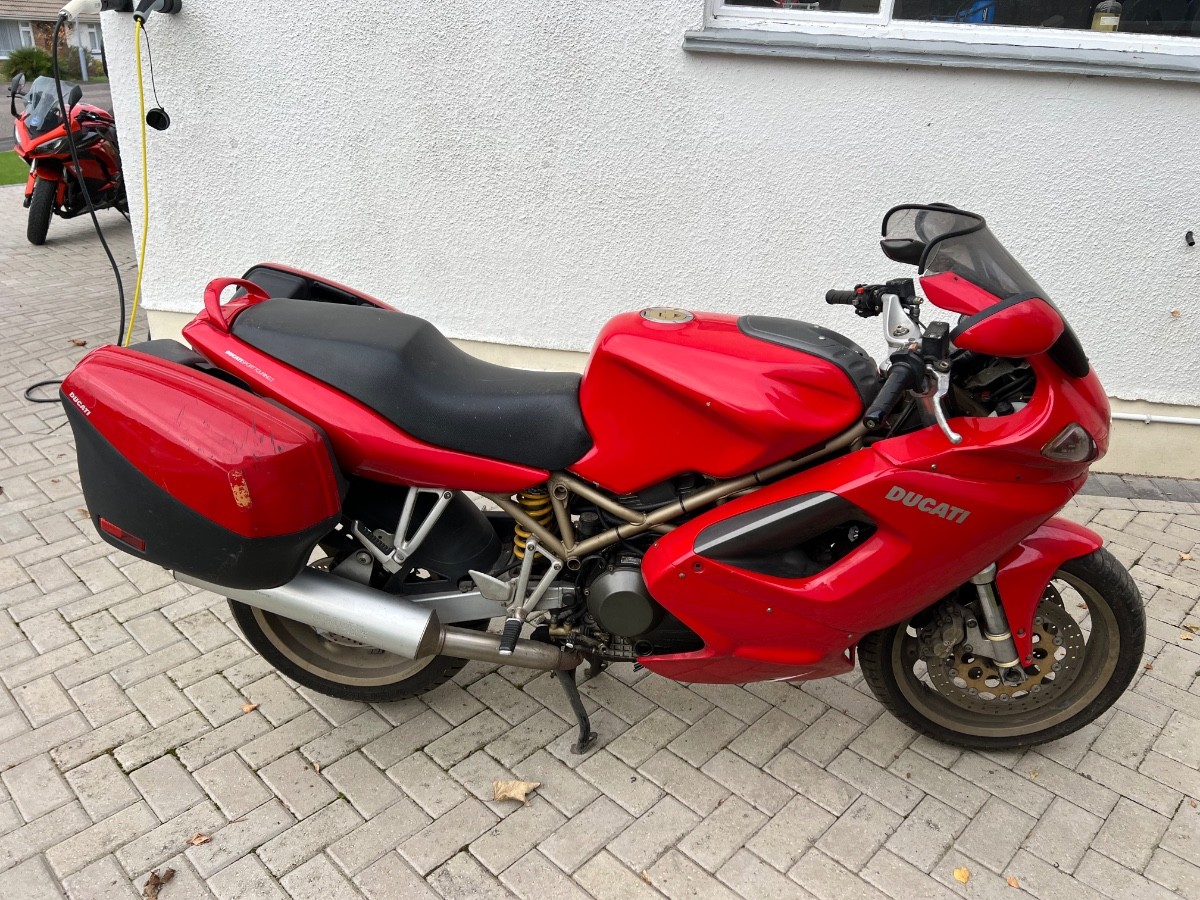
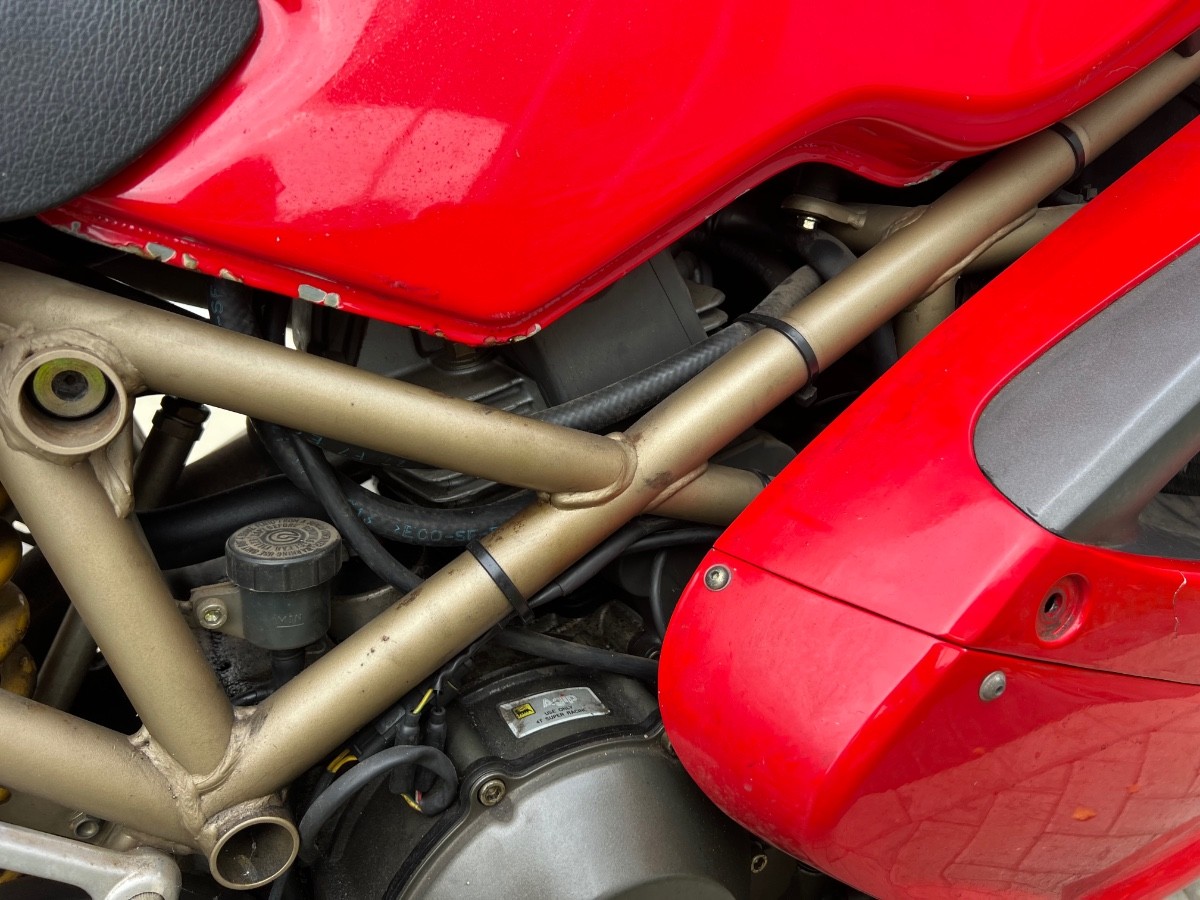
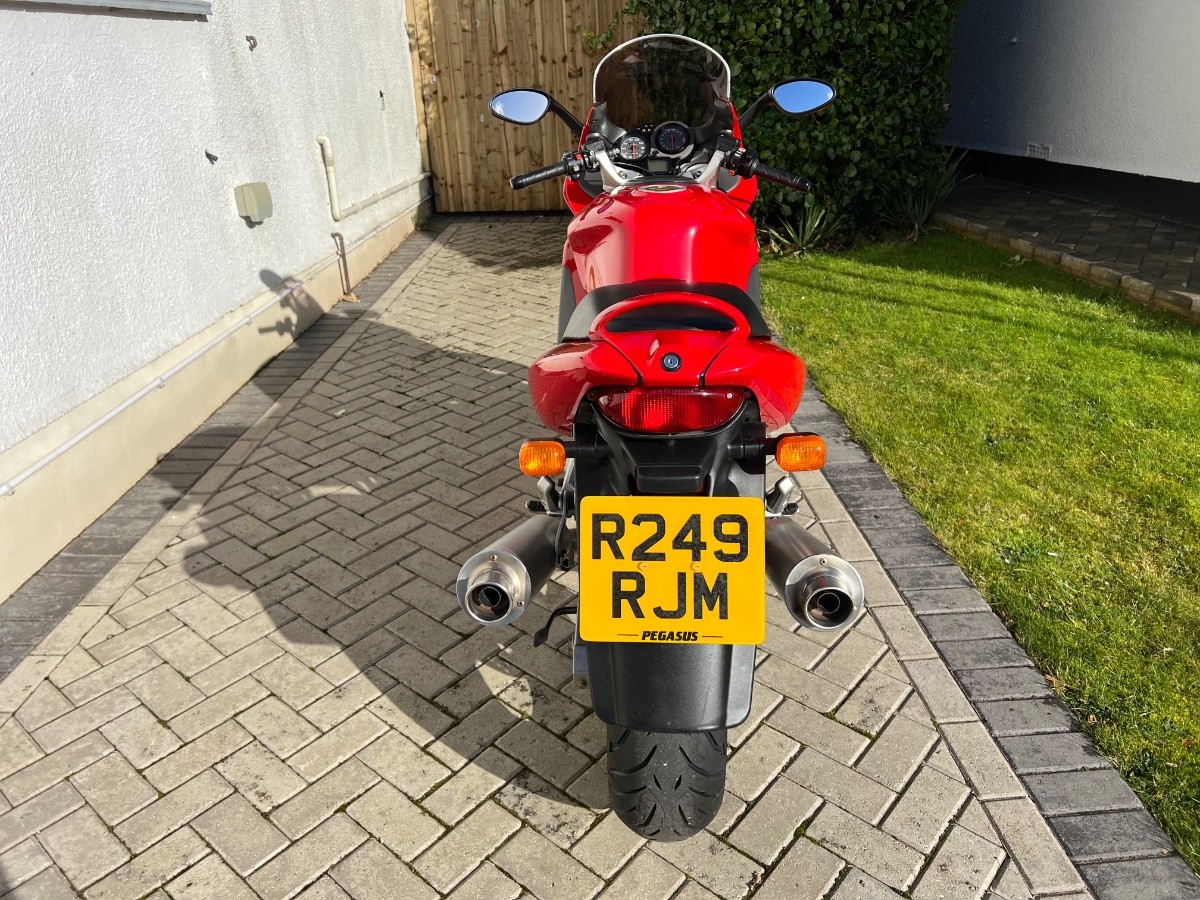
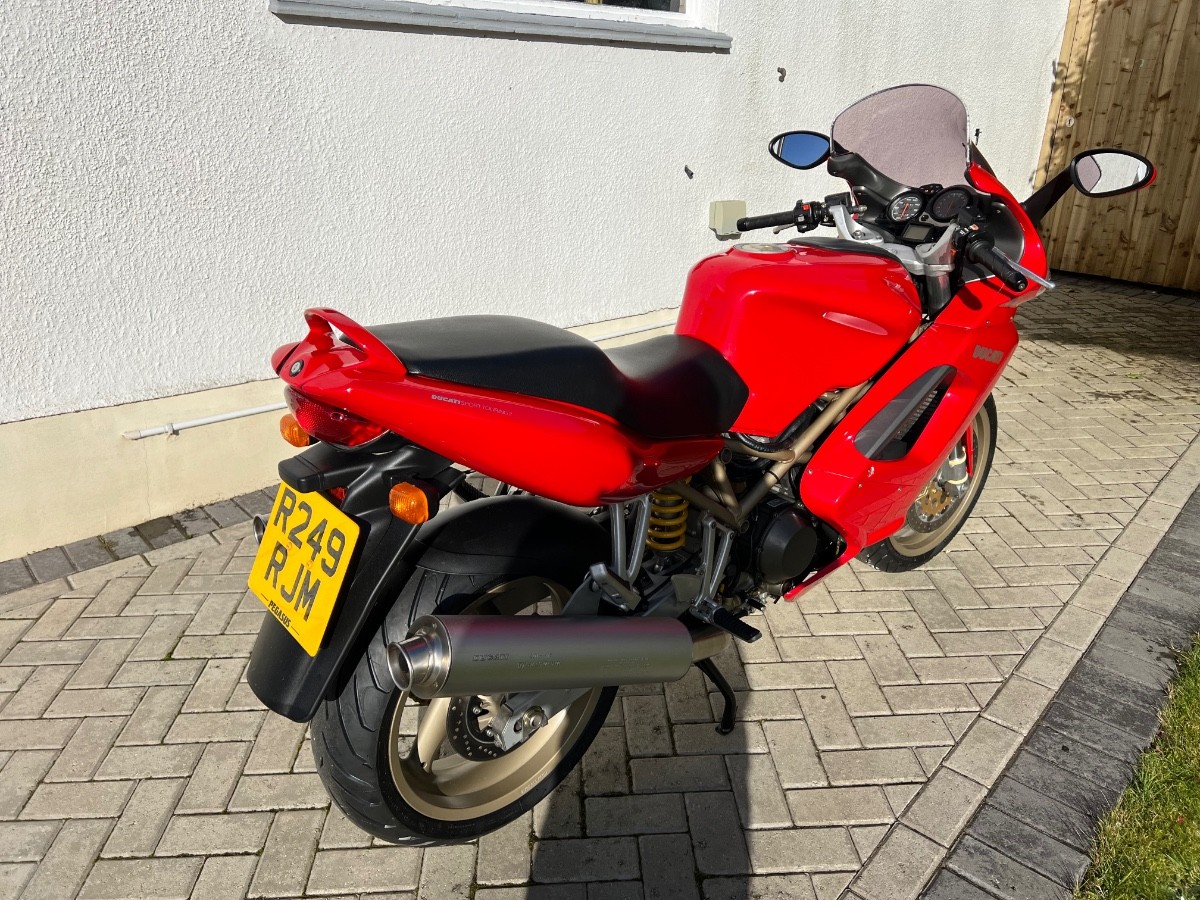
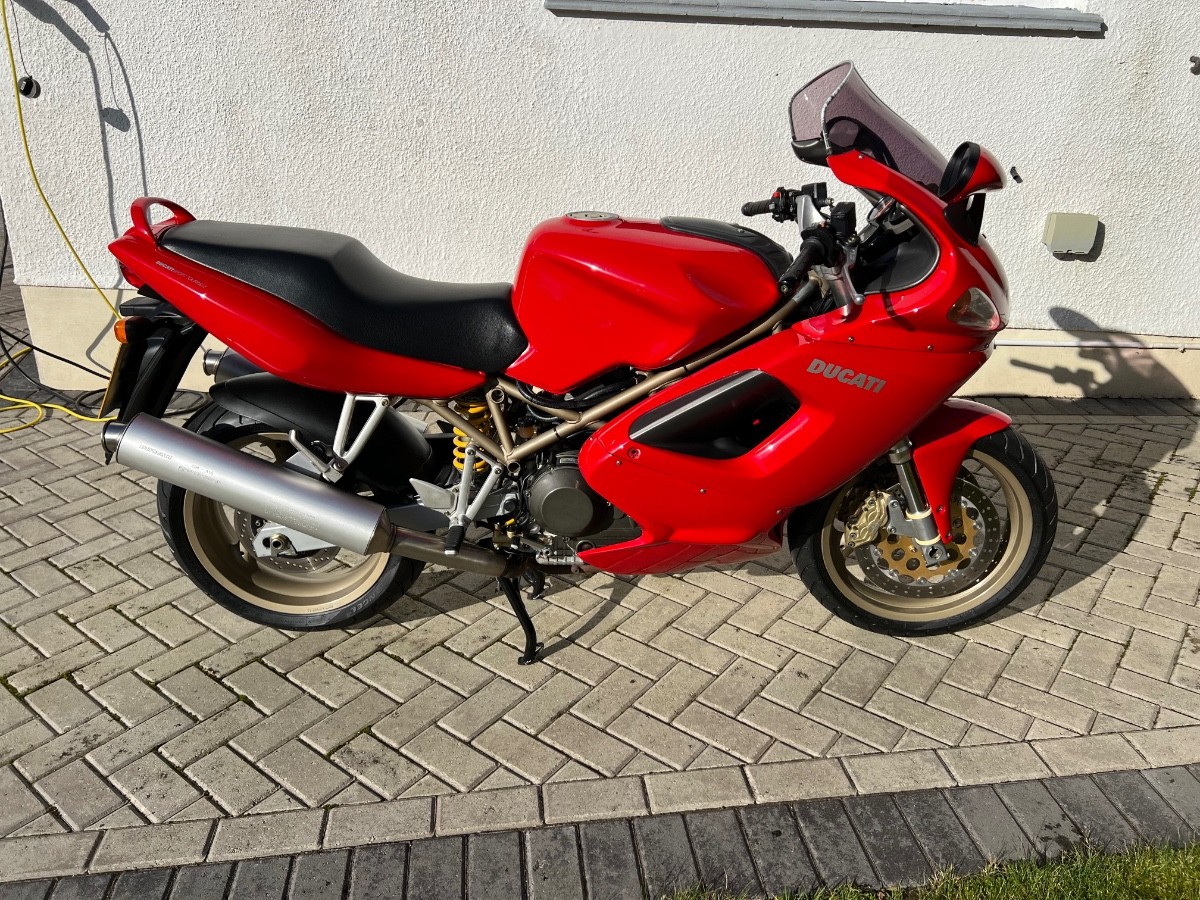
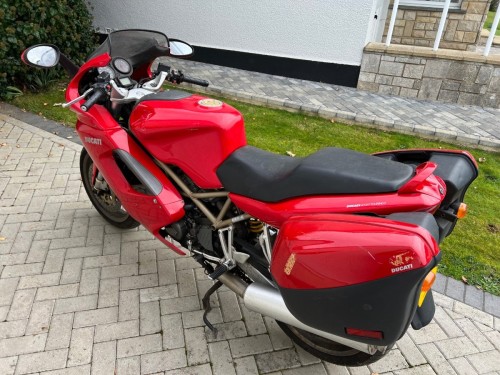
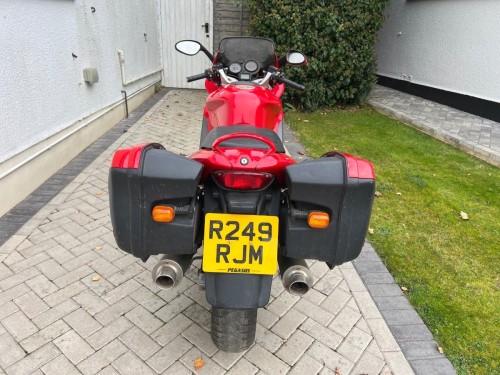
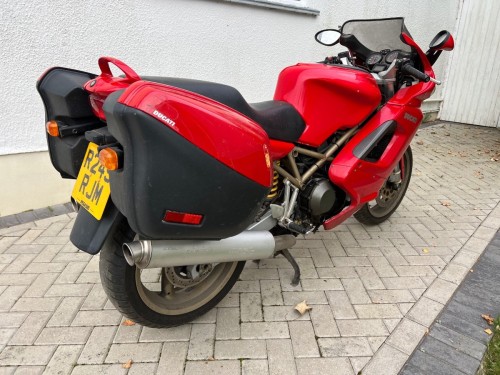
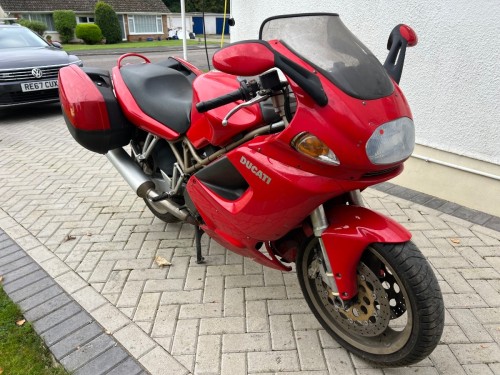
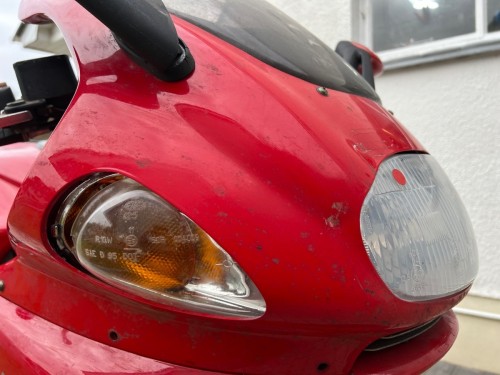
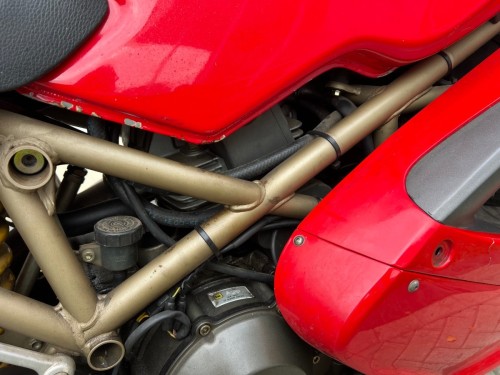
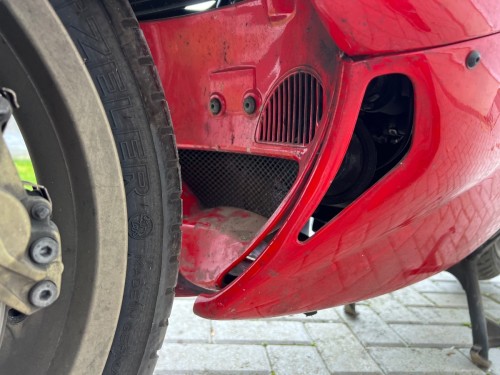
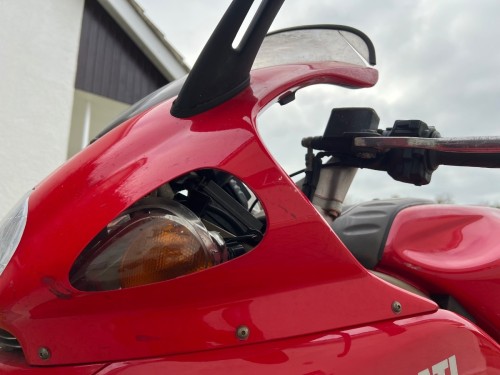
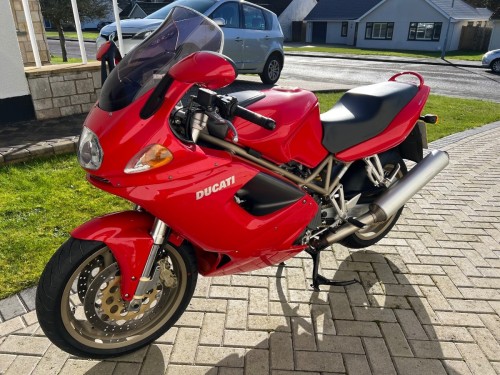
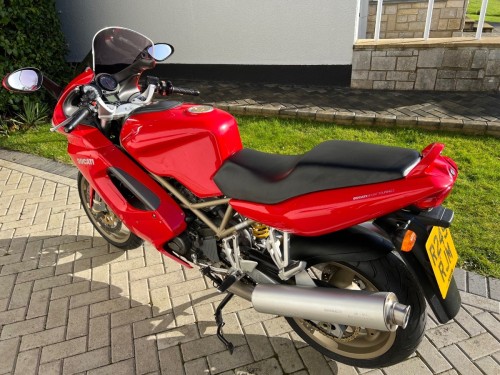
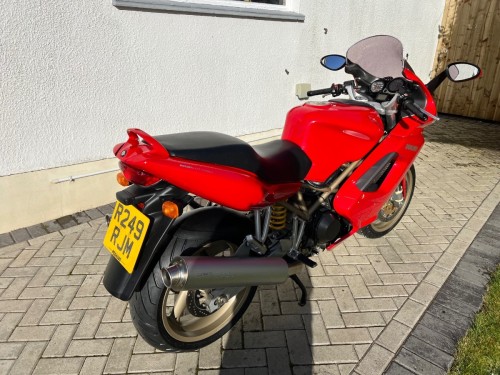
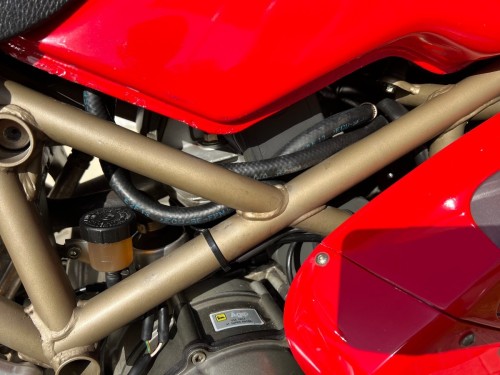
A big day today - she looks like a motorbike! Needless to say, it wasn't without it's little challenges but they were overcome. I'm very careful when taking a bike apart to put each panel's fastenings into a marked envelope - my memory is terrible and it wouldn't work without. Most of the side fairing parts were OK - a couple of missing fastenings but I mostly had suitable spares in my many boxes. A couple of exceptions were a larger Allen bolt that holds the centre of each side to a sticky out post from the frame. I'll order new bolts and I managed to find a short term substitute for one side. On the other side the substitute wouldn't screw in. I then noticed that there's an M6 wellnut missing from the end of the post - annoyingly, I have loads of wellnuts but none are M6. So that's also added to the order list. The nose fairing went together Ok but I realised that Italian build quality means the best way to put the fairings together is to do everything up very loosely so that fittings can be wobbled into place. Then tighten later. Finally the lower cowl when on where I discovered more missing fixings. Again, I found short term substitutes but need to order the proper replacements. The final parts were two pieces of trim that fit next to the instruments to make everything look nice - and probably provide a small airflow benefit. These weren't previously fitted and one was actually missing but I'd found a replacement from a breakers. There was some fiddling to refit the LED for the alarm because this hadn't been replaced when the alarm was replaced. Again missing there were fixings but I had screws that were ideal so my substitutes here can be permanent. Then I checked that the steering was moving OK - and it wasn't. The clutch lever was catching on the fairing when turning right hard. I tried to adjust the position of the clutch lever but it just wouldn't move quite far enough to enable the steering not to hit the fairing. I only needed about 3 or 4 mm but I couldn't do it. After much head scratching, I realised the problem. The previous owner had replaced the slave cylinder and had refitted the banjo in the slightly wrong position which meant it caught on the handlebar when trying to rotate the clutch lever on the bar. I don't know how to describe it better than that but, suffice to say, I was quickly able to solve the problem. And then, with the sun shining, I had to get out and take some before and after pictures. Apologies for the number of them - I couldn't resist getting all the before and afters. I will do some with the panniers back on sometime. Some of the pictures show significant improvement, others more minor. I'm particularly pleased with how well my amateur paint repairs went. There's only one really noticeable bit of damage on the nose section - and I suspect that day-to-day most people wouldn't see that. Maybe a future owner will replace or repair it properly. There's still some final checks to do before I'm ready to ride her for the MoT (wheel & caliper torque, chain tension, etc) but I'm really close now. I'm just going to take the weekend off and enjoy the feeling I have right now. Thanks for all the encouragements to date - the running problem was particularly frustrating and my buddies on here kept me motivated. However the story isn't over I'm sure - I'll bet something will happen that needs more of that encouragement.


-
Ducati ST2 : Amateur Restoration Take 2
Hairsy replied to Hairsy's topic in Old Motorbikes, Projects and Restorations
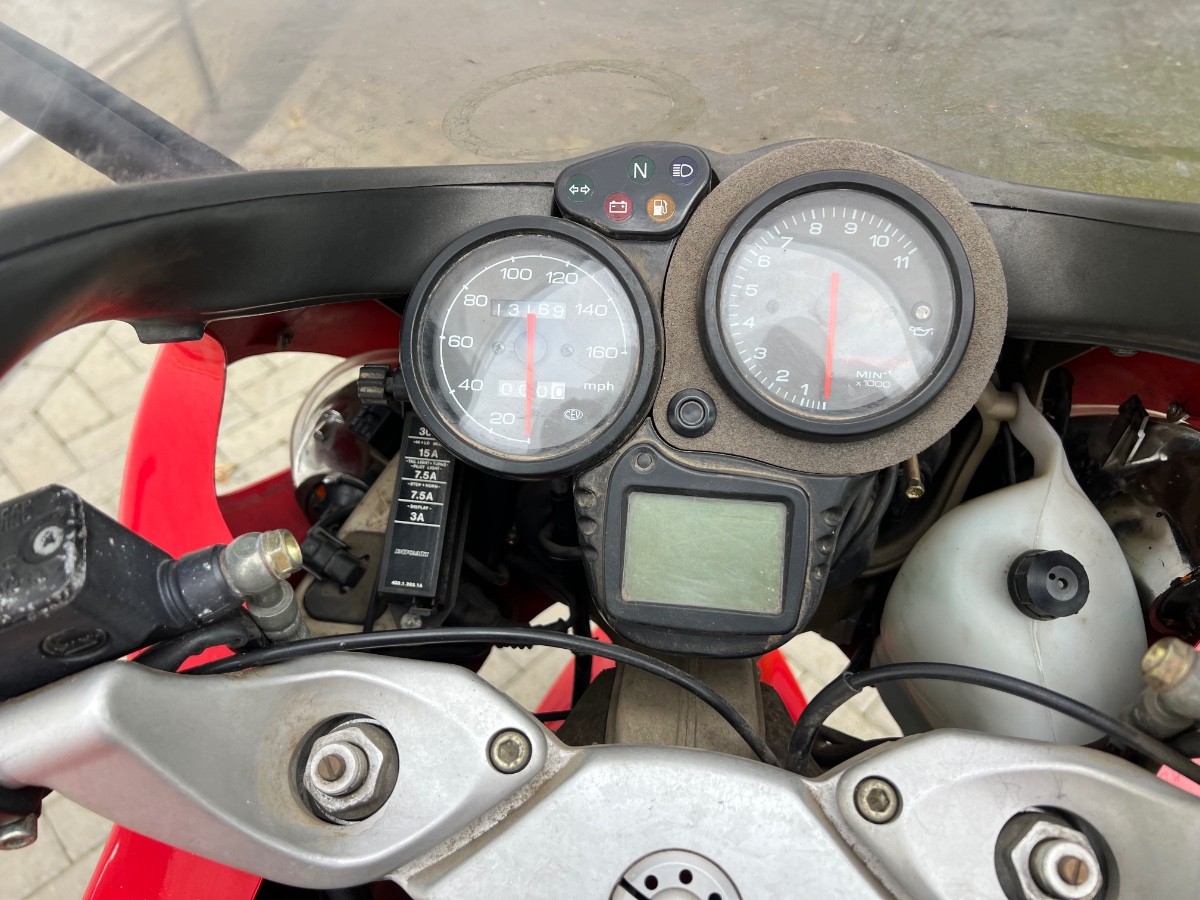
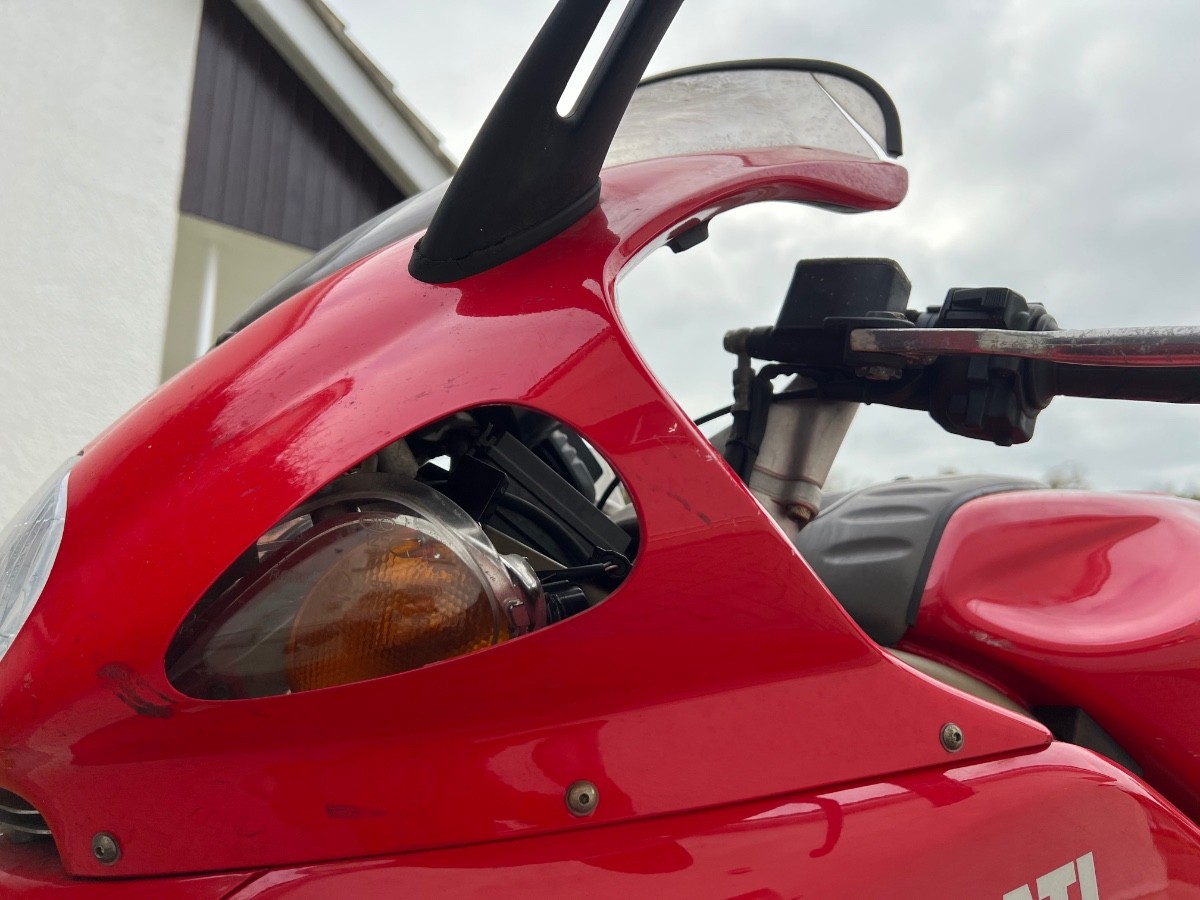
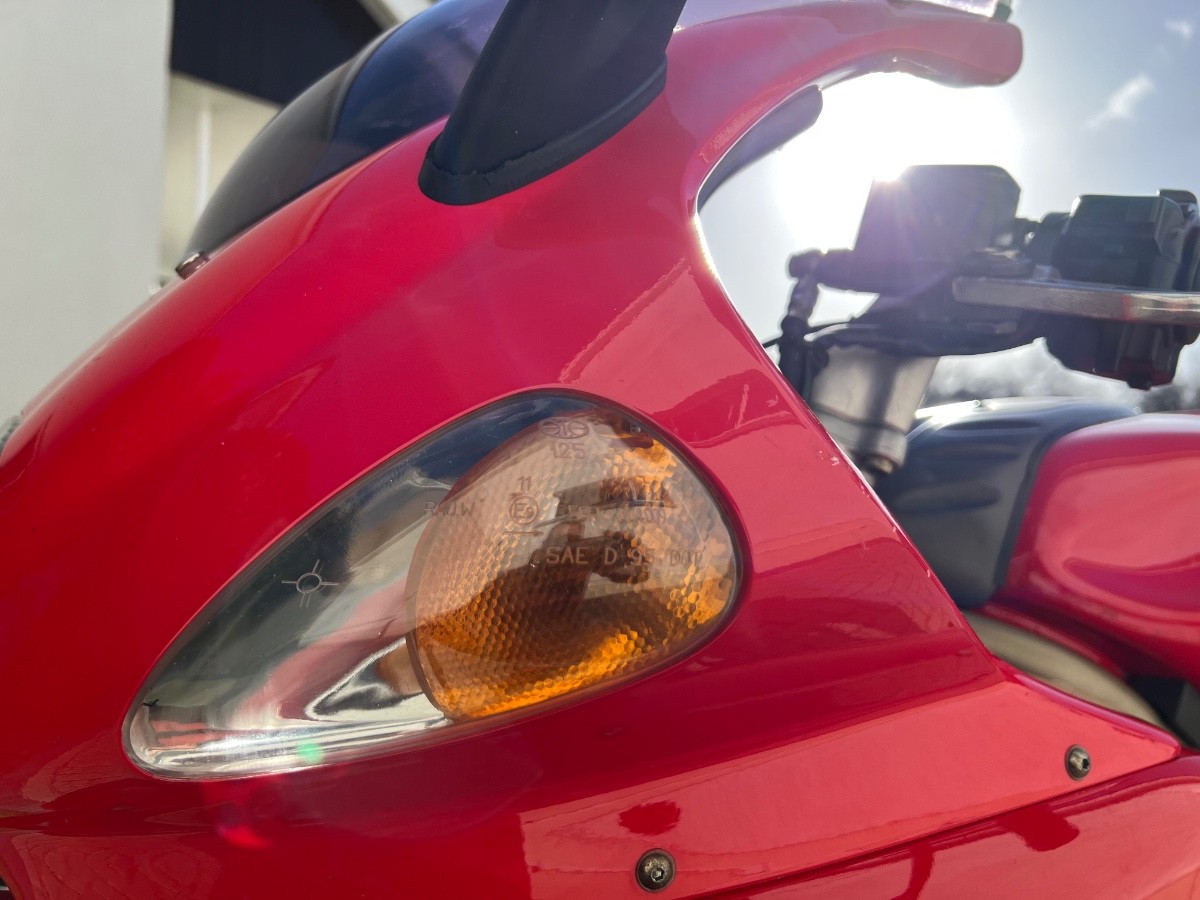
It doesn't feel that quick from where I'm sitting. This bike has delivered more than its fair share of frustration! If my wife is around then I'll get her to take a video when I get to ride it - although that probably won't be for a while as I want to be 100% legal so my first ride will need to be to an MoT and, exactly as I felt this time last year with the CBR, I don't want to take it out in the wet for its first ride. All those hours of cleaning are still too fresh in my memory. One final update for this ... This evening I learned yet another lesson - question everything. It got dark so I took the bike onto the road outside to check the headlight aim. It would probably have passed an MoT but it was on the low side - and it's a bit rubbish anyway so I wanted to get it spot on. As expected, even with all the fairings off, the adjusters are a pain to get to but I eventually managed it. And when I adjusted them - nothing happened. I checked the manual and I was doing the right thing, "turning the height adjuster anticlockwise to raise the headlight" - exactly as instructed in the manual. So I kept turning it and turning it and still nothing. I even tried turning it the other way just in case but, again, nothing happened. So the bike went back into the garage. I nearly deceded to just leave it as-is but, as I've mentioned before, I don't sleep well when I've compromised on something I want to do properly. So the only choice was to take the headlight out. I thought perhaps I'd messed up the adjustment system when I stripped it down for cleaning. Once I had it on the bench I could see inside and see how the mechanism worked. Good old Ducati - the manual is wrong. You have to turn the adjuster clockwise to raise the headlight, not anticlockwise. The reason why it hadn't worked either way was because it had been turned so much that the adjuster was no longer engaging with the headlight. I suspect a previous owner had tried to adjust it and had turned it and turned anticlockwise it in accordance with the manual. So before I put it back, I wound it back in (about 50 turns I reckon!) until it started to engage. Popped the headlight back in, took the bike outside again and finally I was able to adjust it and get it just right. It may be slightly on the high side but I think it'll be OK for MoT. And I now know the adjuster works if the worst comes to the worst. So all ready for putting fairings back on tomorrow. -
1990 CBR1000FL...Sat for 14 years, alone....
Hairsy replied to Egon247's topic in Old Motorbikes, Projects and Restorations
Anything here that could help? https://www.cbrxx.com/threads/anyone-remove-the-vaccum-petcock-feature.5226/ -
1990 CBR1000FL...Sat for 14 years, alone....
Hairsy replied to Egon247's topic in Old Motorbikes, Projects and Restorations
At least some of those fuel taps can be taken apart. Some can also be converted to working without vacuum. From your symptoms, it does sound as though it's struggling to open with the amount of vacuum you're creating on cranking. On my last project I bought a cheap fuel tap from AliExpress and it was perfect. -
Ducati ST2 : Amateur Restoration Take 2
Hairsy replied to Hairsy's topic in Old Motorbikes, Projects and Restorations
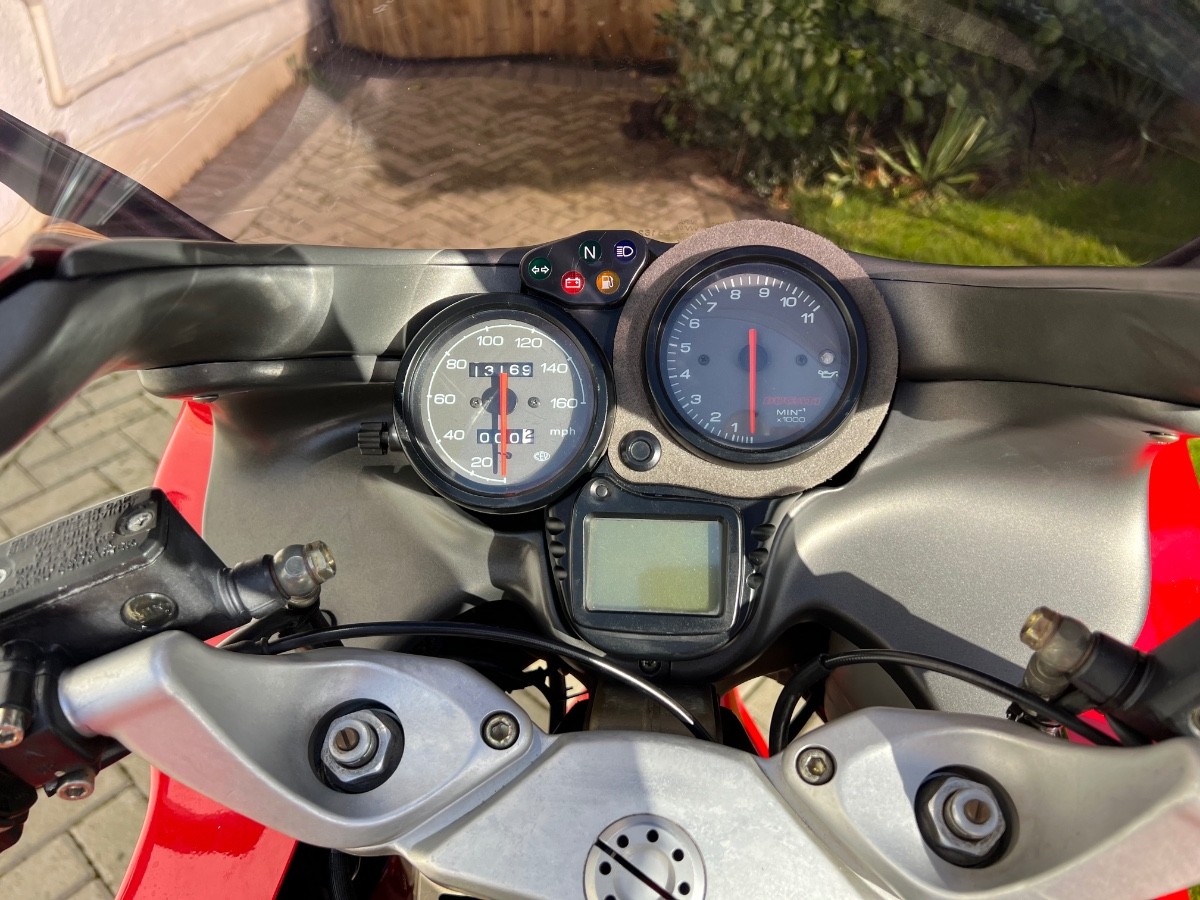
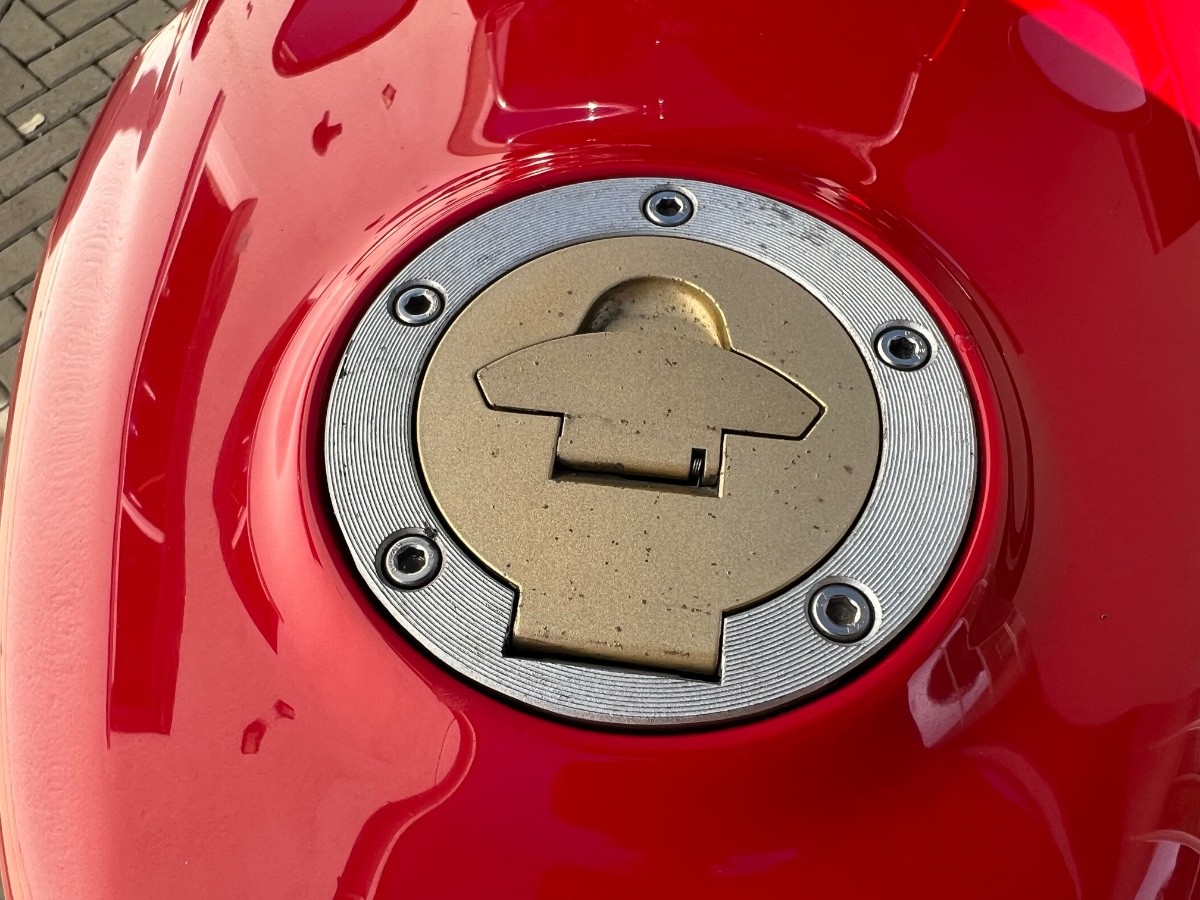
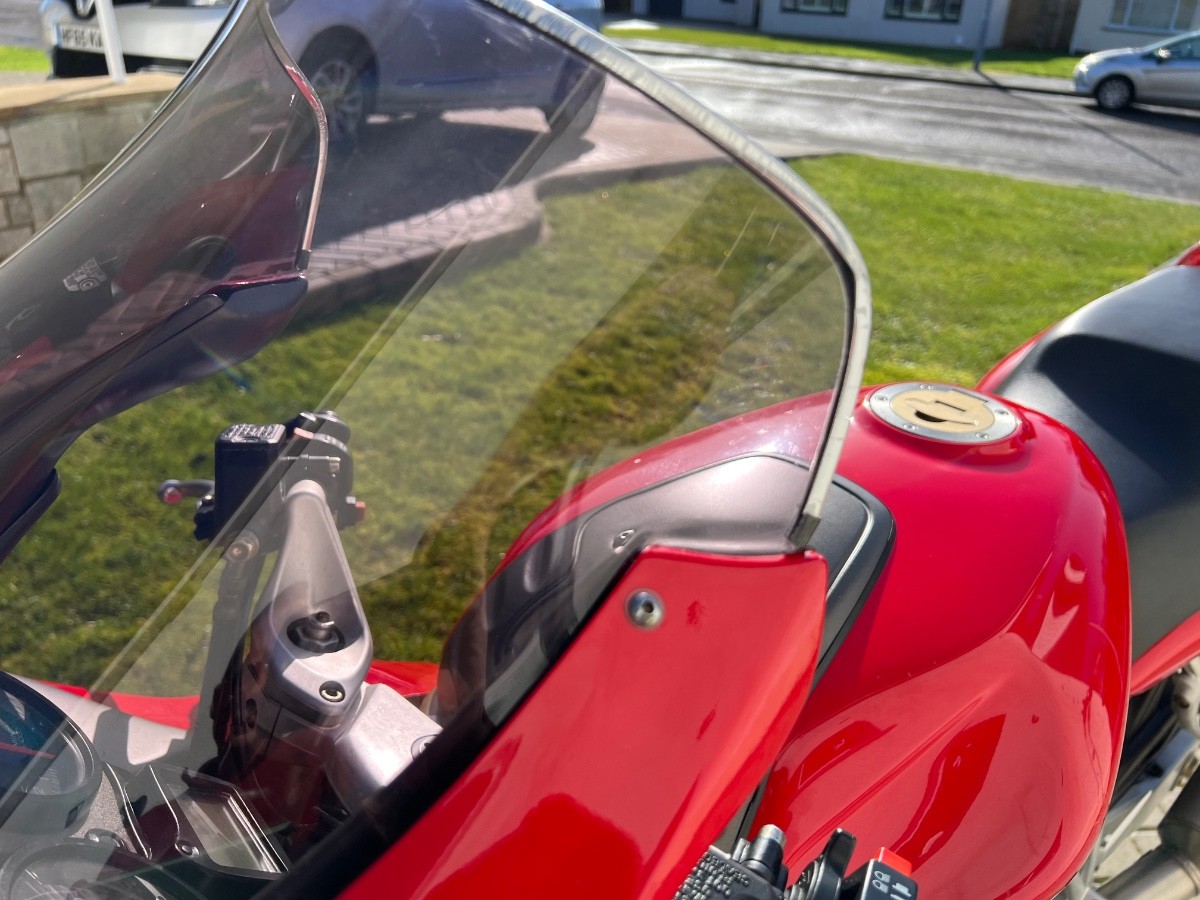
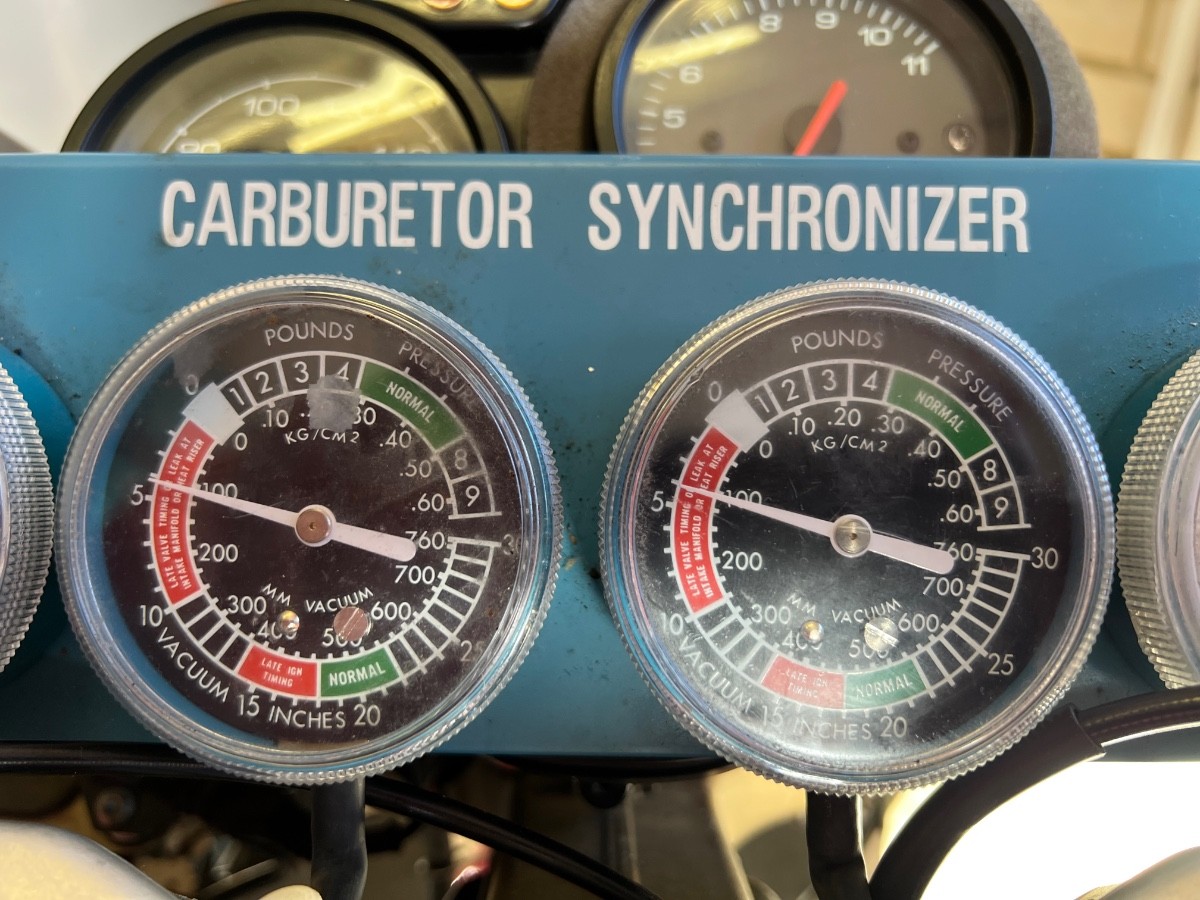
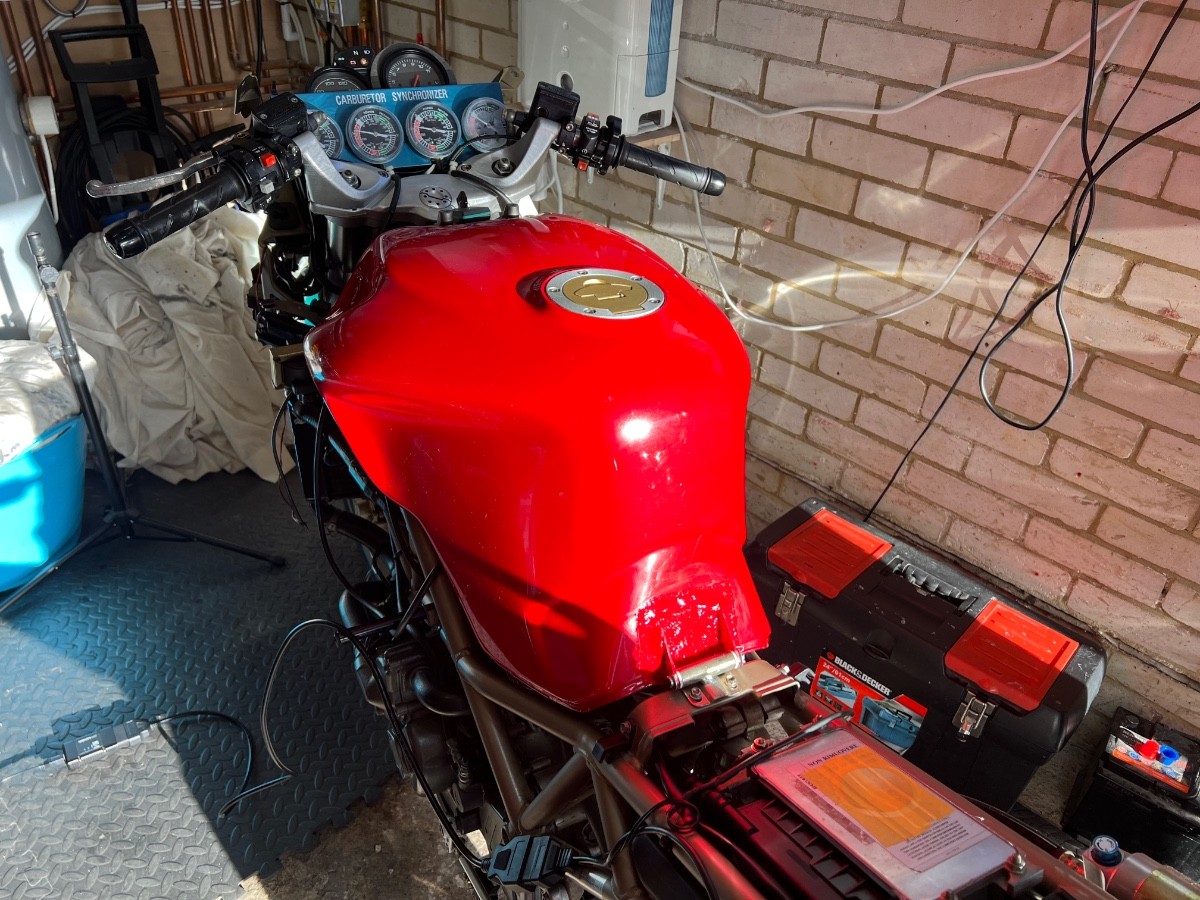
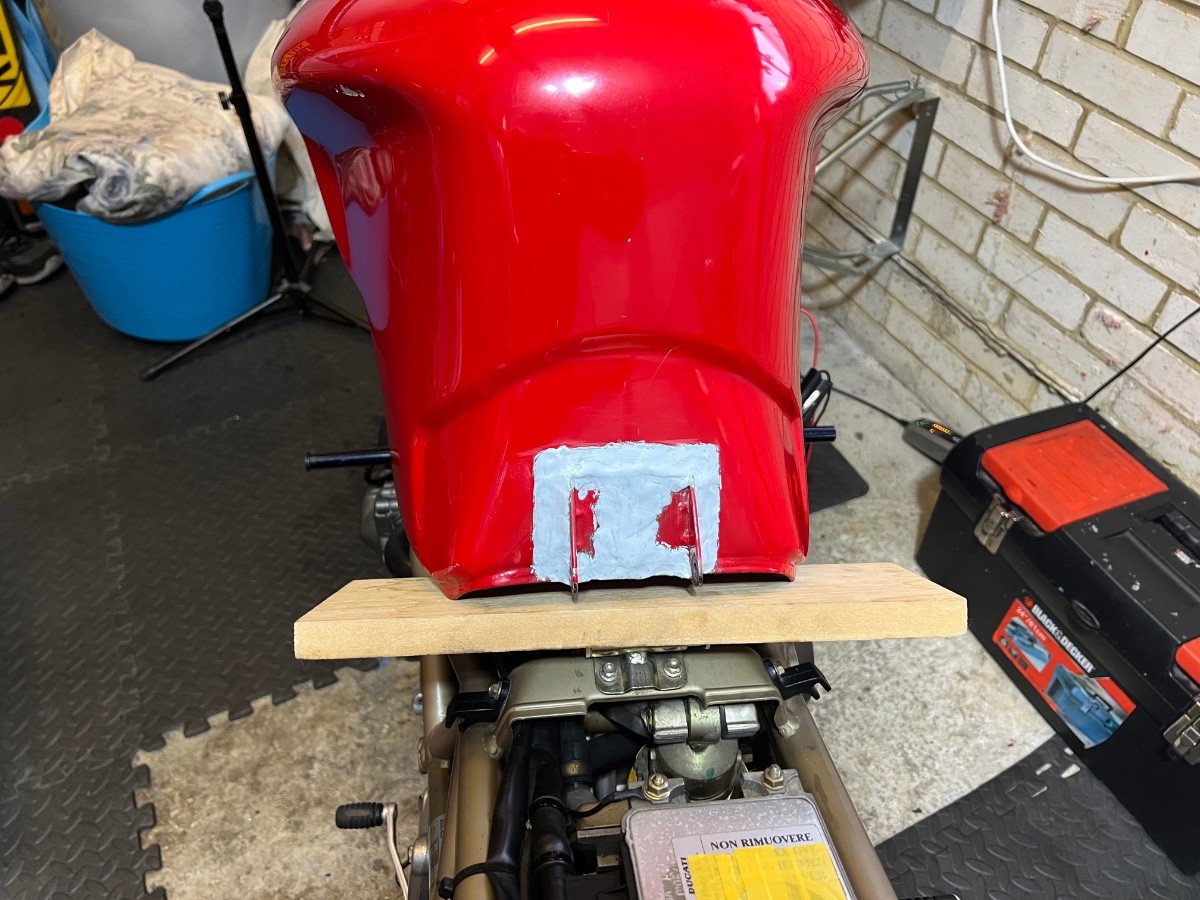
A bit of an emotional rock & roll today. I woke up excited - today was the day when I'd finish the tuning and start the rebuild. It feels like the home straight. First job was to lacquer the last bits of paint from yesterday, including the putty on the tank. It definitely looks better than it did. All of the bodywork will get a machine polish in due course but I want to give all the paint and lacquer a week or two to fully harden before I do that. For now though, on to the finishing touches mechanically ... I connected up the throttle body balancer and the laptop and started the bike - all good and just waited for her to warm up. Once she was warm I reset the idle, which, with the Crank Position Sensor now fixed, is now happy at around 1,100 rpm. I'm still not used to the lumpy way a twin idles compared to my last 3 bikes which have been 4 cylinders. But even though it sounds weird to me, it idles perfectly happily. After setting the idle, I checked the balance again. It was very slightly out. In order to reach the balance screw, the throttle has to be opened so I stopped the engine and gave the adjuster a quarter turn. I went to restart the bike and ... nothing. The bike cranked fine but absolutely no hint of any desire to start. I couldn't work out how a quarter turn on the balance screw could have had this effect. Had I dislodged something? I was so disheartened. These problems were supposed to be behind me by now. I took a 20 minute break to plan my diagnosis process. Experience has taught me a valuable lesson that when an unexpected problem happens, it's best to think it through and plan the sequence of diagnostic steps. Otherwise I dive in with lots of random things, often missing the obvious and / or drawing incorrect conclusions from only partial information. First thing was to check I still had a spark. I pulled a plug and, sure enough, a great spark. Good news. But that means fuel and how could that suddenly go from perfect to nothing? I could still hear the fuel pump priming and when I looked in the tank I could see the fuel moving which I took to mean that the pressure was high enough to be releasing excess - this is what it does when its running normally. However, it wasn't going to be solved by simply staring at it so I pulled the fuel from the tank and fitted my fuel pressure tester. The result? Either my fuel pressure tester is broken or there's no fuel pressure. Again, how can that be? It just doesn't make sense. But I do trust my pressure tester so I concluded that I'd lost all fuel pressure somehow. I had no choice and so, for the 3rd or 4th time, I removed the tank, opened it up and removed the fuel pump assembly. And then I knew immediately - both the problem and the cause. When I last put the fuel pump together, one of the jubilee clips was a bit tight and I'd forced it on to the end of the hose. In doing that, I'd taken a little nick out of the end of the hose but I'd assumed that with the end clamped down well, this nick wouldn't be a problem. Idiot - why cut a corner when working on something so hard to access? That little nick had grown, extending underneath the jubilee clip and causing the pipe to split. So the fuel that I could see pumping around inside the tank wasn't the flow from the pressure valve - it was pouring out of the split hose. The hose itself is in good condition and looks fairly new. Fortunately, it was also a little longer than it needed to be so I fitted a new Stanley blade to my knife and cut it off, super cleanly, and refitted everything. Sure enough, the bike burst straight back into life. What a relief. I finished the balancing and then fitted the airbox. This was the point when I remembered what an absolutely nightmare it is to fit the airbox on this bike. It didn't disappoint this time and it took me an hour and some seriously scuffed hands to get it in place. It is the most terrible and awkward design. What I don't understand is how the factory do it - I can't see how there can be any technique that would make it easy. But I got there in the end. I then took a step back and admired my work. That was about all I had time for today but I took a picture of the tank in place with it's newly painted putty. And finally, just to make myself feel good, I fitted the tail fairings. From this angle, it almost looks like a bike that's ready to ride. One final job for today is to check the headlight aim which I'll do after dark. Theoretically, it can be adjusted with the fairing on but it's going to be a whole lot easier without. And I don't want to fail the MoT on something silly like headlamp aim. And then, hopefully, tomorrow might just see the bike looking almost finished. It won't actually BE finished as there were a number of missing fairing fasteners when I stripped it down. I might have a few in my spares box but I fear that I may still need to buy some more. Then there's the MoT to sort out and I'll need to put some miles on her to see if I've missed anything. But the finish line will hopefully be in sight tomorrow.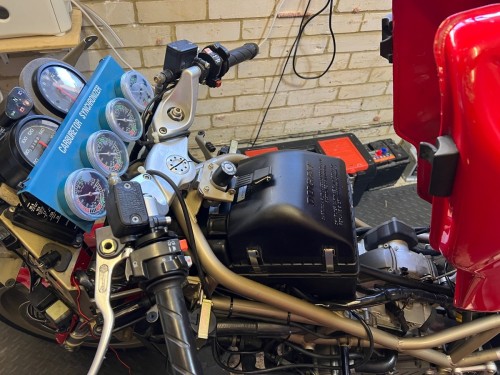


-
1990 CBR1000FL...Sat for 14 years, alone....
Hairsy replied to Egon247's topic in Old Motorbikes, Projects and Restorations
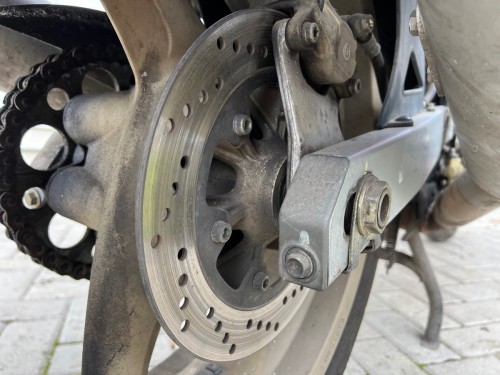
I'd happily eat my dinner off that rear brake - lovely job! It's so satisfying to put things together with new parts. Good luck with the running issue. -
Three months on from the CBT, >1000 miles ridden, where I stand now.
Hairsy replied to ChrisBiggsUK's topic in Motorbike Chat
Re your right turns, I can offer a couple of suggestions: 1) Technically, when riding on the left, right turns are often less grippy. Most roads are highest at the centre and then fall away to each side for drainage. In a left turn, the slight falling away of the road helps you and on right turns it does the opposite. In practice, this isn't a major effect and unless you're scraping your peg regularly, you're not going to be challenging the limits of adhesion of your tyres. But your brain may just be registering this effect - so, if it helps, it's not an illogical thought. 2) If you tend to position yourself towards the left of your lane, with left hand bends you can see lots of 'run off' to your right i.e. you could widen your turn and still stay on the road without heading off into the scenery. On the other hand, if you're in a right hand bend while on the left side of your lane, you have very little runoff before the scenery. That will make you more nervous. When you come to look at advanced riding techniques, you'll be be advised that you do often want to be on the left side of the lane for right hand bends but, for now, maybe focus on not being too close to the left curb when riding round a right hand bend. As everyone has said and will continue to say - move forward at your own pace. I'm really enjoying hearing your story so thanks for sharing. -
Ducati ST2 : Amateur Restoration Take 2
Hairsy replied to Hairsy's topic in Old Motorbikes, Projects and Restorations
Yep - and that was my initial thought. It's only because it's factory integrated into the loom and a new unit. I do have the full details of how to remove and bypass it stored on my phone. If it ever plays up, please be assured that I won't give it a second chance. -
Ducati ST2 : Amateur Restoration Take 2
Hairsy replied to Hairsy's topic in Old Motorbikes, Projects and Restorations
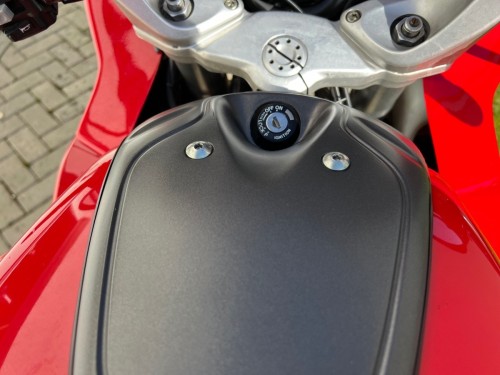
Another small update for today - I paired up a second remote control for the factory fitted Spyball 8510 alarm. This process didn't align completely with how it was described in the manual as the Ducati wiring loom is slightly different to the Spyball instructions. I had to do some investigation and check some continuity but managed to suss it. I won't go into how it's done here but if anyone wants help in the future, send me a Private Message. I'll ask for a current picture of the relevant part of your bike before I explain it - that way I know I'm only giving the info to true owners. As I've mentioned before, I was tempted to remove the alarm but the last owner bought a brand new unit for over £200 and it's all plumbed into the loom. I therefore have reasonable hopes that it will be reliable. -
Ducati ST2 : Amateur Restoration Take 2
Hairsy replied to Hairsy's topic in Old Motorbikes, Projects and Restorations
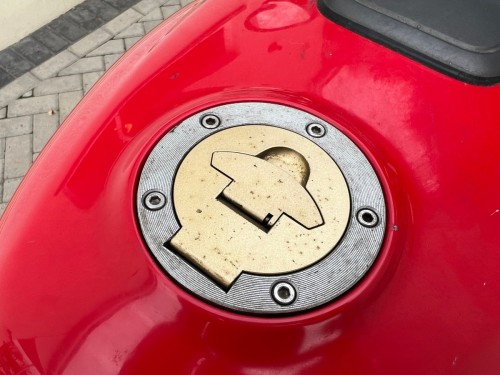
Nothing exciting today - just playing with touch up paints. For the benefit of anyone else looking at this in the future, I thought I'd share my experiences. Please be aware though that I am very much a beginner at bodywork - it is far and away my least comfortable area of these projects. The products that I'm using are: 1) Halfords touch up grey primer - this paint pot only has a brush 2) A cheap supposedly matching touch up paint from eBay - this has a needle nib and a brush. This is almost a match but not perfect. It dries to a satin/gloss finish which should really have lacquer applied. However, while not a perfect matching finish for good surrounding paintwork, with some polish, this can look OK without lacquer in small areas. I find that tiny spots of touch up lacquer on a panel can sometimes look worse than no lacquer. 3) An 'official' RS touch paint. RS know their paints and, when I enquired, they were aware that the 'Anniversary Red' that Ducati used for a number of years differed in its colour over those years. Their touch up paint is a good match. However, it is a water based paint and must have lacquer applied. They also suggest a yellow undercoat (that they can supply) but I haven't found this necessary if I apply it over my primer. This touch up paint pot only has a brush. 4) A generic touch up lacquer - I can't remember the source - possibly Halfords. This has a brush and a needle nib. 5) A pot of RS touch up lacquer from a previous project - I found it a little gloopy today and am currently warming it up on a radiator to see if that improves it. This has a brush only. After trying various combinations of these products, the approach I've settled on is: a) Every repair gets isopropyl alcohol and panel wipe applied before starting. b) If there's any bare metal then it gets primer c) If there's no bare metal but I'm working on a deep chip with plenty of depth for multiple paint layers, it gets primer d) For thin scratches and pin prick chips, I use the cheap touch up paint and will later polish it - I'll leave it at least a few days before polishing e) For larger chips on the paint, I use the RS touch up paint. I apply a little paint to the centre of the chip and use a cocktail stick to push the paint to the edges of the chip. I then follow this with lacquer. So far I've only used the generic lacquer on my sample chips - if the RS lacquer gets thinner with warmth then I may try that as I suspect it may be better quality. In all cases, my objective here is to stop the eye being drawn to the imperfections. I have no expectation of creating an invisible repair - that's simply beyond me. I know from past experience that, in isolation, I'll be disappointed with the results of every single one of the repairs. However what I've always found in the past is that, when the bike's finished, I do conclude that the repairs have helped with the overall look. And the last thing of note is that I've decided to try to slightly improve the look of the tank repair putty that I used a few weeks ago. This isn't visible when the seat's in place but it would be nice if it didn't stand out quite so much when the seat if off. I've applied some touch up primer and will try painting and lacquering later. I've no particular expectations either way on success but its an interesting experiment and there's nothing to lose.
-
Ducati ST2 : Amateur Restoration Take 2
Hairsy replied to Hairsy's topic in Old Motorbikes, Projects and Restorations
I think I'm similar - I love the Italian flair and hate the implications of it. I've had two Alfas. After I sold the first one I swore I'd never own another. After I sold the second one I said I'd never buy anything Italian again. And then I saw a cheap Ducati ... -
That's not impossible - their data may well tell them that people who insure more than one bike with them will tend to claim less. For a similar reason, I've had my wife insured on our motorhome for the last 16 years but she has never and will never drive it - it's just cheaper because motorhomes with husband and wife both insured have less claims. As I said in a previous post about insurance, if the insurers have the data then they're quite happy to set premiums based on correlation even if it doesn't relate to cause.
-
Ducati ST2 : Amateur Restoration Take 2
Hairsy replied to Hairsy's topic in Old Motorbikes, Projects and Restorations
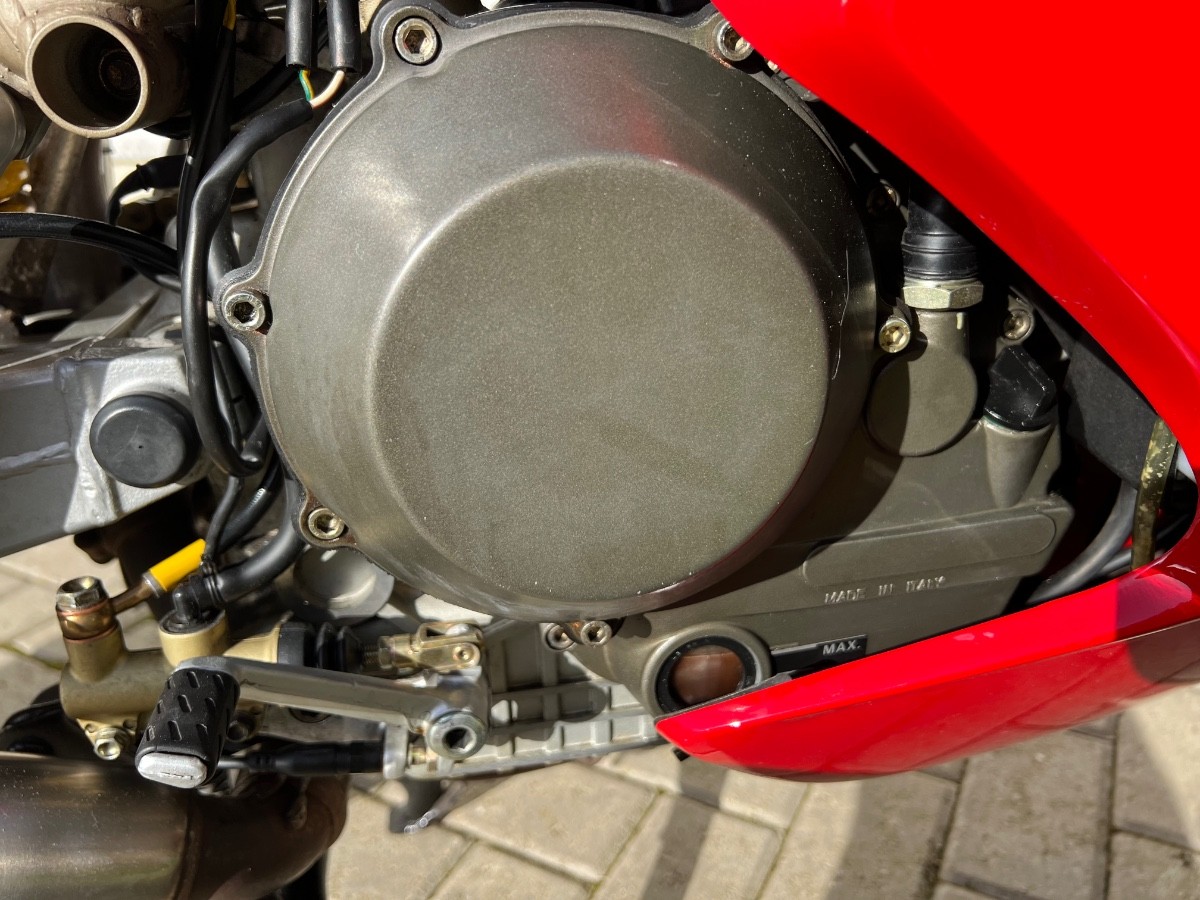
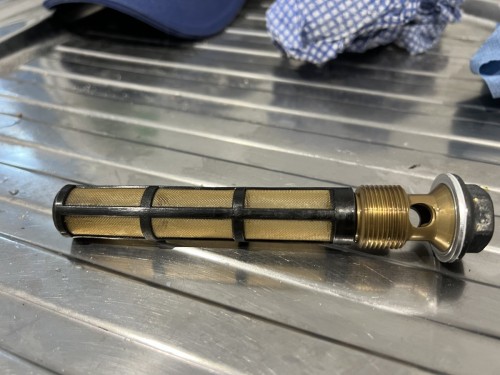
A pleasingly boring update today. As has happened before when I've completely drained the fuel system, the bike wouldn't initially start. I decided that I was fed up with this and stripped the tank down again and checked every part of the pump and associated bits and pieces. Everything seemed OK but I did give an extra clean to the fuel take up filter - this is separate from the main fuel filter which comes after the pump. While cleaning the take up filter I learned that the mesh in it is so fine that it won't allow water through. However I then poured some fuel through it and it goes through it fine. I probably should have known that - but I didn't and found it interesting. When I refitted the pump into its housing, I realised that I was ow fitting it very slightly higher than before. I'm talking only 2-3mm but it seemed to seat better there. I wondered whether I'd fitted it too low before and that was limiting the ability of it to pick up fuel, which it suck up from the very bottom. I'm not sure what it was but when I put it all back together the bike started immediately - a great result. Then it was just a case of warming up the bike and draining the oil. It was most definitely ready to be changed. I was glad to have ordered the new filter wrench as the filter was super tight and if I'd try to remove it with bodge techniques it would have made an almighty mess - and I'm not sure I'd have done. it. To get enough grip, I had to tighten the wrench so tightly onto the filter that I was starting to crush it but, with a bit of patience, I managed to get it moving. I had to turn it with the wrench at least 360 degrees before it became loose enough to turn by hand. I suspect someone was a little generous with the torque when fitting it. I also removed and cleaned the mesh filter that supports the main oil filter. It wasn't too bad but it's a sensible thing to do. I didn't bother with photos of the oil change but I just can't help myself when I clean something. Then refilled with some lovely clean oil and warmed it up to check level. Depending on how the mood takes me, I'm hoping tomorrow will involve either a final repeat of the TPS & throttle body balance (but with the airbox in place this time) or focus on the bodywork.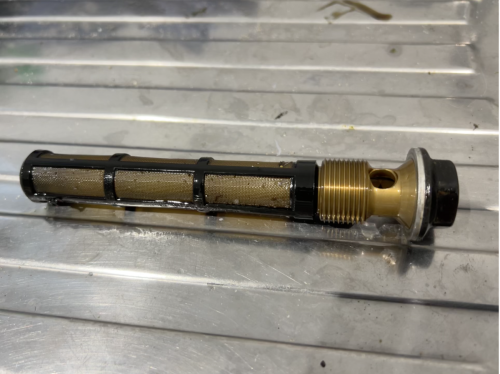
-
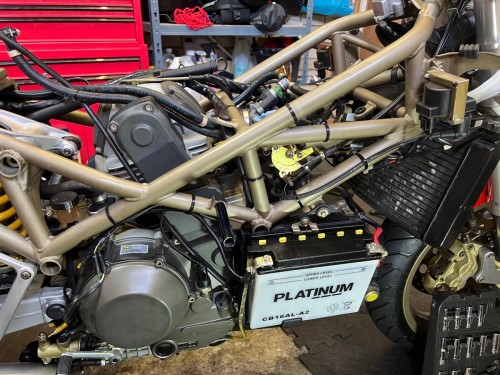
Ducati ST2 : Amateur Restoration Take 2
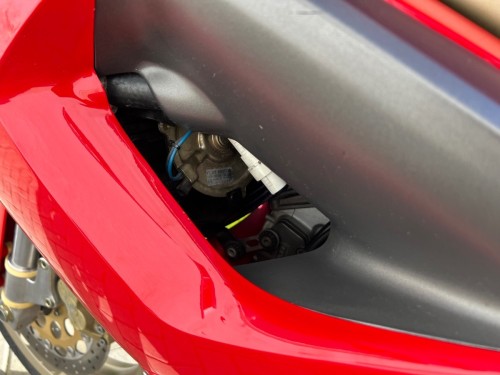
Hairsy replied to Hairsy's topic in Old Motorbikes, Projects and Restorations
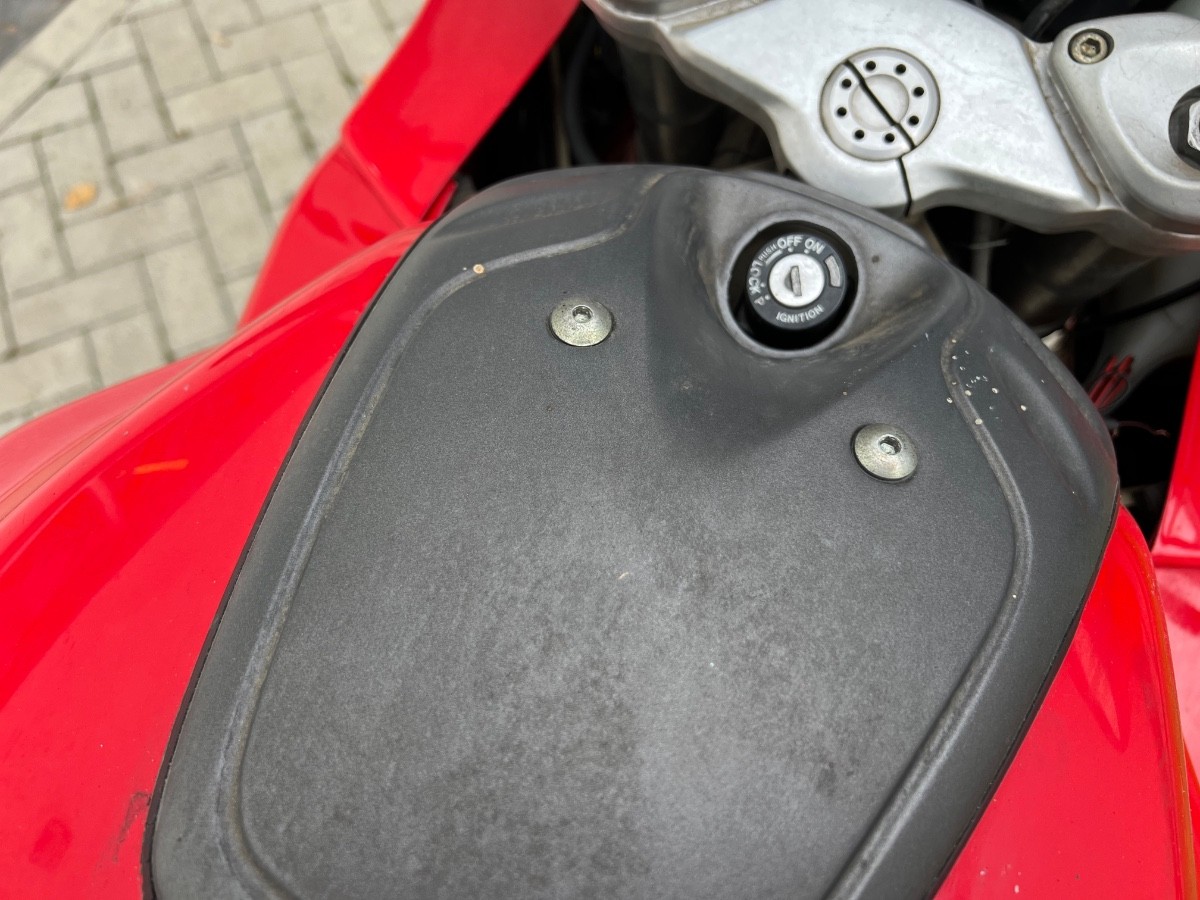
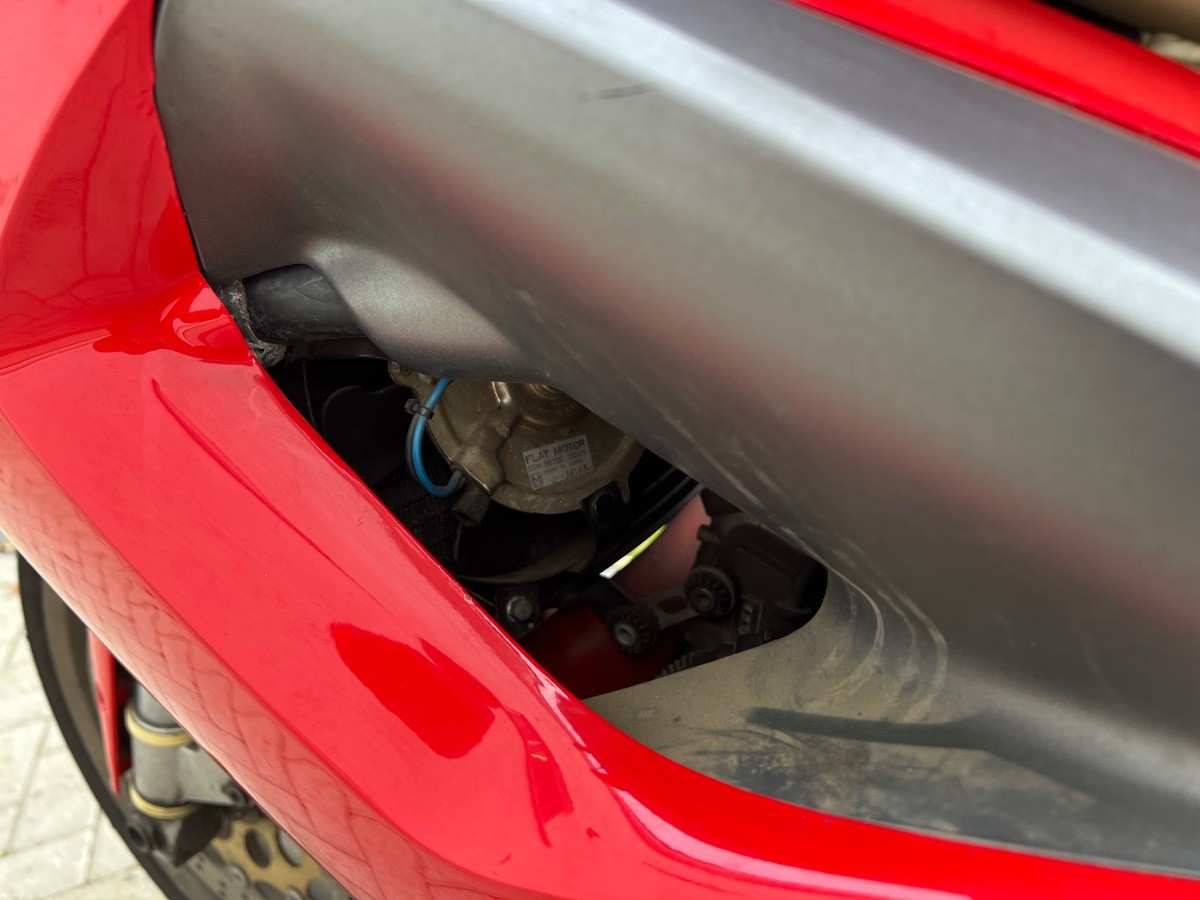
You're clearly not Italian! It is actually held in fairly strongly - I don't have any concerns on that front. There's a fixing at the bottom of it that you can't see in the picture - below the battery 'floor'. But if I decide to keep the bike long term then I'll definitely be fitting a lead to allow a battery conditioner to be connected under the seat. -
Ducati ST2 : Amateur Restoration Take 2
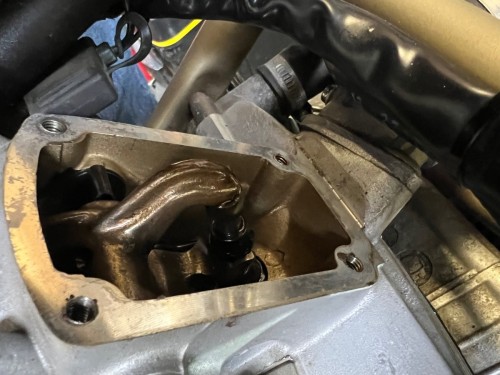
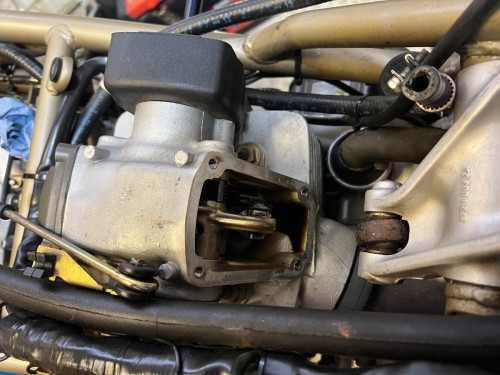
Hairsy replied to Hairsy's topic in Old Motorbikes, Projects and Restorations
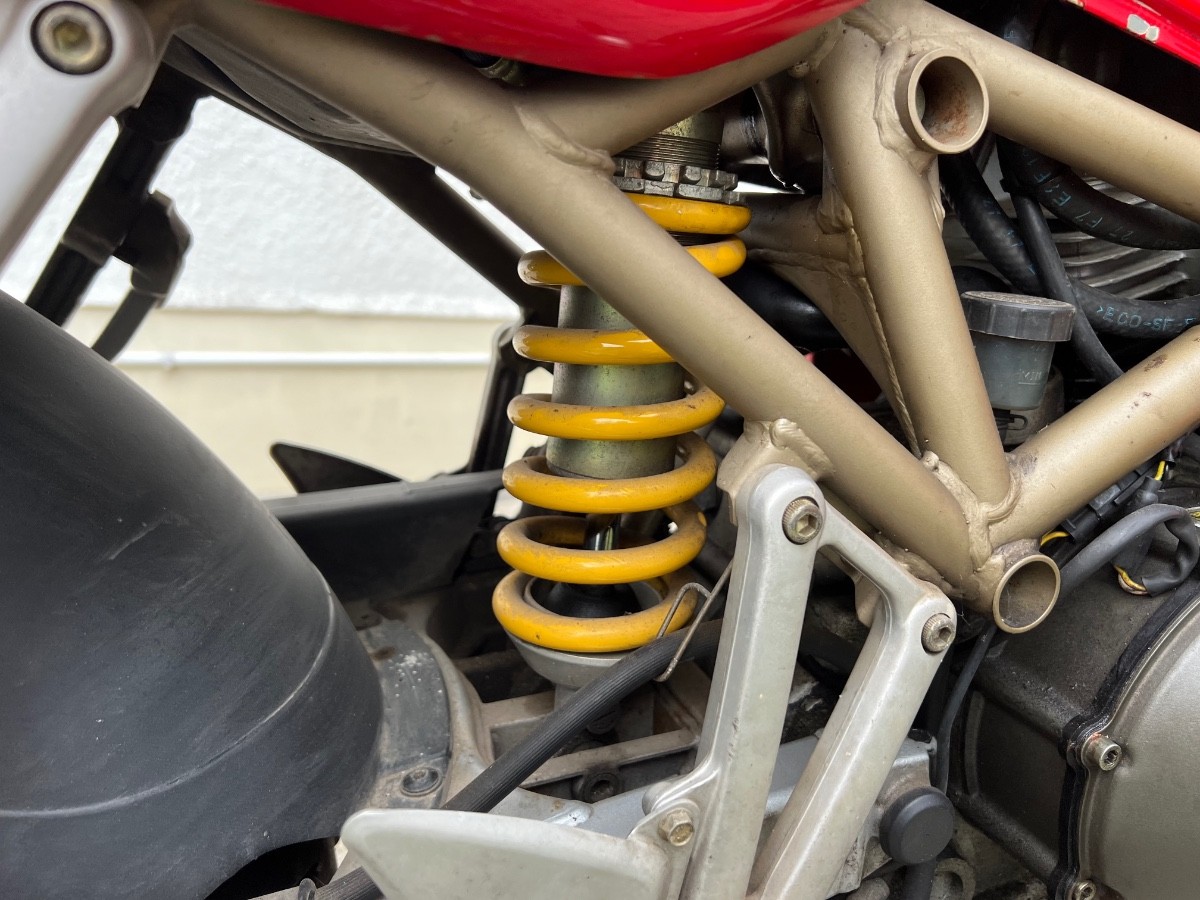
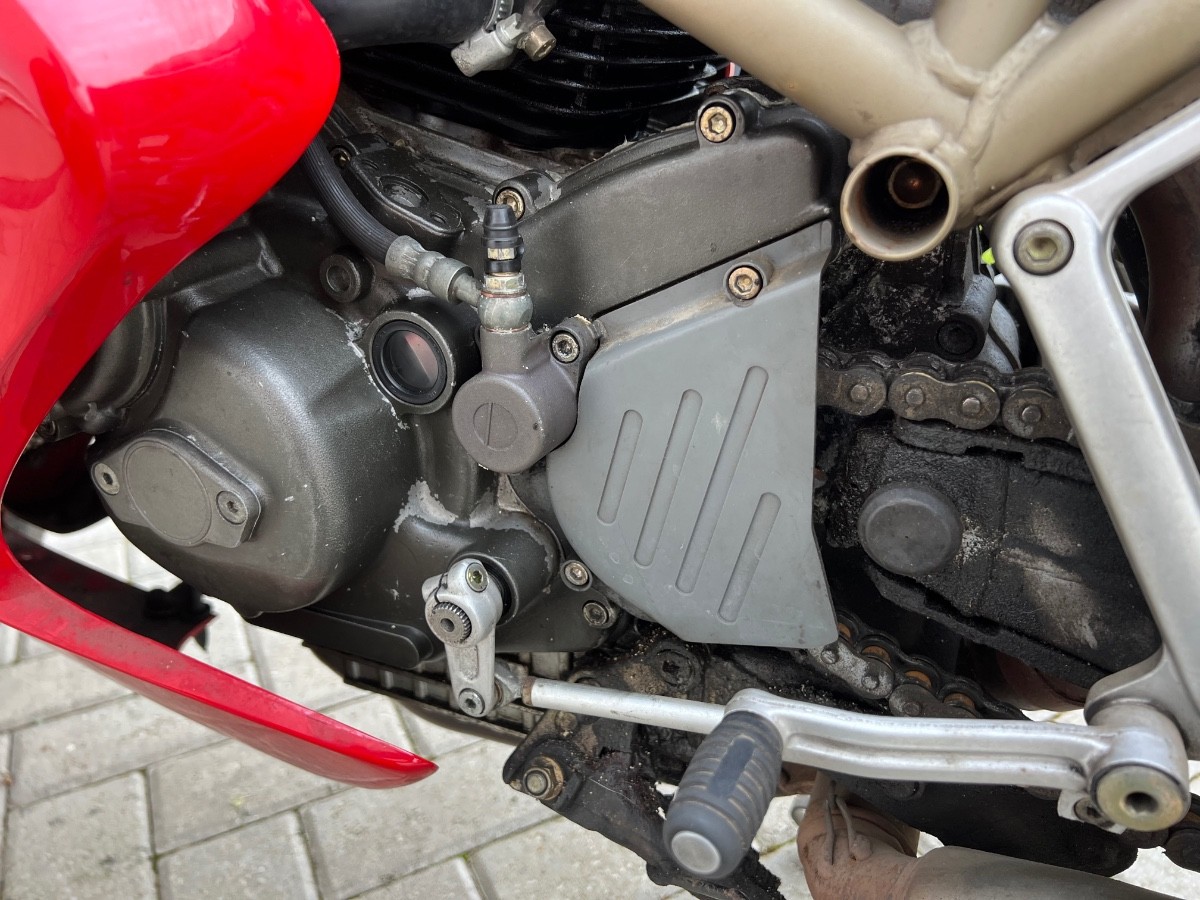
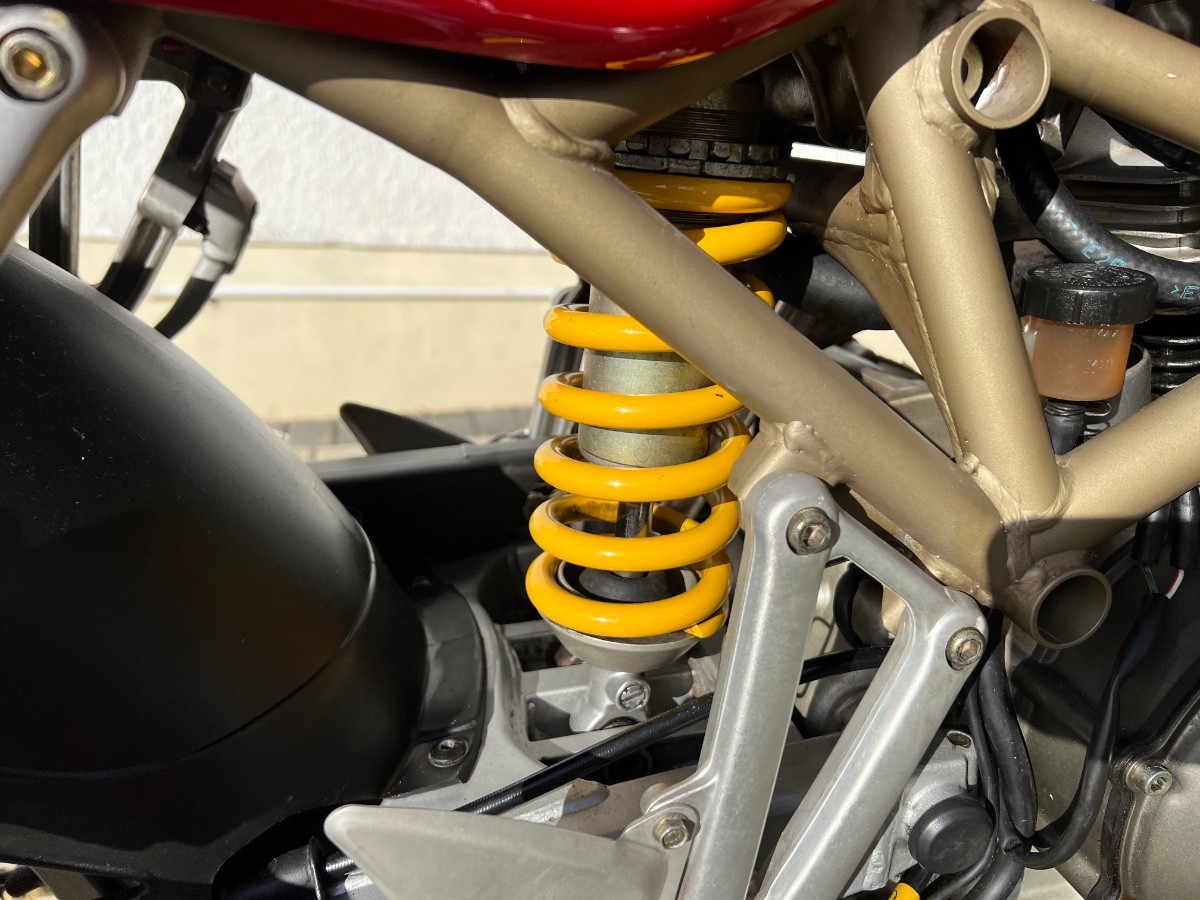
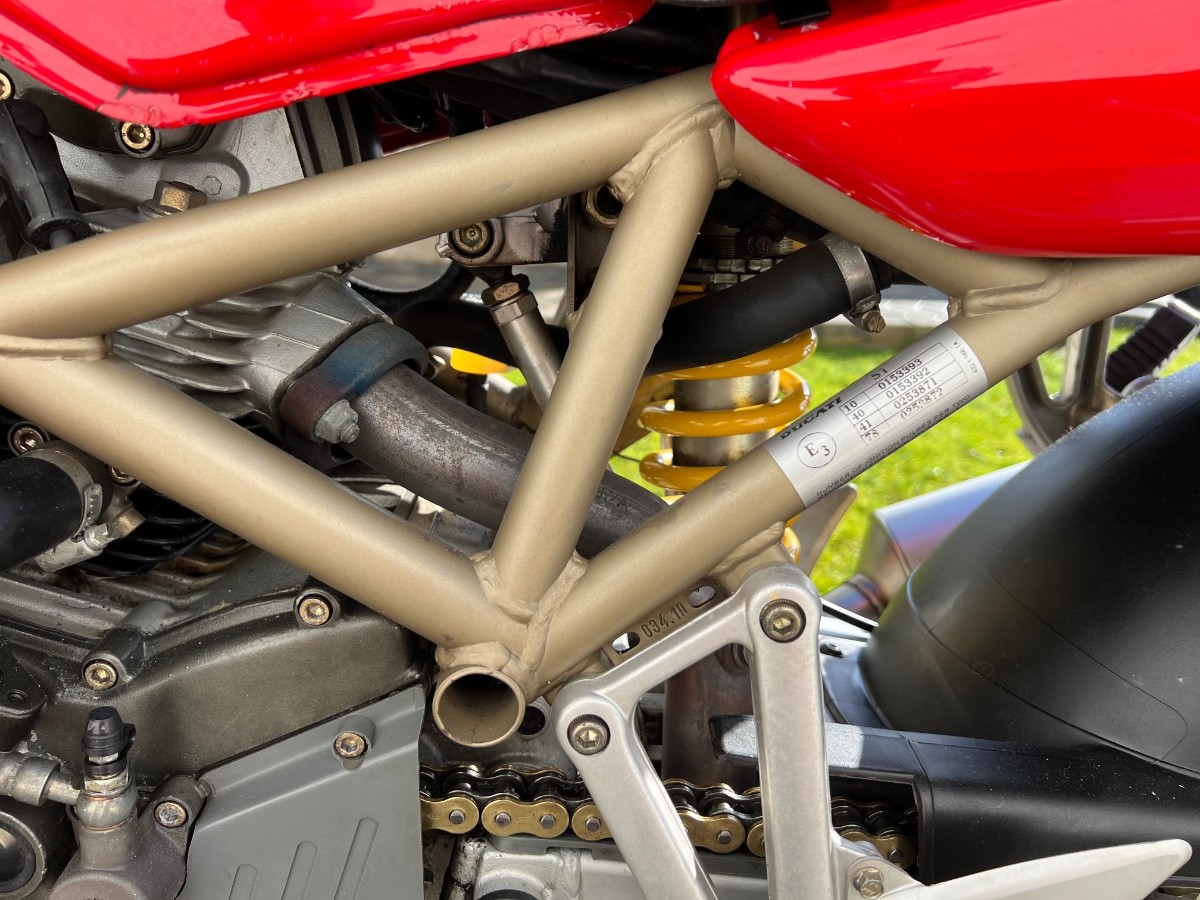
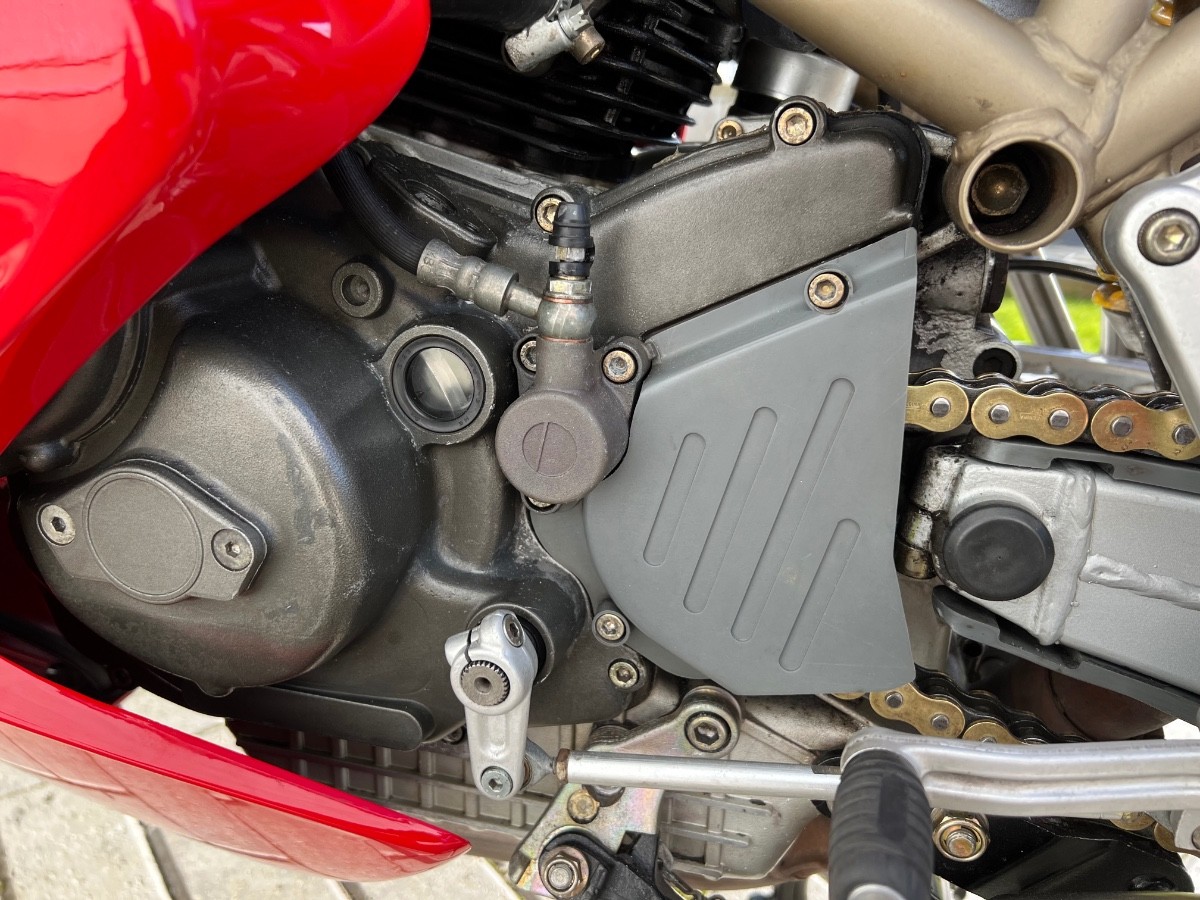
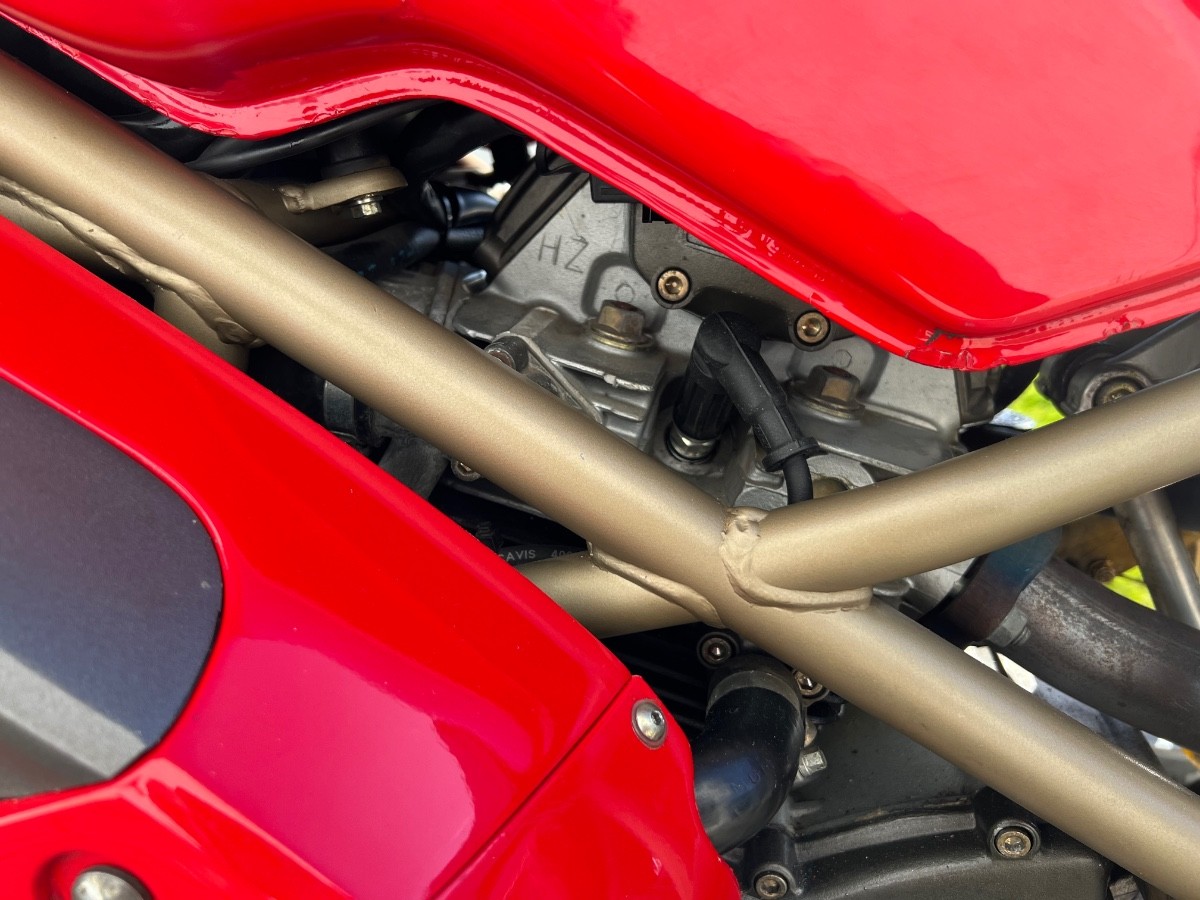
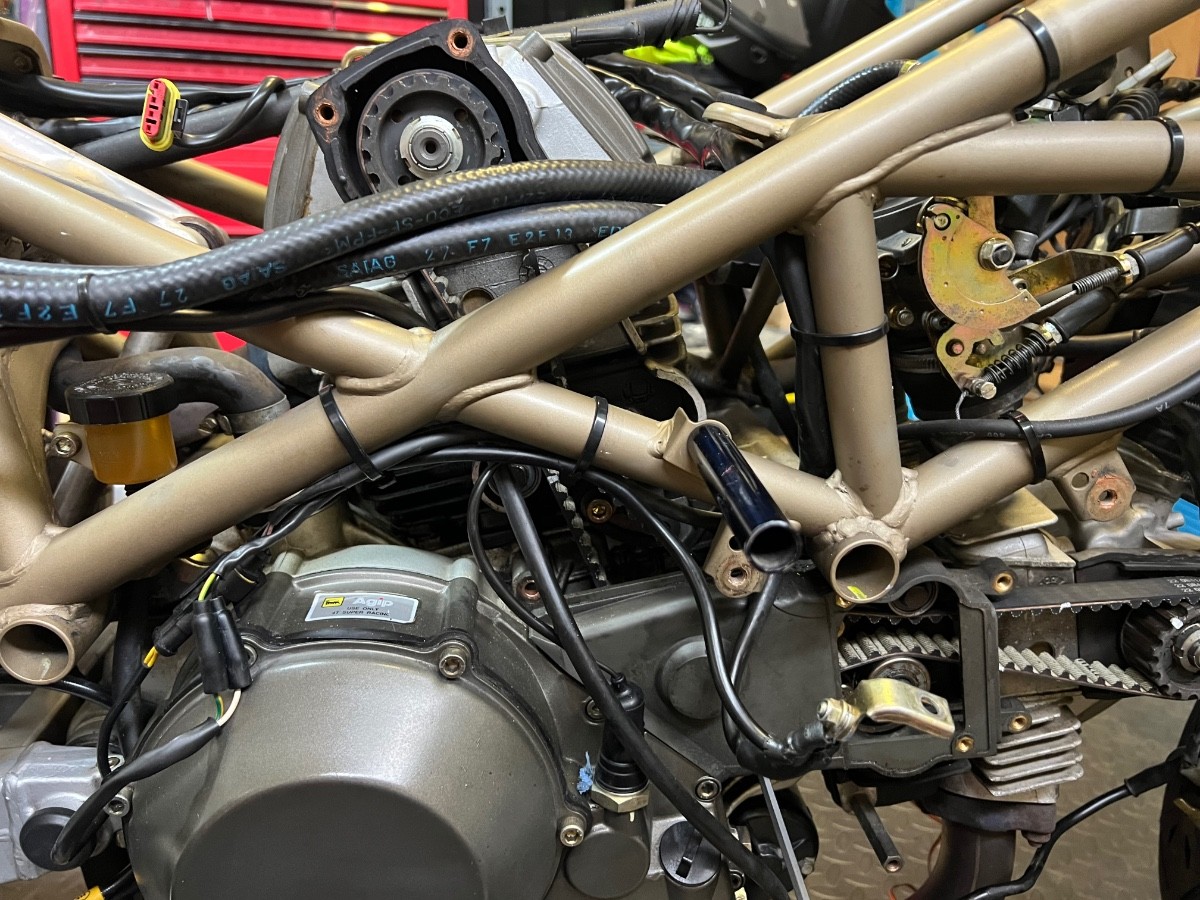
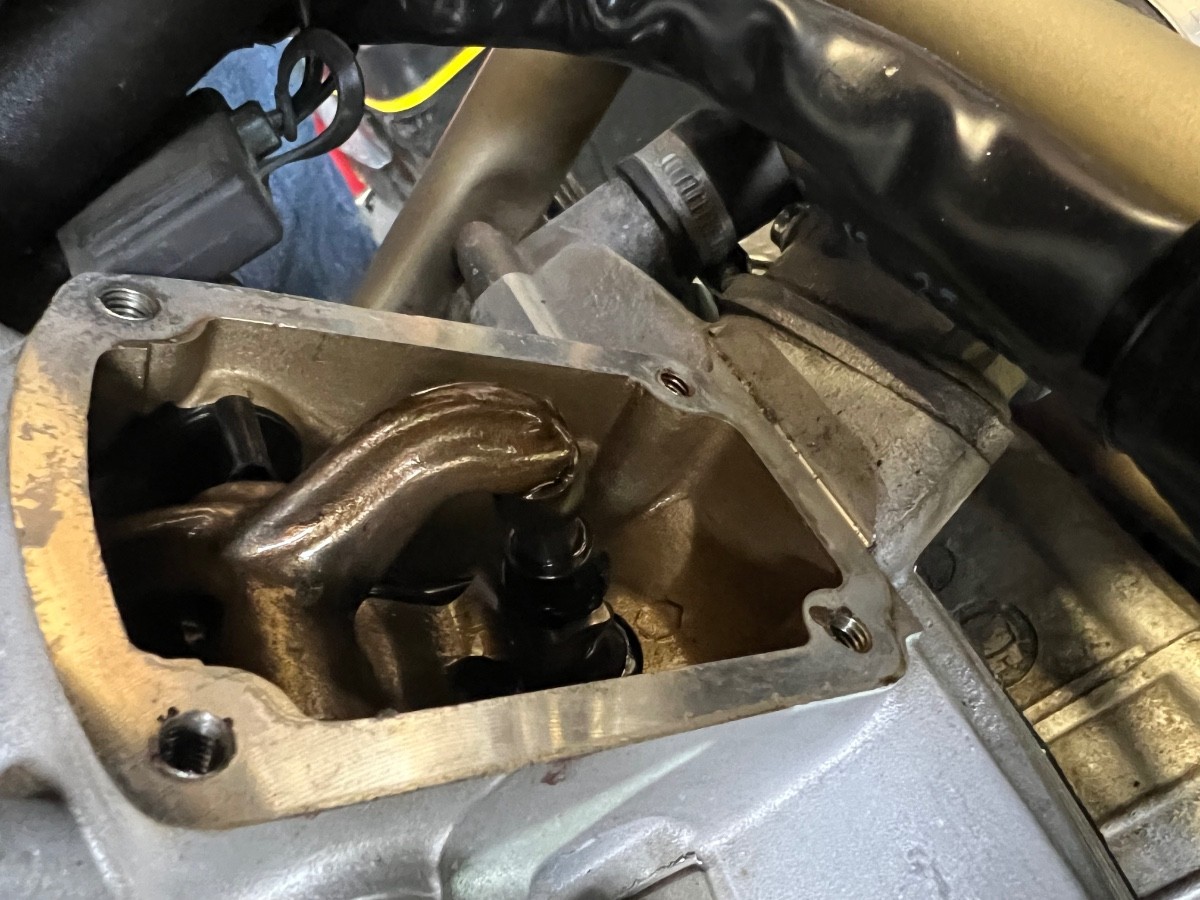
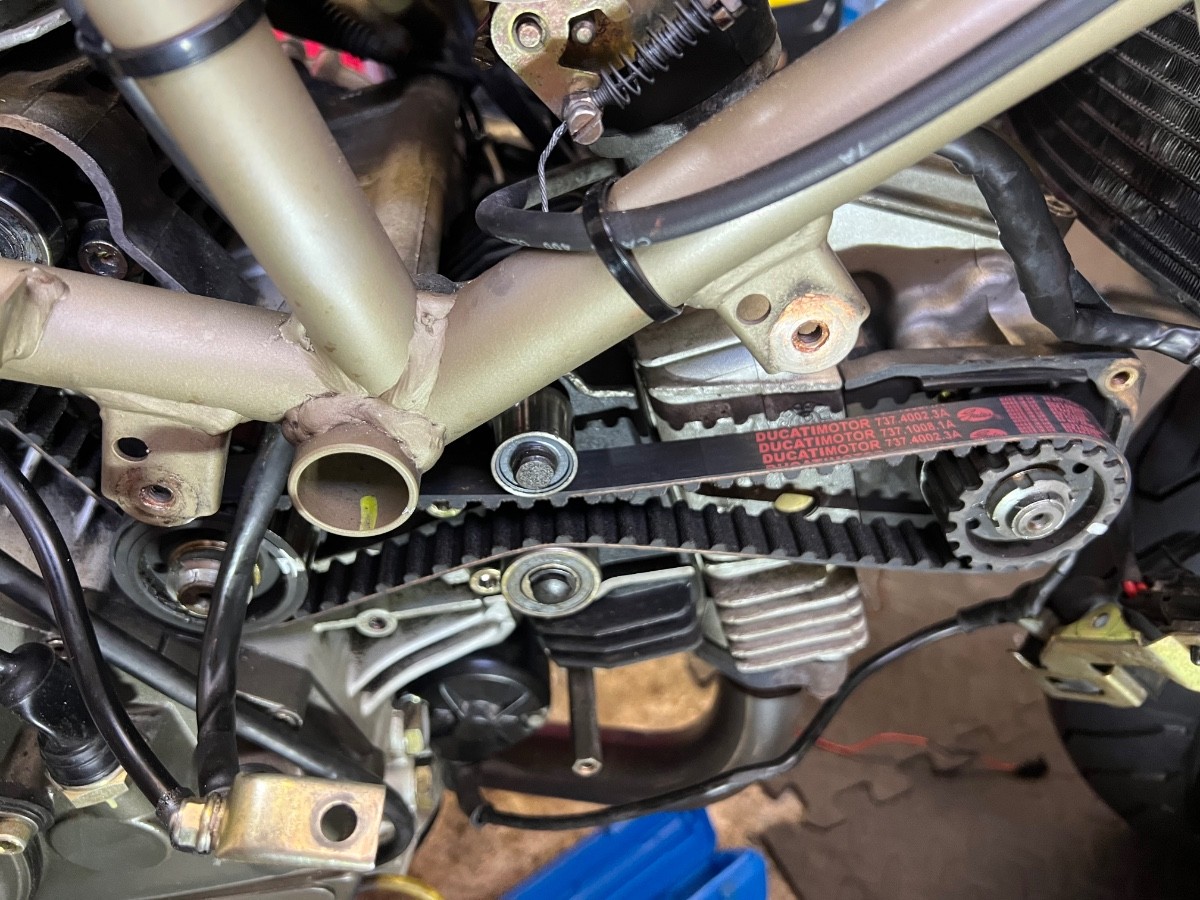
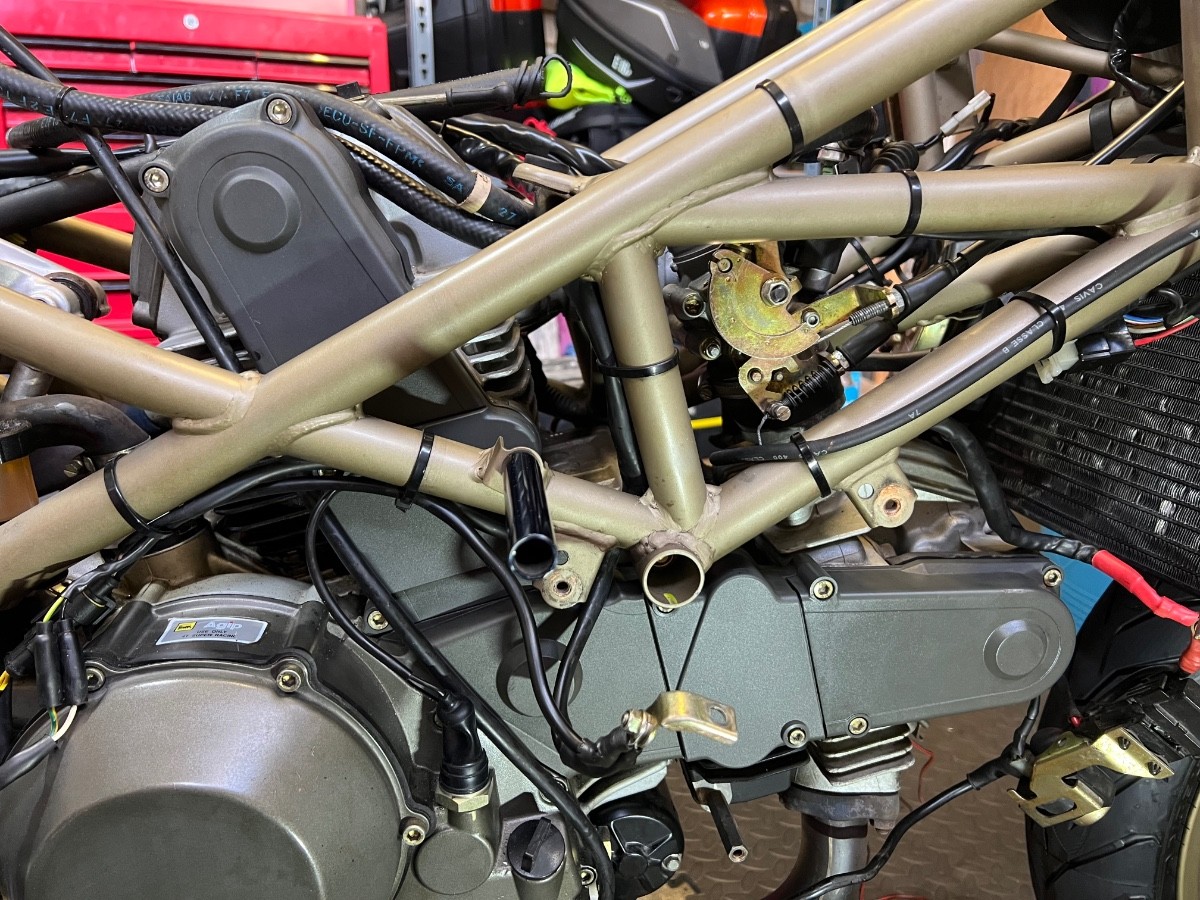
Back to two hands so decided to make some progress today - target was to do the valve clearances and timing belts. First step was to remove the battery and belt covers. Belt cover is in 5 sections - I took a number of photos for myself so that I'd remember the order but forgot to take one at the end - but this shows the belts with only the last bit of cover remaining. Then onto the valve clearances. As many of you will know, Ducati use the desmodromic system that doesn't use springs to close the valves. Instead, it has a cam lobe and actuator to open the valve and then another lobe and actuator to close the valve. It's clever and a lovely bit of engineering but means that there are twice as many clearance checks to do because every valve has two clearances to check, along with associated shims if clearances are out. I'm therefore grateful that this is only a twin cylinder and it's only a 2 valve head. The vertical cylinder is pretty easy to access but the horizontal one is a bit more a pain. However, I'm fortunate that the ST2 doesn't need the radiator removed like some models. It just needs a lot of flexibility and patience when trying to slip feeler gauges into the gaps, particularly on that horizontal cylinder. These are the valves for the inlet and exhaust for the vertical cylinder - the ones that are easy to photograph! The excellent news is that all clearances were within tolerance. Due to how fiddly the job is, I didn't bother to measure the exact clearance - I just checked that I could fit the 'minimum gap' feeler gauge in and that I couldn't fit the 'maximum gap' gauge. On both cylinders, the exhaust valve felt a little closer to the lower end of the range than the inlet was but everything was OK. I'm really pleased because I really didn't want to go through the hassle of changing shims. I've watched videos and the closing shims in particular are fiddly and there is a small risk of dropping things inside the head - those sorts of things seem to be an irresistible temptation for me sometimes. With things going well, I next went for the belts. These proved to be relatively simple - it just took me a few attempts to get the tension right. The tension is set by plucking the belt and checking the frequency with a phone app. With experience I expect you'd get to the right setting super quickly but the first belt in particular took me a few attempts. The belts I removed weren't Ducati originals but did seem to be in good condition. No regrets changing them though. All that was then left was to give the belt covers a good clean and put everything back in place. A couple of other little jobs for today were lubing the throttle cable and then setting the tension on throttle and fast idle cables. Then I replaced the tank, connected it up and chucked some fuel in, ready to start the bike and get the oil warmed up ahead of changing it. Fortunately before I started that, I realised that the oil filter is fairly recessed and that none of my oil filter wrenches will work on it. So I've ordered a belt style wrench that should arrive tomorrow. So while I'm waiting for that, I think I'll try to get all the touch up painting sorted out tomorrow.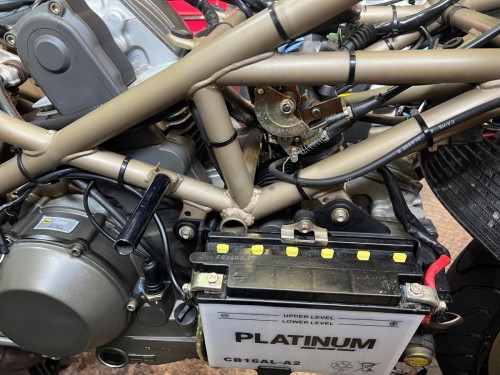


-
Ducati ST2 : Amateur Restoration Take 2
Hairsy replied to Hairsy's topic in Old Motorbikes, Projects and Restorations
Thank you - that's very helpful. I'm continuing to practice on invisible areas. My biggest challenge is that the original paint is quite thin in one or two places and, more of an issue, quite soft. This means that sanding the newly applied paint is causing me to go through nearby paint and having another mark to fill. The 'official' paint from RS paint is also fairly soft (they pride themselves on producing a very similar paint to the original) and definitely requires lacquer. This is particularly difficult on light scratches where there isn't enough depth to apply paint and lacquer without the repair being raised above the original paint. I suspect that an expert would make the scratch deeper before starting but I just can't bring myself to do that as I don't have enough confidence in my skills. I do also have a non official touch up paint that is harder and that, with a little polishing, I think can be OK without lacquer. I think I'll end up using the RS paint + lacquer for proper chips and then non official paint for light scratches that are too deep for just polish. I'm going to see how it all comes up and perhaps call in a SMART repairer if there are any areas which let the bike down when its all finished. Off for my hand check up in a moment and hoping to return with two working hands - in which case I may make a start on valve clearances later. -
Please do - I didn't know that was a thing. That would be excellent.
-
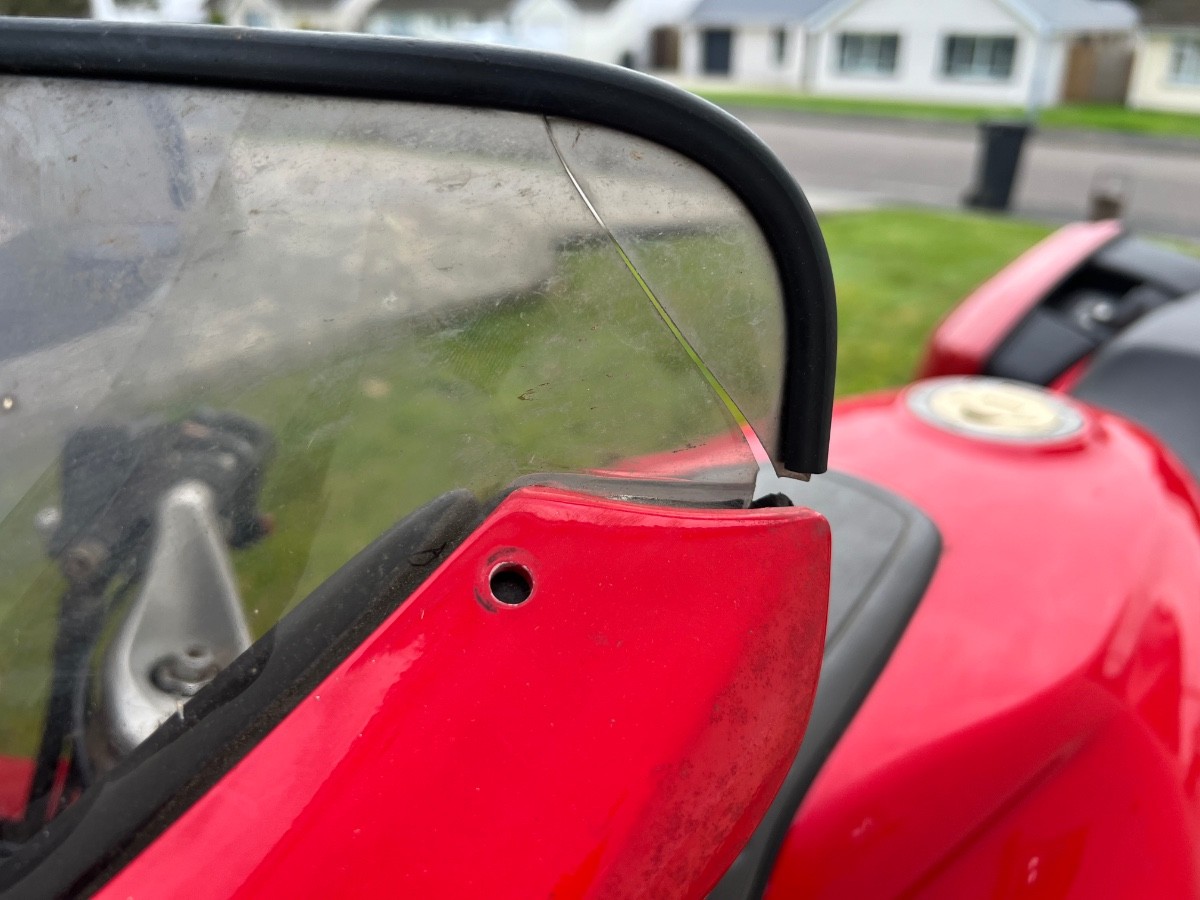
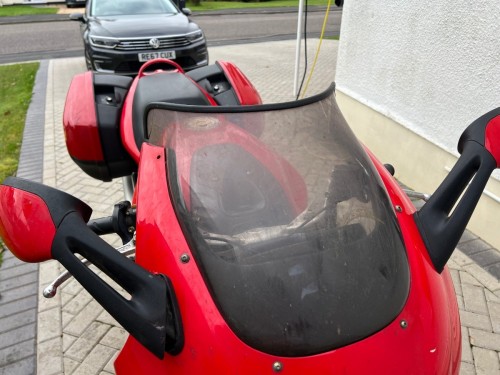
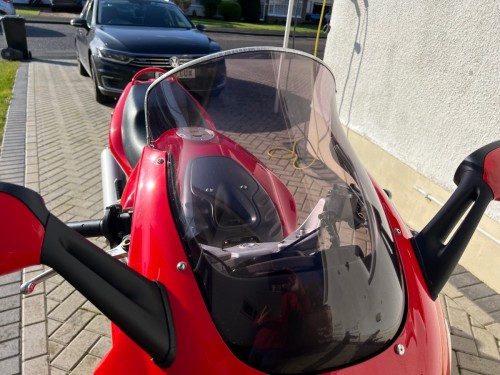
Your experience may differ but I'm afraid my transition sunglasses don't change inside my visor. Mine need direct sunlight. I'm fortunate to have a drop down sun visor. I'm less fortunate that a replacement visor has an RRP of £85 and the best price I can find is £68. And that doesn't include pinlock. I did a try an AliExpress visor which was great but I've since decided that I'm not comfortable having an unknown quality of plastic that close to my eyes in the event of an accident.
-
Ducati ST2 : Amateur Restoration Take 2
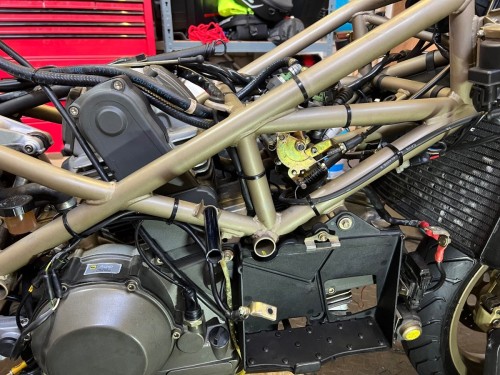
Hairsy replied to Hairsy's topic in Old Motorbikes, Projects and Restorations
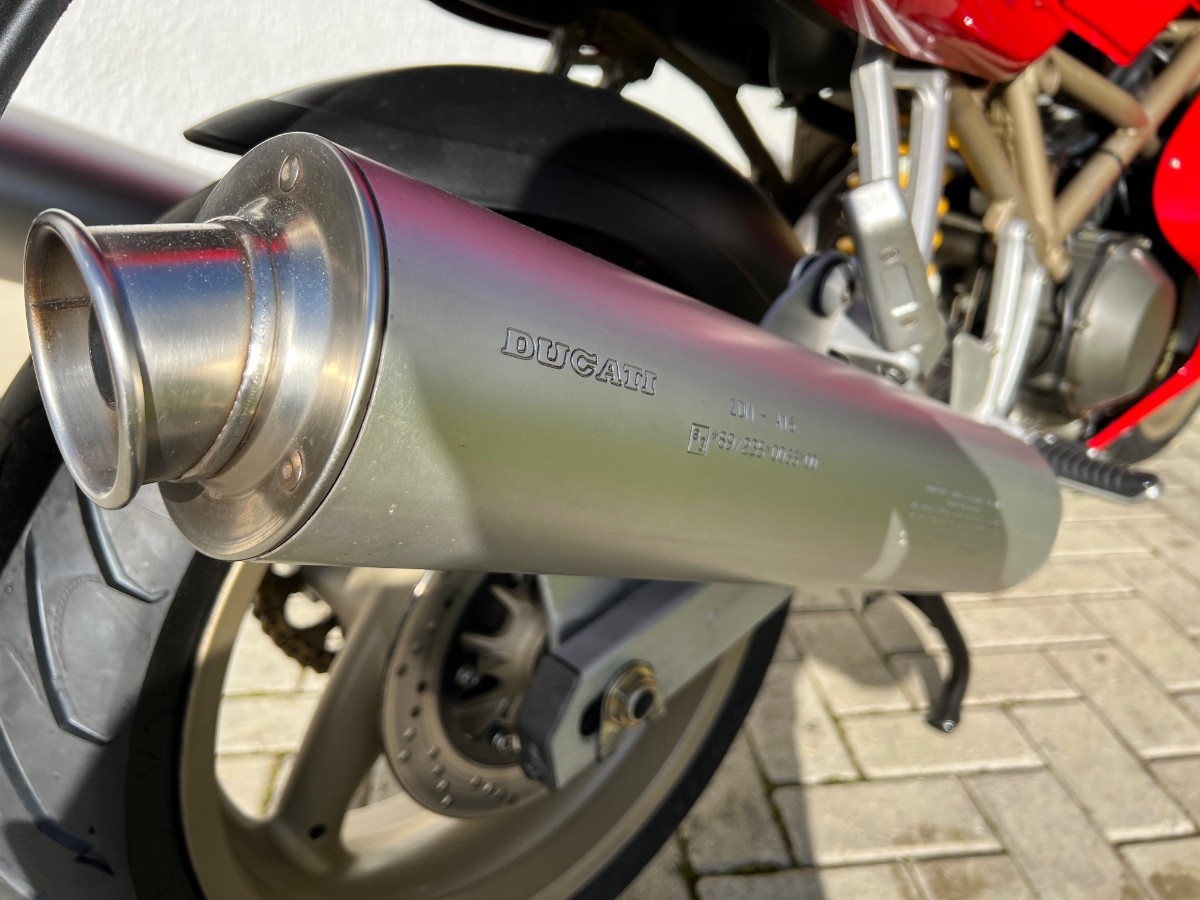
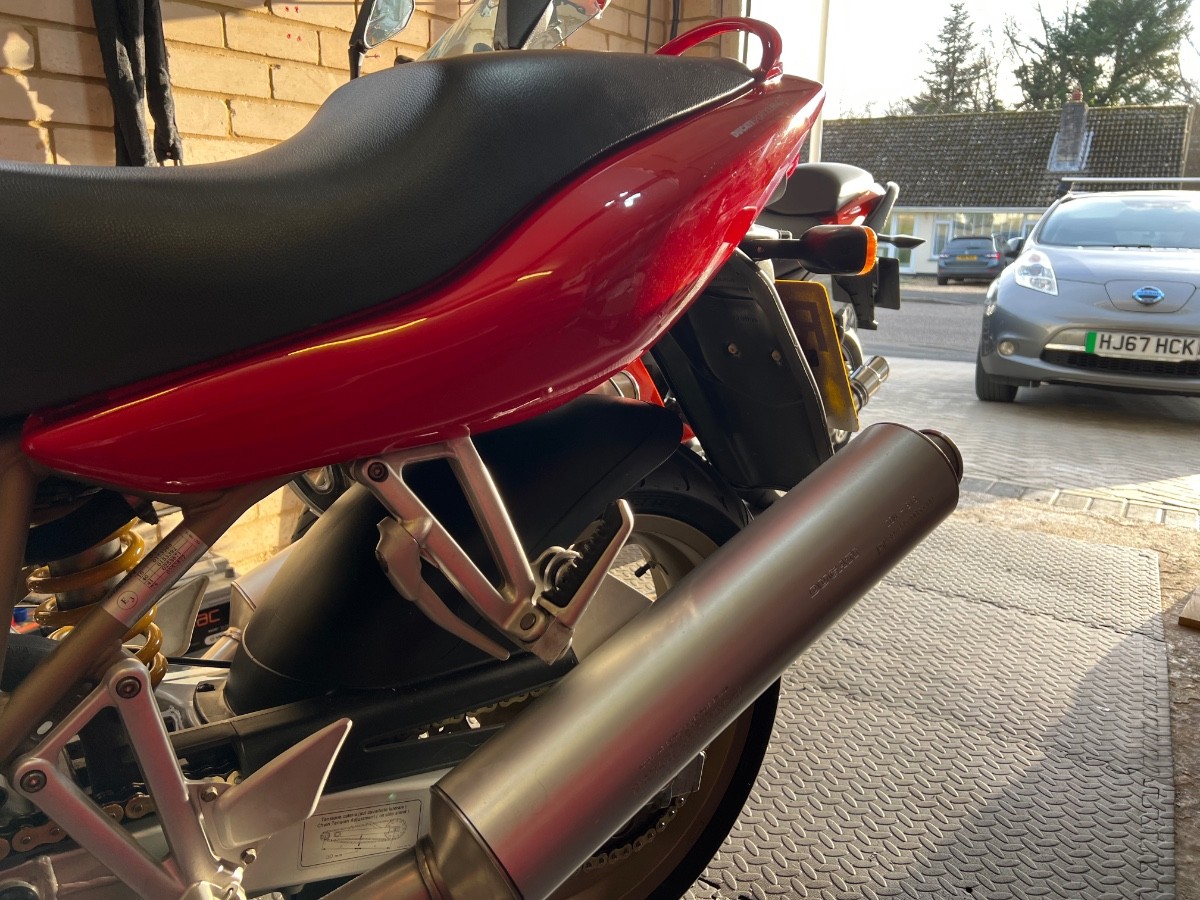
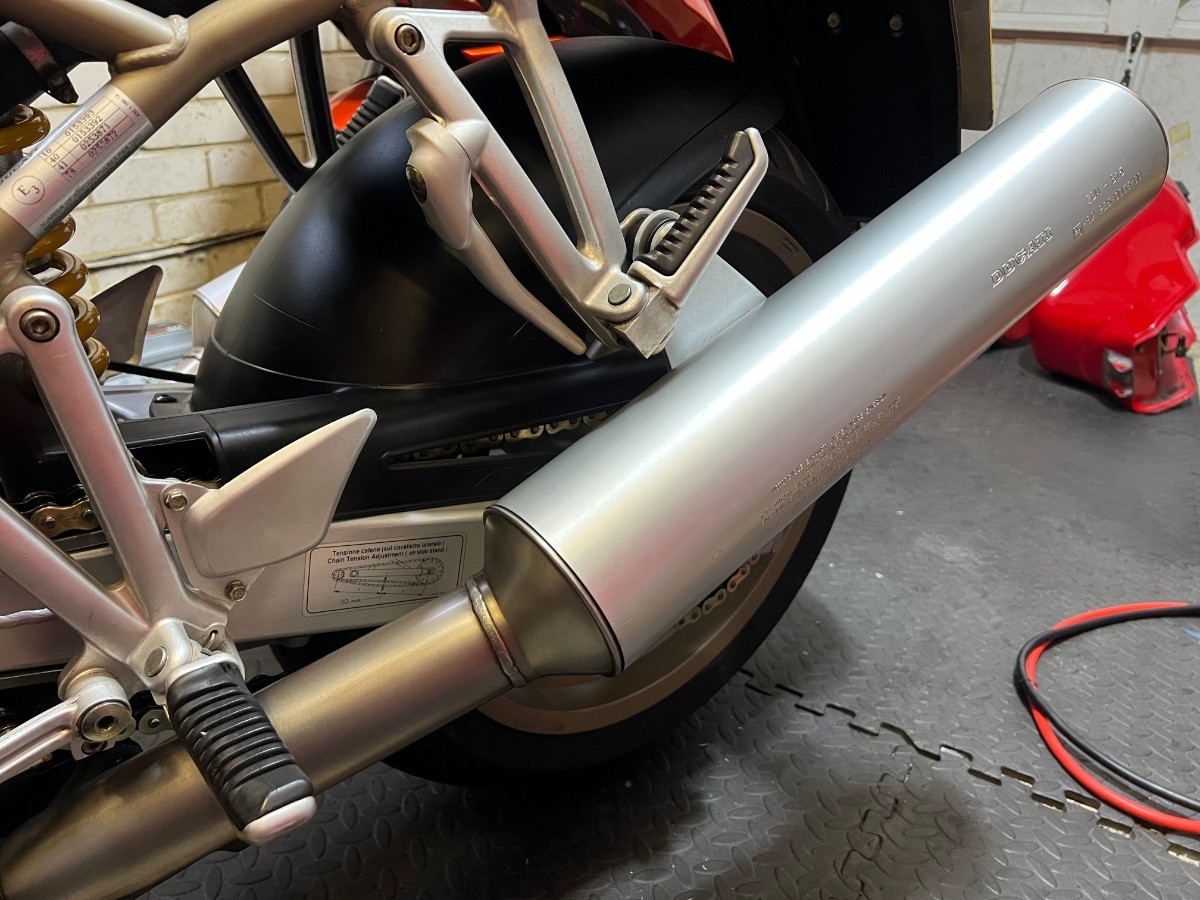
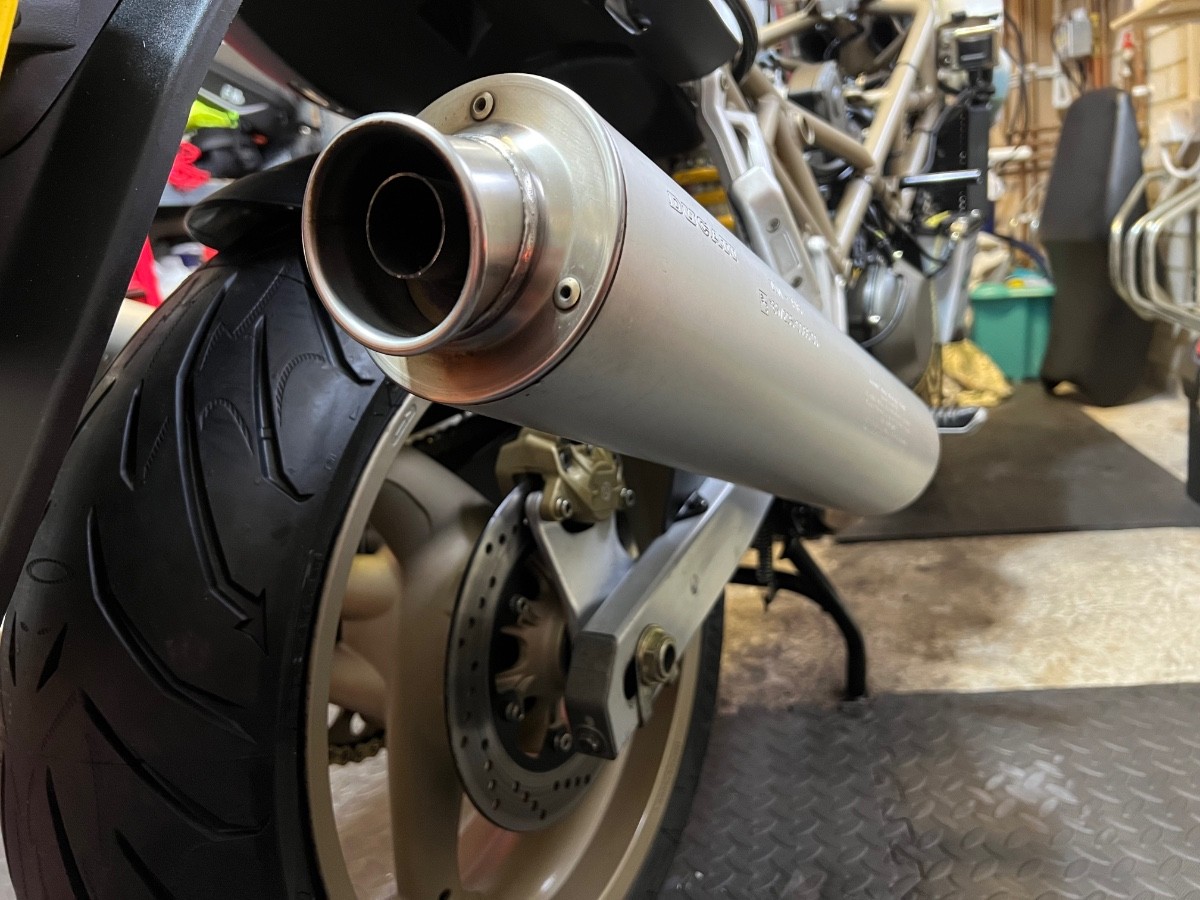
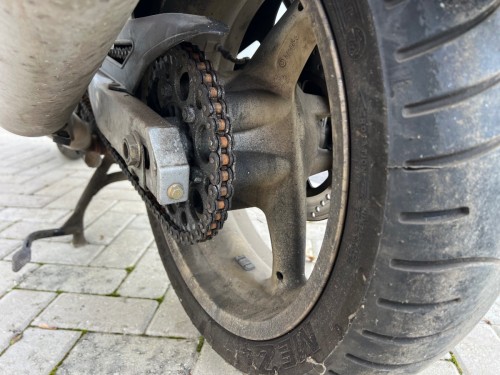
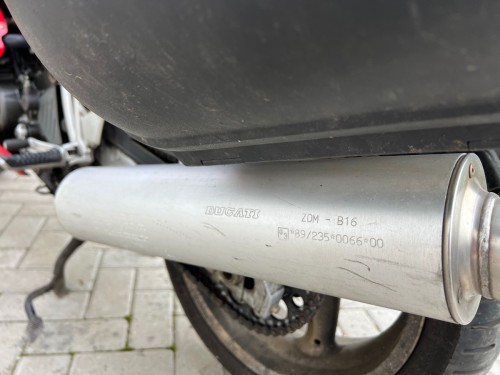
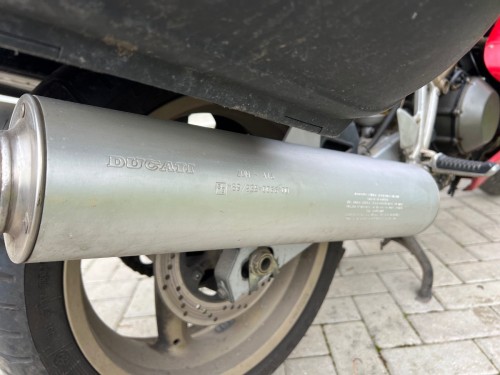
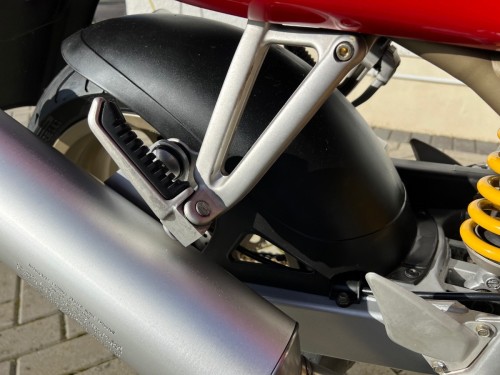
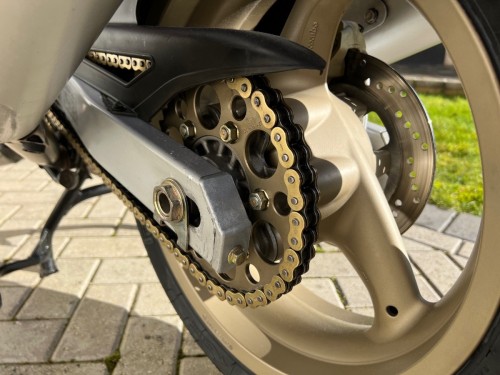
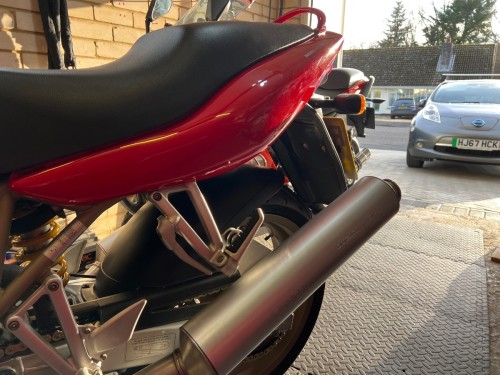
Wife went out again. Sadly not a great deal I can do. I've started the touch up paint by experimenting on a few chips that won't be visible because they're covered by other things. I've applied paint to all and then some have had lacquer from RS paints and some have had lacquer from a generic touch up pen. The RS lacquer is almost certainly better quality but it's quick thick. That makes it quite nice to apply to larger areas but tricky on small ones. The generic pen has a little 'needle' applicator and is very thin so it's good to apply to small chips. Tomorrow I'll try various combinations of polish & different grades of wet & dry on the repairs to determine what I think is going to give the best finish. In the end, I doubt that any of this is going to make a great deal of difference because what I'm actually doing is simply stopping the eye being drawn to the odd scratch and paint chip - the majority of the paint is great. But I've got time on my hands so it's an interesting experiment. Another sign of boredom was my next job - I polished the chain! A tooth brush and some metal polish, just on the outside facing surface. I'm not sure I'd do it again if I wasn't desperately bored but it made a difference and confirmed my children's view that I'm a sad loser. I then gave it a good lube. Last thing that I could realistically do while semi-incapacitated was fit the exhaust. I've decided to remove the pannier brackets for now as they just reduce the space I have available in the garage. This meant using slightly higher exhaust mounts but all the mounts are factory so it's super easy to do. And the exhaust angle is a little more pleasing to the eye. And I suspect that really is the end of work on the bike until my left hand becomes available next week. Next job is valve clearances.


-
I've always said I need full payment and proof of insurance. Strangely, no-one has ever wanted to test ride. Personally I prefer bank transfer over cash. As far as I'm aware, a UK bank to bank transfer can't be reversed. I know that there are stories out there but I suspect they're a combination of folklore and slightly non standard circumstances. I've never sold a bike that doesn't ride perfectly so if someone asked me for a test ride then I'd say that they can decide to buy it but I'll give a full refund if they return it within half an hour in the same condition they took it away in. Normally when I buy bikes they're non runners so it's not an issue!
-
Ducati ST2 : Amateur Restoration Take 2
Hairsy replied to Hairsy's topic in Old Motorbikes, Projects and Restorations
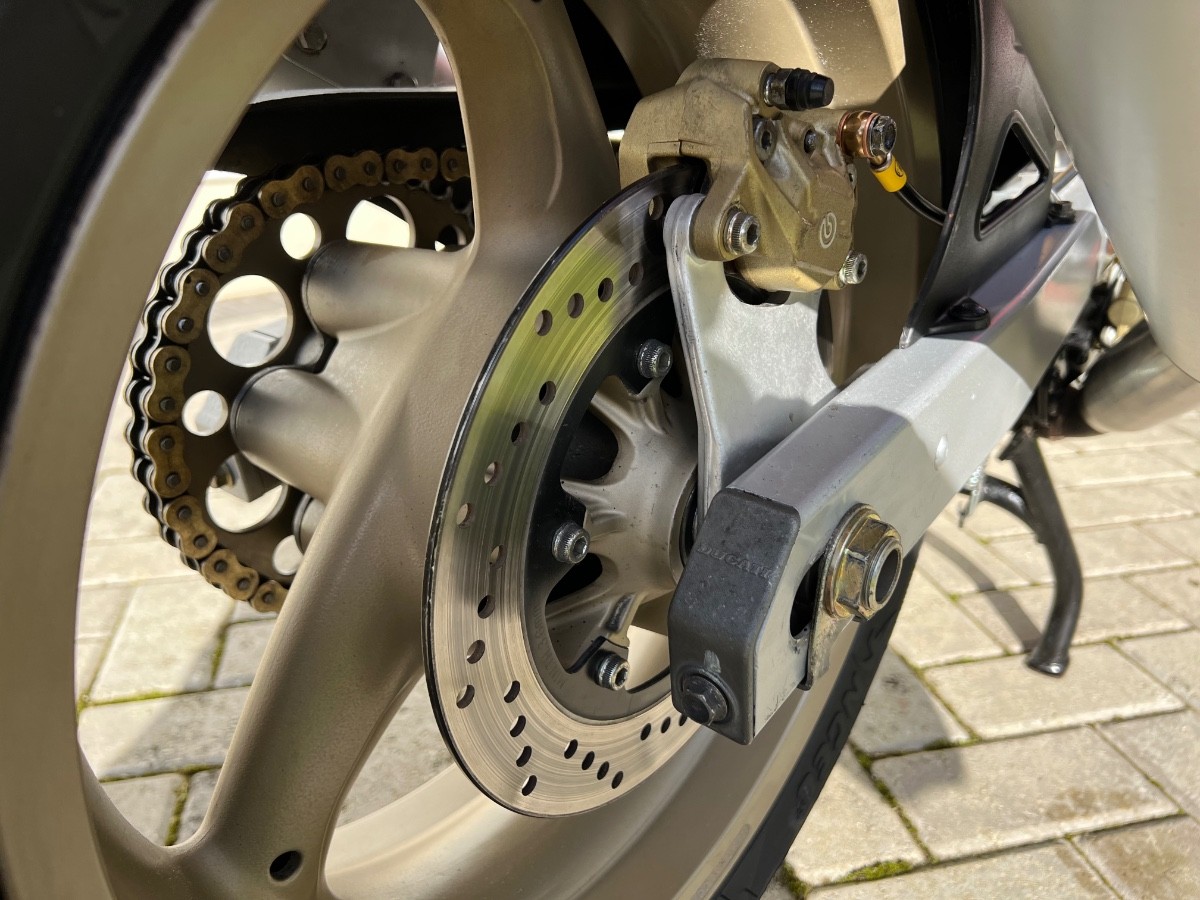
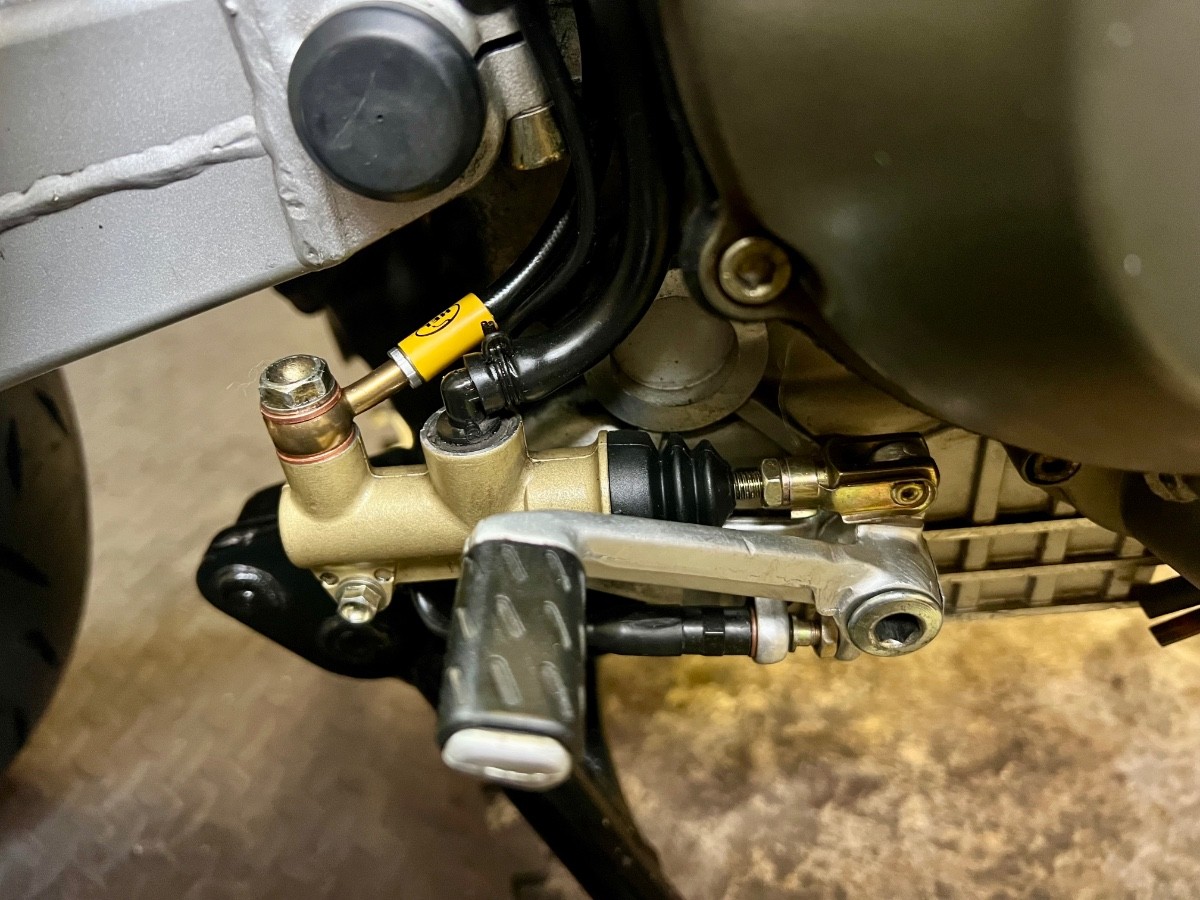
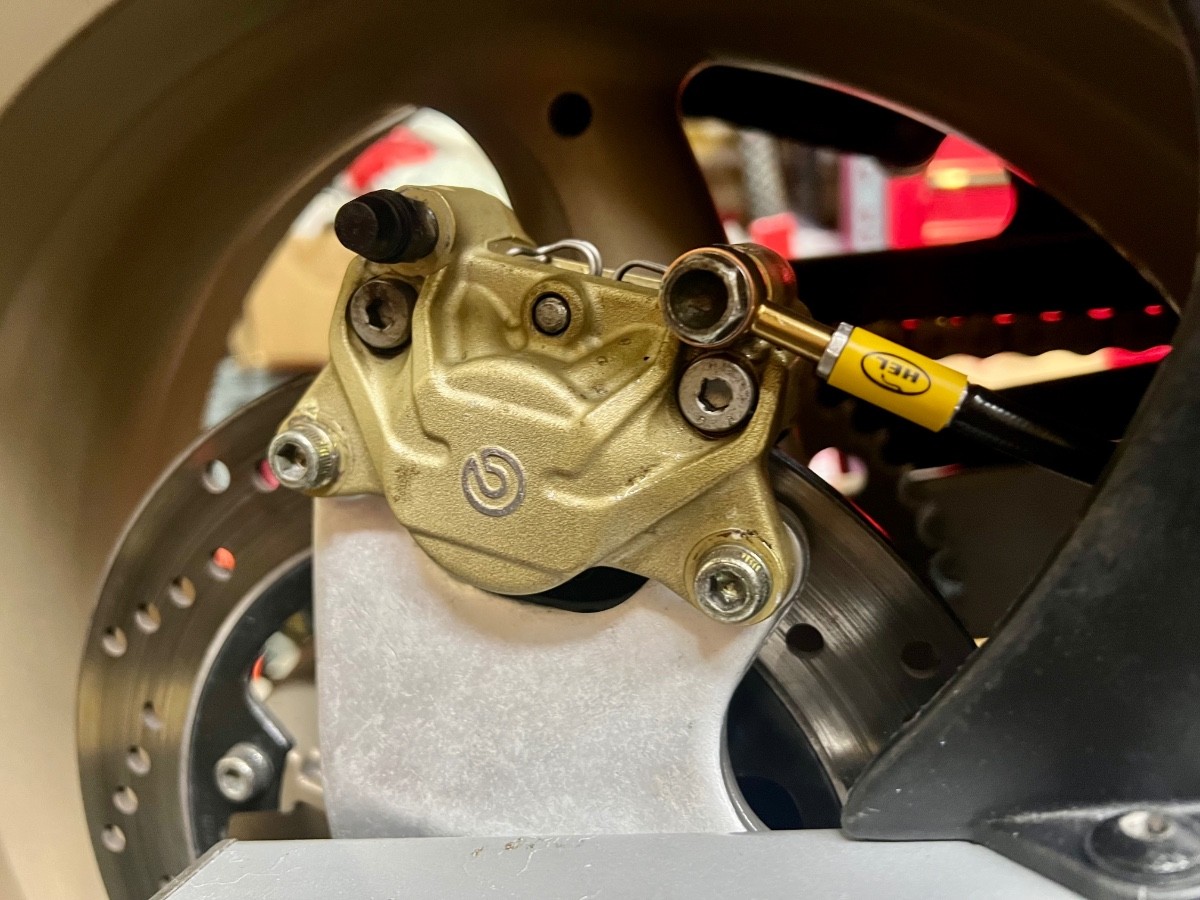
Hand op went well and I'm on the mend. Sling comes off on Monday and I'll hopefully be able to start work again. I'm really rubbish at sitting around doing nothing but I have a great wife who watches me like a hawk and makes sure I don't try to use my hand. In other news, my wife went out this morning and, coincidentally, my new braided rear hose arrived. I hadn't touched the bike for nearly a week so ... I can now confirm that it's possible to replace a brake hose with your arm in a sling. I was keen to check whether my theory about a blockage in the old brake line was correct so I cut the connectors off each end and, sure enough, one of them had some quite hard bits of dirt that was blocking the flow of fluid. With this in mind I decided to once again remove the reservoir and master cylinder and the hose that fits between them. I took everything apart and gave it all a really thorough blowing through with brake cleaner so that I could be sure that I wasn't going to pump more dirt through the system. I'd already done this once but I just wanted to play safe. In noteworthy news, the circlip that holds the master cylinder internals inevitably went flying across the garage but I managed to find it in less than a minute. That's NEVER happened before. I put everything back together, bled the brake and everything is working perfectly. On the bodywork front, I got a quote from a local place to have all of the bodywork prepared and painted. Due to the number of panels that need some prep, I'd be looking at £1,500 - £1,700. I don't expect to keep the bike for ages - this exercise is for the pleasure of bringing a bike back to life. That cost is way more than I can afford and would just lead to a bigger loss so I've ordered a touch up paint instead. Once that arrives, I'll make a start on paint while I'm waiting for my hand to get better. I've done plenty of touch up repairs before and, although they're never incredible, if most of the paintwork is basically decent (which it is) then I think it should end up looking pretty good.