-
Posts
129 -
Joined
-
Last visited
-
Days Won
4
Content Type
Profiles
Forums
Events
Store
Gallery
Community Map
Everything posted by GojuRyu5
-

Wife claims my bike is "an expensive ornament". Discuss.
GojuRyu5 replied to Throttled's topic in Motorbike Chat
An ornament has two definitions: 1. a thing used or serving to make something look more attractive but usually having no practical purpose, especially a small object such as a figurine. 2. the accessories of worship, such as the altar, chalice, and sacred vessels. Your bike clearly has a practical purpose, and supports wellbeing. So it’s not an ornament on that definition. However, your wife may have a point on the basis on definition 2. Is your bike an accessory of worship / a sacred vessel? I might argue yes . My read on this is that your wife is not complaining about the bike, but merely reaffirming what you already know. Riding your bike is akin to a religious experience and a vehicle of worship that deserves your attention and faith. If that doesn’t win this particular, it’s time for a new one… Wife, not bike… . Stay safe out there. -

My Honda CB100N project - “Rusty”
GojuRyu5 replied to GojuRyu5's topic in Old Motorbikes, Projects and Restorations
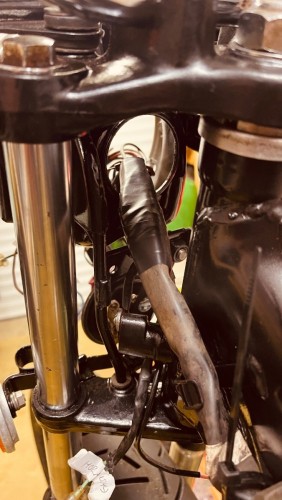
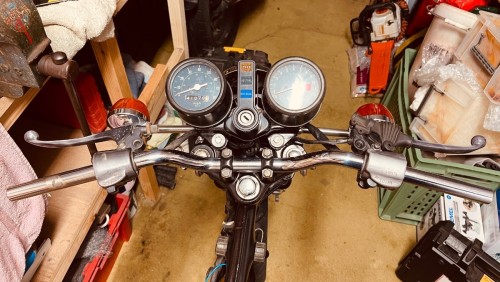
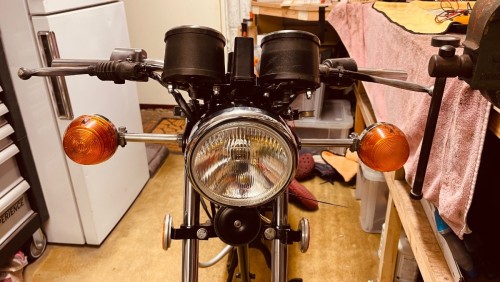
This is infuriating! On the bench, everything worked on the loom apart from the indicators - they had power, the bulbs worked and they had ground, so it must be another issue in the circuit. Replaced the flasher unit, but still nothing, so assuming that I could puzzle this out later, I re-fitted the loom to the bike. Spent hours with my fingers in spots tighter than a proctological examination to feed the various cable runs into the headlight. Reconnected everything exactly as it had been in the bench, turned on the ignition and now the only thing that works are the lights in the Speedo and Tacho. Not even the headlight which was fully functioning yesterday (low / high / park)… I know I have a ground as continuity confirmed, so I guess I’m back to taking bits off and working through it all again. OK, partly in celebration, and partly because it may never look like this again, here is what is currently sitting in the garage… l -

My Honda CB100N project - “Rusty”
GojuRyu5 replied to GojuRyu5's topic in Old Motorbikes, Projects and Restorations
Further testing on the loom and was really pleased with the results. Got a little bit to fix still, but now only small issues so it’s promising. The horn now works, the rear light, the headlight / high beam and parking light, and the lights that illuminate the clocks also come on. The switch gear seems to function as expected which is also good news. The indicators still don’t but this is one of the fixes I mentioned before as I think there is a break in the circuit near the flasher unit - which I’m tackling tomorrow night. Once install, I’ll upload more pictures. -

My Honda CB100N project - “Rusty”
GojuRyu5 replied to GojuRyu5's topic in Old Motorbikes, Projects and Restorations
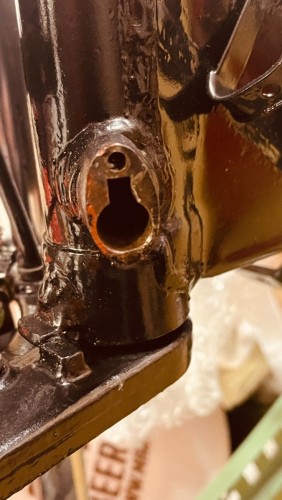
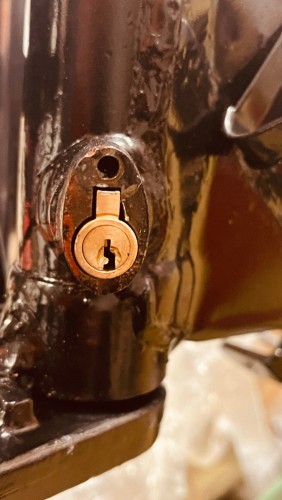
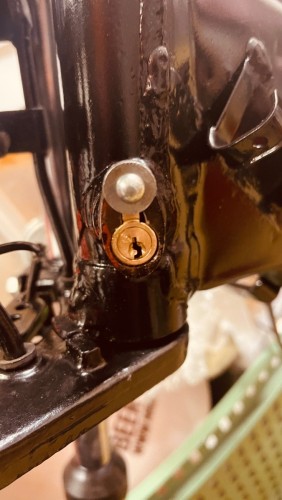
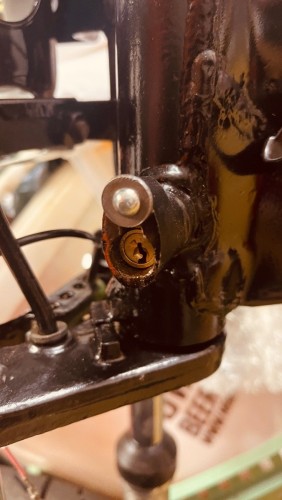
Another drama was the steering lock. I have been waiting patiently (for nearly a year) for the original eBay seller to find the keys, and he contacted me recently to say he had them. Unfortunately, they weren’t the correct ones, and I was nervous that the lock might be engaged and I wouldn’t be able to unlock it. So I found a new lock on David Silvers, and have had to drill out the old one. This was going well until I broke a drill bit as I gradually increased the drill size - I also just caught the corner of the frame at one point, so that wasn’t entirely as intended... (schoolboy errors). But, one drift and a firm bashing later, I managed to remove it (phew), but then realised that you need the key to be able to engage the steering lock so I may not have needed to remove it (grrr!). But I have reinstalled the new lock and at least Rusty now has a working steering lock. I do need to touch up the frame in a few places after ‘interacting’ with parts like this, but it will look fine at the end. -

My Honda CB100N project - “Rusty”
GojuRyu5 replied to GojuRyu5's topic in Old Motorbikes, Projects and Restorations
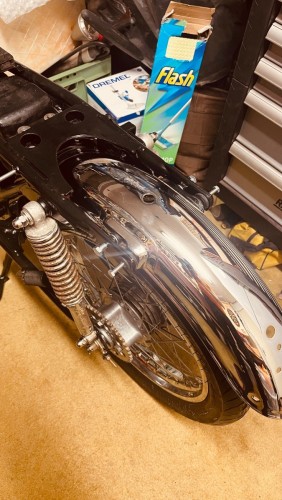
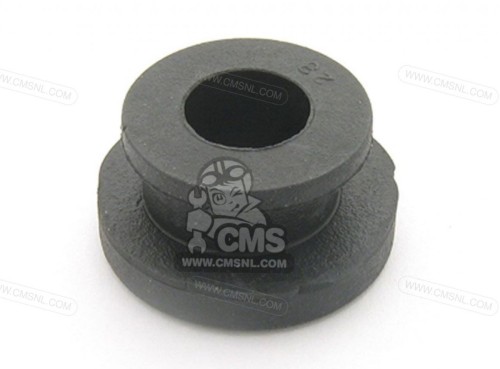
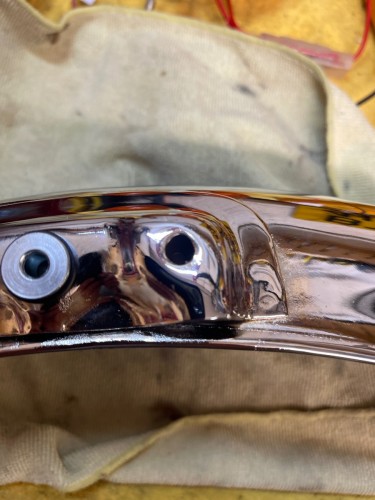
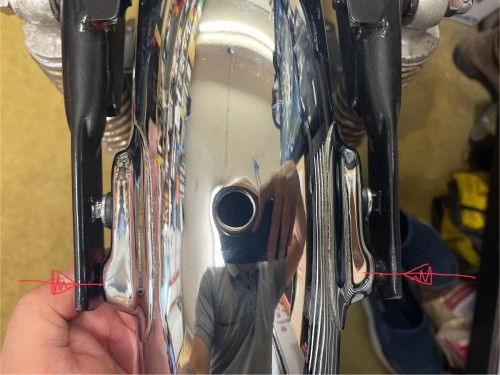
OK, so CSMNL.com sold the mounts and sleeves, and they arrived today. Perfect size, so I test fitted the rear mudguard. Still have to install the loom, which I’m still testing, so I haven’t adjusted the bolt lengths to complete the installation. Also the tail that holds the rear lights and rear indicators doesn’t seem to be as eBay advertised (1980 CB100N) - it’s possibly from a different year so that also needs an adjustment before final fix (I need to drill a couple of holes in the newly rechromed mudguard… aarrgh). I’ve not seen another similar tail piece advertised on eBay over the last 12 months so I’m going to have to work with what I have. Once in position it’ll be fine. -

My Honda CB100N project - “Rusty”
GojuRyu5 replied to GojuRyu5's topic in Old Motorbikes, Projects and Restorations
Thanks very much @Mississippi Bullfrog. -

My Honda CB100N project - “Rusty”
GojuRyu5 replied to GojuRyu5's topic in Old Motorbikes, Projects and Restorations
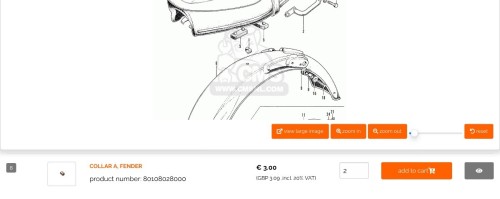
OK, I think I found these, which look about right given what I can see - has anyone seen these before? -

My Honda CB100N project - “Rusty”
GojuRyu5 replied to GojuRyu5's topic in Old Motorbikes, Projects and Restorations
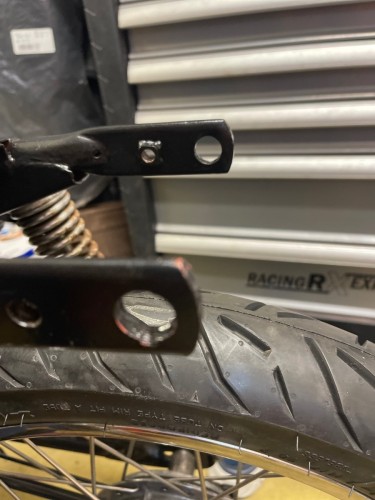
OK, more advice needed please if anyone has any thoughts. I’m planning ahead and thinking about how the rear mudguard is mounted (this wasn’t attached when I picked Rusty up, and there’s nothing in the manual about this). I’m assuming it’s a bush of some sort, perhaps with a shoulder either side. The hole is 16mm x 6mm deep and I need to insert a 6mm bolt through to attach the mudguard. Can anyone describe the right bushing / rubber grommet that I might need? I’m a bit stuck. It is the bottom of two fixings on the below picture. Thoughts? Is anyone familiar with the way these are mounted? Thanks in advance all. -

My Honda CB100N project - “Rusty”
GojuRyu5 replied to GojuRyu5's topic in Old Motorbikes, Projects and Restorations
-

My Honda CB100N project - “Rusty”
GojuRyu5 replied to GojuRyu5's topic in Old Motorbikes, Projects and Restorations
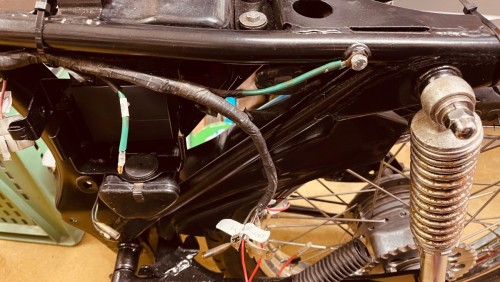
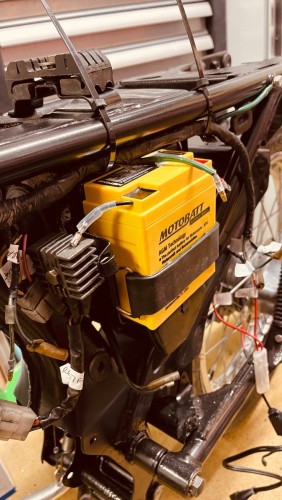
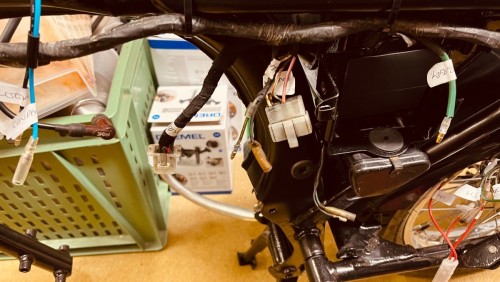
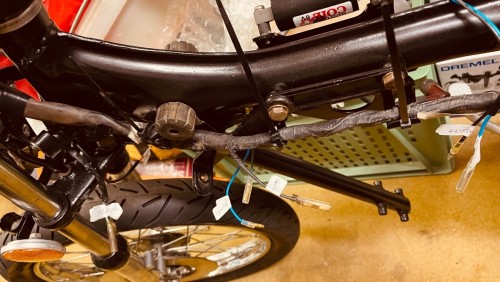
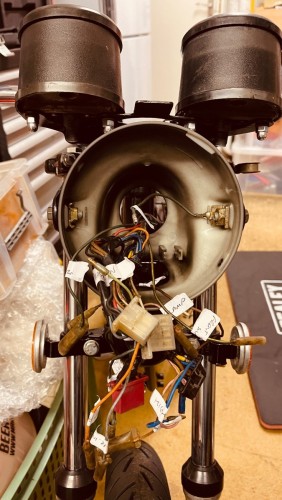
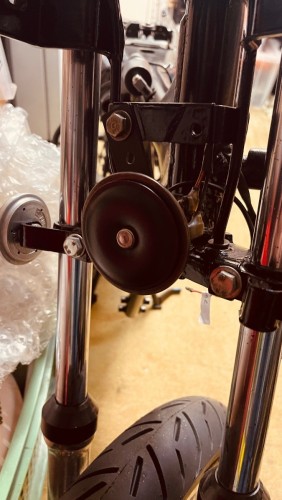
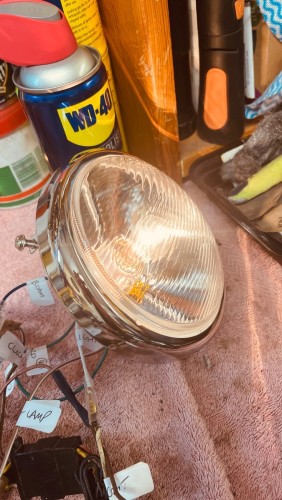
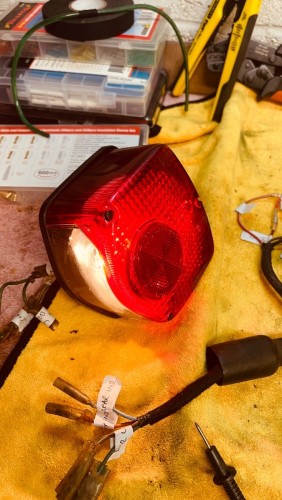
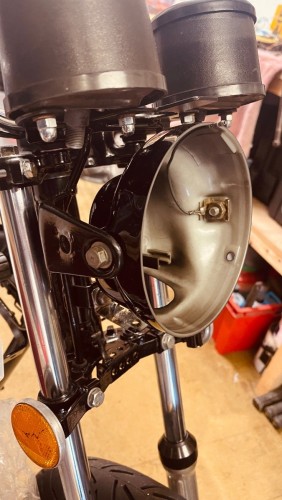
Further progress today, labelling the wiring loom to identify all the various components and actually digging them out of the parts box. I have tried to clean connectors and have re-made the battery / fuse connections. Still work to do, but I flicked the ignition on and both the headlight and taillight sparked into life which has to be a good sign. The indicators didn’t flash, but I think there is a break in the circuit near the flasher unit and I’m not confident that the ground / earth is set up correctly around the indicators, but it’s still early days. I still have to check end-to-end continuity on the various wires which I need to approach methodically, but the fact that there are some signs of life is better than I thought at this stage. I found a new headlight that was a perfect match, so have added the housing to the frame - whilst the lens remains on the bench. -
Good luck and welcome back to the best club in the world. Bikers rock!
-
When I was reading your post, I immediately thought that an advanced course would help you, so was glad to see that on your subsequent post. I completed the IAM Roadsmart ‘course’ through BWAM (Bournemouth and Wessex Advanced Motorcyclists) and it was the best experience in terms of giving confidence in my ability to rides progressively and safely based on the conditions - not ignoring the obvious risks of blind cagers, that is. Good luck with your return and ride safely.
-
I’m a great believer in a nod, a foot or and wave (sometimes even a salute if I’m feeling particularly feisty), but all of that takes a backseat to safety. Riding with appropriate stopping distances and awareness of what’s going on around you should give you time to acknowledge another biker, but never at the expense of increasing the level of risk at any particular point. I always think another rider mildly rude if there’s no friendly nod, but we all know the risks well enough. Also, sometimes, people just aren’t in the mood…. All I can say is that if you happen to pass me, when you venture out to the south coast from Surrey, be assured of a warm and friendly greeting!
-
Welcome back. Having had a similar break in the distant past, I know the feeling of swinging the leg back over and getting down the road. Awesome times ahead; ride safely.
-
Welcome to the group. Good luck with the search for that perfect bike.
-

My Honda CB100N project - “Rusty”
GojuRyu5 replied to GojuRyu5's topic in Old Motorbikes, Projects and Restorations
Thanks Ian, that is interesting. There’s something on the wiring diagram that references German models only (although I can’t be sure at the moment if it refers to this particular part) - that may be an explanation. I appreciate the feedback -

CBR600 F3 1998 - amateur restoration
GojuRyu5 replied to Hairsy's topic in Old Motorbikes, Projects and Restorations
Sorry, I’m late to the party but I have just read through your thread and, wow, great work. Well thought through, and you clearly have a lot of general mechanical confidence to have tackled some of the issues you came up against. I’ve been working on an older bike for my first restoration and reading your progress has given me a boost. Thanks -

My Honda CB100N project - “Rusty”
GojuRyu5 replied to GojuRyu5's topic in Old Motorbikes, Projects and Restorations
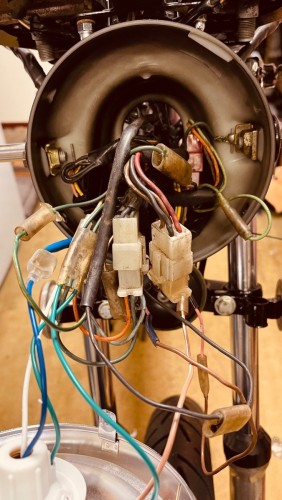
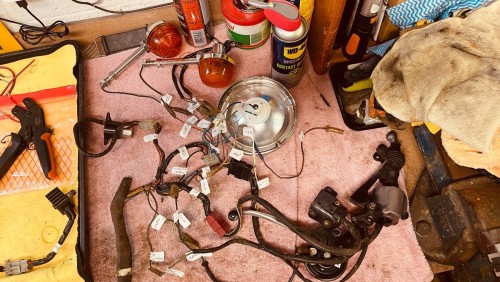
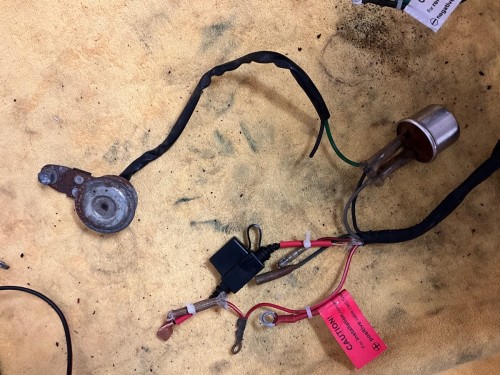
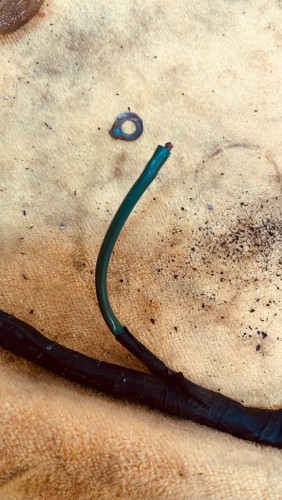
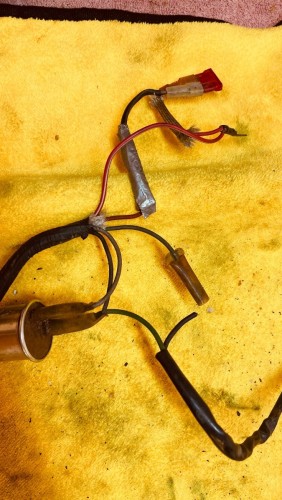
Here’s a better view of the wiring, not helped by a broken wire which I have yet to trace… (please excuse the cable ties - that’s me holding stuff roughly in place so I don’t lose it on the bench). I may not be brilliant at electrics, but I DO know that making a circuit by cable tying wires together is fraught with issues…! . -

My Honda CB100N project - “Rusty”
GojuRyu5 replied to GojuRyu5's topic in Old Motorbikes, Projects and Restorations
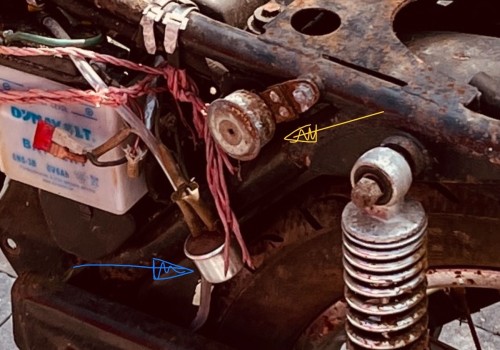
So, now comes the time to ask for some help…. On the loom, I have a connection to what I THINK is the flasher unit (blue below), but can anyone identify / explain what the other piece of kit is (yellow below). The manual mentions a ‘Direction Indicator Relay’, and a separate ‘Indicator / Horn / Passing switch’ - which I know is not a reference to the handlebar switchgear based on it’s position on the circuit diagram. I’m assuming it is something to do with the indicator circuit, but haven’t got a clue what it does. Thoughts? -

My Honda CB100N project - “Rusty”
GojuRyu5 replied to GojuRyu5's topic in Old Motorbikes, Projects and Restorations
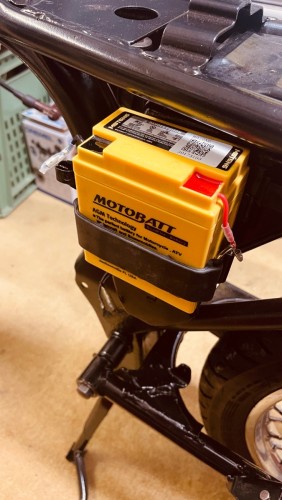
So, now to the loom. My first time here, so I’m working through which bits connect where and checking everything is where it should be - looks like someone has done a dodgy fuse replacement at some point, so I’m earmarking sections for repair / updates. Once I have all the parts labelled and know where everything goes, I will get the multimeter out and pretend I know how to use it… Battery should arrive in the next few days, and my mate who knows more about soldering and wiring than I do (that’s not a particularly high bar, admittedly) is back from his holidays, so I’m hoping the planning and prep will pay me back for the time invested. There are a couple of issues to fix straight away though, as the negative battery terminal connection was rusty and broke easily. Also I have a mess of wires around the fuse to suss out. -

My Honda CB100N project - “Rusty”
GojuRyu5 replied to GojuRyu5's topic in Old Motorbikes, Projects and Restorations
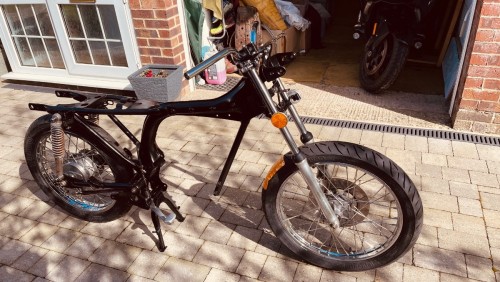
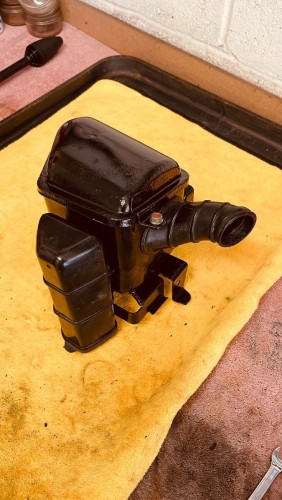
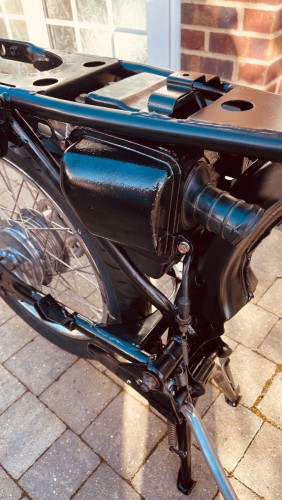
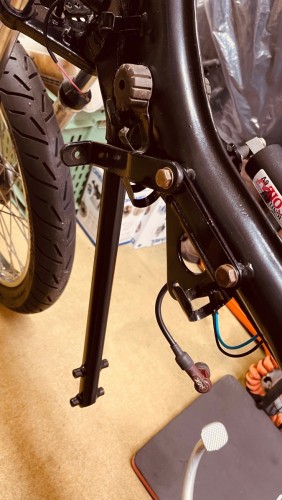
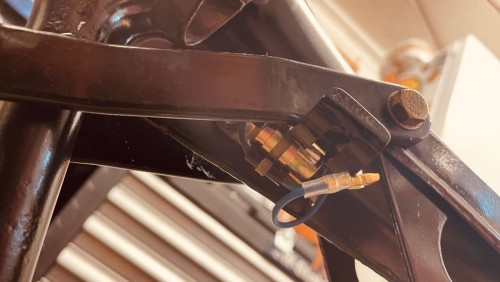
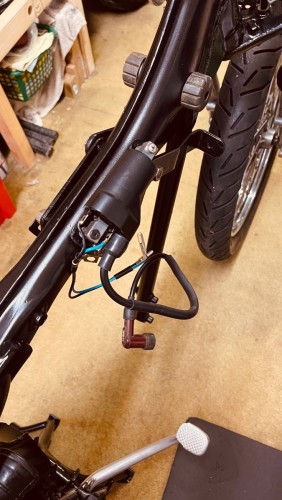
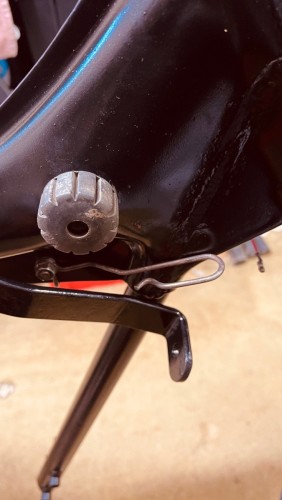
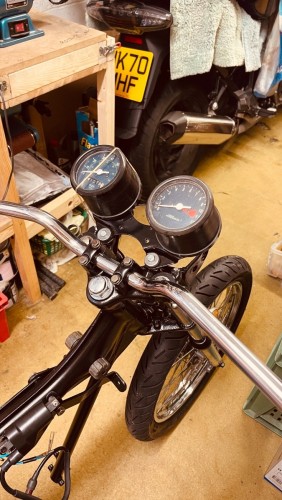
OK, so I have been working slowly through the mechanical elements, and have something that is beginning to look a bit like a motorbike! So, I had already built the front end on the bench and got the front wheel on. I refitted the bushes to the swing arm and attached that, and refitted the rear wheel, the centre stand and rear brake lever. Had to use the old rusty shocks as the replacements I bought had 12mm (top) and 11mm (bottom) bushes, but the pins were both 12mm. WeMoto agree to refund - even six months after buying them - so I found alternatives which are now on order. Connected up the rear drum brakes with the new shoes that were gifted to me by @Old-codger, and then added the rebuilt air box. Then started on the clocks (new headlight on order so didn’t get far there) but I have test fitted some of the electrical components - mainly to confirm position and to label the wiring as I prepare the loom for refitting. On this next one, you can just see the shaped, two pronged bracket I had to re-make. It fits!! The Condenser is tucked neatly under the frame, but must be exposed to lots of water as the original was a rusty mess after years of riding. Then the Ignition Coil attached on the opposite side, with the lead that will eventually go to the spark plug.


