

GojuRyu5
-
Posts
129 -
Joined
-
Last visited
-
Days Won
4
Content Type
Profiles
Forums
Events
Store
Gallery
Community Map
Posts posted by GojuRyu5
-
-
7 minutes ago, Tinkicker said:
I always fit headstock, yokes and bars, move onto swingarm and shocks. Then wiring harness, airbox and battery tray.
Thanks for that. That seems like a logical approach so I’ll follow that same process. Front forks, headstock, etc should give some substance to the front end followed by the rear swing arm doing the same. Thanks for the advice bud
-
 2
2
-
-
Of course, this then got me thinking - what the hell do I do next? What do you lot do - where would you start?
- Rebuild the front headstock, suspension and wheel?
- Rear swing arm, centre stand, suspension and rear wheel?
Thoughts?
-
1
-
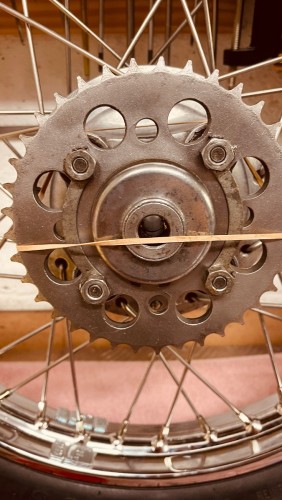
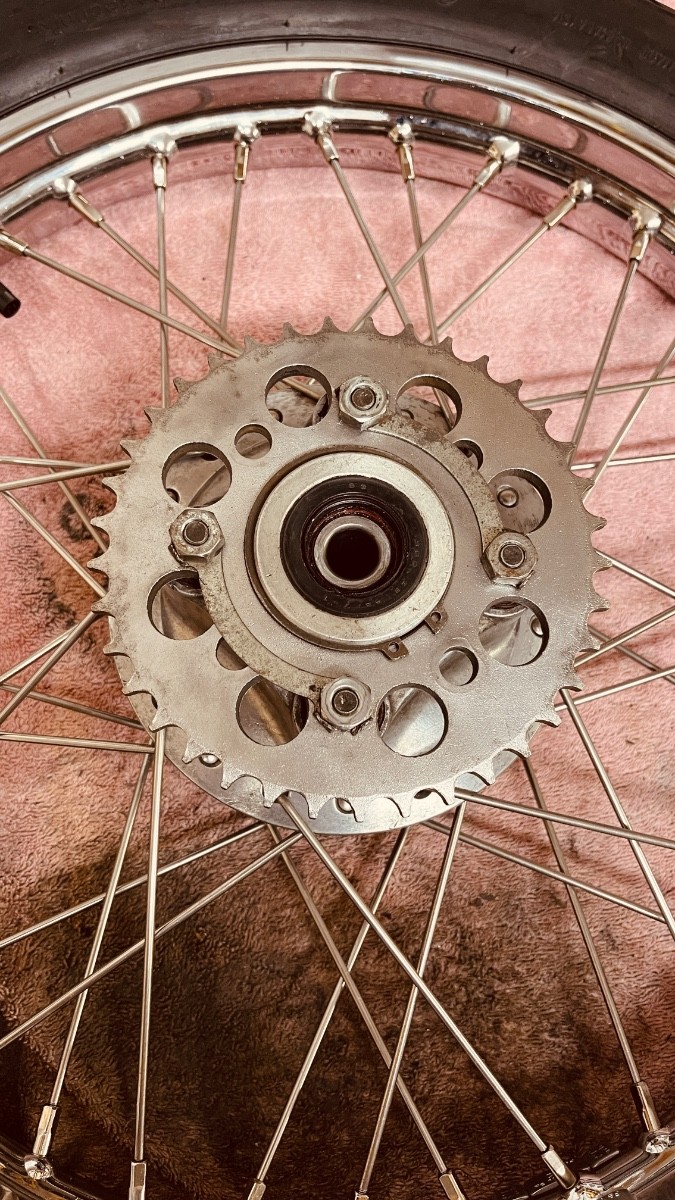
OK - so the rebuild has tentatively, but formally begun by attaching the sprocket and tab washers (the old manual I bought helpfully gave torque values!). I then cleaned and polished the dust seal and packed it with grease.
Feels like I have turned a corner, but I still have a massive journey ahead.

-
1
-
-
@Tinkicker - In my absence, I missed the culmination of your work here, but support everyone’s comments. For a first-timer like me, reading about your progress has been inspiring and scary in equal measure. I’m fairly sure I can get the nuts and bolts back together roughly in the right order, and find a workaround for most challenges, as you have. But your blow by blow narrative of tracing electrical faults, etc… gives me heart that most problems can be solved with a logical mind. I’ll be returning to your thread for sometime as my rebuild starts.
Thanks for the entertaining read. All the best with the next project. J
-
On 06/03/2024 at 11:54, RAYK47 said:
My daughter is doing a masters in Forensic Psychology and really needs people to fill out a survey for her data analysis. It would be greatly appreciated if you can spare 10mins of your time to answer the questions in the link below. She still needs over 200 responses and is really struggling to get them.
Done. My daughter did a similar survey a few years back - also in a branch of psychology- so happy to support. Good luck to your daughter. I’ll see if I am able to share for further support.-
 1
1
-
-
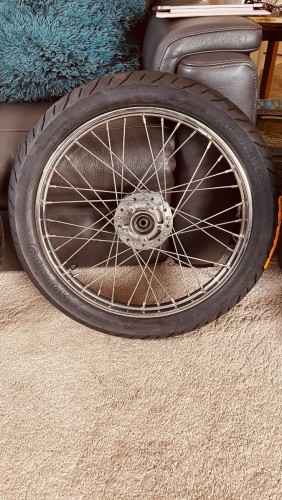
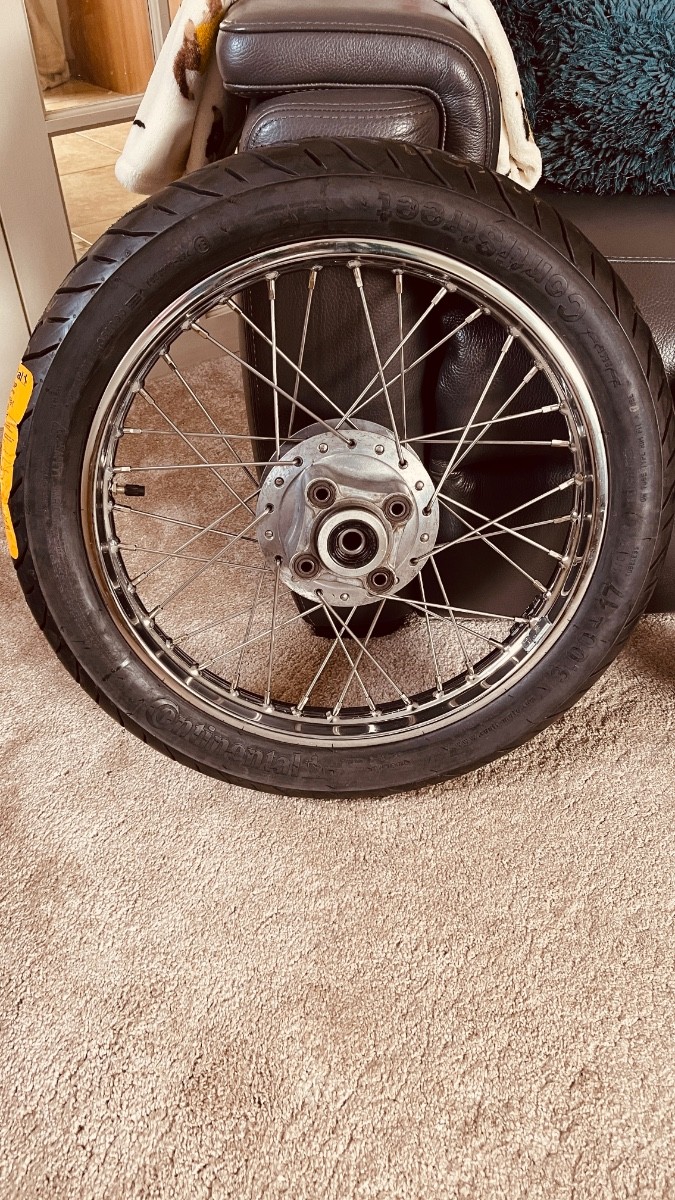
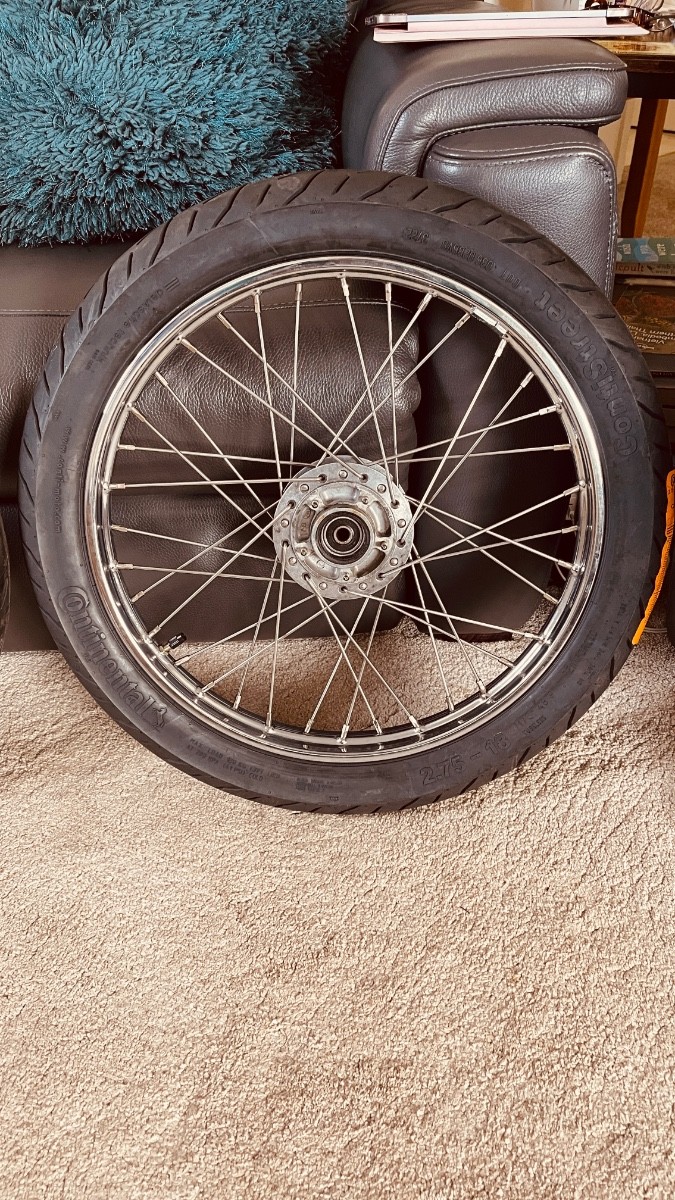
Not sure it’s it is OK to post the name of the spoke guy, and I can remove if it’s an issue, but I used Mike Mcevoy of Salisbury Wheelbuilders (based in Ringwood). The tyres were supplied and fitted by Mark of Powerlinks, also in Ringwood. Both were extremely helpful - but they should be for the price.
- Supplying custom made spokes and re-lacing the wheels was £360 (more than I thought and I stupidly forgot to ask for a quote due to the rush), but for the money he’s done a grand job and better than I would have for half the price.
- Supplying and fitting the tyres (Continental) with inner tubes and rim tape was £143.
I always knew this would be one of the most pricey bits and I don’t currently have the skills to re-lace wheels myself, but it is a means to an end and I can now start on the re-build. Watch this space.
-
1
-
-
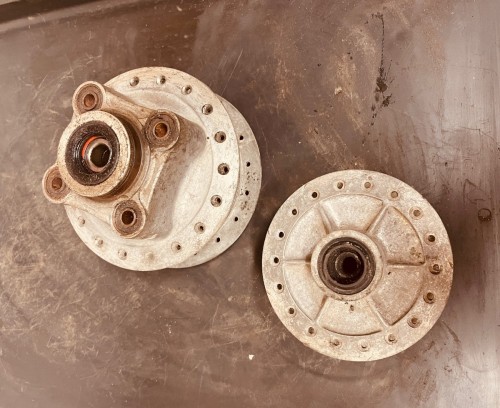
After… (I did the hubs myself in a bit of a rush coz’ the spoke guy said he could do them the next day, so I still have some elbow grease to apply to some Autosol, but they’re a lot better than they were at the start!).

-
4
-
-
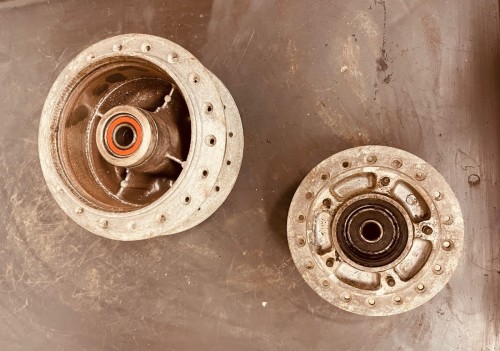
It’s been a while since I posted - enforced absence due to my wife having an operation, so hardly any time to get into the garage. But she has now recovered and I’m beginning to turn my attention back to the project bike. The turning point was always going to be getting the wheels done as this gives the opportunity to start on the rolling chassis. Well, after getting one rim re-chromed last year, and a replacement for the second arriving from David Silvers, I was able to clean the hubs and take them for re-spoking last week. Pricey, but the guy makes his own spokes himself, so I know it’s a proper job (and, hey, the budget seems to have been blown anyway…). The business next door to the spoke guy does bike repairs and so he found the tyres for me, so I got it all done at the same time, and I have just picked the finished articles. Very pleased with the results.
Before…
-
1
-
-
On 05/01/2024 at 16:20, Tinkicker said:
He was quite a prolific poster and was in the middle of a restoration thread when he suddenly stopped posting in mid november.
Hope he is OK. Anyone heard anything?
Hi Tinkicker. I’m still here, but my wife had an operation in November and I’ve been supporting her recovery meaning I have little time for anything else. The restoration is still ongoing, but I’ve had little time in the garage. But the good thing is that she has now recovered well, and I can turn my attention back to the bike.Thanks for the mention. I will be back and active again shortly. All the best.
-
7
-
-
Wow, that really looks like a big task. I really hope I don’t run into anything like that. I wouldn’t even know where to start. If I put my block into the sink though, I could at least predict an outcome - pain, blood loss and peace and quiet for months (not being spoke too…).
-
HAHA - the best way to learn as it’s obviously all true. I get all my cheerleading tips and learn creative ways to join wood from YouTube. Just wish I had some pom-poms and 2x4 handy…

-
 2
2
-
-
3 hours ago, geofferz said:
I see people flush with brake cleaner than air line it. I had assumed that left zero residue.
Hmmm, brake cleaner may be a better option to rinse the tank, but I will have to think of an alternative to an air line as I don’t yet have a compressor. Definitely a good idea though - I do know someone with a compressor who has offered it to me before Thanks @geofferz. Helpful as ever.
-
32 minutes ago, geofferz said:
What can't you dry? Tried a heat gun or hair dryer? I presume so but...
Thanks @geofferz. I used the rust remover in the tank and followed instructions to wash it out afterwards, presumably to remove any chemical residue. But after flushing out the water through the fuel tap hole and trying a hairdryer for a while to evaporate the rest, I still couldn’t get all the dampness out.
i guess I’m going to have to try again. It’s only patchy surface rust, but I was struggling to come up with a better plan - now all the paint is done, I need to find a way to do it without damaging the finish. Anyone done this before and any tips?
Thanks for asking.
-
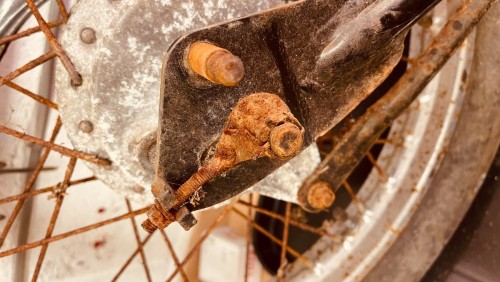
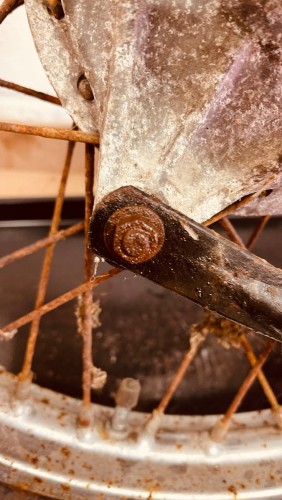
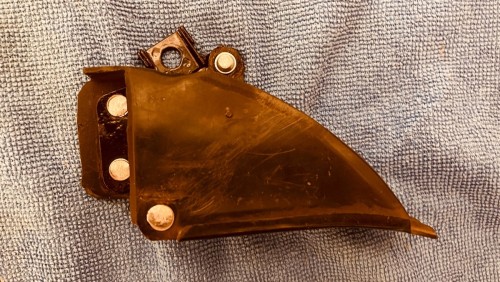
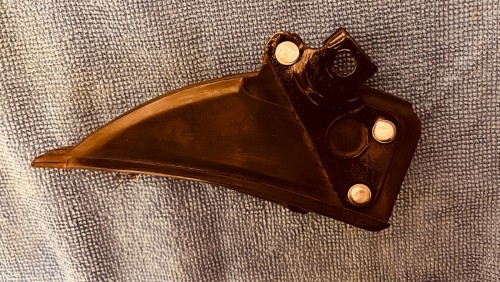
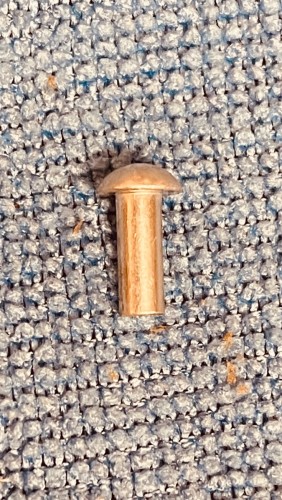
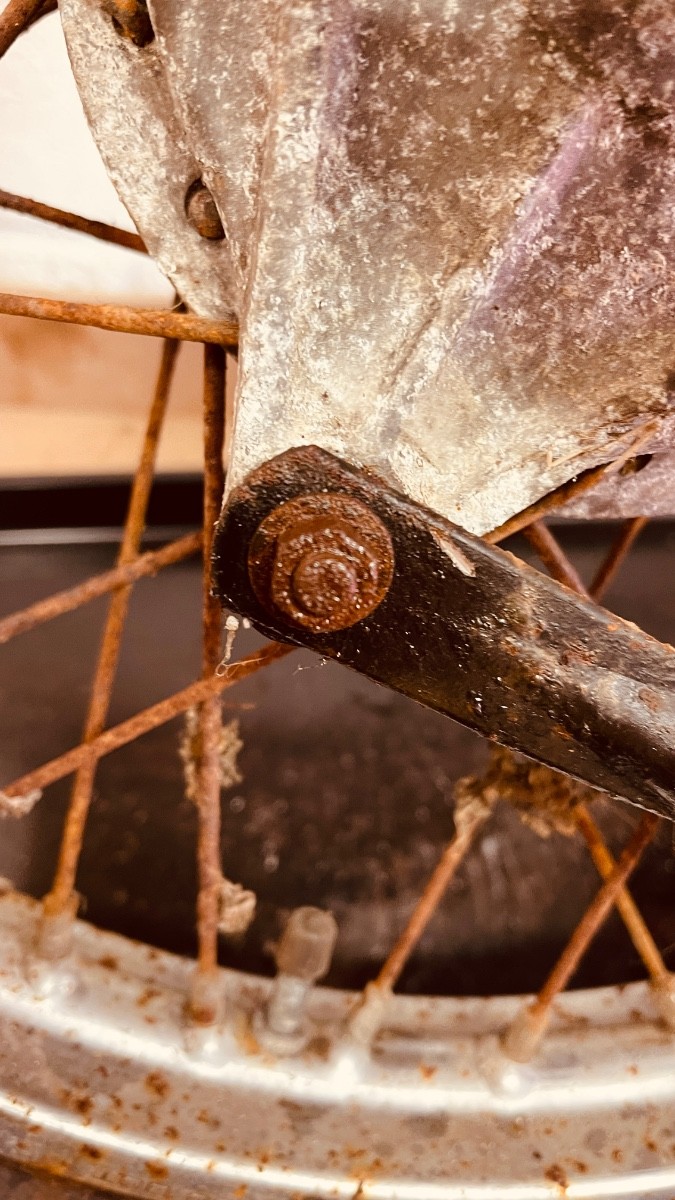
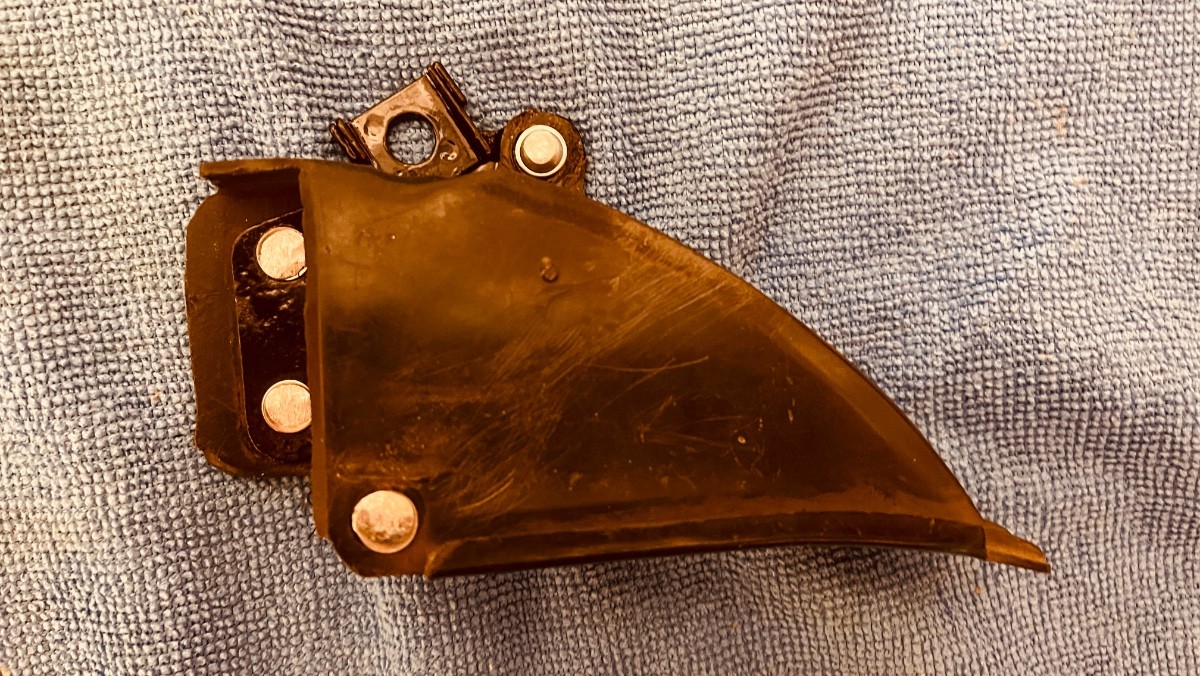
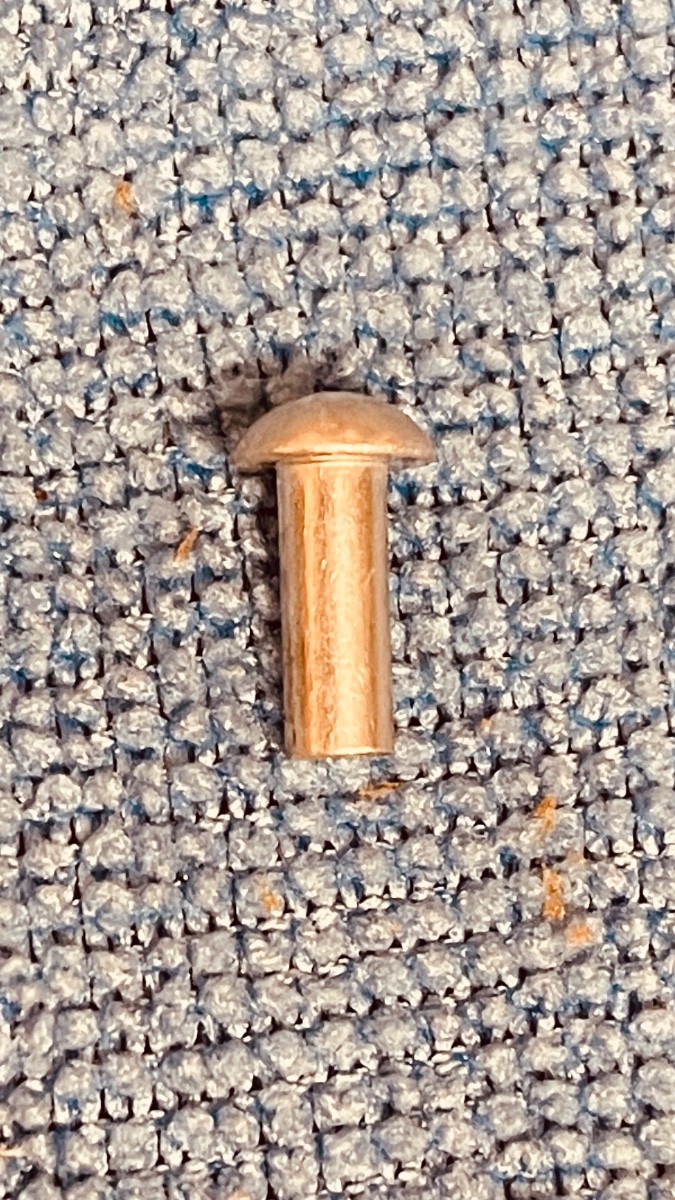
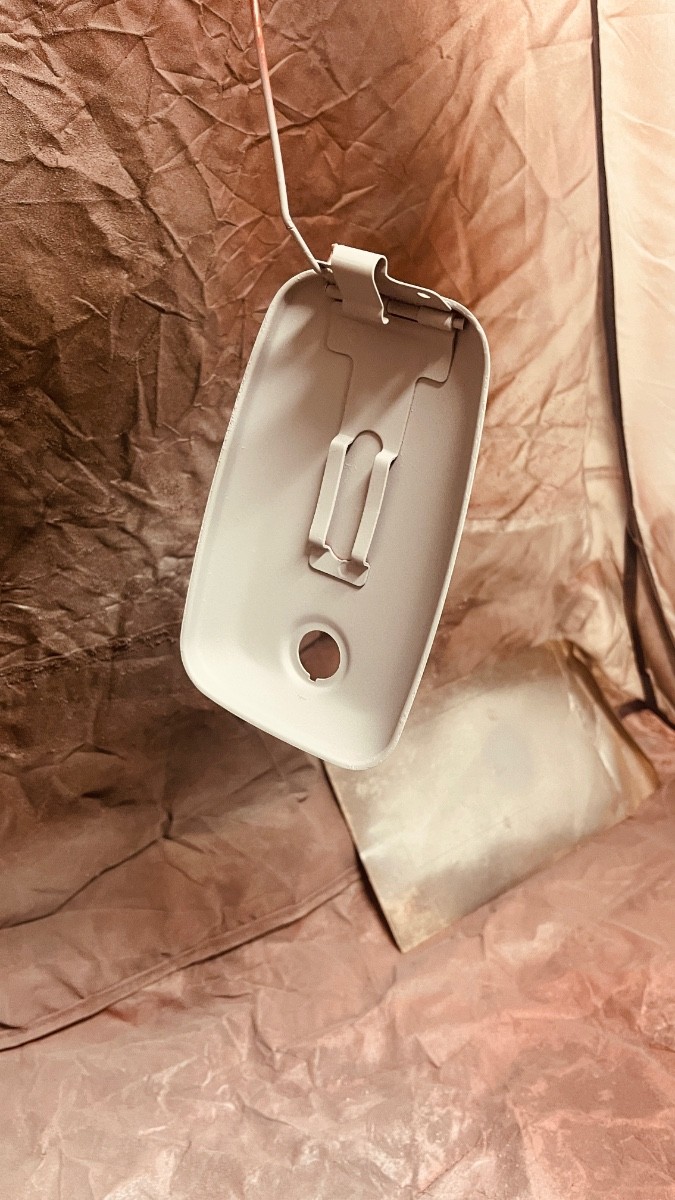
Also had to re-rivet the metal brackets to the front brake disc guard, after I removed the rusty parts for repainting. Not the best paint job as the brackets were pretty rough, but I couldn’t use a pop rivet due to the clearance needed between the guard and the disc. So had to use cap ended aluminium rivets and manually compress them. Still need to be filed to a final finish, but pleased with the new skill.
-
1
-
-
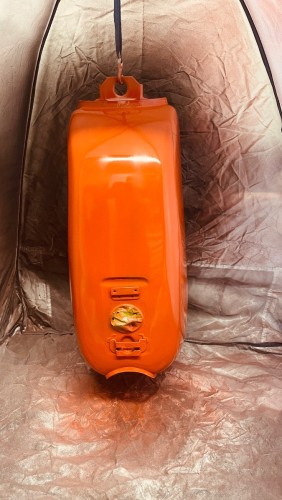
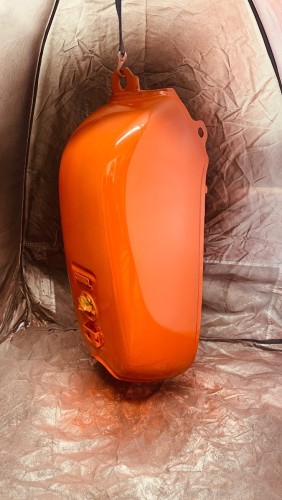
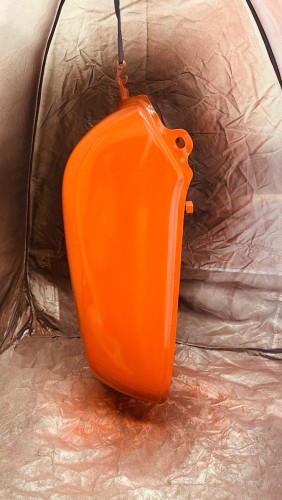
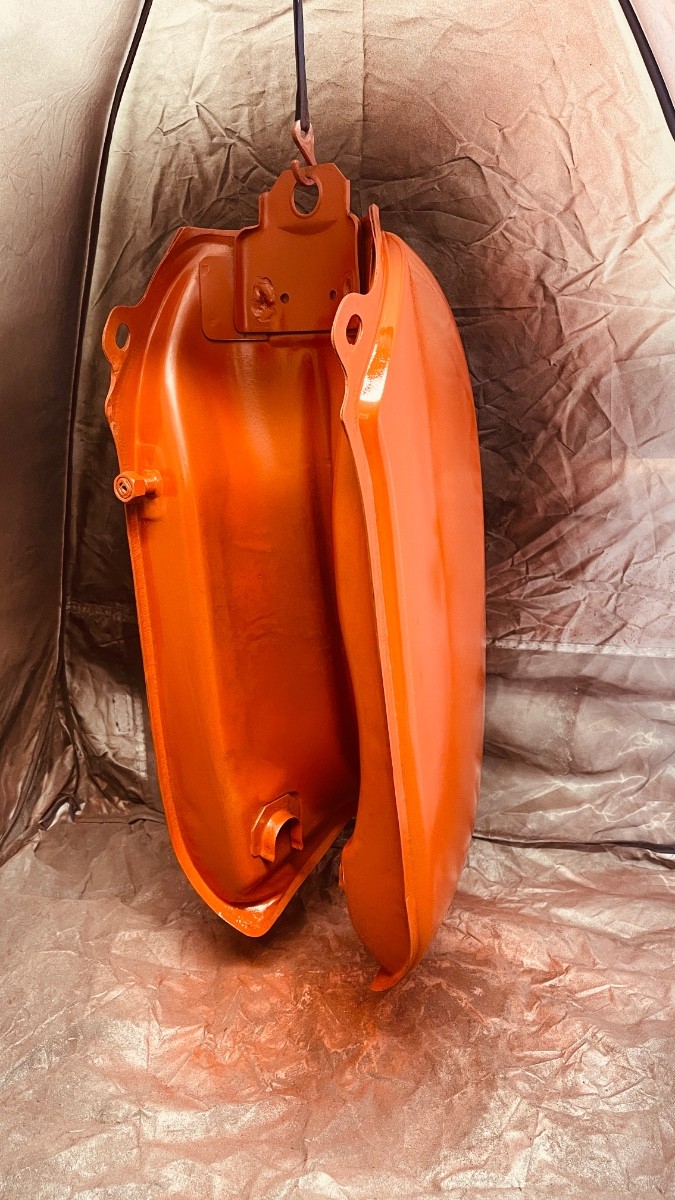
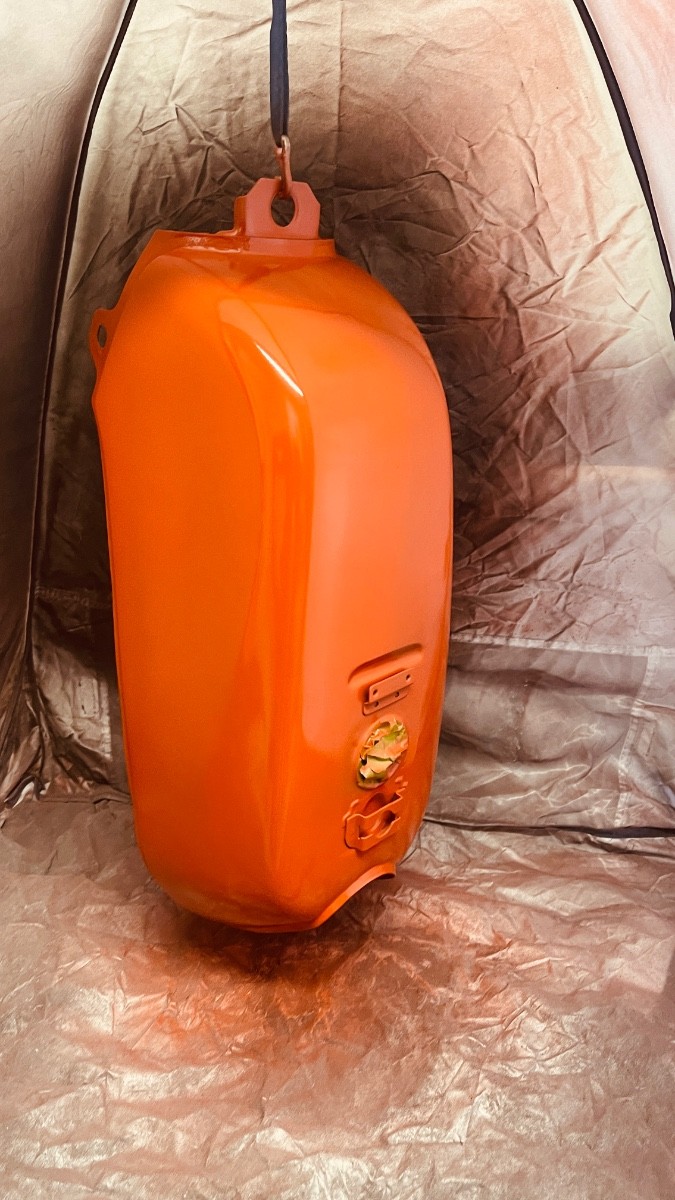
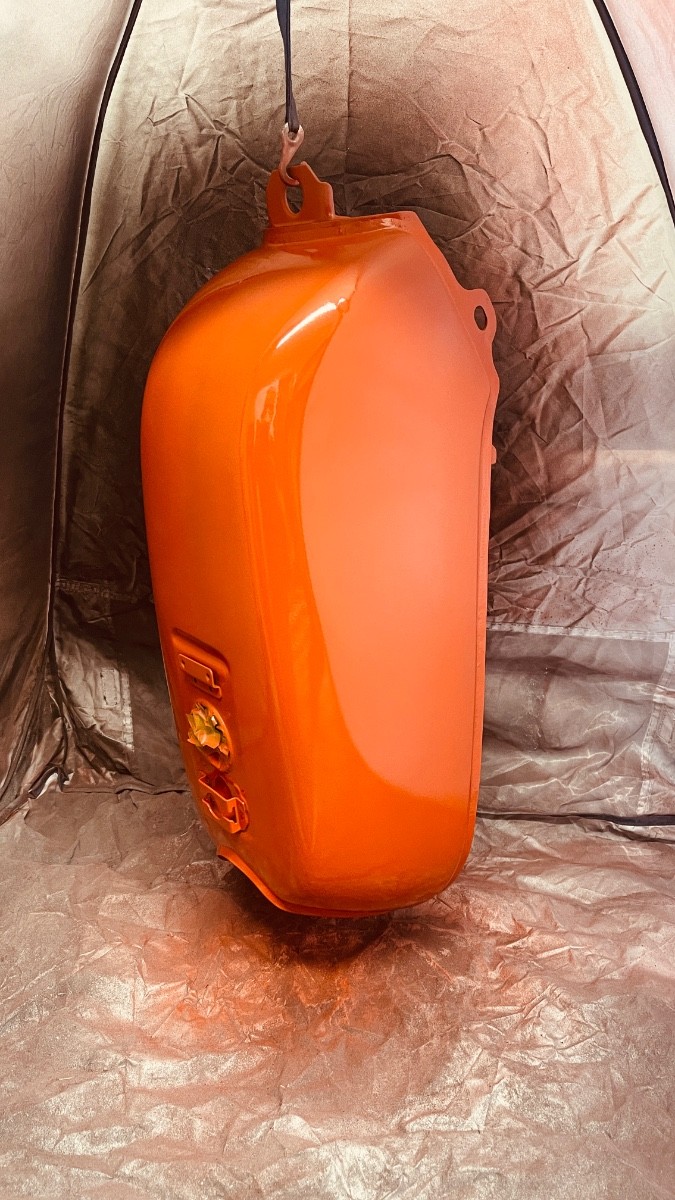
Not perfect, but tank finished with the cover flap, grommets and petcock re-fitted.
I used tank rust remover inside the tank which did a grand job, but having taken the liquid out and washed it out, I found it impossible to dry it properly and the internal surface rust has developed again. Should I do it again when I come to rebuild the bike?
-
On 12/10/2023 at 18:31, Tinkicker said:have applied my magnificent bodyshop skills for a good number of hours, and we have the tank curing overnight in my professional, well appointed bodyshop.
No need to pop the champagne, it is what it is. I promised it would be better than the original dented condition and is.
However, I call it a 10 foot tank. You do not want to be getting closer than 10 feet away without the risk of your bubble being burst.
We have it all... The yellow is a shade too light, visible defects in the body filler if you look close, thankfully the decals hide most of it, drips in the clearcoat and wrinkles in the decals. To cap it all, the supplied sidepanel decals are the wrong colour, they are a pearlescent sort of white, not black.
God those decals.. I will have nightmares about fitting those for months to come.. That tank has shockingly steep compound curves at the front end and getting the decals on without wrinkles proved impossible. Even using heat from a hairdryer would not allow them to conform.
The decals themselves were not exactly high quality either though. Not laser cut, I needed scissors. They were not professional decals, just some guy printing them on vinyl in his back bedroom.
Barry, my painter always pointed out there were decals and there were decals. I was banned from supplying the decals for the 175 tank.
My 175 will refuse to sleep in the same room with it. It sleeps cozy under its coat of very expensive, professionally applied show paint and the poor old 100 is very much the poor relation.
It turned out about how I envisioned it. I hoped for better, but knew what it would be be when I resolved to do my own bodywork.
Basically crap, but not dented, rusty crap.
Before.
After.. Oh dear.

Tough luck on the decals. Those profiles can definitely be a challenge, but understand the frustration. I thought the work to strip and fill tank looked pretty good overall and, as ever, I learnt something from looking at your photos. Thanks for sharing. -
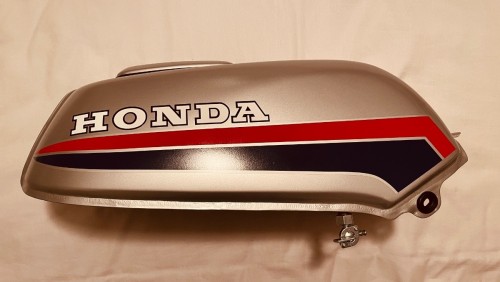
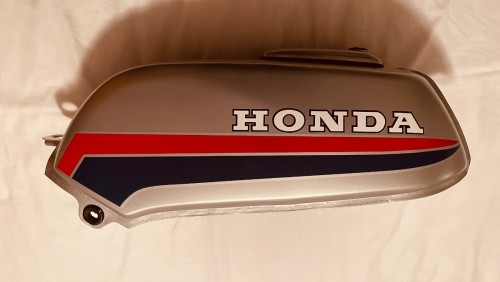
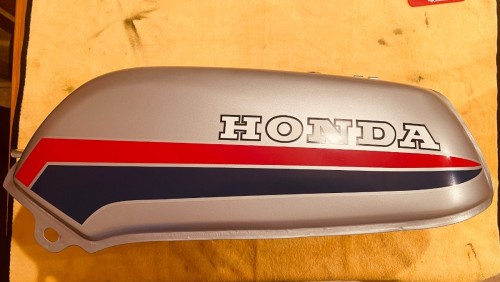
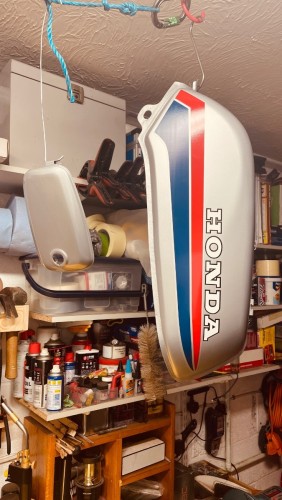
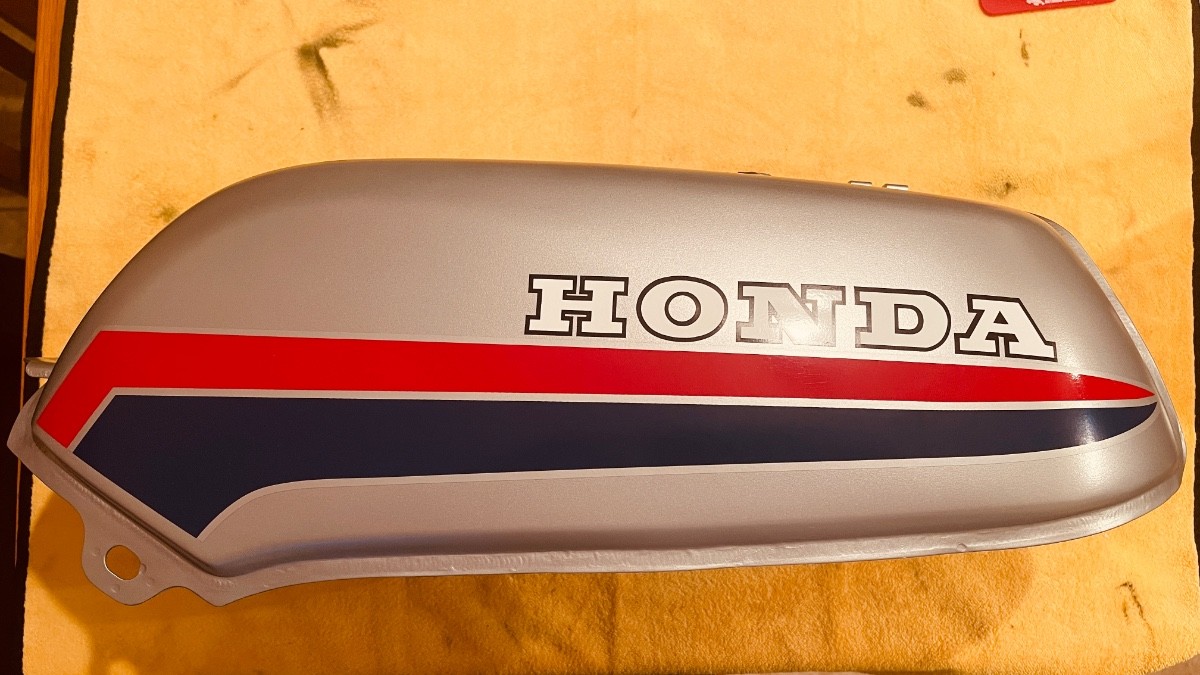
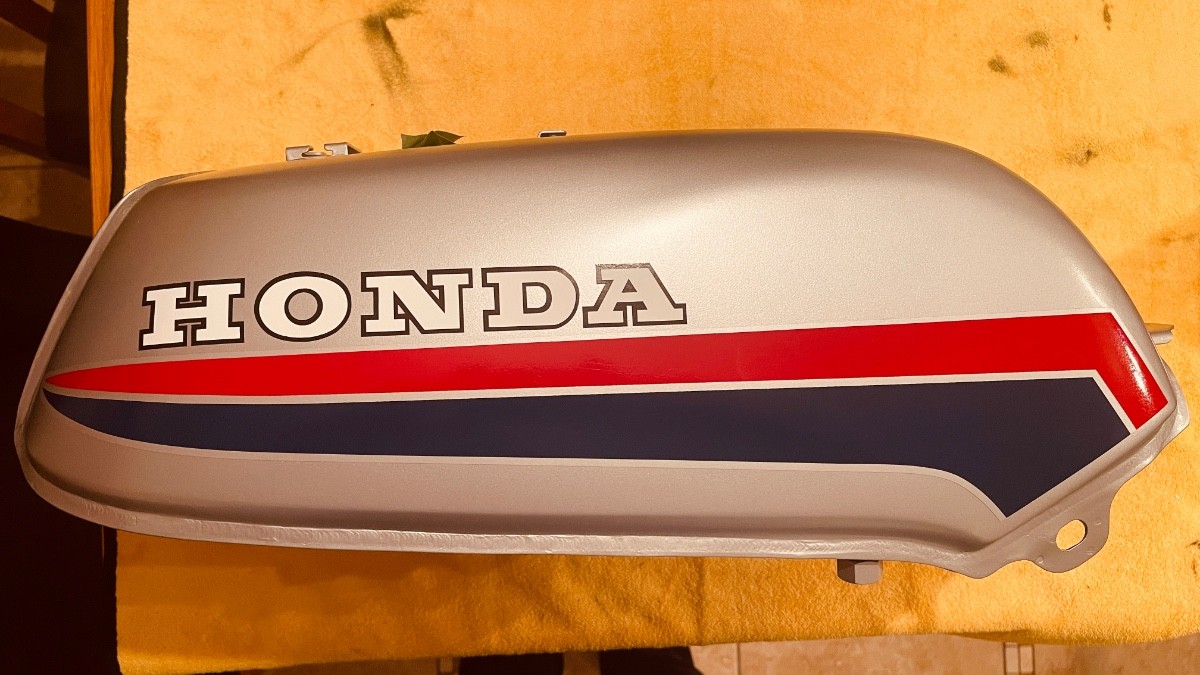
Top coat and two layers of lacquer have been added, and the decals are now in place. Almost messed up on one of the main flashes by spraying some water on the wrong side as part of the fitting process and trying to peel the backing sheet off (schoolboy error nearly cost me £70…). Managed to dry the paper again well enough with a hairdryer and saved the piece, phew.
Pleased with the outcome and managed to get a decent position with the overall placement. Just needs a couple of lacquer coats over the top to seal them in, and the tank is done.

-
5
-
-
Mate That’s looking really good, and a great job on the seat. You’re right about the costs, I suspect that I’m over budget on my first build, which is a combination of not understanding the level of work involved, and maybe not having all the tools and ancillary bits and bobs for which I have bought sets (grommets, O-rings, etc… and will be useful in the next one). Avoiding paint disasters - agreed. That adds necessary time, cost and frustration
 .
.
Your reflection on the aftermarket parts has been useful. I bought a few parts from WeMoto early on and haven’t got around to checking they match - I hadn’t appreciated that there may be differences in cable length and fitment, so this is something I’m going to have to face into in the near future. I already know that the new exhaust I bought has a bracket that doesn’t line up with the original, so I have to think of a workaround. If there are other issues, that could cost £100 in sourcing alternatives
 .
.
Thanks for the continued narrative, I’m learning from your experience and appreciate the tips.
-
1
-
-
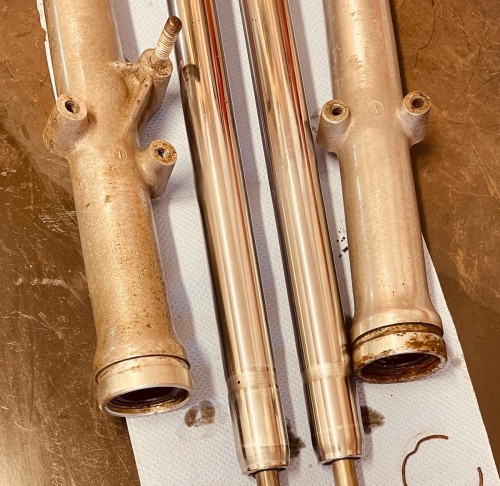
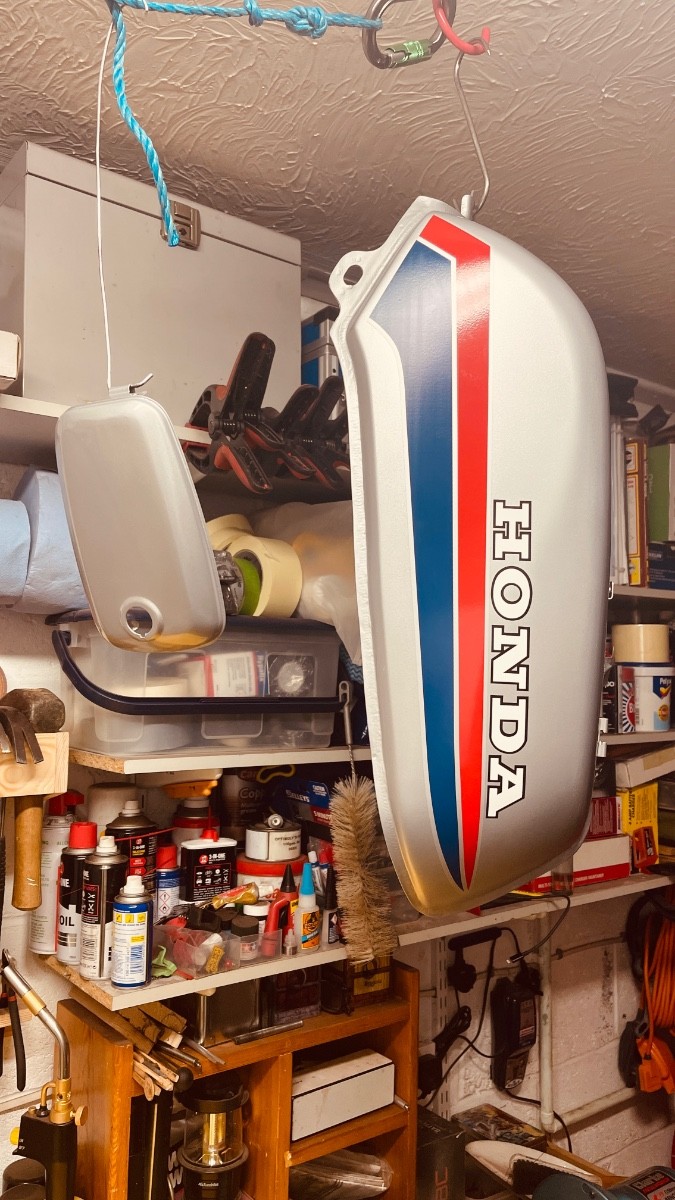
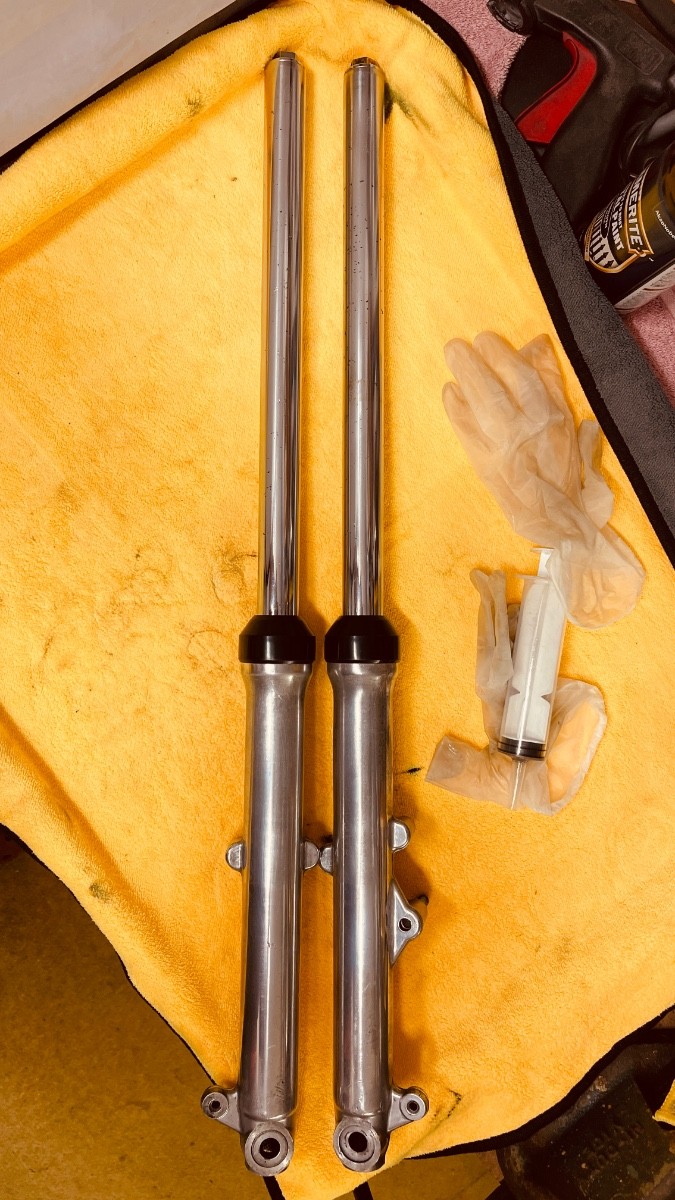
Tank resprayed in final colour (doesn’t look much different from the undercoat
) and will add the clear coat and decals at the weekend. Also found time to rebuild the front forks with the new fork seals and fresh 10W oil. Another job done! 

Fork legs came up nicely from original condition.
-
6
-
-
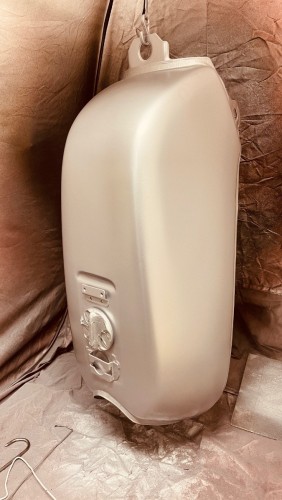
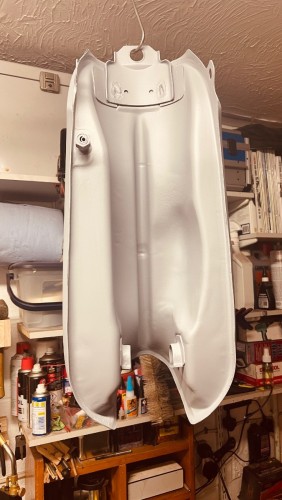
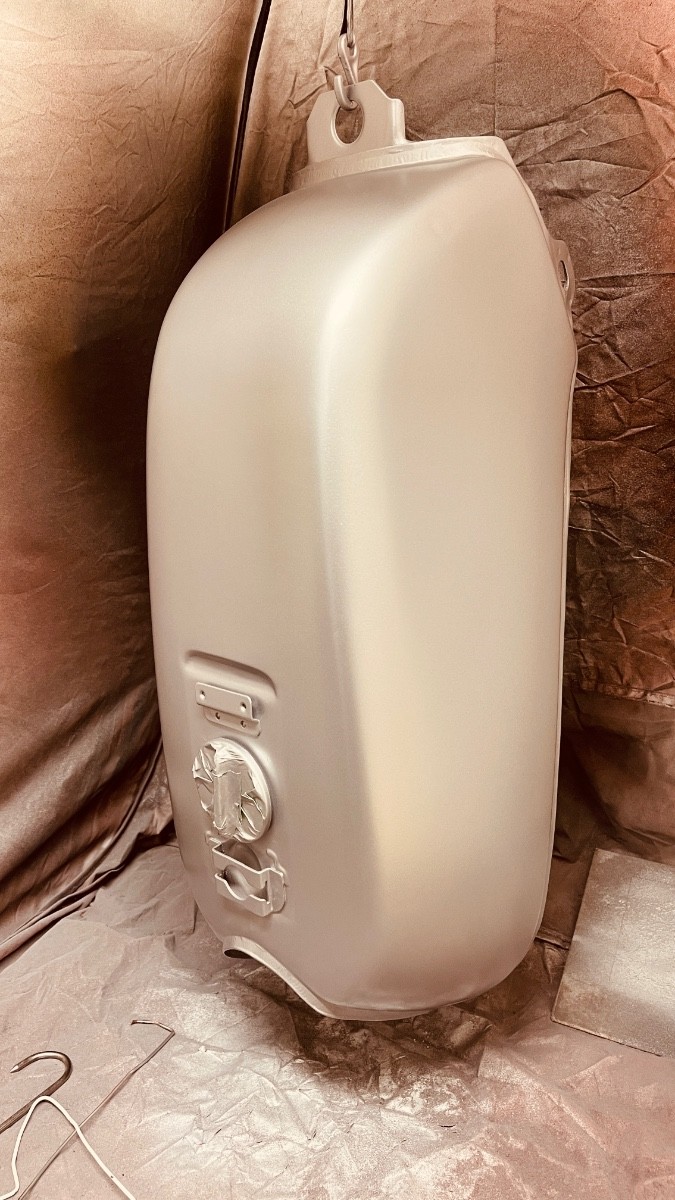
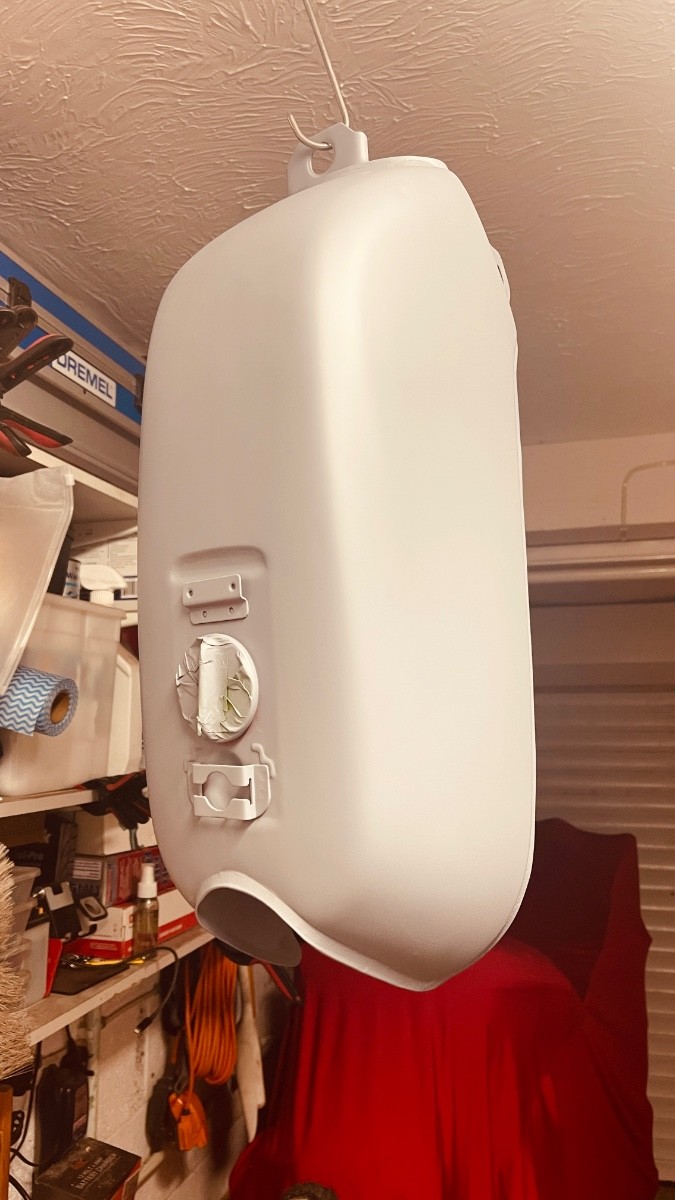
Now with a grey undercoat to make sure the silver top coat isn’t affected by the hi-viz red oxide primer
. I aim to add the top coat tomorrow, so fingers crossed this plan works.


-
3
-
-
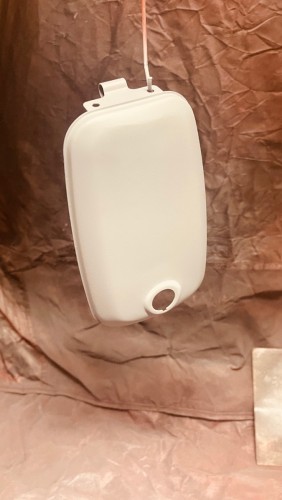
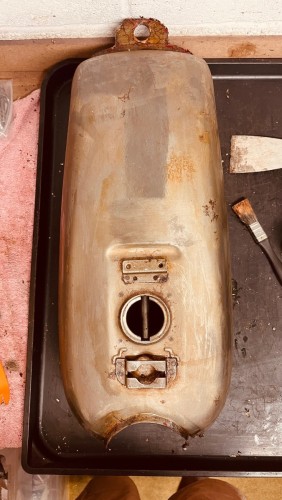
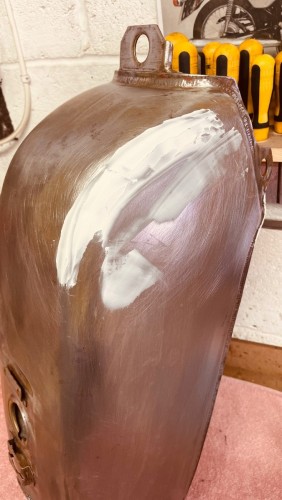
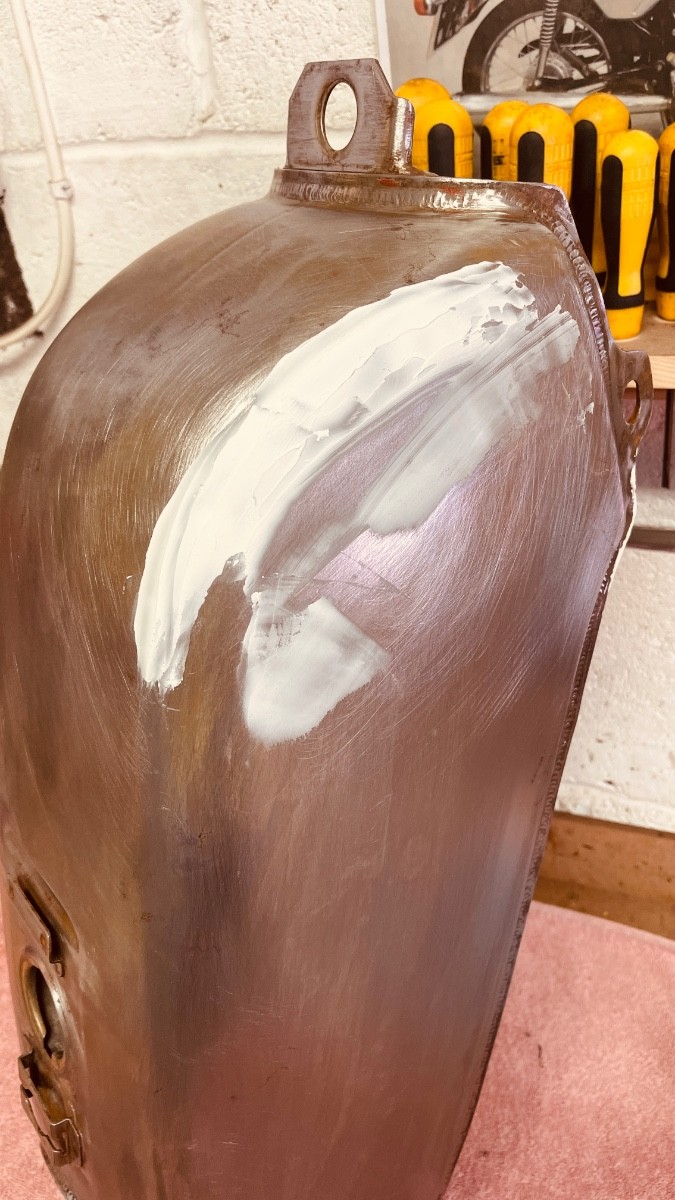
Work starting on the tank today. Paint stripped and sanded back the surface to remove some rust (especially underneath - picture below shows part progress on sanding the base). The seams were OK, no leaks and used Tankcure Rust Remover to clean the inside surface (which wasn’t too bad). Noticed a couple of small dents so took the opportunity to try to fill those.
Three coats of red oxide to prep the tank for the final top coat of silver, but the surface looks pretty good overall.


-
4
-
-
29 minutes ago, RideWithStyles said:
 .
.
they should have filled out paperwork when they acquired or stripped parts and sent them off but assuming is the mother of cock ups, further more with paper trail of the supposed next owner and you get the paperwork to fill it in but rarely online sellers do it so you better off just making sure its done.
otherwise a reputable garage will flag up problems at mot time.
if the police pull you over for something and bother to check (especially if uve been naughty) they will try to trace and copper gets annoyed at have to spend more time small talking while following up loose ends.... as they will think " is it a stolen engine, why doesnt the docs follow up....
That’s helpful. I’m an Auditor by profession so paperwork will have to be nailed shut, so it’s useful to know the key considerations.
Much appreciated both
-
1
-
-
34 minutes ago, Fozzie said:
Problem I have is I've also changed the colour of the bike, so I'm expecting some questioning from them
Rats, I’ve done the same
-
1
-
1
-
-
3 minutes ago, RideWithStyles said:
Pretty much as long as you've got the doc for them both or good reason (reputable dismantlers/scrap yard record for the engine) or suspect that its not from a stolen bike, the dvla wont be that fussed as long as you fill in the forms to let them update the records and give you a new piece of paper.
That helpful. Got it from a well established motorcycle garage / mechanic in Plymouth via eBay so I had better retain some evidence of that transaction before it disappears. Thanks matey


My Honda CB100N project - “Rusty”
in Old Motorbikes, Projects and Restorations
Posted · Edited by GojuRyu5
So, some good progress today - got the whole day in the garage. Learned a lot about the front end by my first rebuild of a bike’s headstock and front forks and pushed on to add the front wheel.
I have added the centre stand to give it stability on the bench but still need to do more to add the swing-arm , rear shocks, rear wheel, before I can get it on the floor. I did manage to sort out the box of bits so I can organise the parts into groups to make it all easier to find. Hopefully, this will mean that I don’t miss anything and have to back out to move forwards.
Then remembered that I needed to re-install the bushes in the rear swing arm, which was a lot easier than getting the buggers out when they were rusted solid.