

fastbob
-
Posts
8,153 -
Joined
-
Last visited
-
Days Won
57
Content Type
Profiles
Forums
Events
Store
Gallery
Community Map
Everything posted by fastbob
-
The phones browser is Bing , its a windows phone.
-
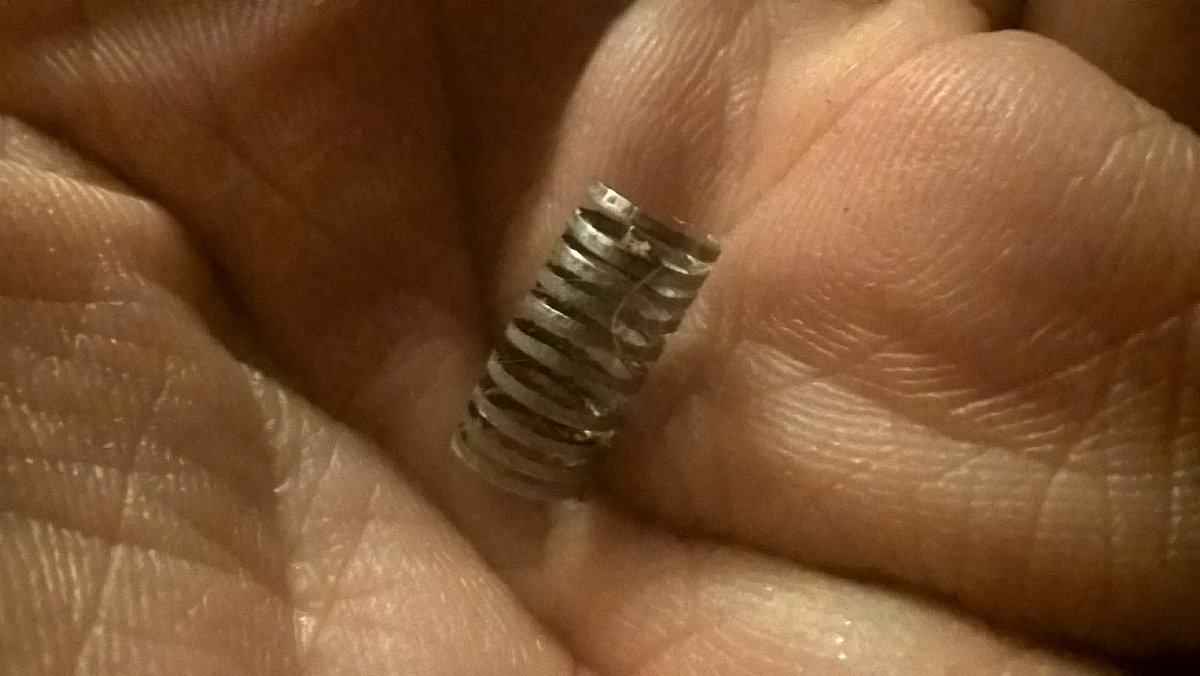
First , chop about a quarter of a inch off and then screw it onto the spike . I'm surprised its as basic as that by the way , I was expecting to see evidence of some retaining clips , screw on caps or compression olives .
-
If its the same fixing as a GSXR its held in by a ridiculously fragile little clip that costs a fortune to replace. Most people end up zip tying the lead in somehow. I've had to do mine but I can't remember exactly how . As long as there is good contact you'll be alright.
-
Thanks for that , looks like I'm finally going to have to get an android phone. I can still search the net with Edge but Bing just isn't the same .
-
Has google been withdrawn for windows phones ?
-
Why not contact the dealership that fitted it , their name as well as a brief description of the means of restriction will be on your blue certificate.
-
ER5 Engine Swap / Build
fastbob replied to fastbob's topic in Old Motorbikes, Projects and Restorations
We'll I did the thread repair and the bolt tightened to the prescribed 12 inch pounds but other bolt on the same cam cap gave way this time so I had to do that one as well . To remove the cap you have to remove three other cam cap bolts because of the upper chain guide. I know its not the end of the world if it goes wrong but this is nerve racking stuff , turning a little torque wrench and praying for the click Anyway all 16 bolt are now tightened to the correct torque , the tappets are set to optimum gap and I've bolted the lid on . Just waiting for some shiny new spark plugs and that's it . -
We've been here before a few times I think.
-
ER5 Engine Swap / Build
fastbob replied to fastbob's topic in Old Motorbikes, Projects and Restorations
Ha ha ! What was I thinking, I don't need to drill it . My Helicoil kit just arrived and the drill just drops into the hole . Well it would wouldn't it if the old thread has pulled clean out ? So no need to drill at all . Happy days.
-
What you need to do is buy a battery and then re connect the ignition switch. Then just put your key in and press the starter button . Why would you want to hot wire your own bike ?
-
ER5 Engine Swap / Build
fastbob replied to fastbob's topic in Old Motorbikes, Projects and Restorations
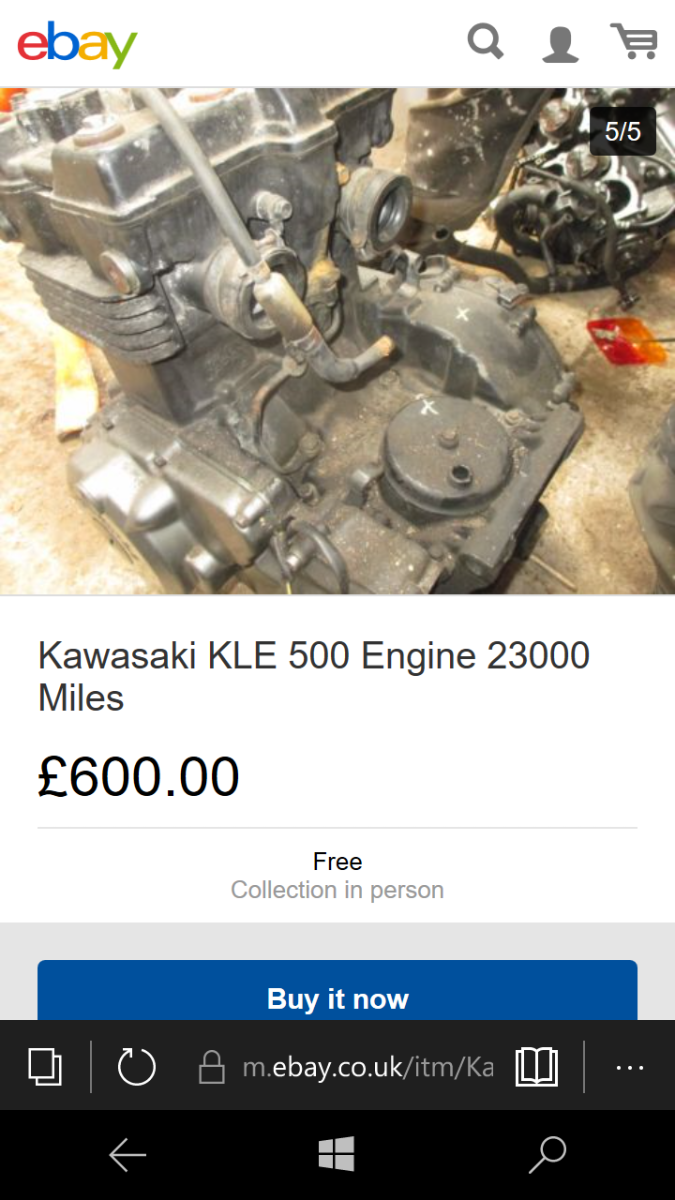
Well I might have spent a few quid on top of the original £50 but I think I've done alright. Some bike breakers are obviously a lot greedier than others. Look at this FFS !
-
ER5 Engine Swap / Build
fastbob replied to fastbob's topic in Old Motorbikes, Projects and Restorations
Hmm, I don't have access to a pillar drill and I don't really want to take the head off again . I reckon I should be ok , after all I'm only enlarging an existing hole . Anyway, apart from this its finished..thumb.jpg.976814f58b4c99c79119580aab8ceb96.jpg)
-
I got a free kevlar clutch out of EBC . Mine wasn't sticking though, it was slipping and slightly burned . I've got a feeling that having my bike raised at the back due to my GSXR 1000 shock had something to do with it. Could have lowered the oil level a bit .https://www.themotorbikeforum.co.uk/viewtopic.php?f=5&t=66672&hilit=clutch&start=30#p1034929
-
ER5 Engine Swap / Build
fastbob replied to fastbob's topic in Old Motorbikes, Projects and Restorations
That's what I'm going to use but did you use an electric drill or a hand drill ? -
ER5 Engine Swap / Build
fastbob replied to fastbob's topic in Old Motorbikes, Projects and Restorations
Yeah, I know what you mean , I did all the M7 rocker cover threads in my previous GSXR 1100 L . Would you recommend a hand drill to enlarge the hole prior to tapping ? I can't remember what I did last time . By the way , I've just remembered what happened when I had the cam shafts out on that bike . Nearly every one of the bolts snapped when they were un screwed . In every case it was just under the bolt head so there was plenty of shaft remaining that screwed out with finger pressure . I reckon some heavy handed" mechanic " had used foot pounds instead of inch pounds ! -
ER5 Engine Swap / Build
fastbob replied to fastbob's topic in Old Motorbikes, Projects and Restorations
A small setback , one of the cam shaft journal bolts pulled the thread clean out before reaching the torque setting ( 12 inch pounds ) so I'm going to have to Helicoil it . Not a problem in itself but I wish it wasn't in such an important place . I think I'll fit a manual cam chain tensioner later on because the one in it seems to require a bit of "help" -
Yeah, I've had this loads of times , of course if the kids leg stuck to the hot exhaust or , heaven forbid , it fell on them it would be no laughing matter.
-
It was last year I think , see my post in Touring entitled Beaulah to Tregaron . They were in the bike about 4-5 months and , yes , I certainly did soak them in oil . As I say , it was probably due to me tackling a ridiculously steep road on the wrong bike and making a mess of it that did for the clutch. I actually took a spare clutch pre-soaked in oil on my holiday to Scotland this year but I never needed it .
-
I believe its a reference to what one would be inclined to do with a piece of paper , possibly of the toilet variety . Right, gotcha, now just tell me what that has to do with motorbikes, all very obscure, on second thoughts, no, don't tell me, I'm losing the will to live. What anyone would do with this data is beyond my comprehension.
-
I believe its a reference to what one would be inclined to do with a piece of paper , possibly of the toilet variety .
-
ER5 Engine Swap / Build
fastbob replied to fastbob's topic in Old Motorbikes, Projects and Restorations
Not quite sure what you mean but anyway, what I do do first is place the cover on the paper and draw round it with a fine biro . Then I take it off and scribble all over the jointing face with a marker pen several times and while its still sticky I put it back onto the paper using the drawn outline as a guide . This should make a print of the inner shape . Then I use a bit plastic tube dipped in paint to mark all the hole positions. Next I punch out all the holes using a sharpened locator dowel . Lastly I carefully cut the whole thing out with a scalpel . If the gasket has all straight edges I skip the printing stage and just use a ruler to draw the inner shape and a bit of the old gasket to draw around the wavy bits where the holes go . I'm sure there are other ways of doing this but I just kind of made this up as I went along. Cheers Bob, I’ll give it a go when I’m ready - the best place to buy decent gasket paper is? I just buy it off eBay , its called Flexoid -
For goodness sake what is this , a competition ? Why can't we have a decent photograph of the WHOLE motorbike ?
-
ER5 Engine Swap / Build
fastbob replied to fastbob's topic in Old Motorbikes, Projects and Restorations
After much fiddling about I got the pistons into the cylinder block . Not so easy with new rings and freshly honed bores .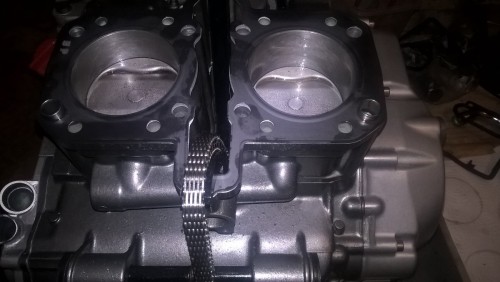
-
ER5 Engine Swap / Build
fastbob replied to fastbob's topic in Old Motorbikes, Projects and Restorations
Not quite sure what you mean but anyway, what I do first is place the cover on the paper and draw round it with a fine biro . Then I take it off and scribble all over the jointing face with a marker pen several times and while its still sticky I put it back onto the paper using the drawn outline as a guide . This should make a print of the inner shape . Then , with the cover still in place,I use a bit plastic tube dipped in paint to mark all the hole positions. Next I punch out all the holes using a sharpened locator dowel . Lastly I carefully cut the whole thing out with a scalpel . If the gasket has all straight edges I skip the printing stage and just use a ruler to draw the inner shape and a bit of the old gasket to draw around the wavy bits where the holes go . I'm sure there are other ways of doing this but I just kind of made this up as I went along. -
ER5 Engine Swap / Build
fastbob replied to fastbob's topic in Old Motorbikes, Projects and Restorations
On the weekend I popped all the valves out and lapped them to the seats . I found a little bit of rust inside two of the valve seats but not on any of the faces . I got my new piston rings today and the first thing I did was measure all the end gaps . To my relief they are all at the small end of acceptable limits , brilliant ! Final assembly tonight then . Please don't let me f**k up !
.jpg.df843cabae246b50bb156f62f20070e6.jpg)
