chrisgatguis
-
Posts
163 -
Joined
-
Last visited
Content Type
Profiles
Forums
Events
Store
Gallery
Community Map
Everything posted by chrisgatguis
-
Yo PD, they're not badly priced like: http://cgi.ebay.co.uk/Suzuki-GS500-E-NE ... 240%3A1318 I had to get one the other day!
-
Hi, I spotted these on Ebay and went to their site to have a look. Basically full two piece leathers for 129 quid: http://www.max-mph.com/products/MAX-MPH ... RED-.html# Is this a classic case of inferior products at inferior prices? Quite fancy a set of leathers, the cheap gear i bought when learning is basically starting to wear out (zips breaking etc) so i'm after something a little better. The price being as cheap as it is probably means i'm going to be doing the same again in a few months time.... anyone had any of them before?
-
on my bike it comes with a prop to hold the tank up it sits in the top yolk and in one of the bolt holes in the tank a nice bit of 2x2 can do the trick Very posh! ah well its the same pricipal so 2 x 4 it is!
-
Stu, is your tank screwed in there, but just supported / pivoted up? Was wondering how to do this so i can balance the carbs.. nice vid
-
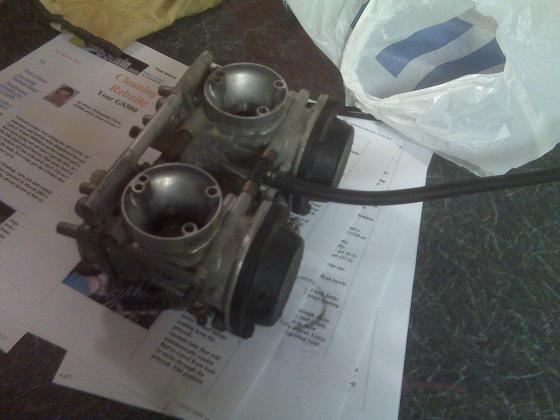
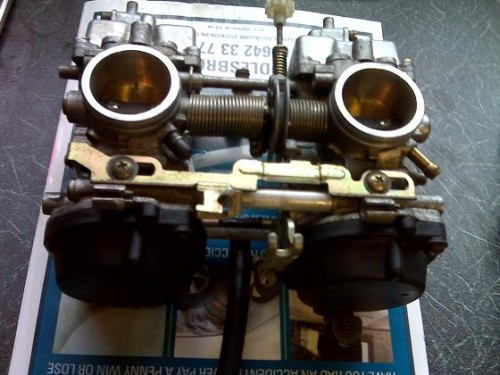
Bike performance possibly restricted? - Carbs off for a look
chrisgatguis replied to chrisgatguis's topic in Pitstop
nah just wanted to put my pics up -
Bike performance possibly restricted? - Carbs off for a look
chrisgatguis replied to chrisgatguis's topic in Pitstop
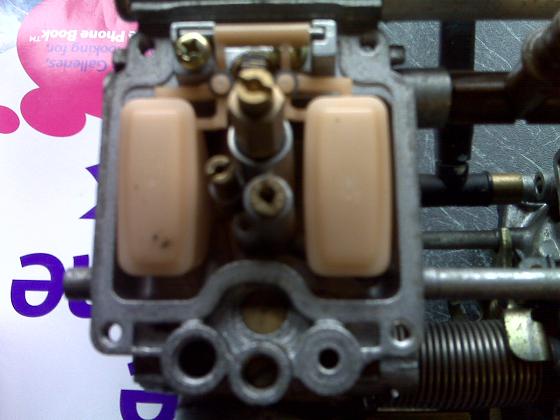
All taken apart, cleaned and put back together.. just waiting for new gasket from wemoto and some float bowl screws to arrive. before cleaning put back together (float bowls held on with the worlds most drilled out screws)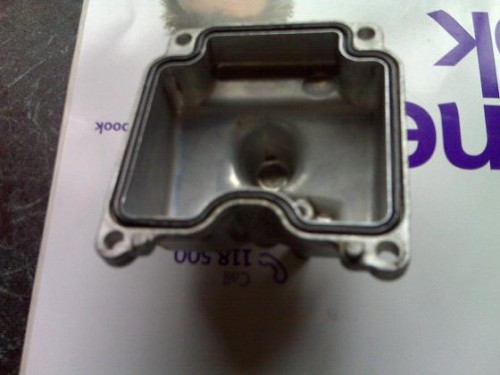

-
Cheers Walney, shame we dont have a points reward system mate!
-
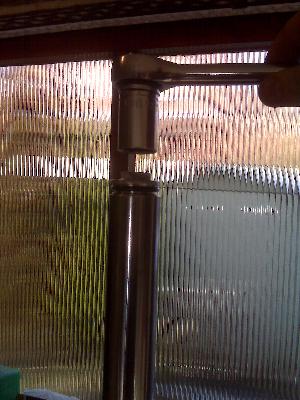
Hi, Can anyone tell me what the white substance is likely to be in the breather pipe which goes from my airbox to the valve cover (there or their abouts). If i look down it it has white gunk inside. Should i be concerned with this or just clean / stick it back on? Its a GS500 btw! Thanks Chris
-
i've seen people say that they would charge 90 quid before for this i think it was on this forum somewhere..
-
Bike performance possibly restricted? - Carbs off for a look
chrisgatguis replied to chrisgatguis's topic in Pitstop
Awesome - managed to get them out - terribly! basically used my screw extractor (on anti clockwise) which basically drilled a cone into the screw head. Then i used a punch and hammer right in the hole i had made...... THEN - i basically used some plyers (the ones with a moveable handle to get maximum leverage - bit like a mole grip) to completely squash the top of the screw into an oval shape. Then back with the extractor tool and the screw just unscrewed out. Did this 8 times!! cool... just need the new screws etc to come now...... On with the cleaning! -
Bike performance possibly restricted? - Carbs off for a look
chrisgatguis replied to chrisgatguis's topic in Pitstop
Took the carbs round me dads so i could use his bench drill. The screws just blunted the drill bits! Went to Halfords (not a very big one) and they didn't have the extractor. Got one from Focus DIY but its the drill bit type (looks a bit like a counter-sinking drill bit) Tried it and just actually drilled into the head of the screw. So its either new drill bits and a different Halfords for extractor set. or taking it to a bike shop to have a crack at... Bloody annoying though! -
Bike performance possibly restricted? - Carbs off for a look
chrisgatguis replied to chrisgatguis's topic in Pitstop
just found a pretty good website for Suzuki bits. http://www.alpha-sports.com/spst/2001%2 ... ?clicks=11 i need screw number 38 from the diagram X 8! I've found a bloke who sells all of these screws in a pack for a fiver off ebay (ebay user ID Patauf) I'll keep you posted with my drilling progress ! -
Bike performance possibly restricted? - Carbs off for a look
chrisgatguis replied to chrisgatguis's topic in Pitstop
Cheers Tim, its still worth a try might be just enough grip lol I'll have a go tomorrow! -
Bike performance possibly restricted? - Carbs off for a look
chrisgatguis replied to chrisgatguis's topic in Pitstop
Going to have to drill these awful screws out.... what a nightmare, screwdriver wasn't slipping just thoroughly eating into the head of the screw before my very eyes... hopefully i can find a screw extractor small enough to do the job. I've found a site / ebay which sells packs of screws for the carbs so replacing them isn't an issue Its just annoying that its every single one (8 all together) -
Bike performance possibly restricted? - Carbs off for a look
chrisgatguis replied to chrisgatguis's topic in Pitstop
yup - only problem is his (ER5) is restricted to 33 bhp! so in thoery mine should have 12 bhp more! I've dismissed it now, its either in the brain or just not running too smoothly. I'll see what a good service will do. Also spoken to Ragdol, we've come up with another idea - it has a K & N on it - if the jets are still normal then it might be causing it to run lean maybe. Float bowl screws are completely stuck, can't shift them at all. already tried a few things and nothings worked - just causing the screws to shred -
Bike performance possibly restricted? - Carbs off for a look
chrisgatguis replied to chrisgatguis's topic in Pitstop
No is the answer, all bits are totally fine, no washer and no extra holes in the slides...... damnit... The carbs seem in really good condition so far.. not managed to get the float bowl off yet as the screws are very hard in! -
Bike performance possibly restricted? - Carbs off for a look
chrisgatguis replied to chrisgatguis's topic in Pitstop
Couldn't see any washers, not taken the top of yet... update in a minute lol edit: make that lots of minutes - i can't get the top covers off as the screws are stuck solid.. letting some WD40 sink in before trying again. -
Bike performance possibly restricted? - Carbs off for a look
chrisgatguis replied to chrisgatguis's topic in Pitstop
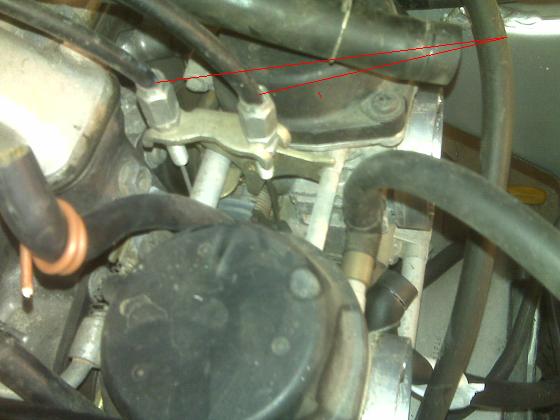
WF - thanks! on further inspection you were right it IS two cables, ends of cable meet right at the bottom of pulley. slackened them, and managed to get them through! Et Voila - removed
-
Bike performance possibly restricted? - Carbs off for a look
chrisgatguis replied to chrisgatguis's topic in Pitstop
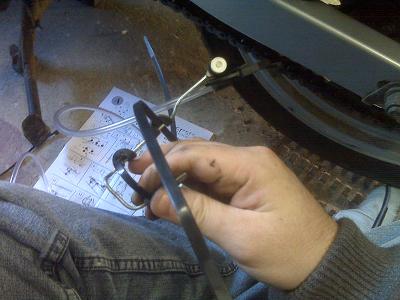
cheers for the replies.. I've found out it can be a combination of slides (or 'Pistons' in the Haynes) in the carbs which has more holes in, apparently - more holes = less of a vacuum therefore the slide doesn't move as far, AND washers between carb / engine block.... I've come a cropper and just realised that my Haynes isn't the right one. Does anyone know how to remove the throttle cable? Unlike my Haynes it has two cables (one return) rather than just the one. The Cable goes round a rotating pulley, so it seems i can't easily disconnect it? Heres a pic: Top of both cables, (actually the same cable joined together) - goes round a 'pulley' below which is attatched to the carb
-
Bike performance possibly restricted? - Carbs off for a look
chrisgatguis replied to chrisgatguis's topic in Pitstop
Yeah, i'm thinking more of the guy i bought the bike off may have had it restricted, but rather than tell me when i bought it just sold it on as standard possibly? Does anyone know what the restrictor is like on a GS? -
Hi all, bit of a strange one, I've got a GS 500 which as we know is no rocket however its been fast enough for me having past my test only 5 months ago.. however, my friend has just bought a ER5, hes only got a A2 license so he's had it restricted by the dealer to 33bhp.. Apparently he's had nearly 100 out of his restricted bike. I've got to about 90 before and it doesn't feel that there is that much left.. My question is, is it possible to identify if the bike has been restricted? and would it be shown on any documents i.e. V5 doc etc? Does anyone know what performance I should be getting if the bike was standard, I've read of a top speed of 115 mph but as it stands I can't imagine it could acheive that? thanks chris
-
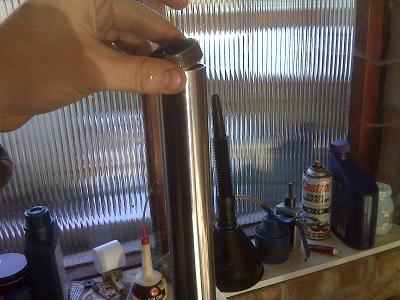
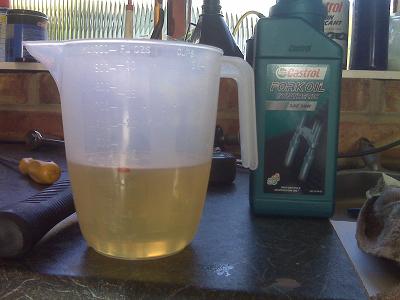
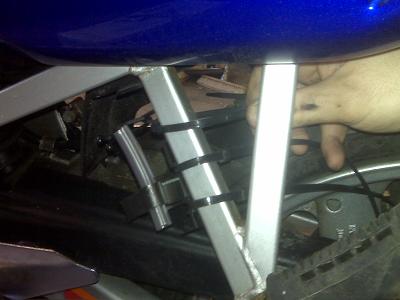
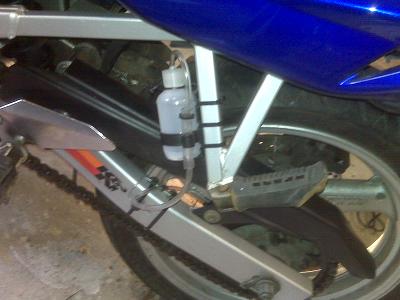
Hi all, Quite a few threads about the Lubeman, heres a few pictures of mine (went for the simplest place to mount the bottle) Does anyone know if you can use fork oil to go on the chain? i've got some left over but its not enough for a fork?
-
Yeah it must be great being able to dismantle the whole bike like that! Keep the pics coming they're well cool
-
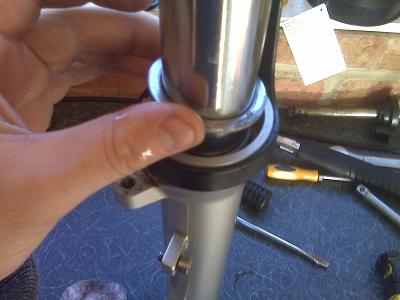
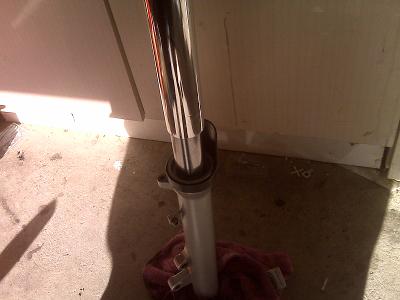
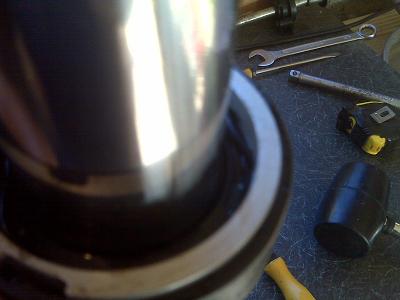
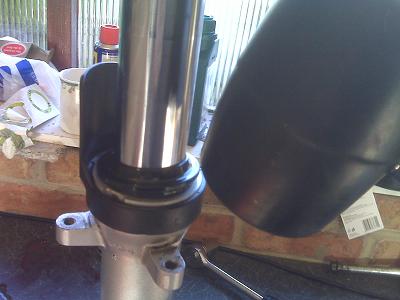
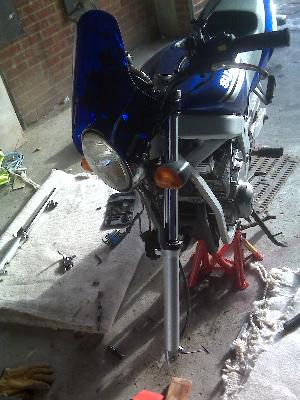
Last step! Finally, slide the forks up through the yolks, tighten the bottom yolk, this holds the fork still whilest you tighten the top bolt. Afterwards, tighten the top yolk pinch bolt. Repeat for other fork Voila, job done!

-
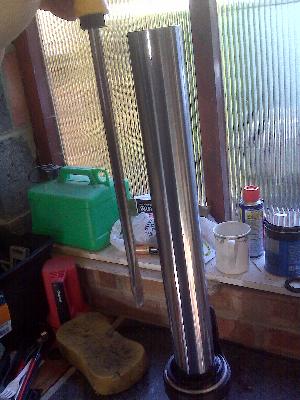
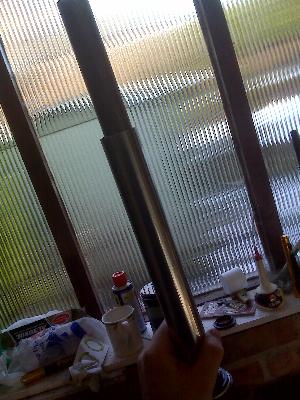
Right, just want to say thakns to everyone who's posted on here and also helped in the Chat late at night! I've finally got it all sorted so i'm just sticking the last photos on. bits were a bit challenging but thanks to you lot I got there in the end! I noticed such a difference in how the front moves, much slower, more resistance. Suprising the difference in oil removed vs. oil replaced. Must have been leaking quite a while. Also the grime in the oil and on the seal. Deffinitely was worth doing. I think I've saved probably about 70 quid over taking it to the garage. Thats only because i had to get a couple of things like rubber mallet, locktite and piping etc. Thanks again all. P.S. Does this warrent moving to the how to section ? lol After I managed to get the damper rod out, its just a case of taking off the bush / washer and seal, fit the fork back together, refit the damper and stick everything back on the tube. Heres the bush going on Stick the washer on Ended up improvising the 'fork seal driver' by getting some tubing from BnQ, normal 40mm tubing was ideal for my size fork. I got a nice shiny bit for £10 (thought it was actually chrome but it was just chrome finish) Slide it on over the Fork tube, so that it buts up to the washer give it a good thrash to get the top bush to pop down further into the slider (gives you enough room to fit the seal in place) Stick rubber oil seal in place, repeat previous method with the BnQ pipe to push the rubber seal right down into place (so you can see the groove running round) be careful as its only rubber. Replace the clip (fits in groove) fit dust seal (mine was pretty tough to get in so give it a good wack with the rubber hammer Measure out the oil and pour in (compressed)(I just put a mark on the jug, figured as long as they are both the same i can't go far rong) now make sure the oil is the right distance from the top of the tube. I just dipped screw driver in much like you engine oil dip stick, put a mark on the screw driver to show me where it should go to. Stick the spring, washer and then spacer in (need to extend the forks) Screw top bolt back on as best you can