-
Posts
2,560 -
Joined
-
Last visited
-
Days Won
28
Content Type
Profiles
Forums
Events
Store
Gallery
Community Map
Everything posted by Mickly
-
It’s not the modification to the bike they are charging for, it’s the change to the statement of fact in the policy. It is common for insurance companies to charge a fee to change anything on the policy, whether it affects the premium or not.
-

Triumph Trophy Engine Strip
Mickly replied to Mickly's topic in Old Motorbikes, Projects and Restorations
Basket is in good shape -

Triumph Trophy Engine Strip
Mickly replied to Mickly's topic in Old Motorbikes, Projects and Restorations
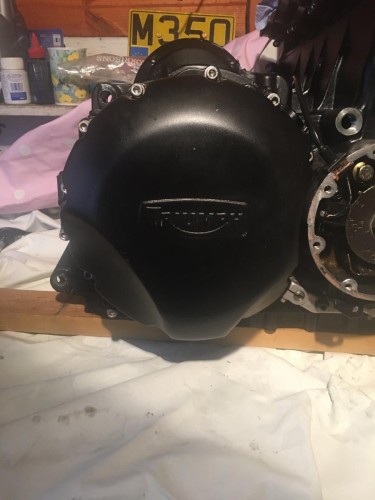
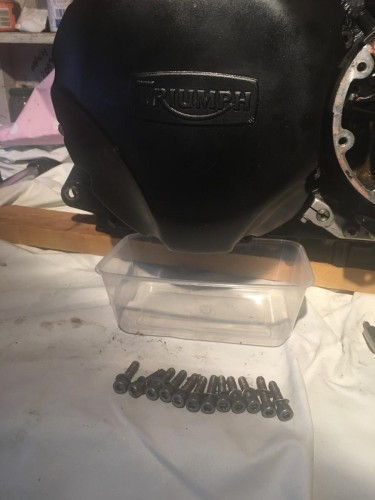
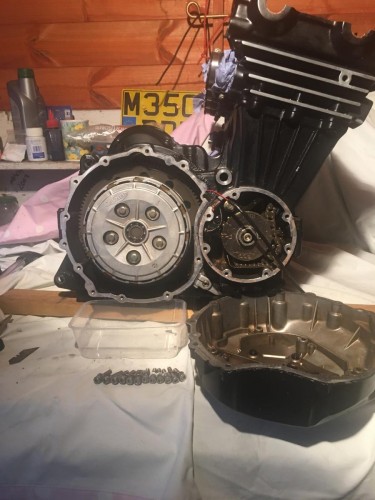
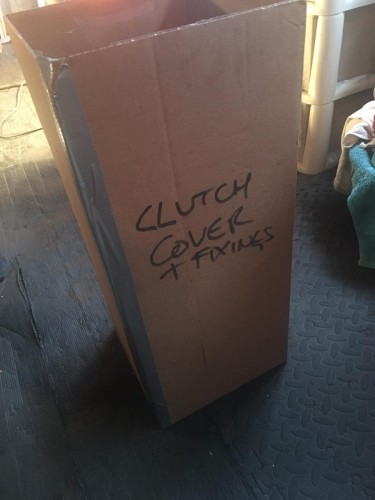
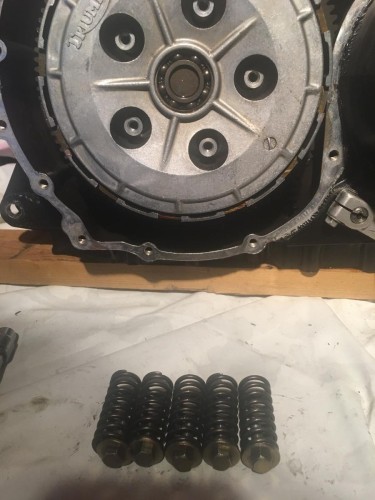
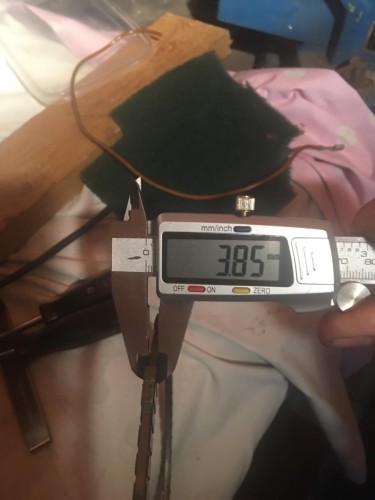
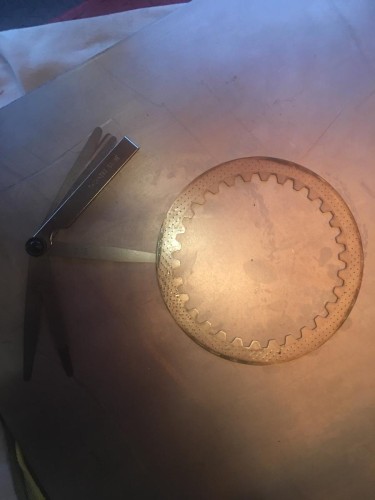
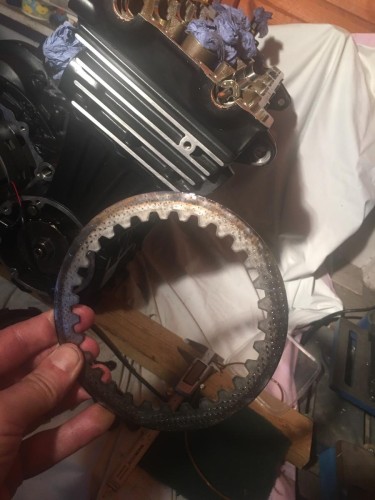
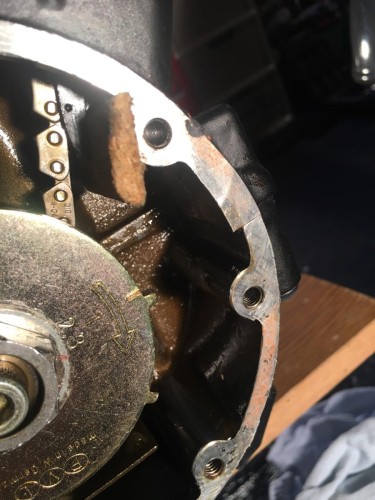
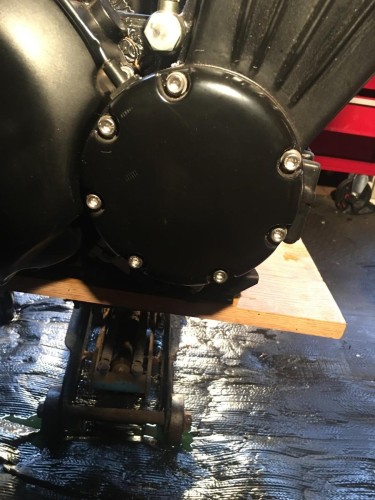
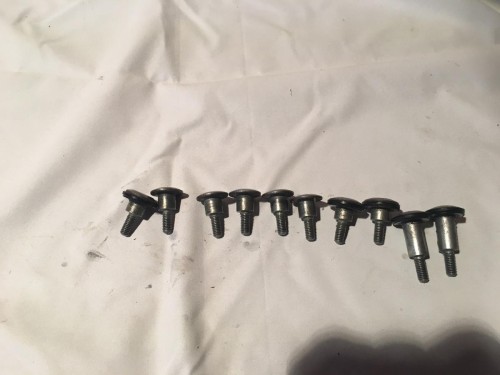
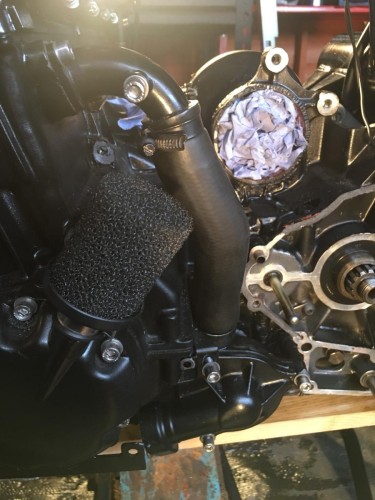
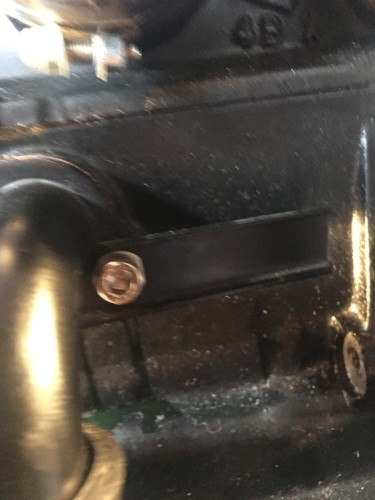
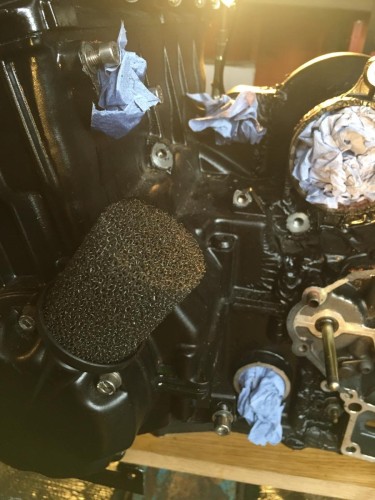
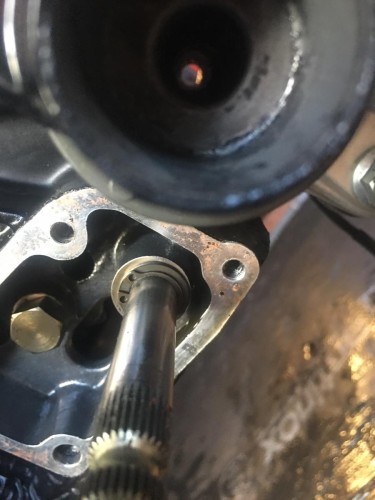
Right, the mechanic at the end of the road says he’s happy to do the head bolts when he has some time, maybe late tomorrow afternoon So while waiting, I thought I would address the slipping clutch that the guys that did the Dyno test identified. Engine canted backwards on a piece of wood for ease of access to the lower fixings & stop any oil dripping out. Bolts all out ( in a crisscross pattern ) now bagged, labelled & stored. Clutch cover off, nothing looks untoward. Ran out of boxes, so resorted to taping together some old cardboard. Clutch springs out ( undone little at a time in a crisscross pattern) no info in the Haynes manual on checking these. Bagged & Labelled. Clutch stack out in order - the friction plates seem good Std = 3.80+0.8mm Service limit = 3.60mm Plain plate warpage Std = 0.15mm Service limit = 0.20mm A couple of the plates had a small amount of blueing, but one was particularly noticeable. Looks like that was the one trying to do all the work. I think the plates were probably stuck due to sitting idle for so long, so I’ll clean & refit them when I’m ready ... what do you think? -

Triumph Trophy Engine Strip
Mickly replied to Mickly's topic in Old Motorbikes, Projects and Restorations
@Stu please don’t lose this when you swap over to a new provider. I could hold it to ransom Wow, big play for TOTY... -

Triumph Trophy Engine Strip
Mickly replied to Mickly's topic in Old Motorbikes, Projects and Restorations
[mention]Stu[/mention] please don’t lose this when you swap over to a new provider. -

Triumph Trophy Engine Strip
Mickly replied to Mickly's topic in Old Motorbikes, Projects and Restorations
-

Triumph Trophy Engine Strip
Mickly replied to Mickly's topic in Old Motorbikes, Projects and Restorations
Not every surface, just a smear to hold the gaskets in place, maybe having looked at the evidence, my idea of a smear is a bit more of a squidge -

Triumph Trophy Engine Strip
Mickly replied to Mickly's topic in Old Motorbikes, Projects and Restorations
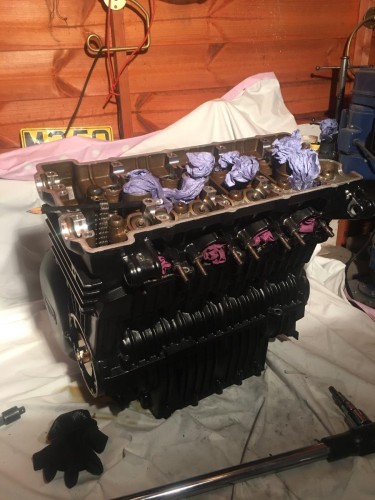
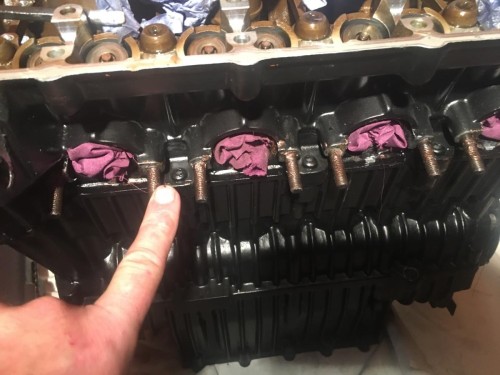
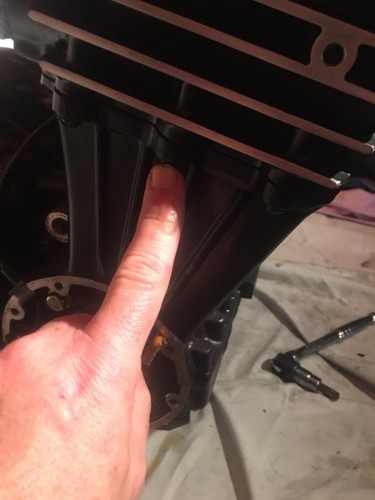
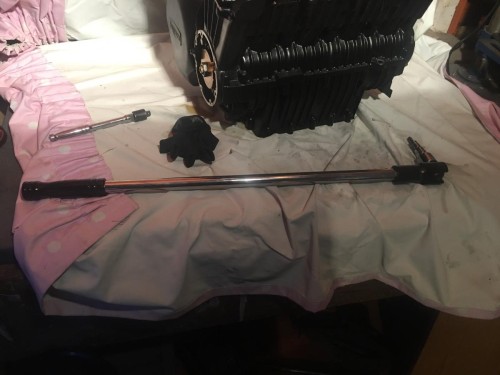
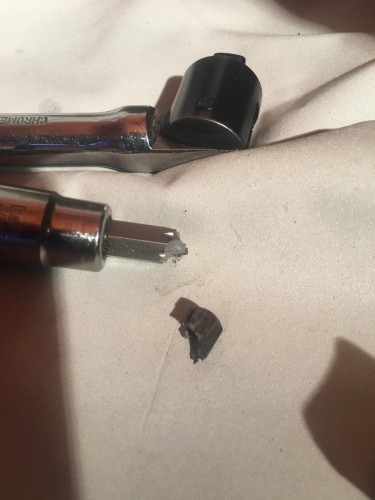
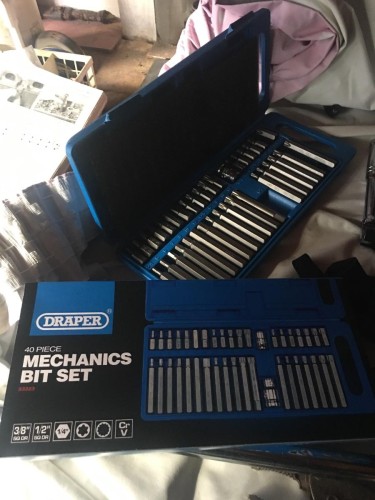
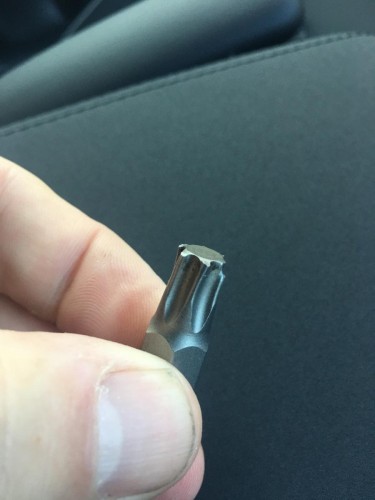
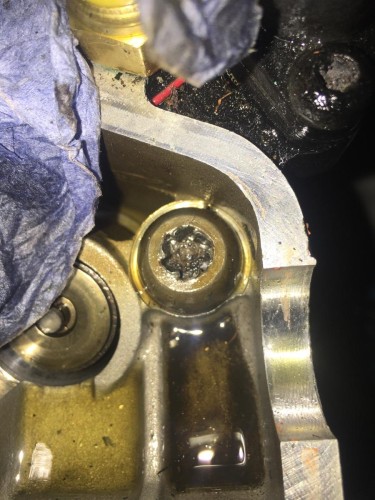
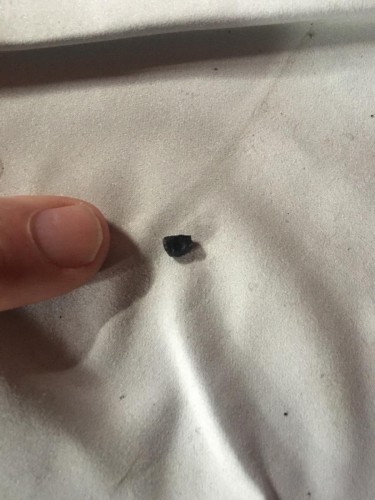
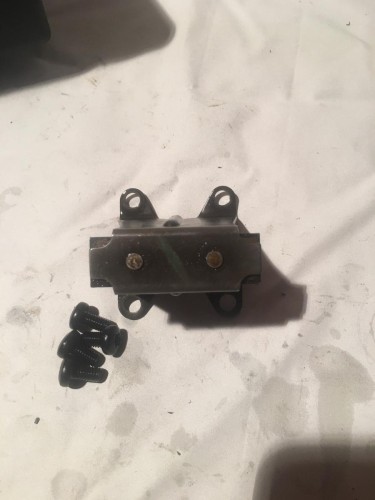
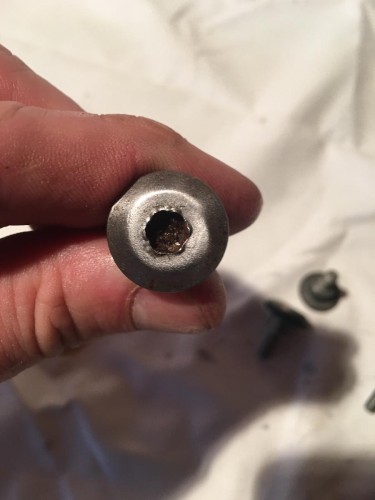
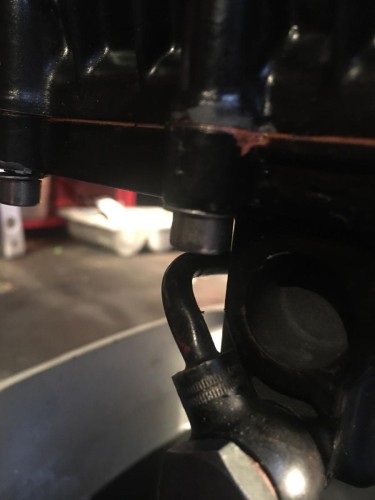
Strong mate turned up & we managed to carefully drop the engine & lift it onto the bench. Had to prize the rear of the engine out of its upper rear fixing locations with a piece of wood ( a sledge hammer handle to be precise ) this is probably why the swinging arm bolts should be slackened. Front 3 external head bolts removed, labelled & stored - might get stainless cap head versions to replace them. RH side (3) external head fixings removed, labelled & stored. Just the internal head bolts to remove & this is where it all turned to shite - the first real problem encountered. The bolts have to be removed in a certain order, which is easy to follow. H’mm they are a bit tight, so breaker bar employed Oh Shit The T50 Torx bit from my Halfords Advanced socket set snapped, but as it’s got a life time guarantee I’ve been to the store & they’ve ordered me a new one. To be fair it was an anti-tamper version with a hole down the centre and only a 3/8” drive so probably not really up to the job. So off to Toolstation Purchased set of these Comes with 1/2” drive Happy days, first bolt undone. Second one ... oh shit ( again ) Replacement obtained from Toolstation, no questions asked Back to trying the bolts, with my mate holding the engine, the breaker bar moving, the bolt isn’t It now looks a tad mangled. Tried a hammer impact driver - still not budging. So given up for the time being. On Monday I’ll have a chat with the mechanic at garage at the end of out road & see if he’ll get them undone for me. Oh, and I found this inside the bolt head - it’s non ferrous & hard, no idea what it is or how it got there!! -
Just renewed my subs £20 - it was due on Monday, so good timing.
-

Triumph Trophy Engine Strip
Mickly replied to Mickly's topic in Old Motorbikes, Projects and Restorations
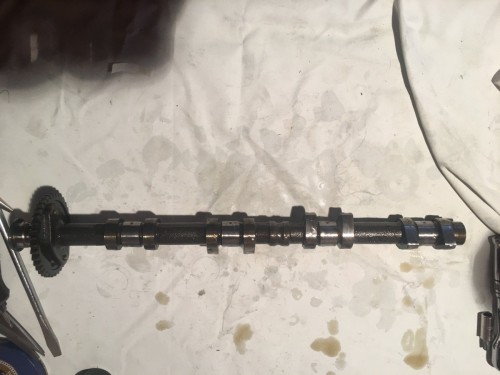
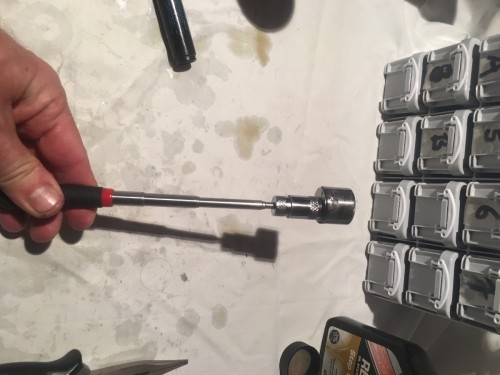
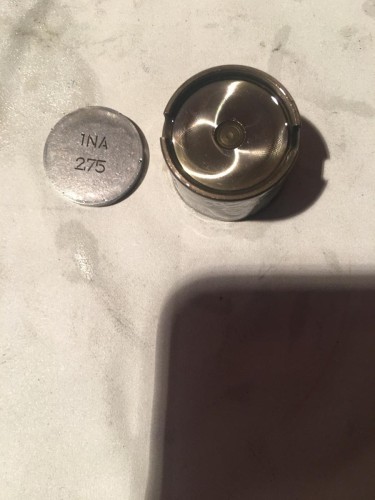
Intake Cam shaft removed - journals & Lobes look good. Oiled, wrapped & boxed. Remembered that I’d got this handy cheap magnetic tool - made removing the shims & tappets so much easier. -

Triumph Trophy Engine Strip
Mickly replied to Mickly's topic in Old Motorbikes, Projects and Restorations
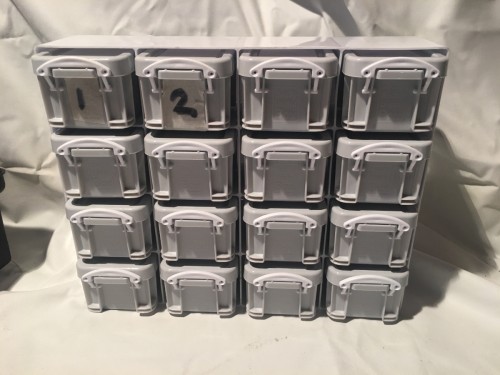
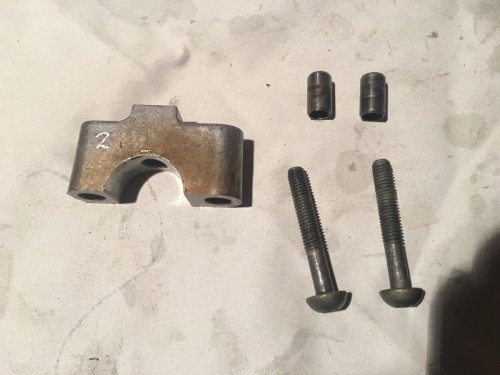
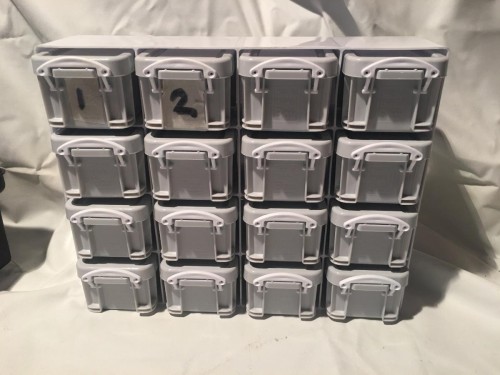
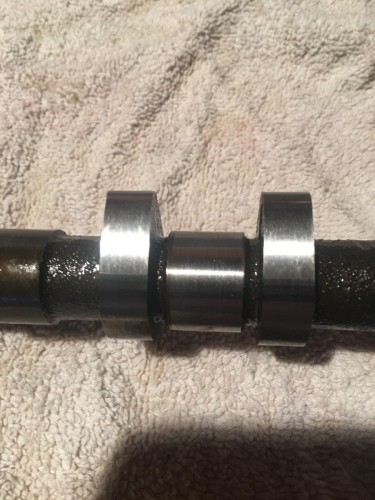
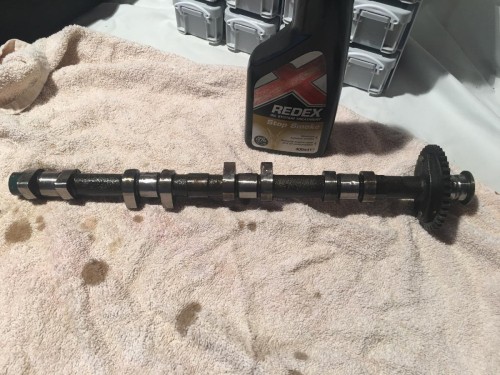
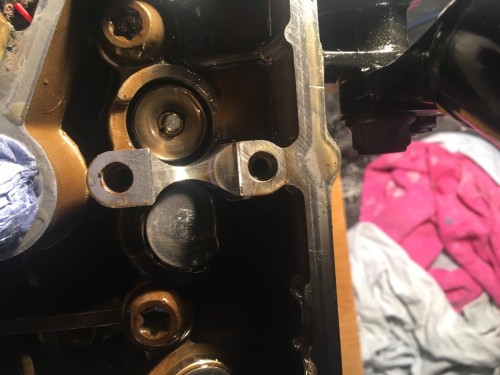
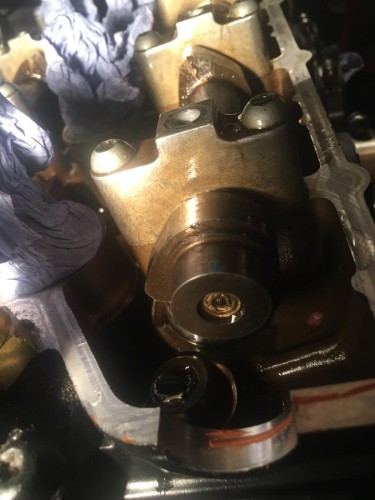
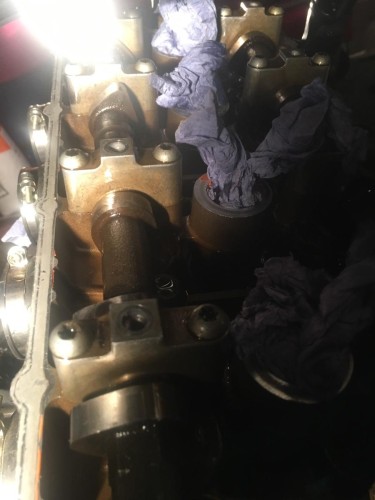
With the help of my Dremel Bought this especially for the job £9:60 from Home base. Each box has room for cam caps, fixings, tappets & shims ( the shims & tappets bagged & labelled before going into the box. Shim & tappet looking good. Exhaust cam shaft out - lobes & journals looking good (eg) Cam shaft lobes & journals covered in sticky oil - Redex Stop Smoke, before wrapping in an old towel & boxing up. One shim & tappet out. -
Nothing better than slamming down the box & locking the back wheel into a junction, bollox to blipping
-

Triumph Trophy Engine Strip
Mickly replied to Mickly's topic in Old Motorbikes, Projects and Restorations
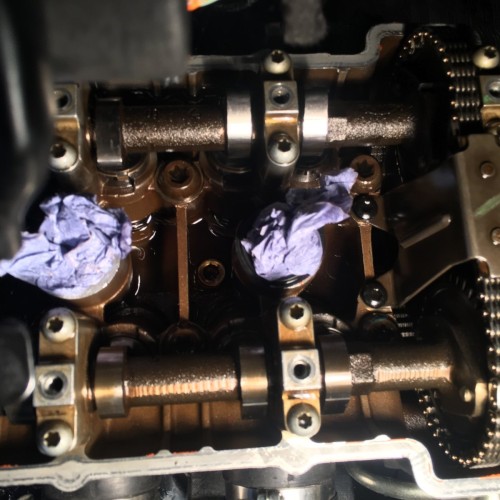
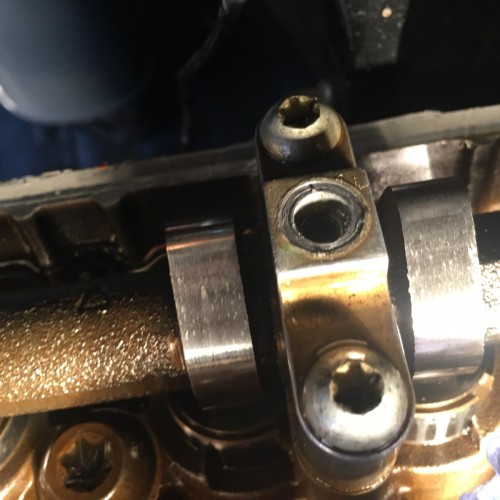
According to Haynes, the cam caps should be numbered - and as panto season is upon us ... Oh no it isn’t!! The end ones at the cam chain end are marked So before removal I’ll have to find a way of storing them in order & the right way round. -

Triumph Trophy Engine Strip
Mickly replied to Mickly's topic in Old Motorbikes, Projects and Restorations
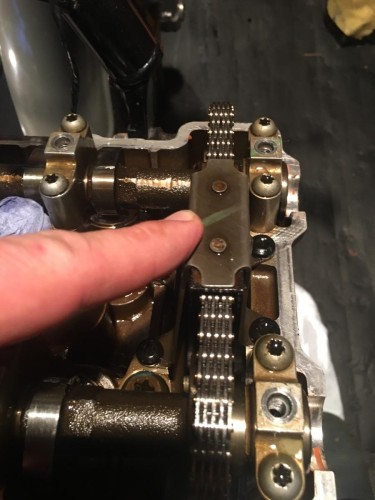
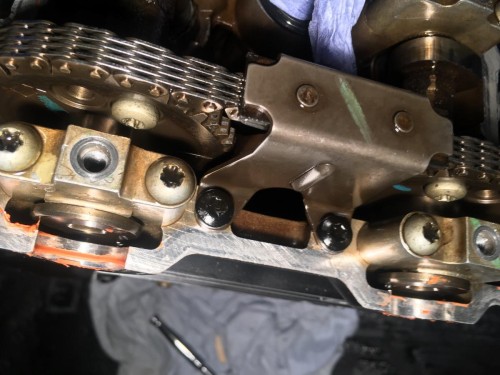
Removal of cam chain upper guide An old towel pushed in to recesses to prevent the non magnetic torx bit or the screws disappearing down into the crankcase. Guide off, bagged, labelled & stored. -

Triumph Trophy Engine Strip
Mickly replied to Mickly's topic in Old Motorbikes, Projects and Restorations
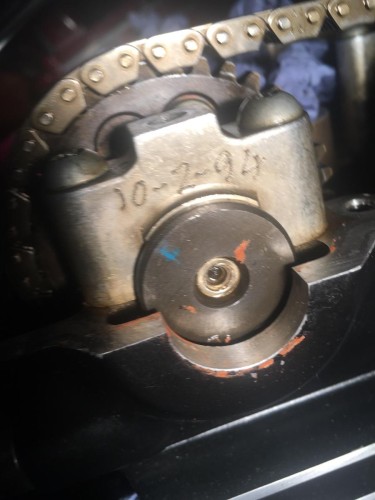
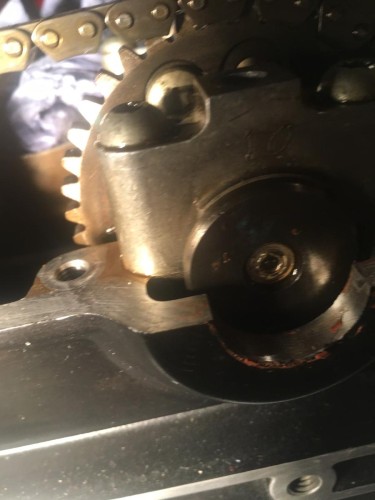
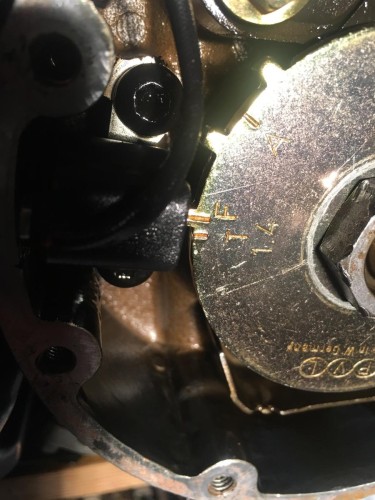
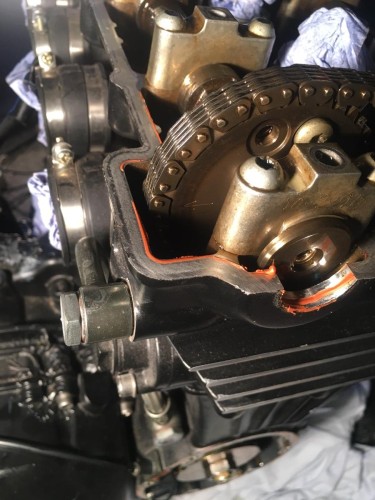
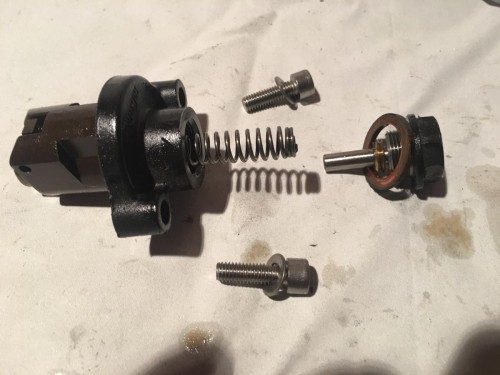
Off with the cam chain tensioner. First the 1.4 mark in the timing disc must be in line with the pick up coil thus: and the arrows on the cam sprockets should be pointing inwards thus: Not pointing outwards like this: Then I heard a dripping & coolant was coming out of where the head cooling stub pipe attaches .... I’d forgotten to drain the cylinder water jacket by undoing this bolt: With that done back onto the cam chain tensioner - Haynes recommends locking the timing chain with a piece of wood in case it jumps off the sprocket: Cam chain tensioner bolt & screws. Removed & seems to be working as it should do. Tensioner & fixings bagged, labelled & stored. In writing this, I’m wondering whether all the timing mark malarkey was worth it as the cams will be coming out anyway to get the cam chain off, so the head can be removed .... -

Triumph Trophy Engine Strip
Mickly replied to Mickly's topic in Old Motorbikes, Projects and Restorations
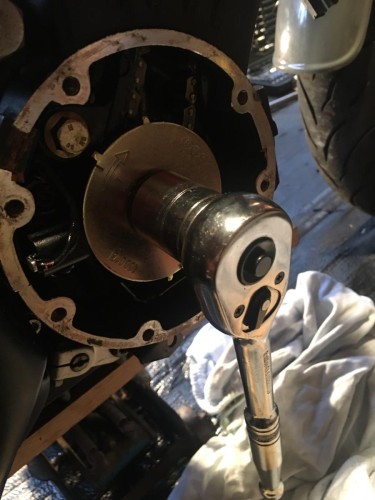
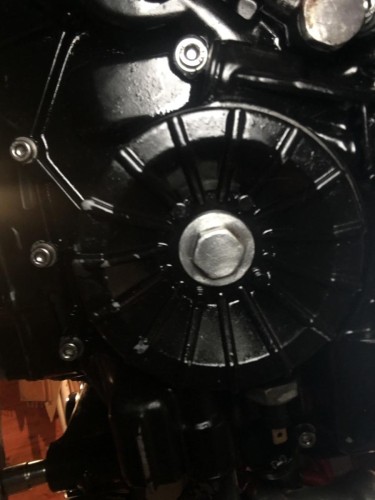
Diego to point out, that in order to check the cam lobes, the timing cover has to come off. So a 24mm socket can be put on the crank nut & the engine turned over, which it did with suspicious ease Timing cover & fixings bagged & labelled. -

Triumph Trophy Engine Strip
Mickly replied to Mickly's topic in Old Motorbikes, Projects and Restorations
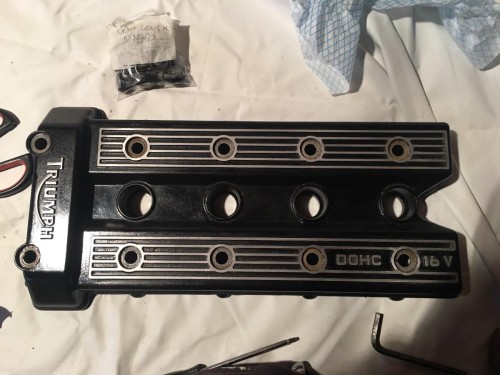
Removing the Cam cover All 12 fixings removed and then the seals under the heads of the fixings left behind recovered. Middle ones were a git to get to as the frame insured them. Think some of them need replacing Cover withdraws from the right of the engine, a bit of a wiggle & hey presto. I had it powder coated so it’s in good nick. Nothing untoward in there, cam lobes look fine. Bit of heavy oil added to the cam lines to prevent rusting All boxed with its fixings. -

Triumph Trophy Engine Strip
Mickly replied to Mickly's topic in Old Motorbikes, Projects and Restorations
While waiting for a mate to pop round on Saturday to assist with the engine removal, I’ve decided to strip some more stuff off the engine to make it lighter to shift - it’s all stuff that would be coming off anyway for repainting. Off comes the water pump I’ve taken off the stub pipe attached to the head, it’s got this bracket on it & I’ve no idea what it’s for? Water pump off, stored away with its fixings, paper towel stuffed into holes. -
I do old skool directions taped to the tank as well, but it all goes tits up if you take a wrong turn, miss a junction or have to follow a diversion
-
I use an OS map, which is difficult to unfurl at 60mph & requires both hands, still - no accidents yet
-

Triumph Trophy Engine Strip
Mickly replied to Mickly's topic in Old Motorbikes, Projects and Restorations
Rear engine mounting fixings removed Top front & rear engine mountings loosened Was gonna use an hydraulic Jack & piece of chip board to drop & move the engine out, but as it’s such a heavy lump, I’ve bottled it and will wait for a strong mate to assist. -
Oi !! I maybe loud & stupid but definitely not right wing
-
Hmm lots of scotch may need to be consumed Sherry works best on a baby I disagree, a whisky based peppercorn sauce really brings out the flavour
-

Triumph Trophy Engine Strip
Mickly replied to Mickly's topic in Old Motorbikes, Projects and Restorations
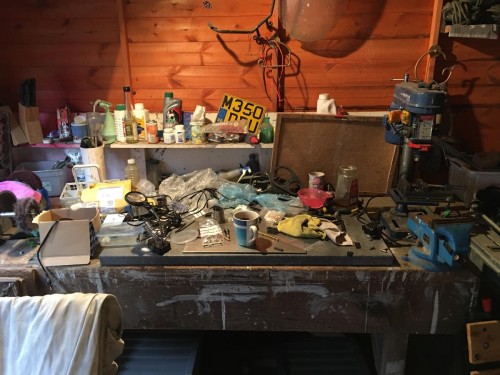
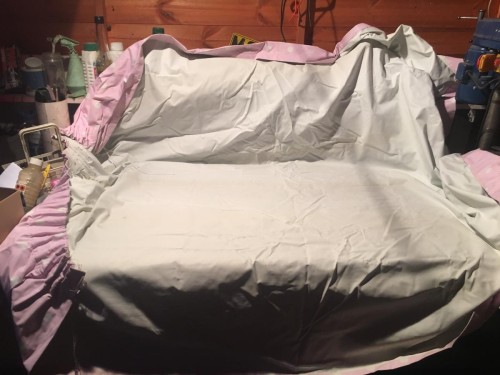
Bench before Bench Now An old curtain came in useful to provide a clean area & to hide all the crap !! -

Triumph Trophy Engine Strip
Mickly replied to Mickly's topic in Old Motorbikes, Projects and Restorations
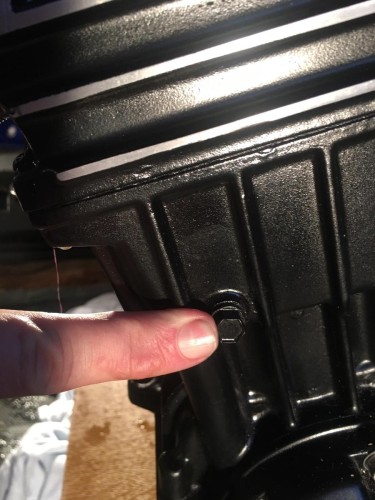
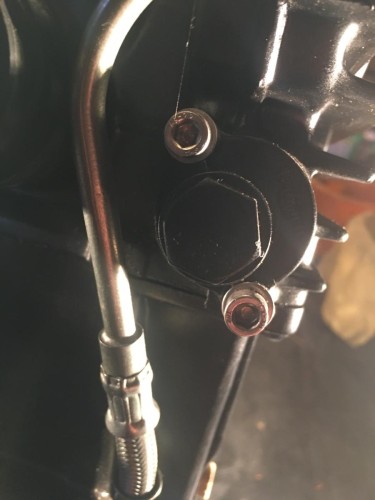
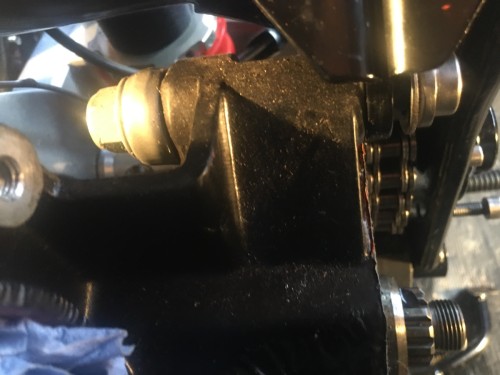
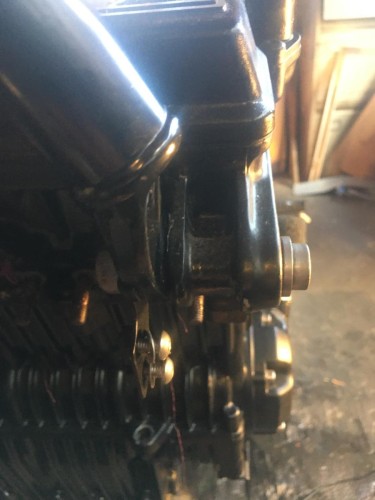
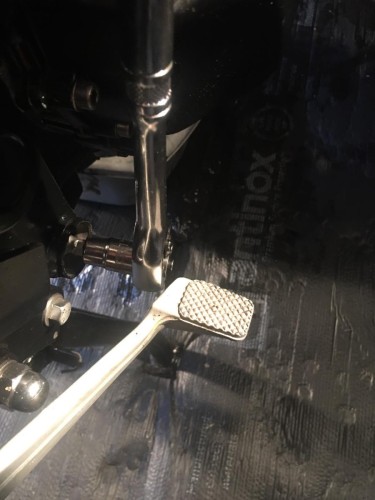
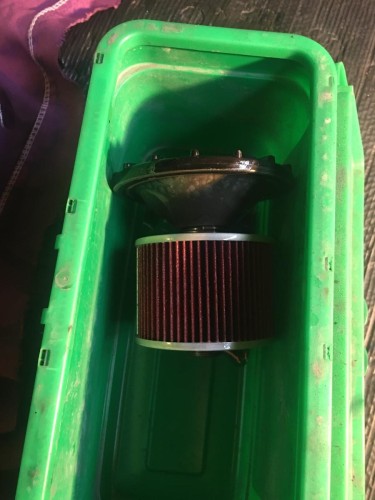
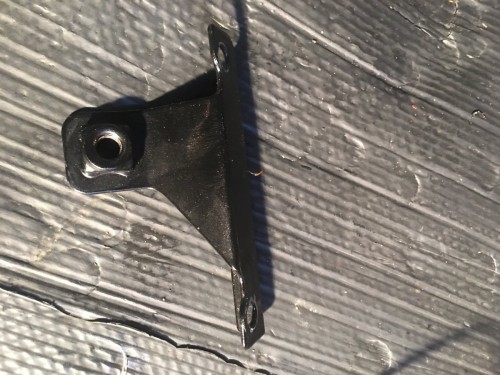
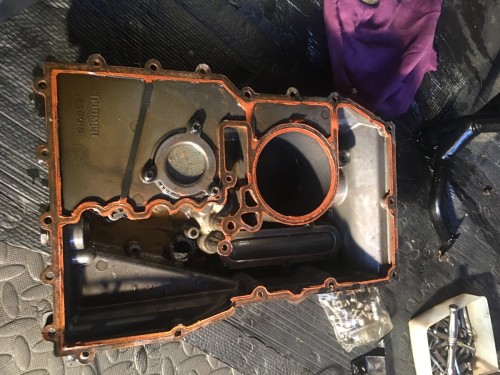
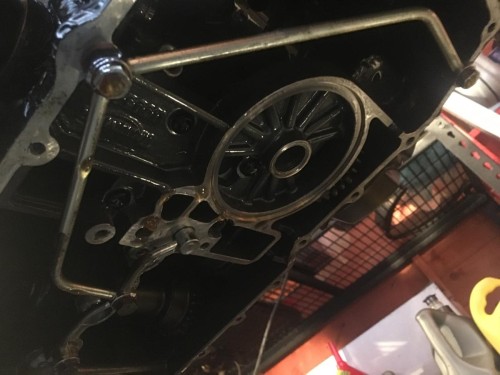
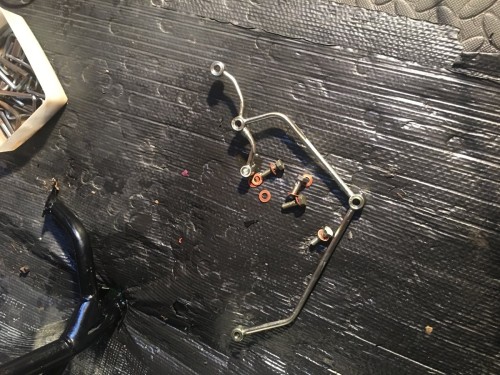
According to Haynes, the next step is to undo the rear brake lever assembly to access the lower RH engine fixing bolt, but the arrangement on the CRK one seems to have enough clearance. Haynes say’s next step is to loosen the swinging arm pivot bolts, but I can’t see why, so not going to yet .... all will become clear I’m sure I’ve been given a tip that removing the sump gives a flat surface on which to rest the engine while working on it , so here goes. Off with the oil filter Boxed up & labelled Next the removal of 20 bolts attaching the sump including the 2 illusive longer ones in the middle & this bugger just above the oil cooler bypass pipe ( I’d already got a cut down Allen key from when I fitted it ) The exhaust support bracket is held by 2 of the bolts so that came off as well. Sump off & the first sign of trouble - metal bits in the metal gauze filter The internal oil pipes now needed removal. Pipes off & stored with the sump. Let it drain overnight while trying to decide how to support it when it comes out of the frame & tidy up the bench to take it.


