Mickly
-
Posts
2,280 -
Joined
-
Last visited
-
Days Won
21
Content Type
Profiles
Forums
Events
Store
Gallery
Community Map
Everything posted by Mickly
-

Triumph Trophy Engine Strip
Mickly replied to Mickly's topic in Old Motorbikes, Projects and Restorations
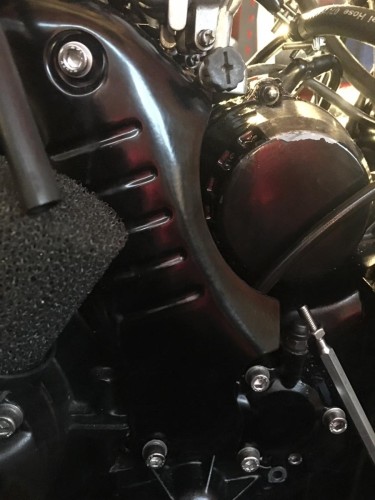
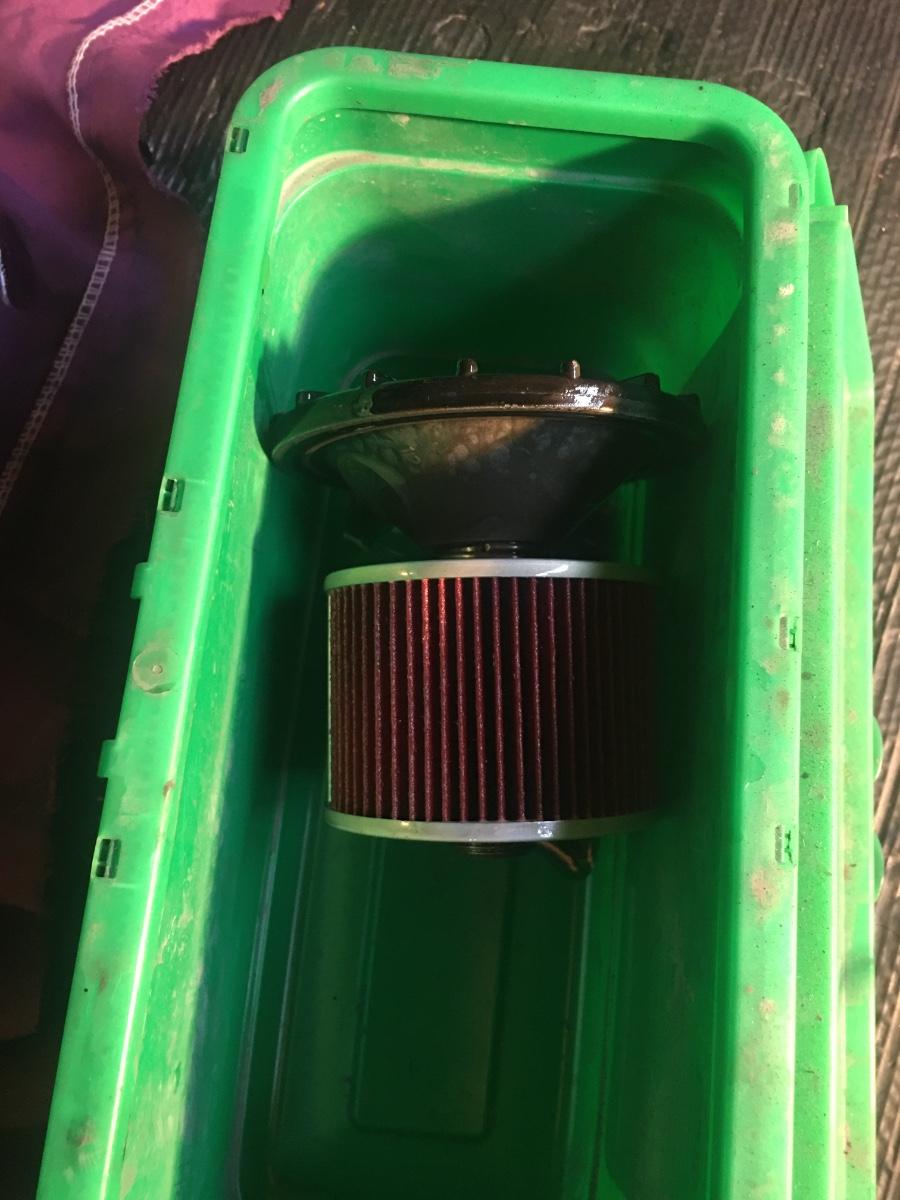
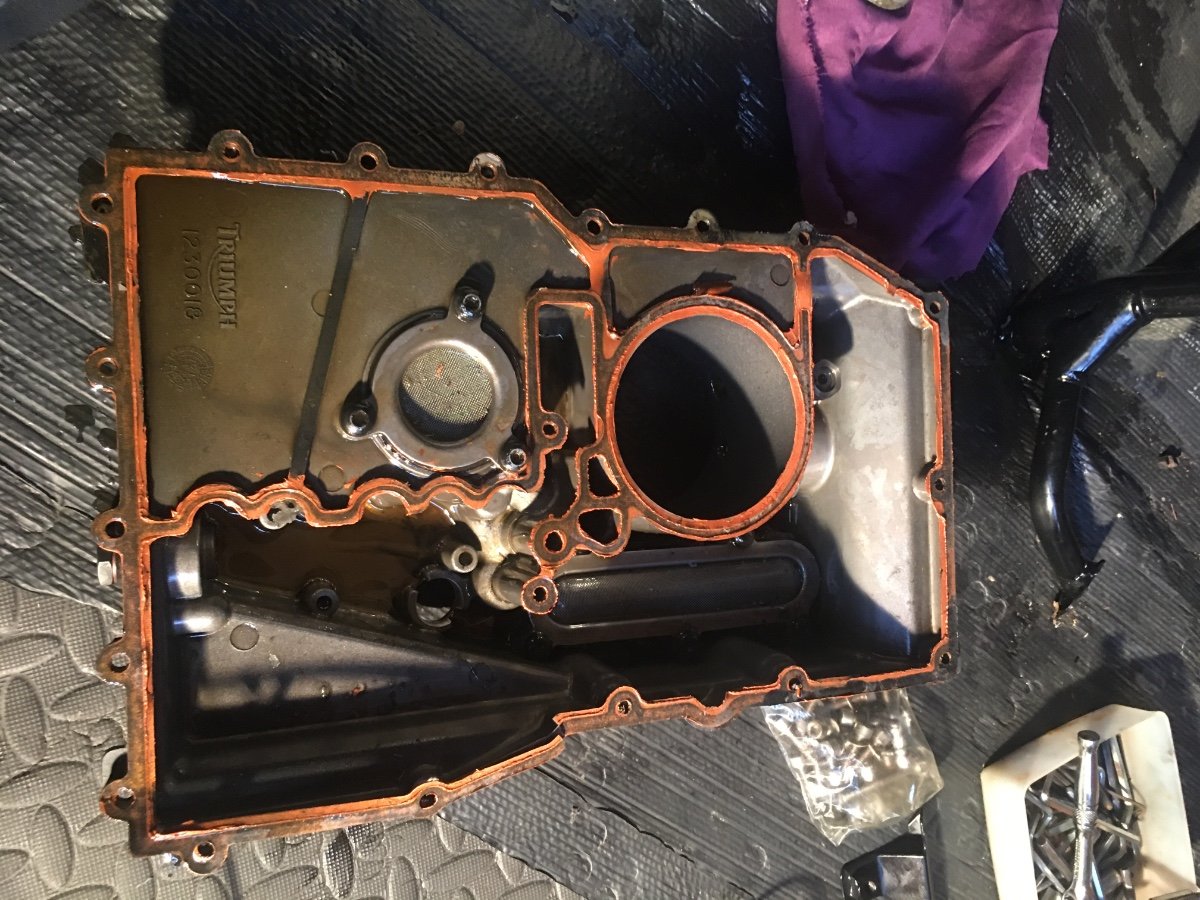
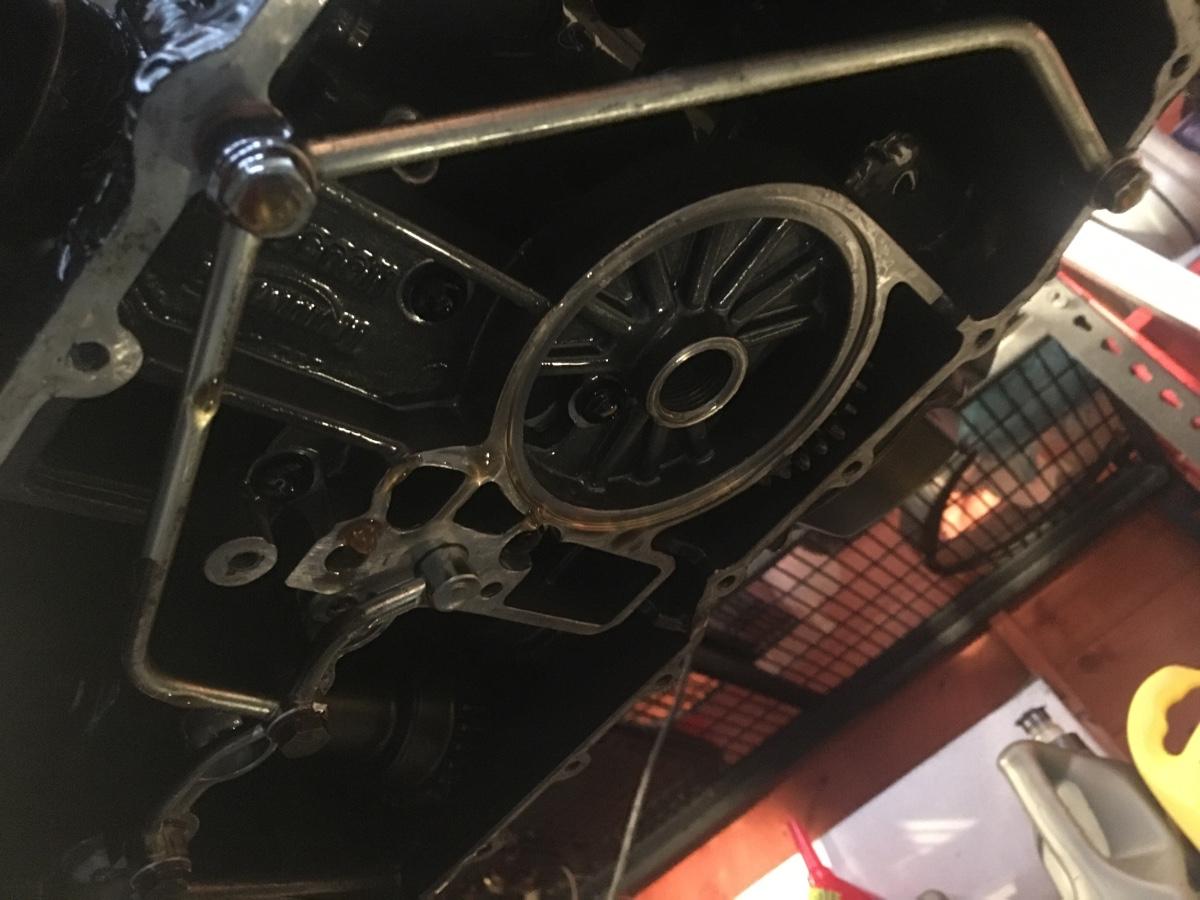
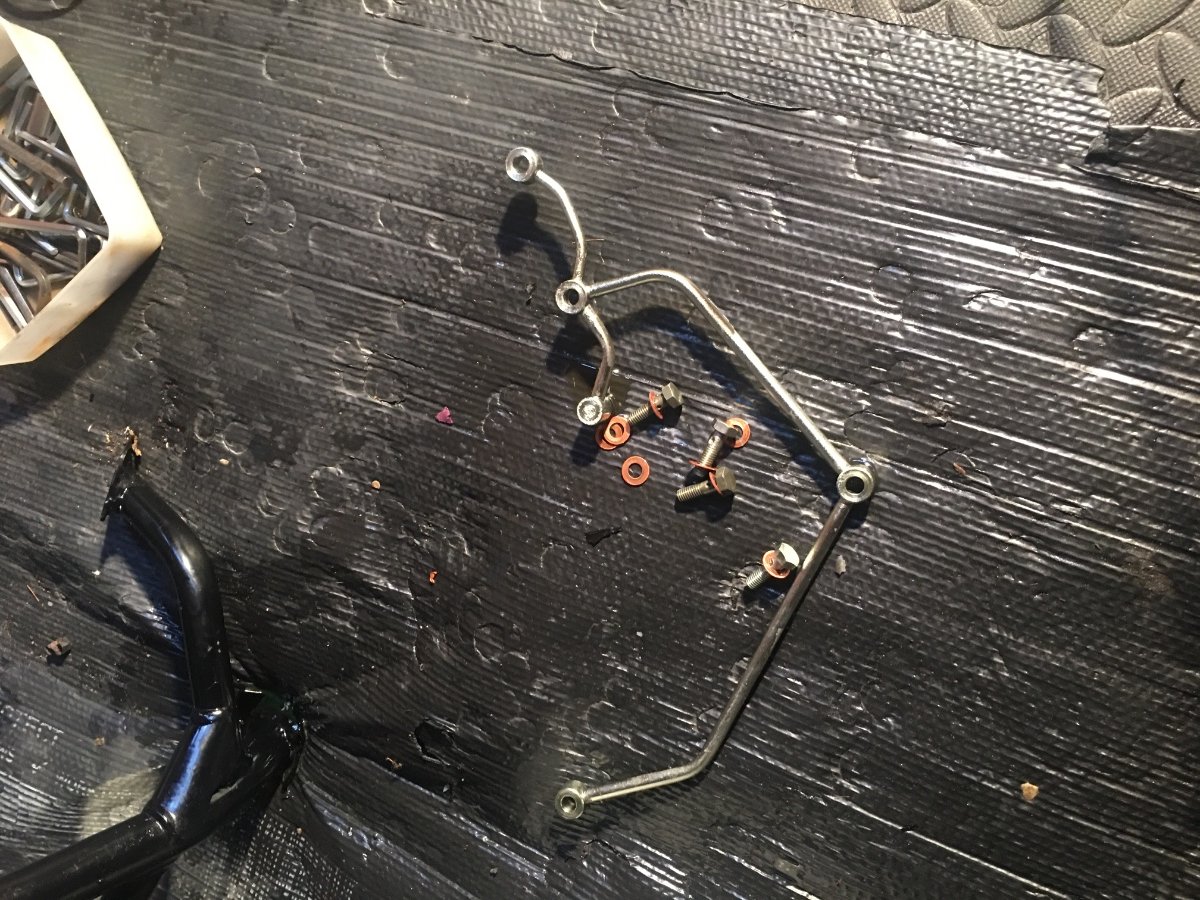
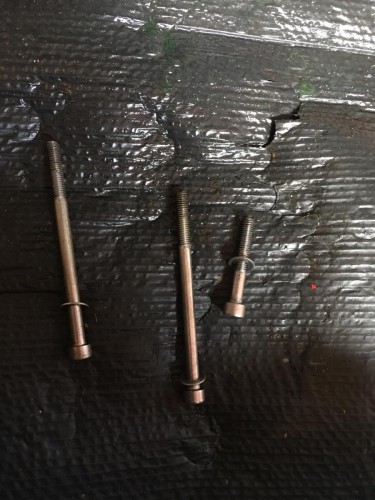
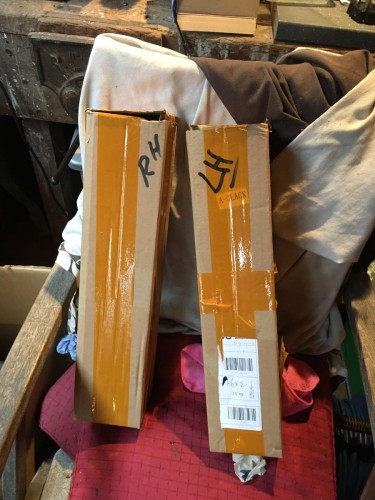
According to Haynes, the next step is to undo the rear brake lever assembly to access the lower RH engine fixing bolt, but the arrangement on the CRK one seems to have enough clearance. Haynes say’s next step is to loosen the swinging arm pivot bolts, but I can’t see why, so not going to yet .... all will become clear I’m sure I’ve been given a tip that removing the sump gives a flat surface on which to rest the engine while working on it , so here goes. Off with the oil filter Boxed up & labelled Next the removal of 20 bolts attaching the sump including the 2 illusive longer ones in the middle & this bugger just above the oil cooler bypass pipe ( I’d already got a cut down Allen key from when I fitted it ) The exhaust support bracket is held by 2 of the bolts so that came off as well. Sump off & the first sign of trouble - metal bits in the metal gauze filter The internal oil pipes now needed removal. Pipes off & stored with the sump. Let it drain overnight while trying to decide how to support it when it comes out of the frame & tidy up the bench to take it.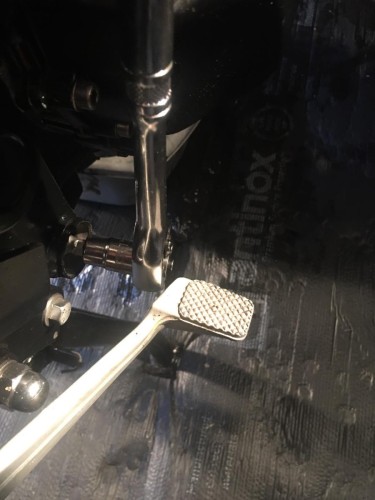


-
Triumph Trophy Engine Strip
Mickly replied to Mickly's topic in Old Motorbikes, Projects and Restorations
Just keeping my options open in case my sprocket nut won't budge . I tend to get very nervous when I'm bouncing up and down on a piece of scaffolding especially when it was my GSXR clutch hub nut . I’ll let you know Here you go [mention]fastbob[/mention] Not an electric one, but reckon it’d do the job - completely forgot I’d got it. You’re welcome to borrow it anytime you need.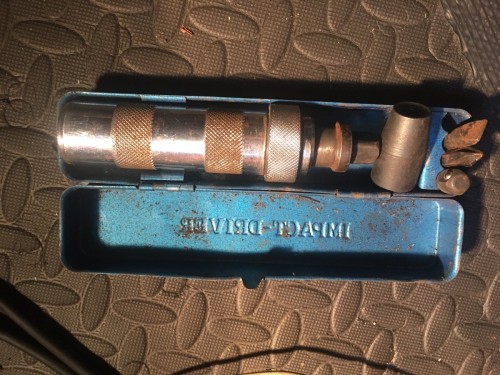
-
Blimey you’ve got a good memory! Read it, it’s very good. Particularly the stuff about the heroin addiction that led to her RTW trip. Gave me itchy feet which is frustrating given the current situation! I read this during the 1st lockdown - I know what you mean about itchy feet

-
[mention]Slowlycatchymonkey[/mention] Something to add on to your Xmas list for Santa? Seem to remember you showing some interest in her stuff.

-
Dunno never used them Oh, I thought that was your point
-
Triumph Trophy Engine Strip
Mickly replied to Mickly's topic in Old Motorbikes, Projects and Restorations
Bloody hell, yes I do ( I think ) it was my Dads. I’ll have a look tomorrow!! Just keeping my options open in case my sprocket nut won't budge . I tend to get very nervous when I'm bouncing up and down on a piece of scaffolding especially when it was my GSXR clutch hub nut . I’ll let you know -
Are Battlax’s really that bad?
-
Triumph Trophy Engine Strip
Mickly replied to Mickly's topic in Old Motorbikes, Projects and Restorations
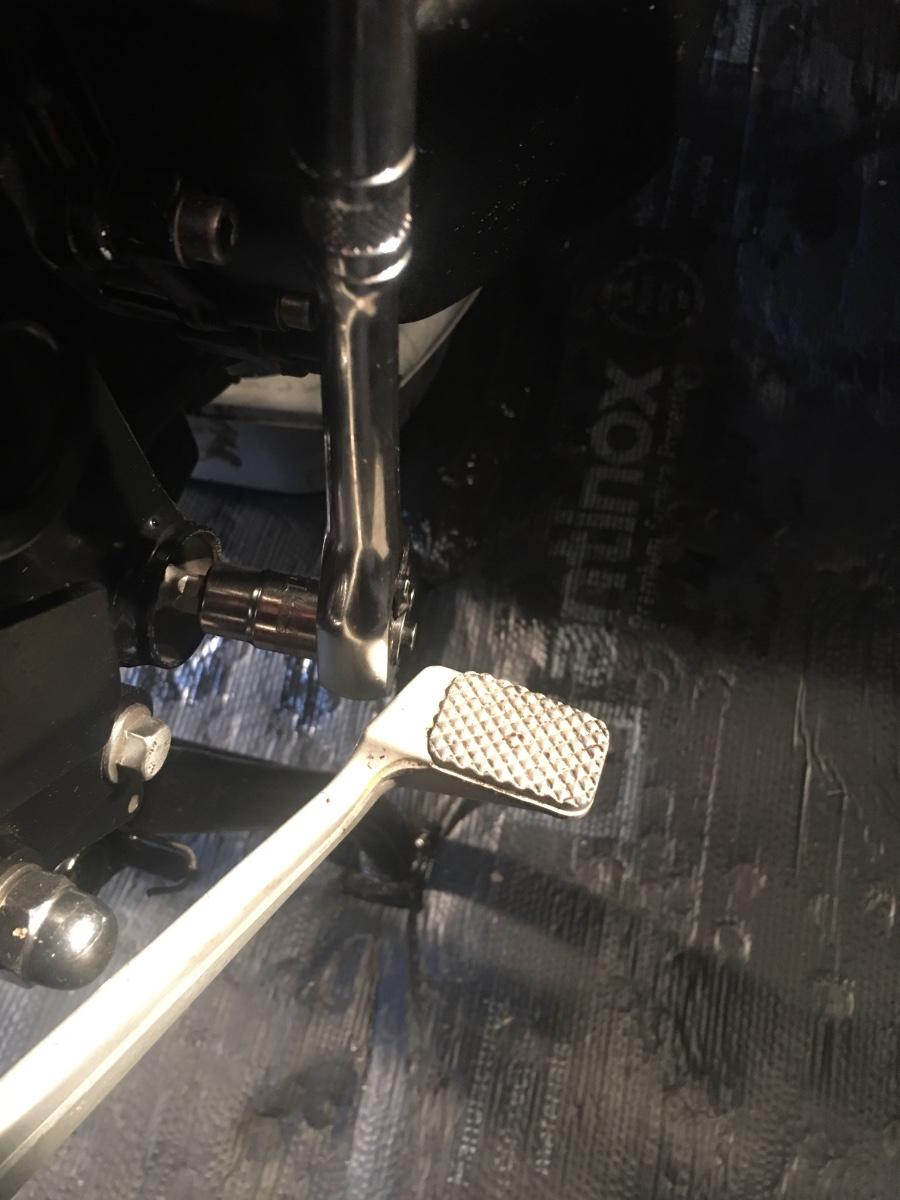
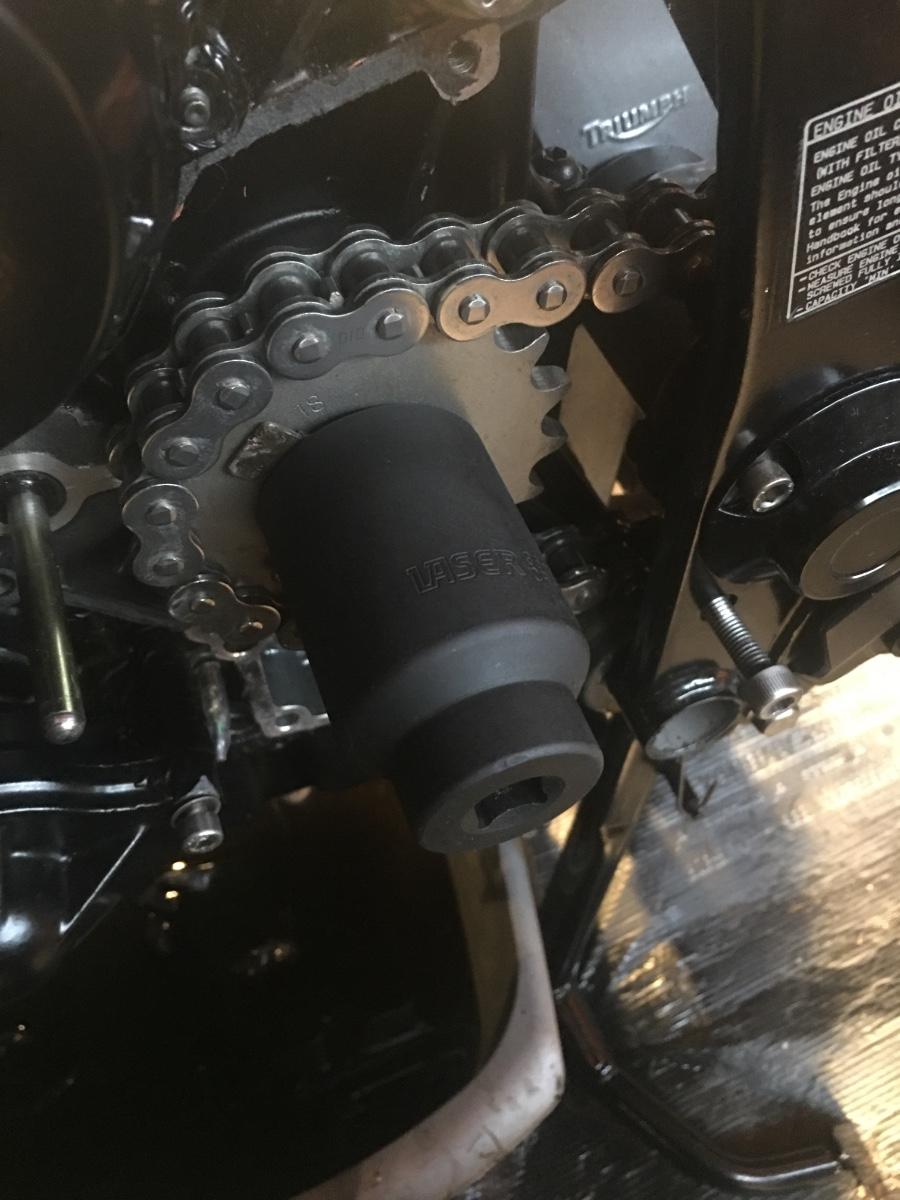
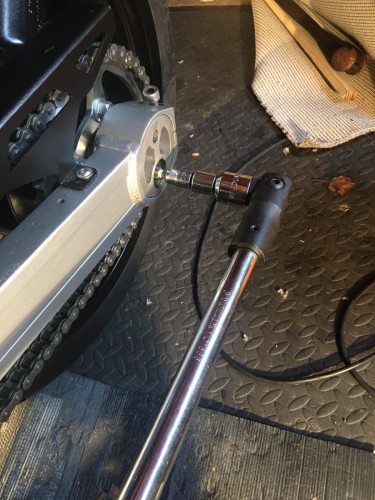
I got a 36mm socket from Halfords ( see above ) Tightened up the chain & rear axle, put my foot on the rear brake lever & used a long breaker bar. Just checking to see if you have an impact driver . Bloody hell, yes I do ( I think ) it was my Dads. I’ll have a look tomorrow!! -
Triumph Trophy Engine Strip
Mickly replied to Mickly's topic in Old Motorbikes, Projects and Restorations
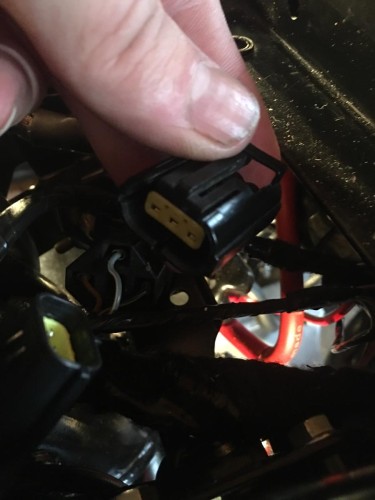
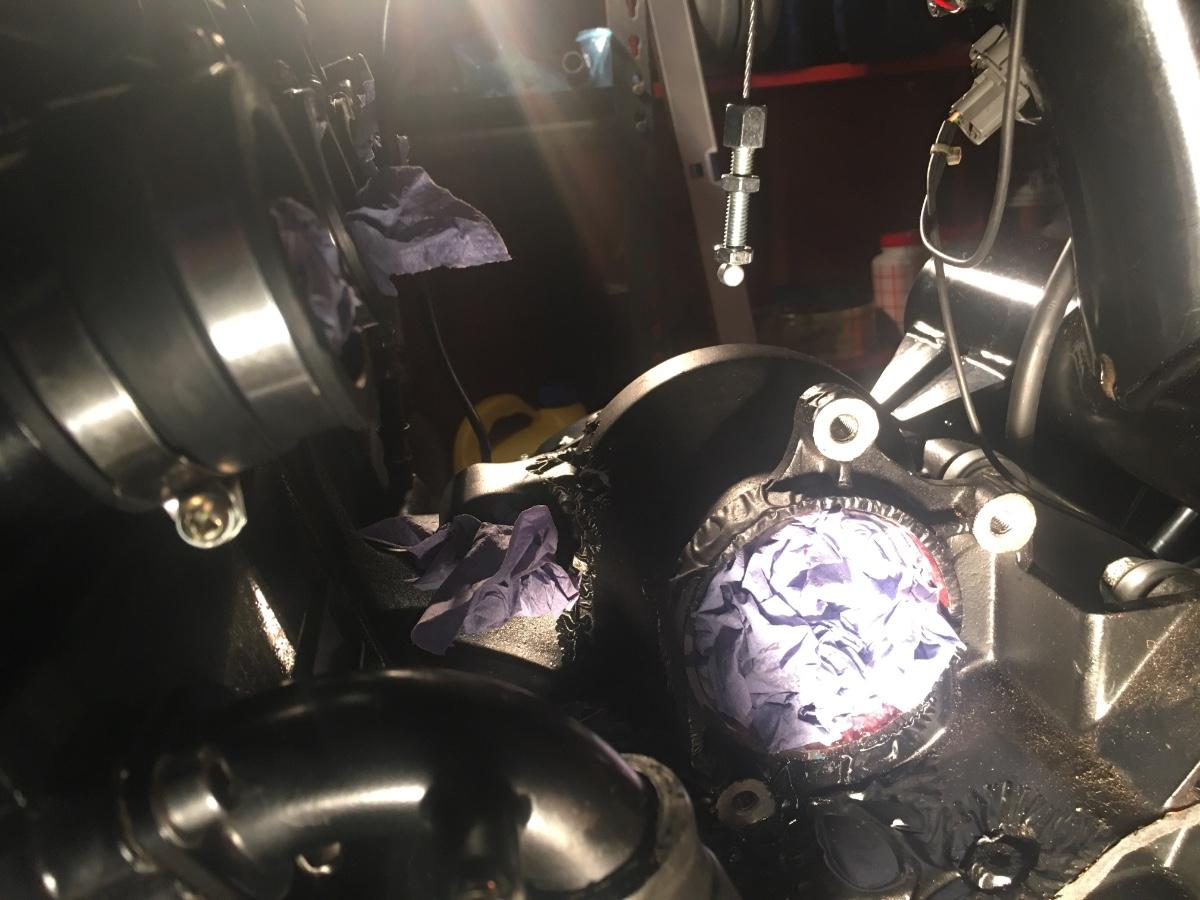
Disconnected the wire to temp sender on the cylinder head Disconnected the wire to the neutral switch ( bit blurry ) I undid the starter motor cable & promptly dropped it into oblivion... Was gonna remove the alternator anyway to repaint Un-clipped the alternator harness connector Removed the alternator ( the earth uses the top fixing ) The lower fixing is a bit hidden away There’s the starter motor cable nut. Removed the starter motor & filled the holes with paper towels to stop any debris ingress Starter motor & alternator stored away with their respective fixings Oil pressure switch disconnected ( rear of sump )


-
Triumph Trophy Engine Strip
Mickly replied to Mickly's topic in Old Motorbikes, Projects and Restorations
I got a 36mm socket from Halfords ( see above ) Tightened up the chain & rear axle, put my foot on the rear brake lever & used a long breaker bar. -
Triumph Trophy Engine Strip
Mickly replied to Mickly's topic in Old Motorbikes, Projects and Restorations
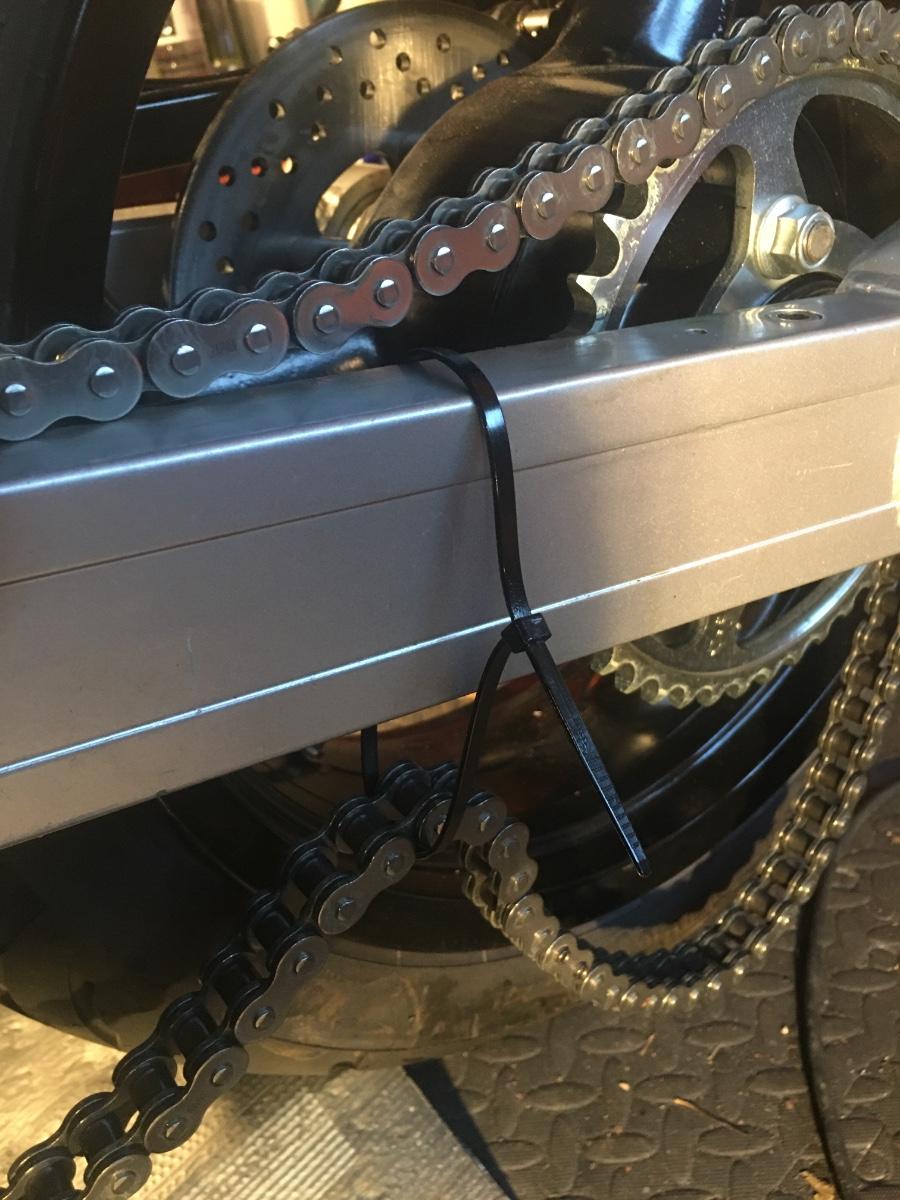
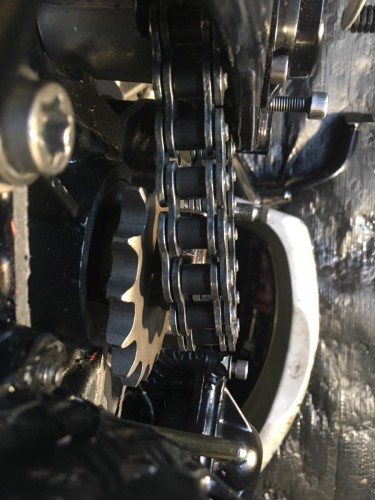
Removed the chain guard ( non standard ) Slipped the chain off the rear sprocket, a bit of a wriggle & it’s done. Zip tied the chain up to stop it dragging in crud & attracting gritty stuff Chain guard wrapped & boxed with its fixings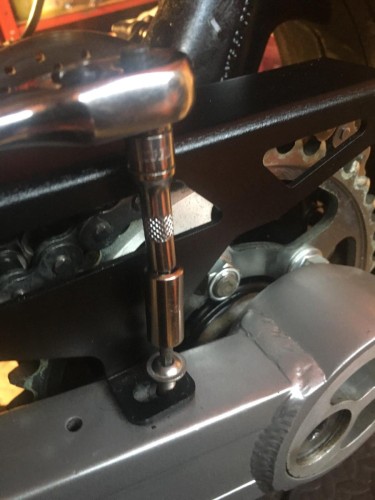

-
Triumph Trophy Engine Strip
Mickly replied to Mickly's topic in Old Motorbikes, Projects and Restorations
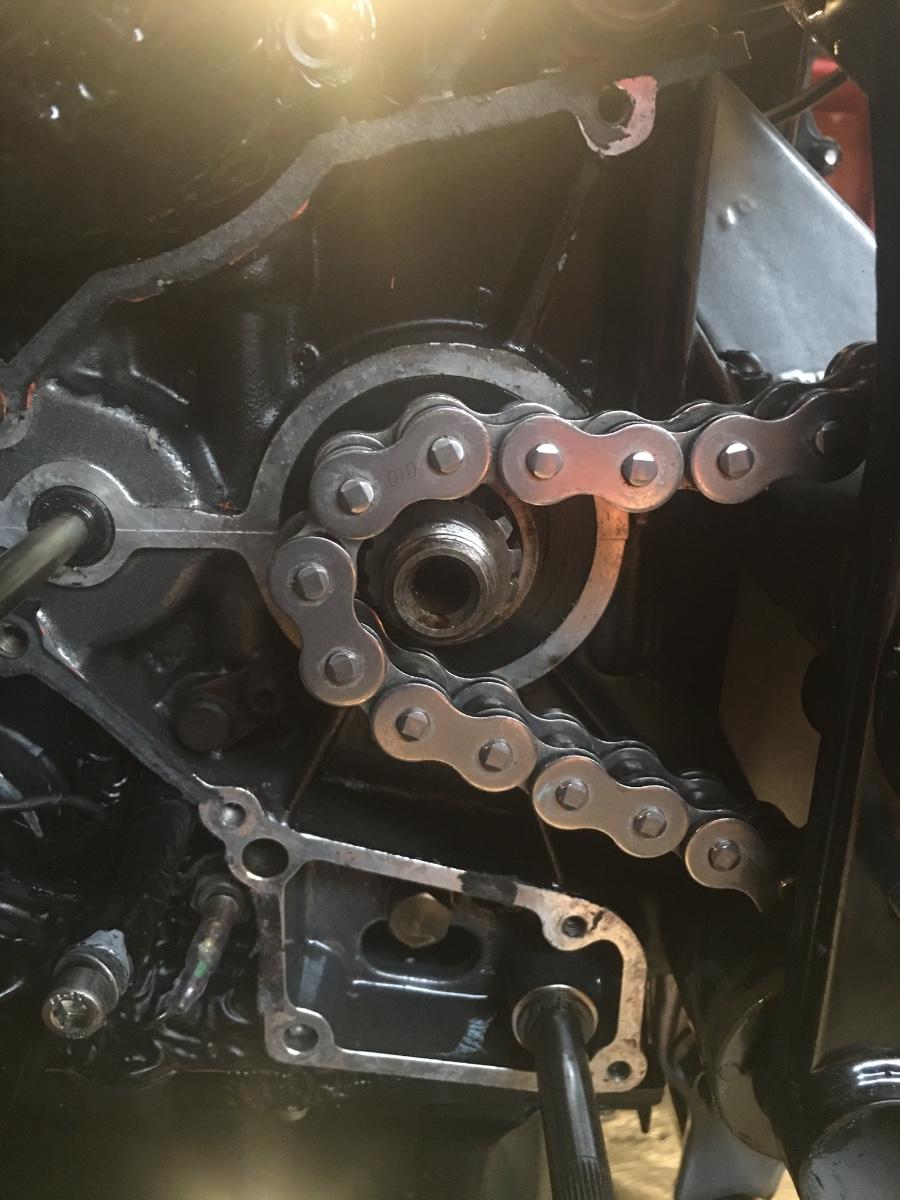
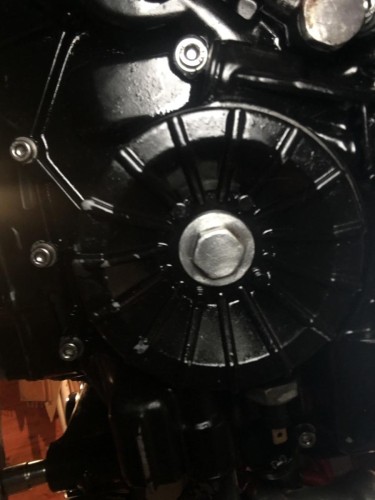
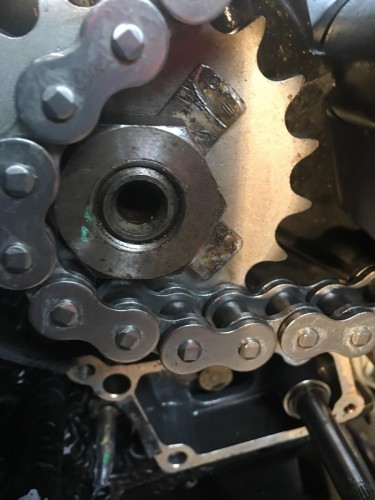
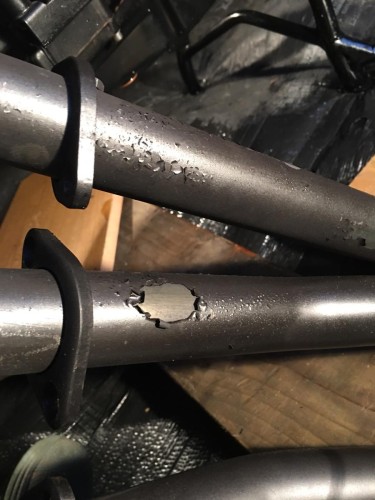
So, a 36mm socket acquired from Halfords via click & collect ( all done in under an hour ) Sprocket off but the chain still won’t slide past the spline

-
Triumph Trophy Engine Strip
Mickly replied to Mickly's topic in Old Motorbikes, Projects and Restorations
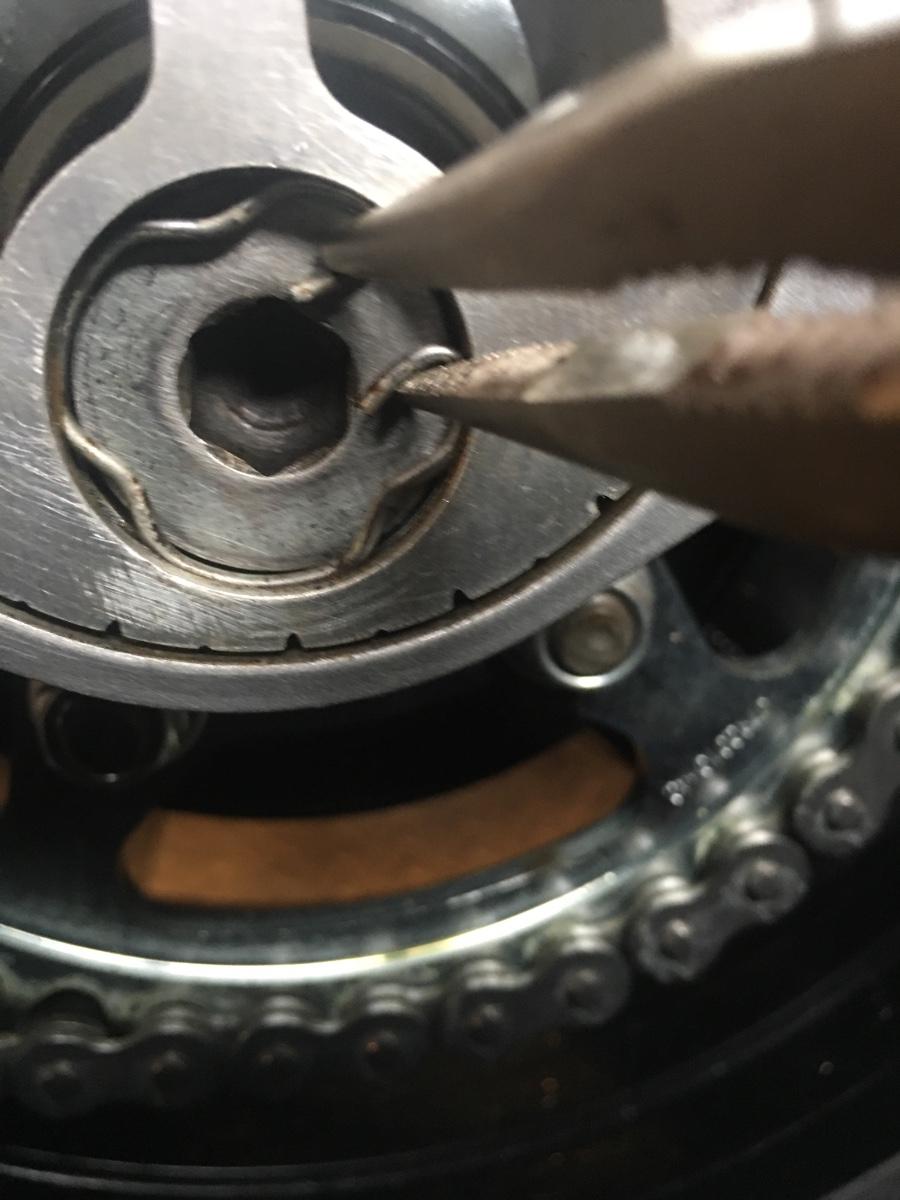
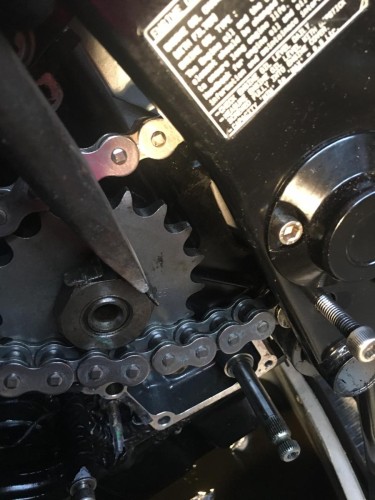
Chain needs to come off next. Pinch bolts slackens off Rear axle spring clips removed, bagged, labelled stored. Axle slackened off - note it’s a Torx fixing & multiple adapters to fit to my breaker bar. Slip chain off front sprocket ... Noooo wait, the bloody sprocket has to be removed as there isn’t enough room for the chain to slip past Sprocket retaining washer with cold chisel Tabs hammered flat. Chain to be retightened ( all the parlava at the back axle ) so I can stand on the rear brake while undoing the sprocket nut ( not having a rattle gun - which is why taking off the rear brake pedal to access an engine mounting bolt is the NEXT step which reminded me that I don’t have a 36mm socket & borrowed one last time !!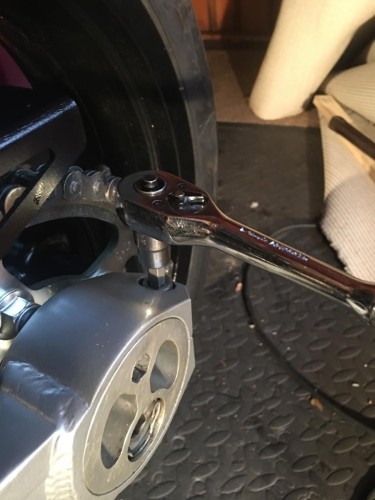

-
Triumph Trophy Engine Strip
Mickly replied to Mickly's topic in Old Motorbikes, Projects and Restorations
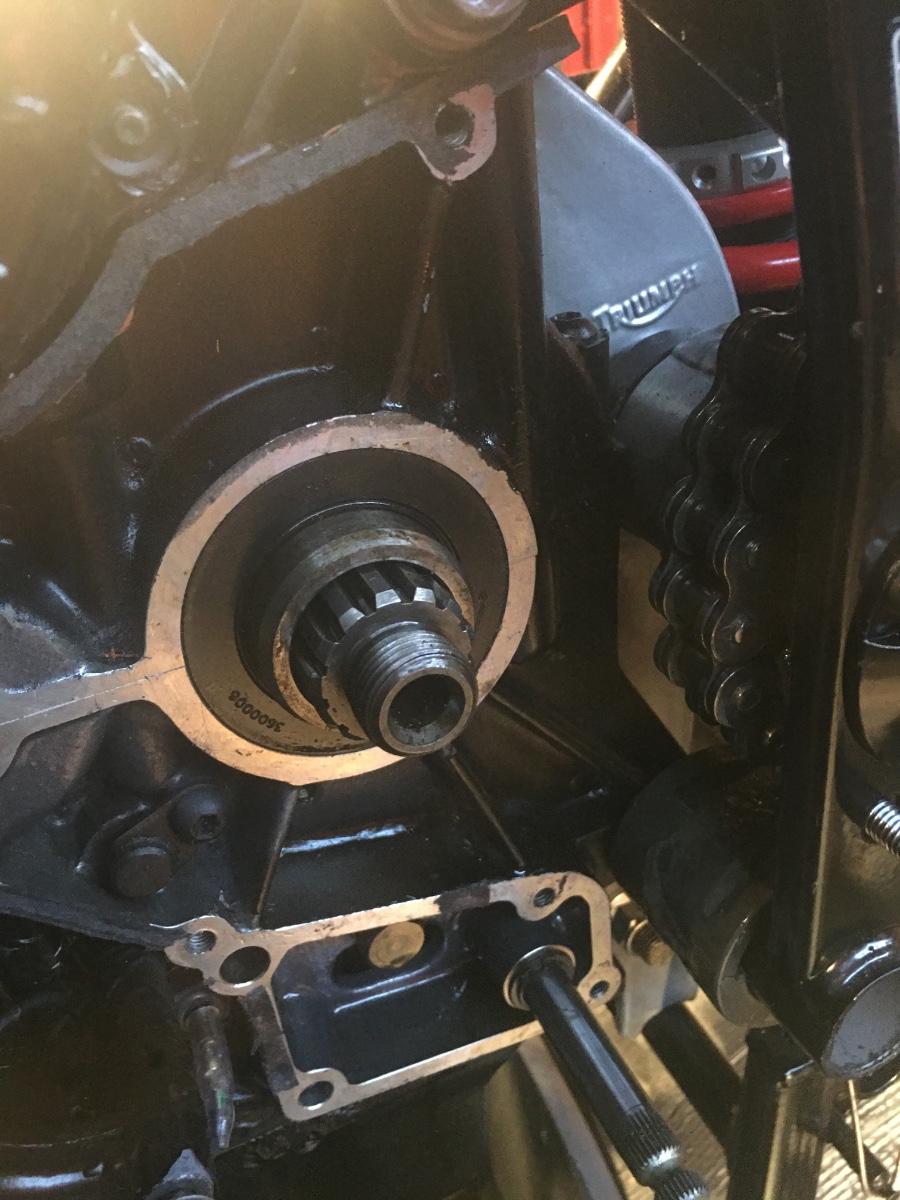
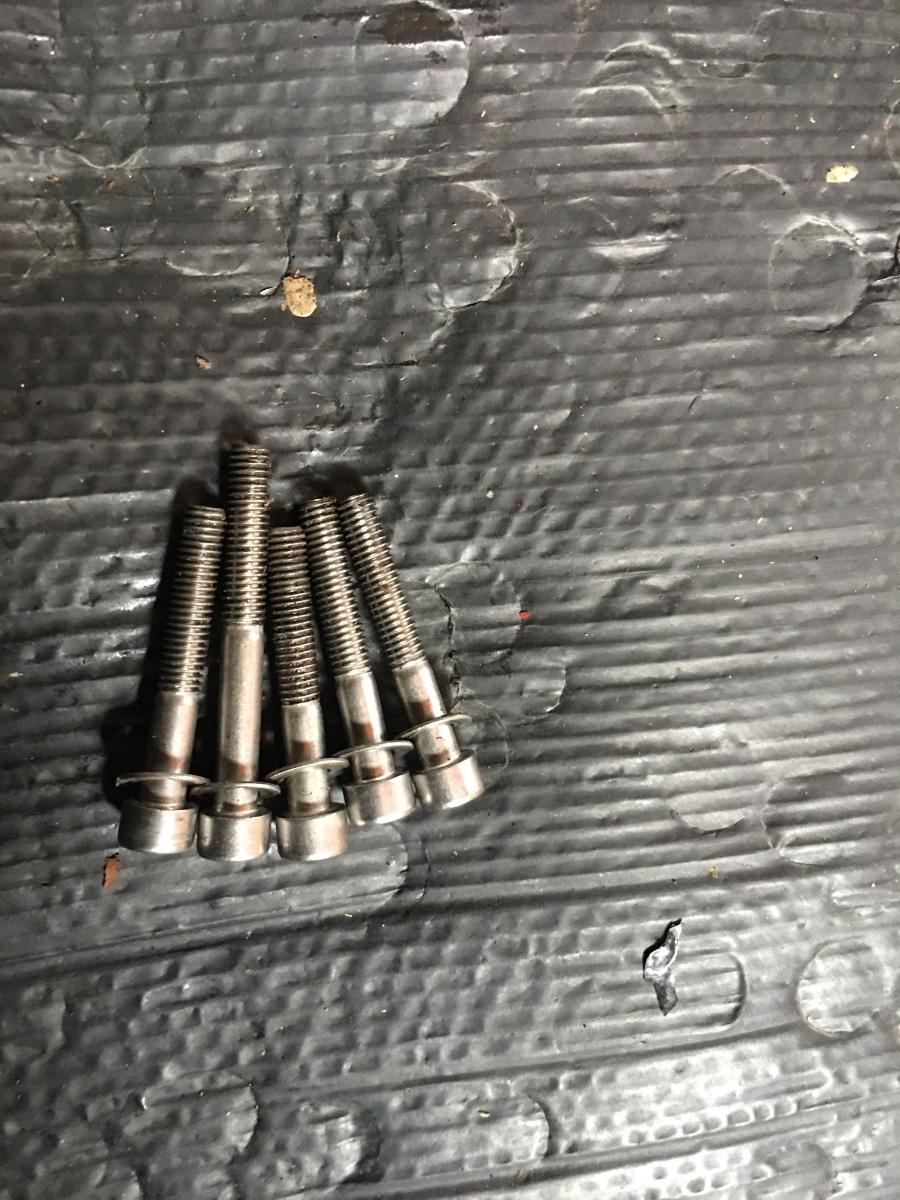
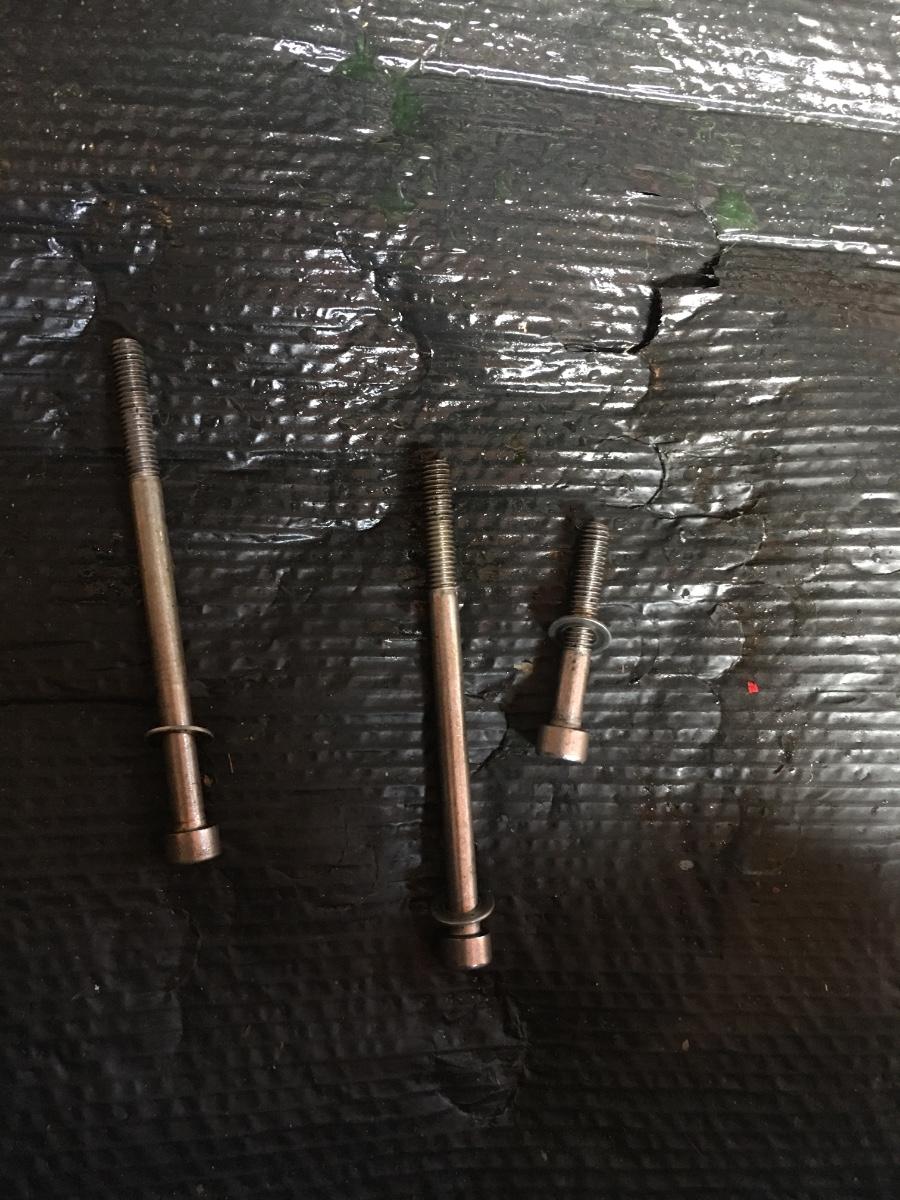
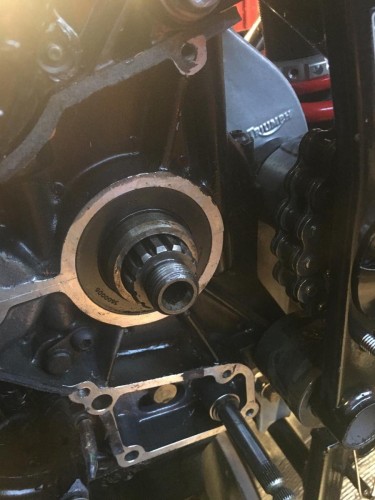
Sprocket cover bolts out & arranged in order Sprocket cover removed - needed a bit of gentle persuasion from the back ( piece of wood & a hammer ). You can see that the oil filling plug / dipstick is part of the cover, therefore there’s an oil way incorporated. So if you ever want to check or remove the front sprocket, you have to drain the oil & replace the gasket.... thank you very bloody much Triumph !! Sprocket cover now boxed up with its fixings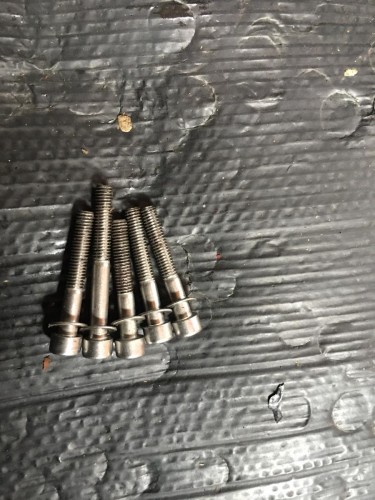


-
Triumph Trophy Engine Strip
Mickly replied to Mickly's topic in Old Motorbikes, Projects and Restorations
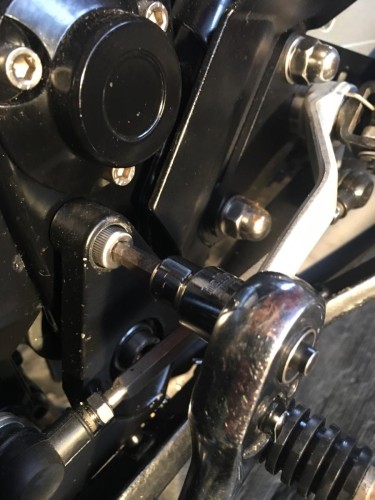
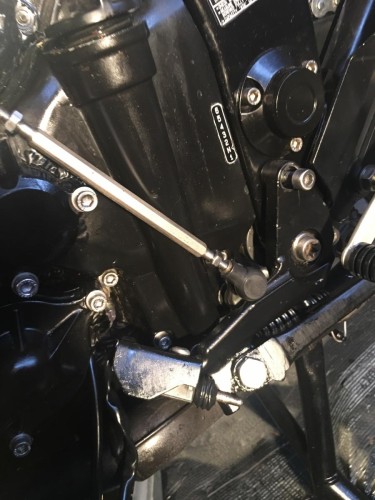
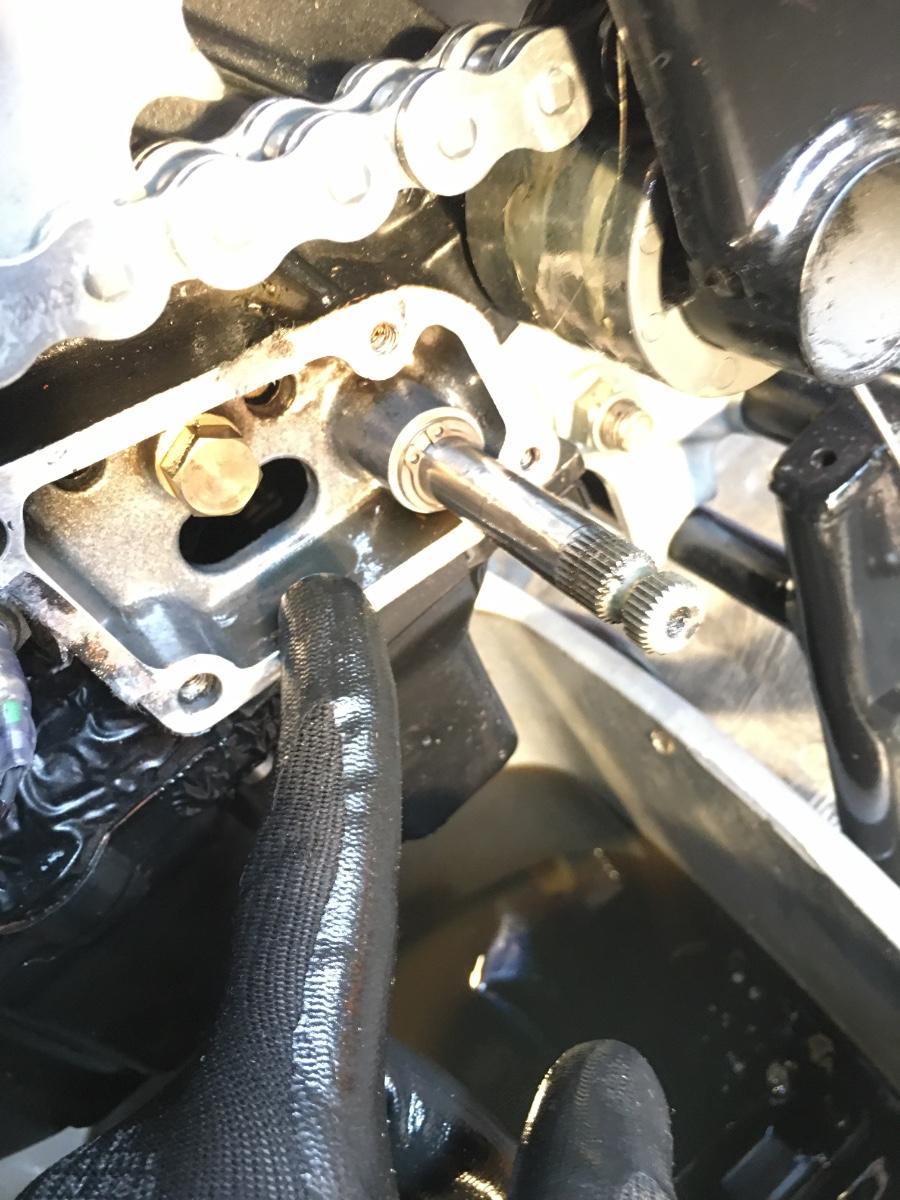
Gear change linkage removed Couldn’t quite get a socket on coz the ratchet or extension Gould the frame - 8mm ring spanner did the job Linkage stored away.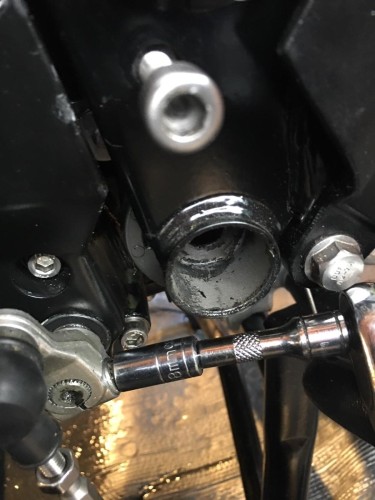
-
Triumph Trophy Engine Strip
Mickly replied to Mickly's topic in Old Motorbikes, Projects and Restorations
In order to get the chain off the front sprocket first the clutch release cylinder must be removed. Bolts in order in which they fit as a reminder. Cylinder off & zip tied to prevent the piston coming out No sign of any leaks Cylinder is now tucked out of the way & the fixings bagged & stored.
-
Trouble is in proving the farmer was responsible for the bit of mud you slipped on, unless you actually see them do it it is really difficult. Think I read a Andrew Dalton piece ( of White Dalton ) about it. From what I remember, they also have a ‘reasonable’ amount of time to clear it up.
-
Triumph Trophy Engine Strip
Mickly replied to Mickly's topic in Old Motorbikes, Projects and Restorations
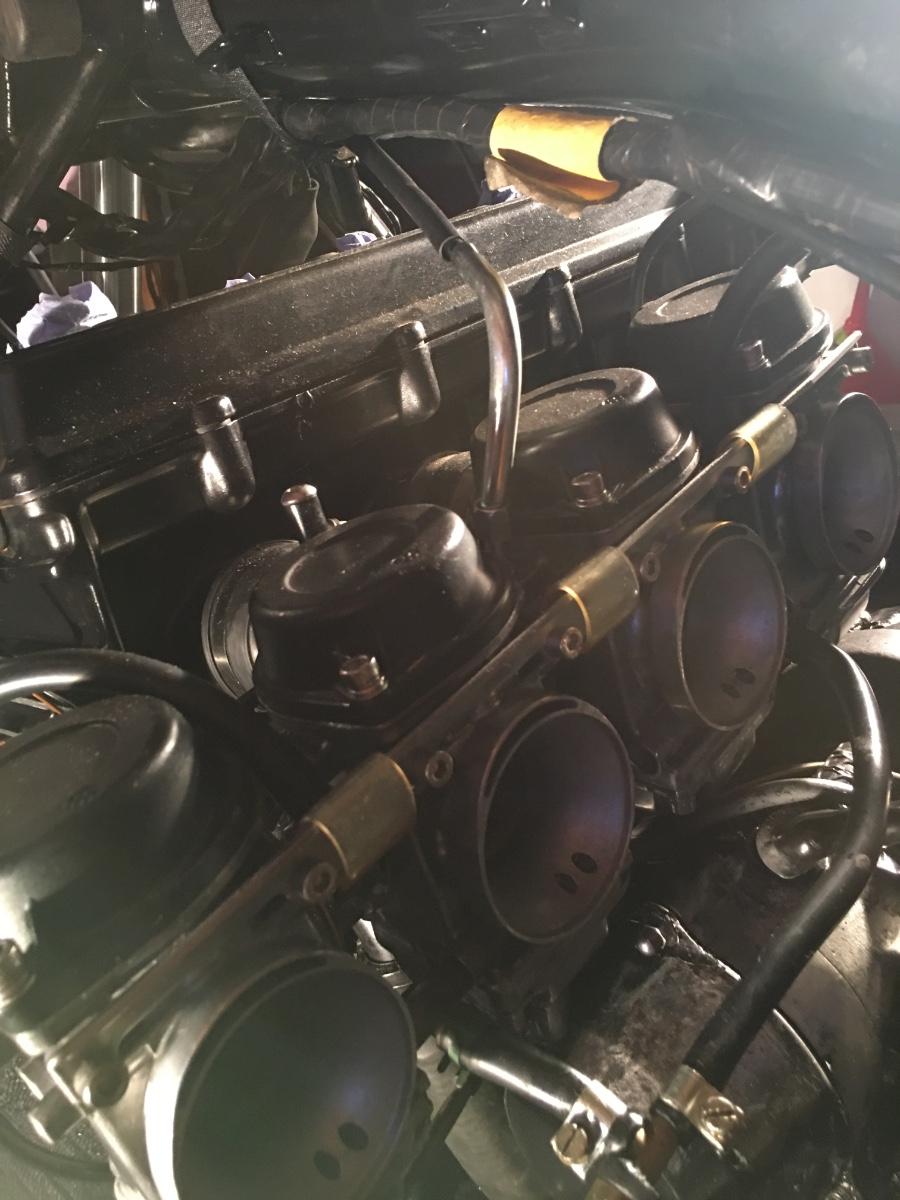
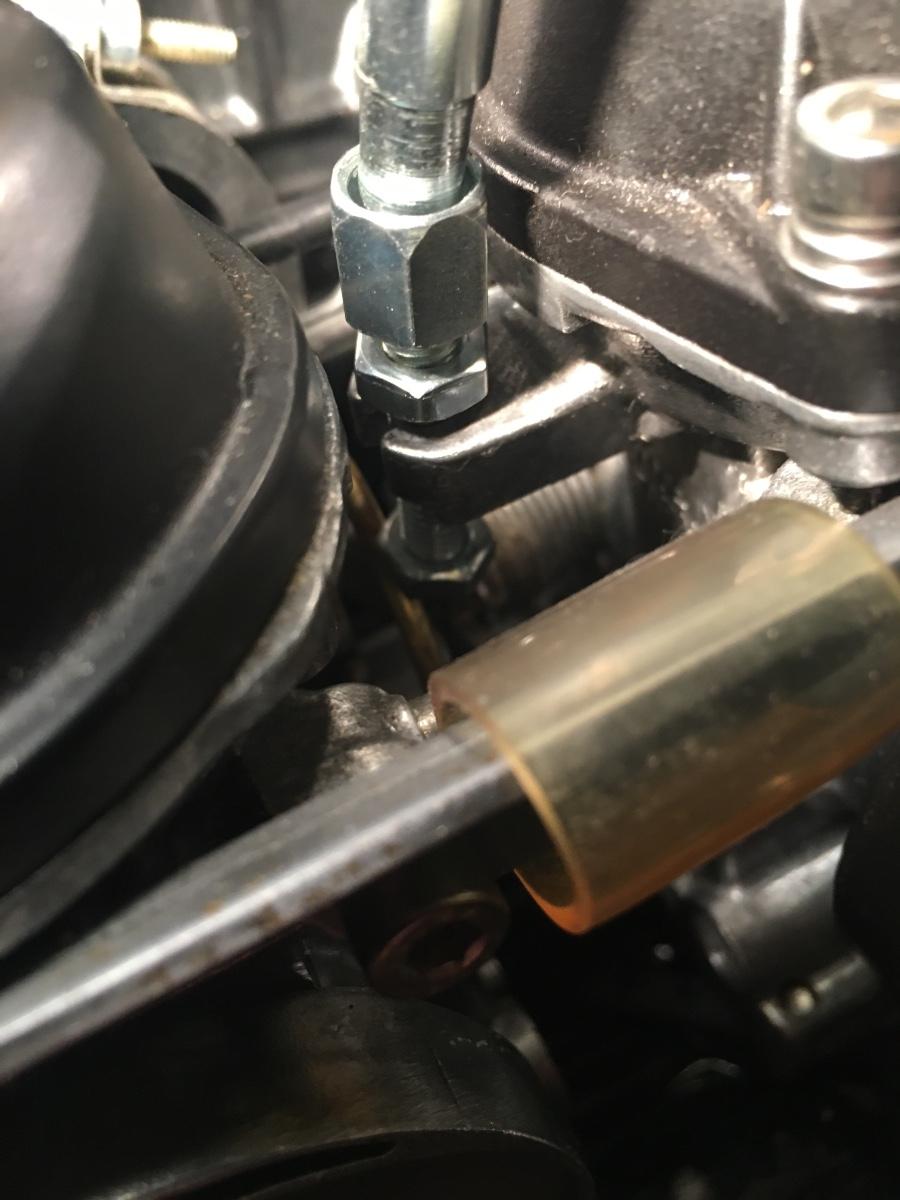
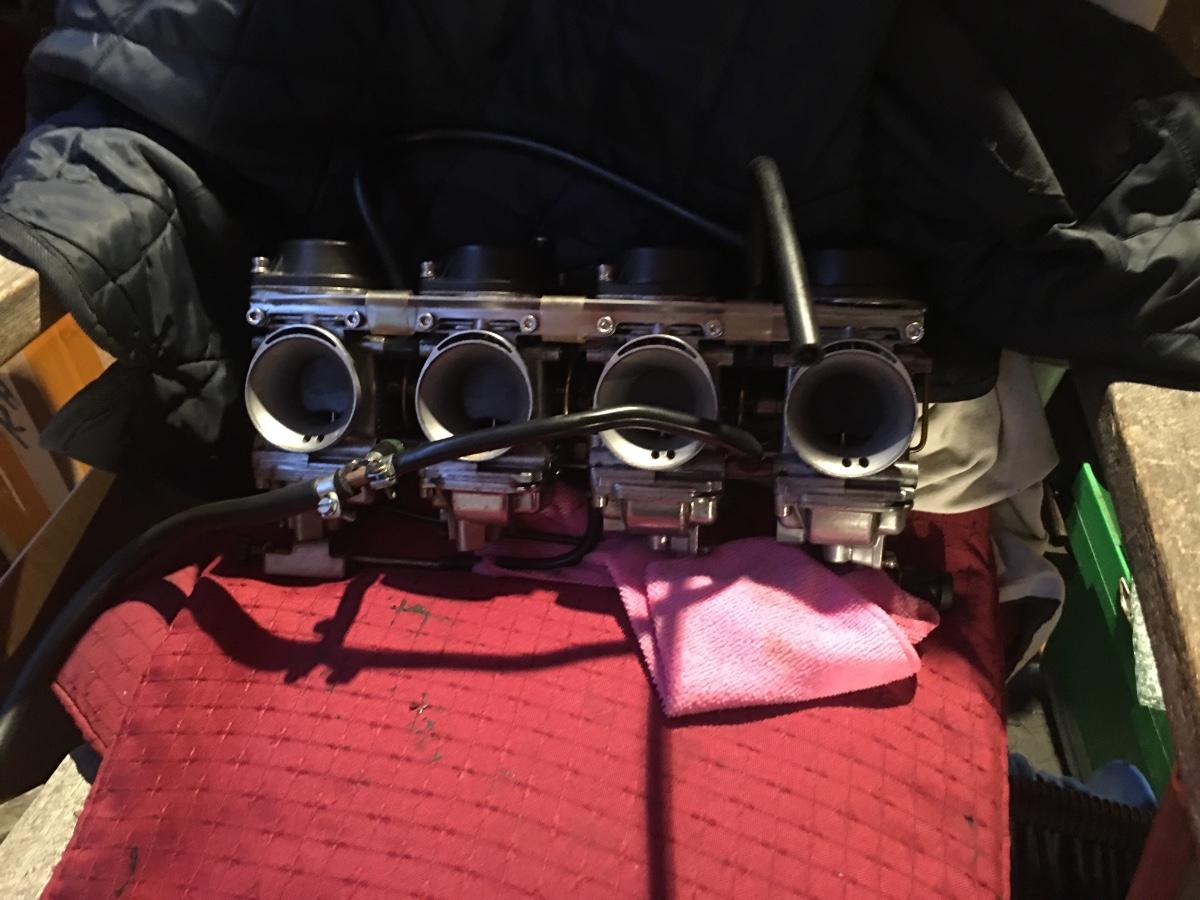
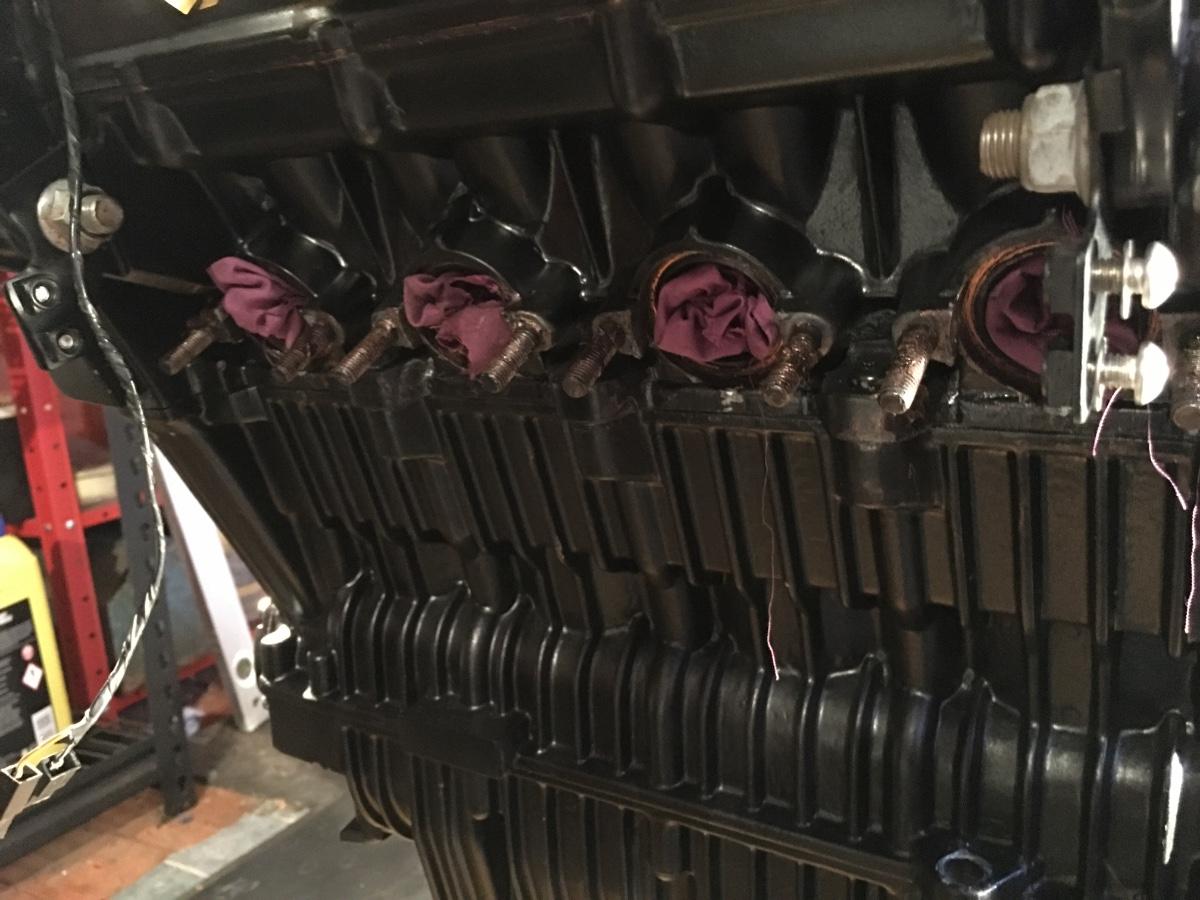
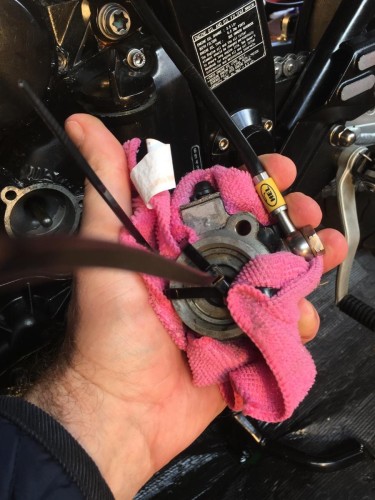
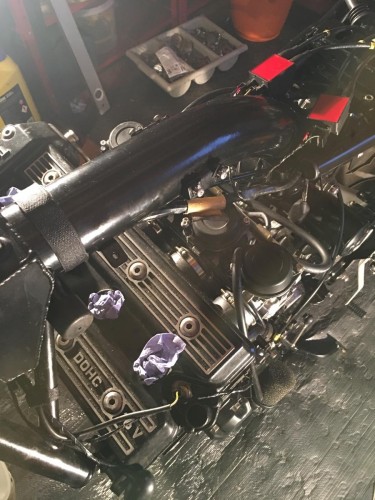
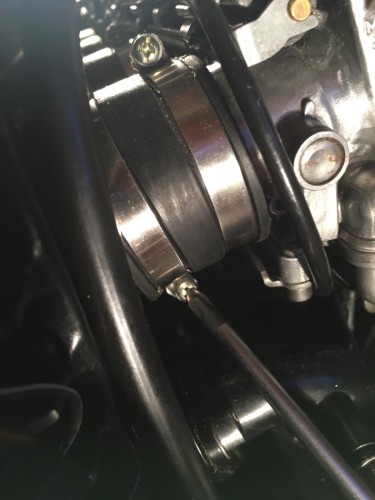
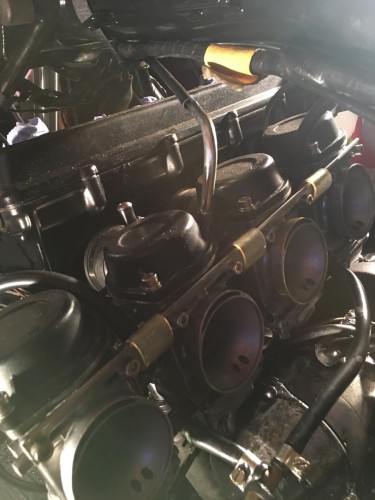
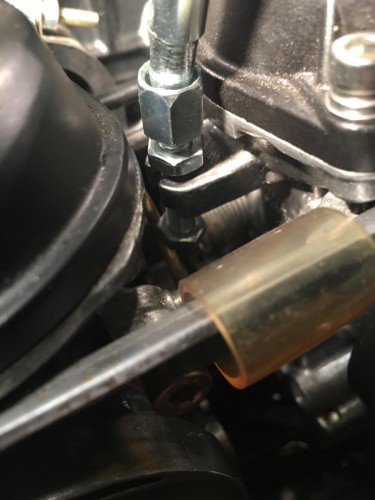
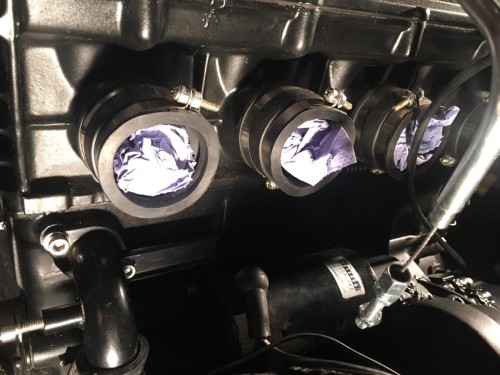
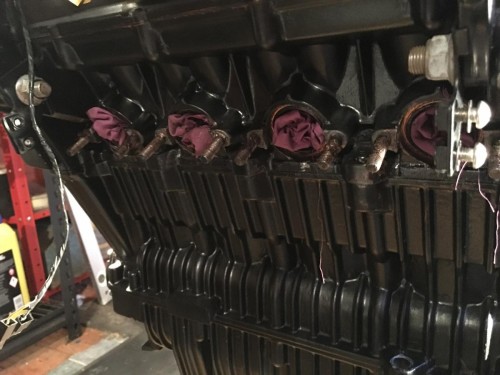
Time for the carbs to come off. 1st the coils & plugs are removed to allow for better access. The extension bracket drops the coils a bit to allow the CRK tank more room. Coils removed & paper towel stuffed in the plug holes to stop any stray bits falling in. Undoing the rubber clamps to the head But when I wiggled the carbs off, the rubbers stayed on the head and came off the carbs - hmmm where they not secure enough? Did this add to the potential lean mixture issue? Must ensure they’re all tighter on reassembly. Pulled the carbs to the left to get at the throttle linkage. The bottom nut needs removing so the throttle cable can be slipped through the slot in the top bracket, then the nut is reattached to stop it getting in the way. The throttle cable barrel nipple is freed by passing the inner cable through this slot in the linkage ( sounds so easy doesn’t it? But it’s fiddly as hell!! - you need 3 hands & X-ray vision) Carbs off & paper towel stuffed into the rubbers to stop stray stuff falling in there. I need to redo the fuel pipes as the fuel tap on the CRK tank is on the other side to the std Trophy. Drained the remaining fuel out, stuffed them in an old pillow case & boxed them up.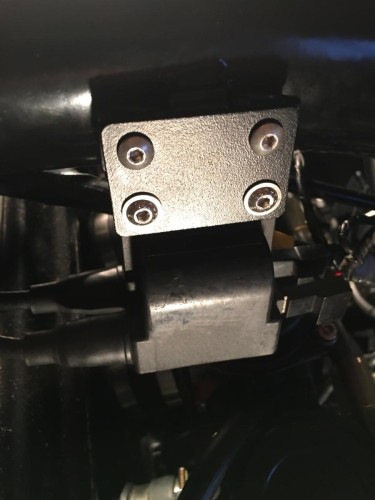


-
Triumph Trophy Engine Strip
Mickly replied to Mickly's topic in Old Motorbikes, Projects and Restorations
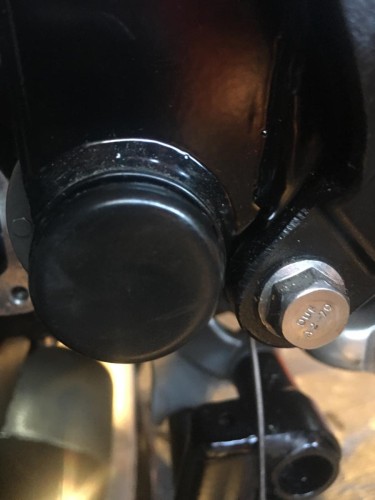
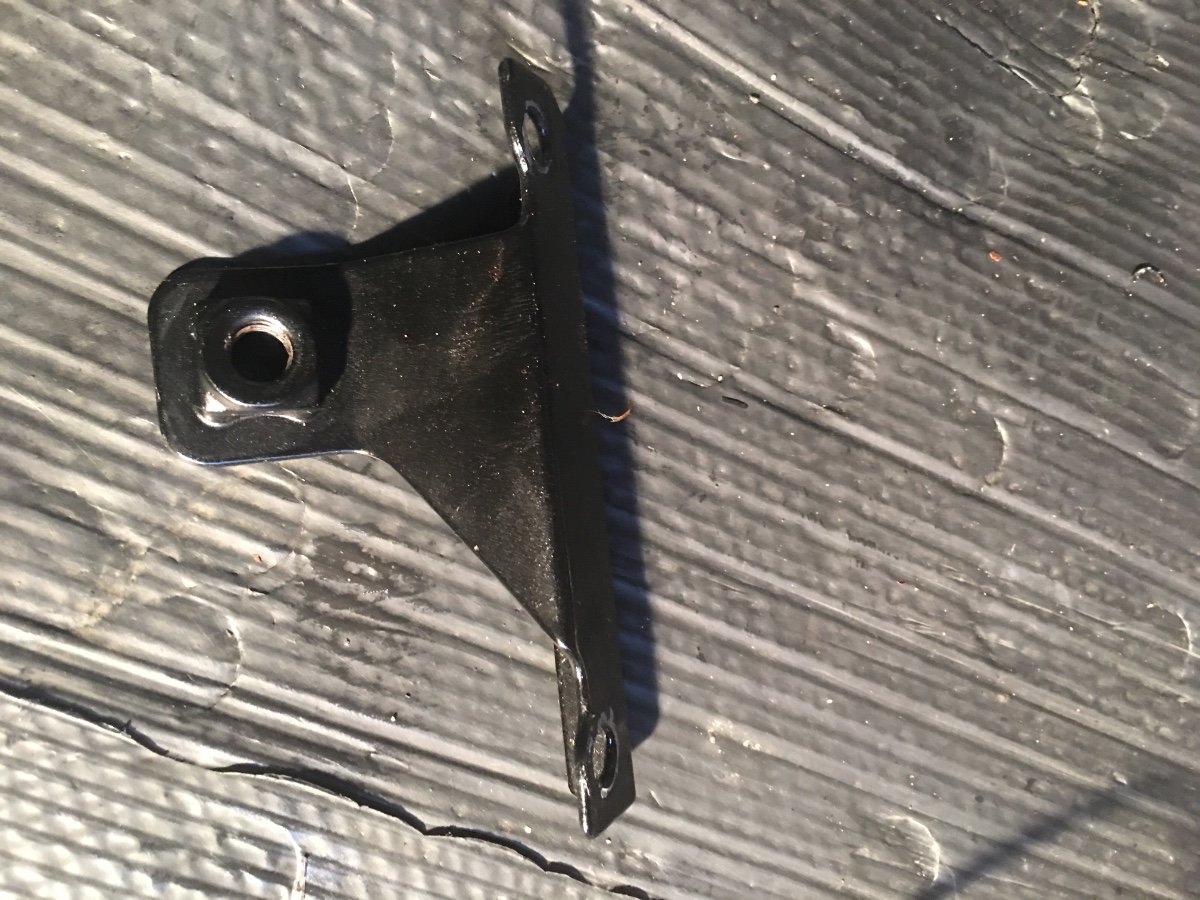
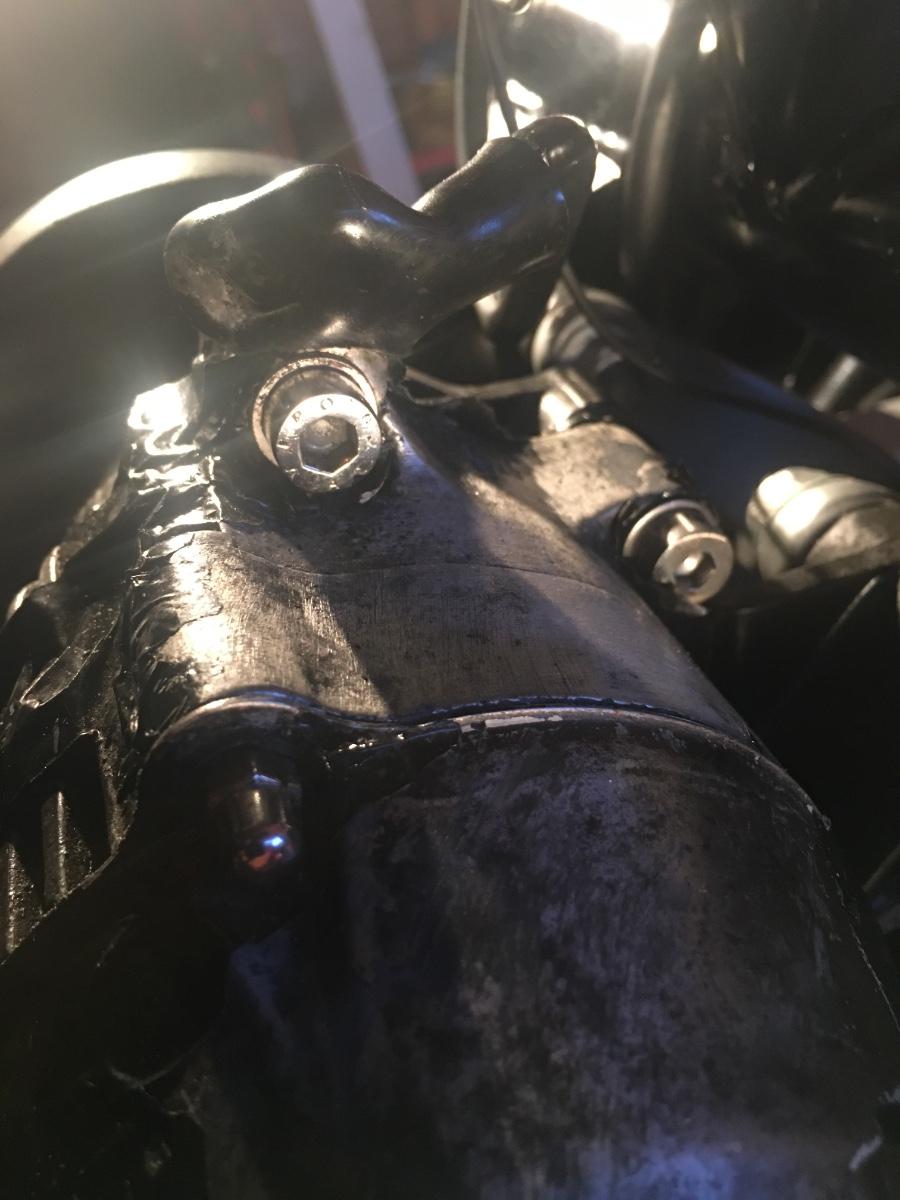
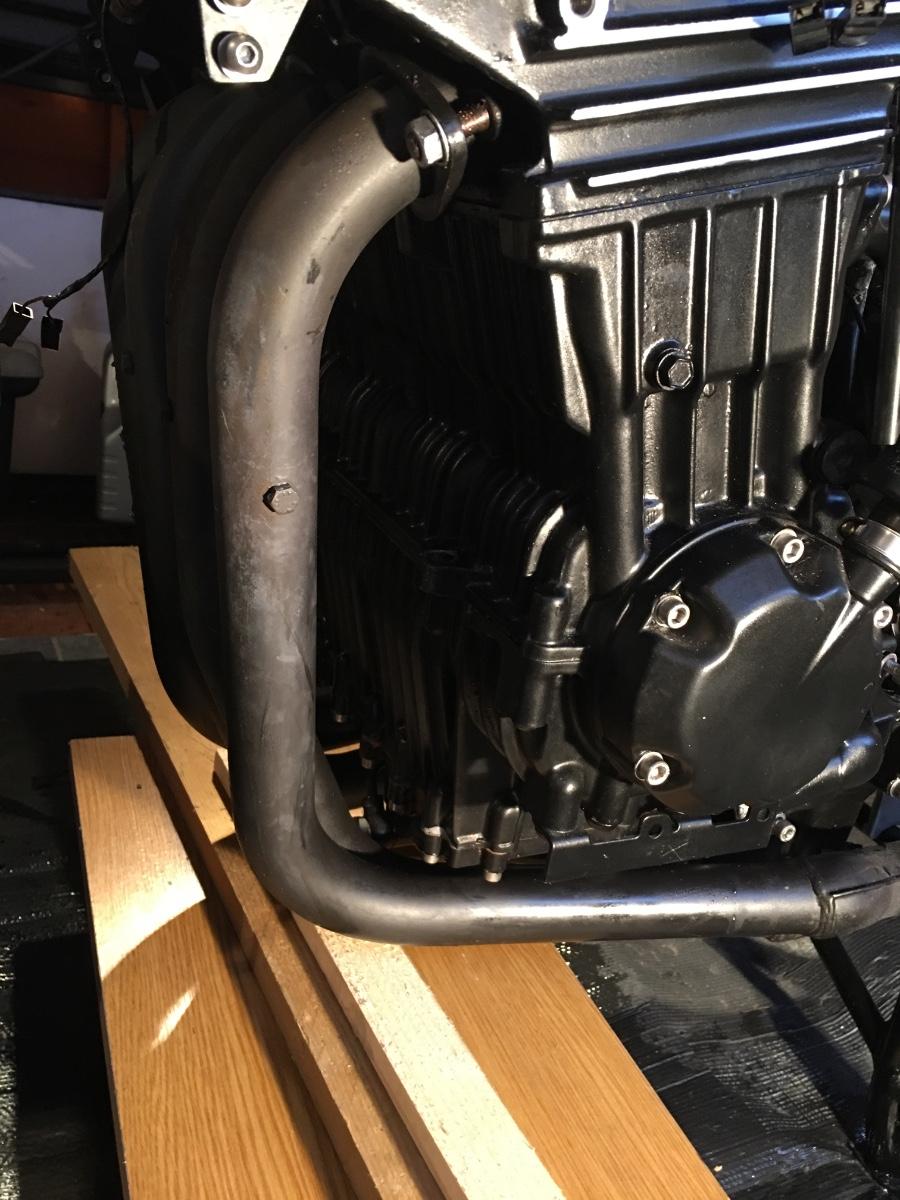
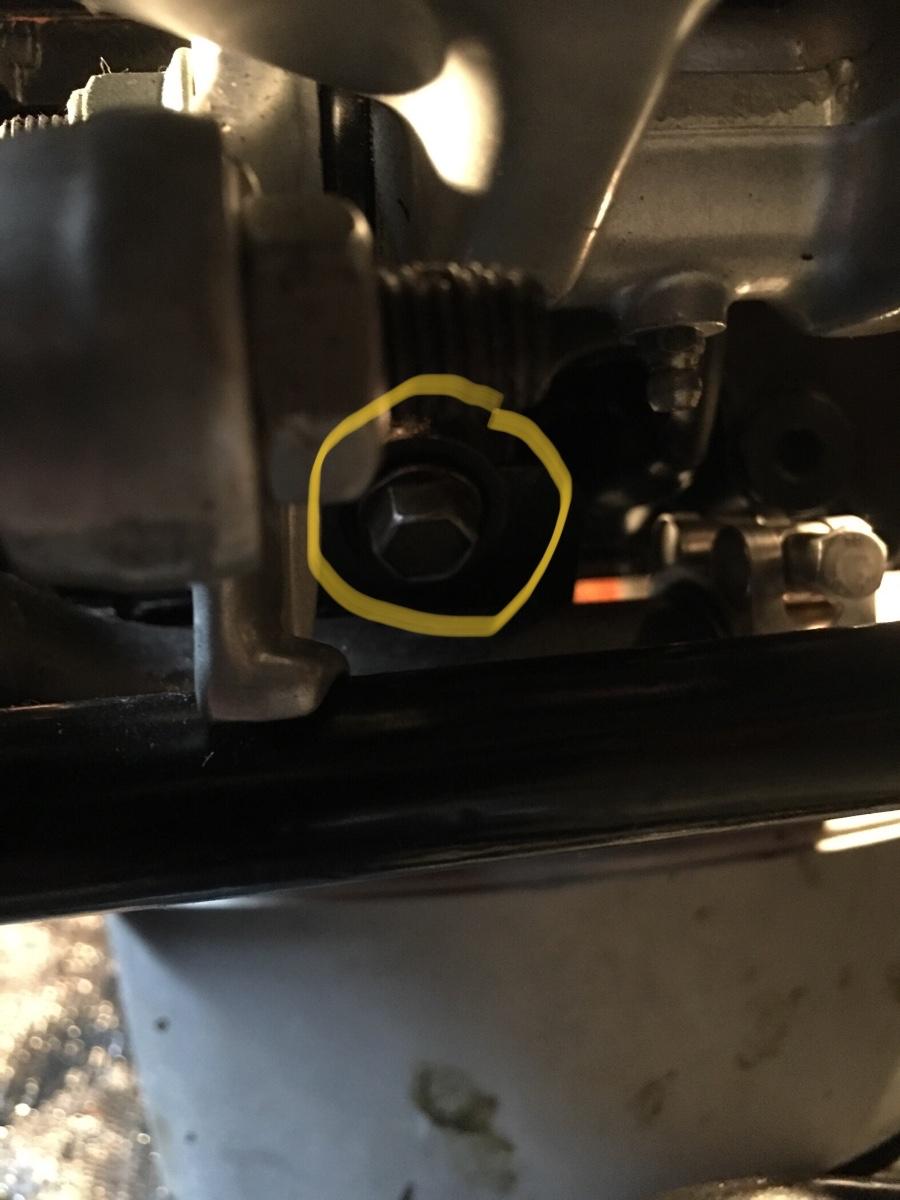
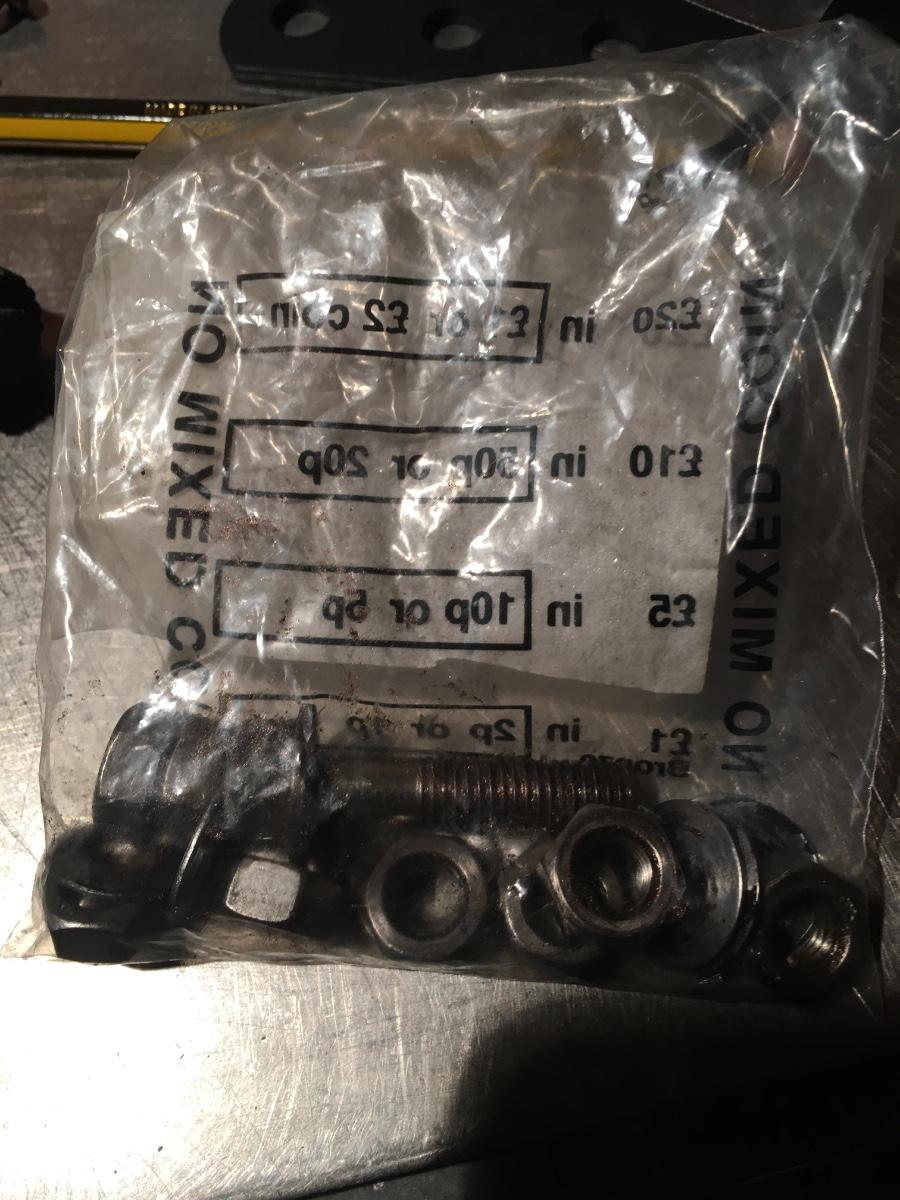
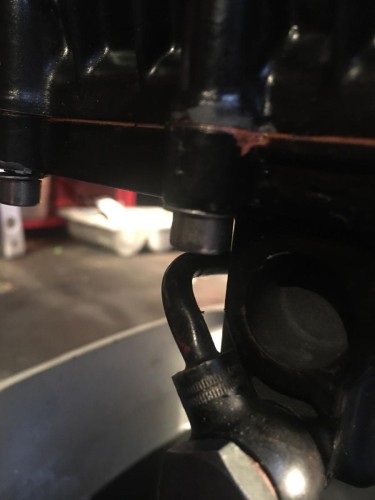
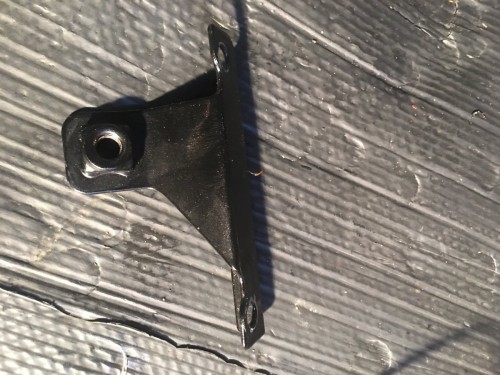
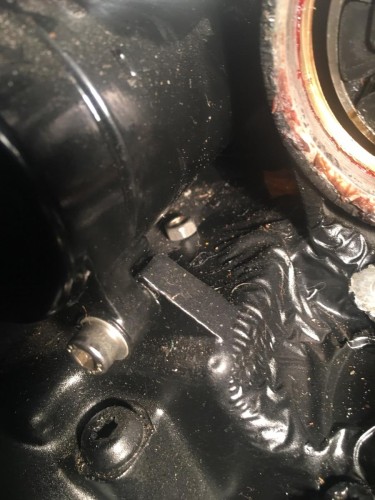
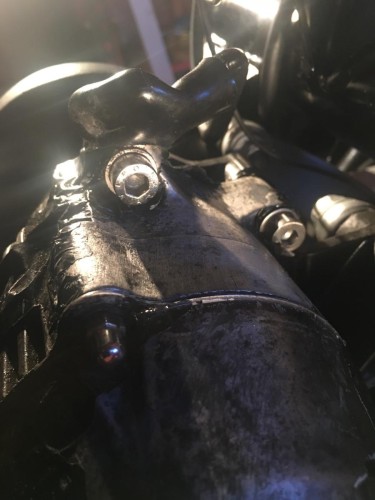
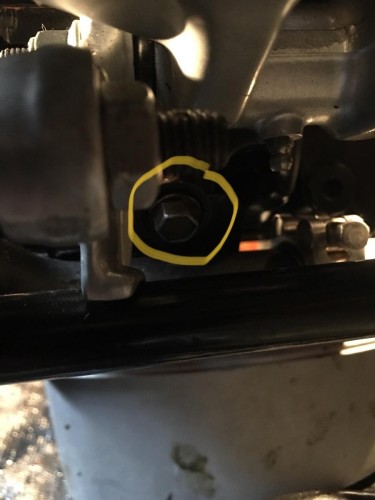
Taking the headers off Firstly, the Trophy ( & I think all the early Triumph 4 pots ) has a support bracket onto the back of the sump housing, this was broken when I got the bike so a new one was added, This is the bolt you have to get to under the bike. Luckily as I’ve had it all apart once, it’s visible & not covered in crud !! Blocks of wood supporting the down pipes Nuts were easily undone on account of me cleaning the threads, using new nuts, washers & copper slip when I originally reassembled it. So all done with bits of old rag stuffed in the head to stop anything getting in there. You can see where the crap Simoniz VHT paint has flaked off. This is the bracket that supports the headers to the sump. Unfortunately it’s on the LH side which means there’s no room for adjustment to take the silencer mounting bolt away from the swinging arm, I may have to heat & “tweak” the outlet a bit, dunno if this is a common problem ([mention]onesea[/mention] ) Exhaust fixings bagged up - these money bags are really useful for storing small stuff & they are free from your bank

-
Triumph Trophy Engine Strip
Mickly replied to Mickly's topic in Old Motorbikes, Projects and Restorations
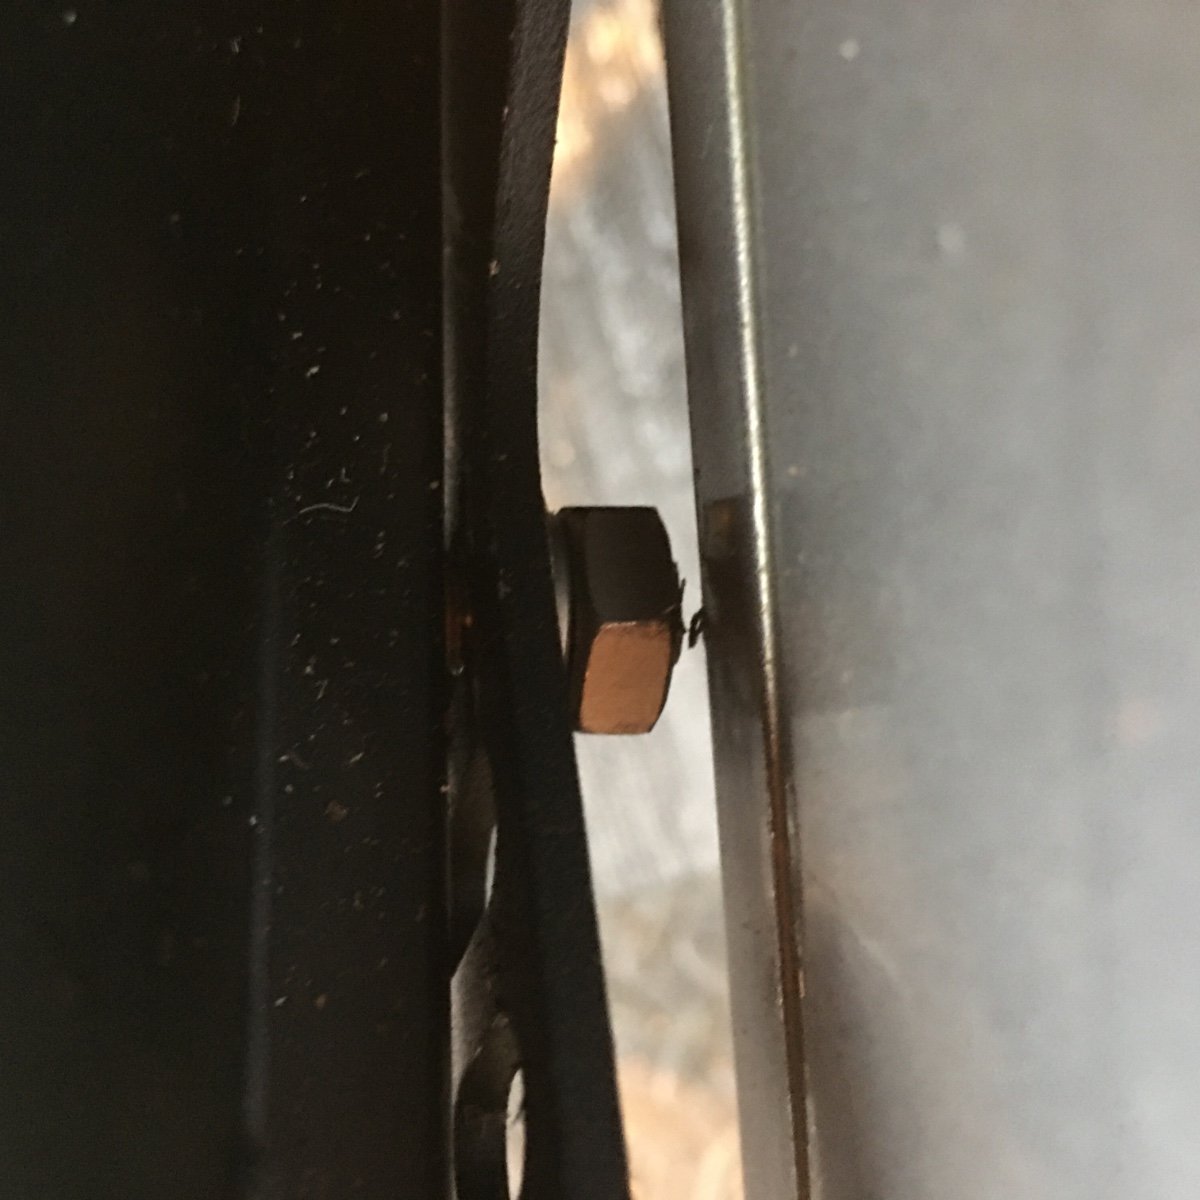
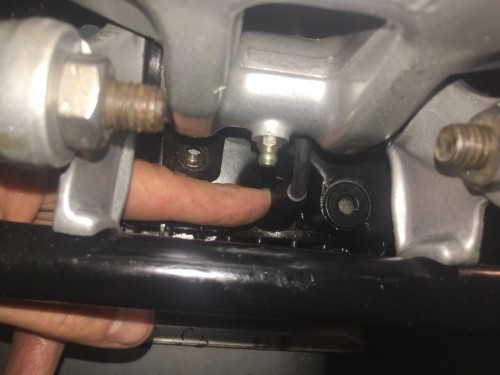
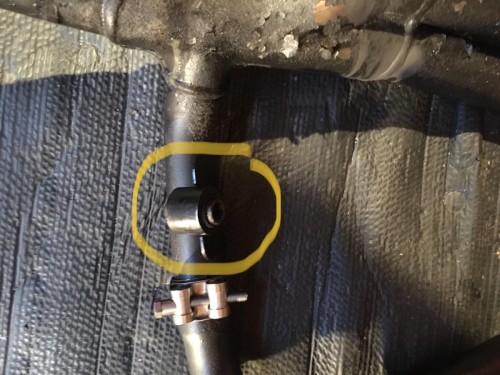
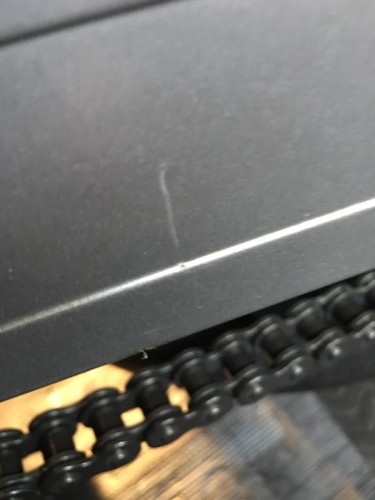
So off with the end cans. I thought this bolt was a bit close to the swinging arm. And sure enough Can you polish out scratches from powder coating? If so what’s best to use? I’ll have to adjust them better when I refit. All packed away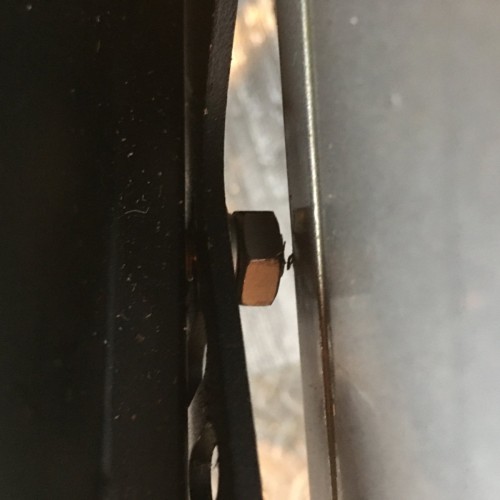
-
Triumph Trophy Engine Strip
Mickly replied to Mickly's topic in Old Motorbikes, Projects and Restorations
Right, I’ve managed to get hold of some suitable gloves to stop my softy office worker hands from getting cut up. “If Madam would like to bend over for a minute, I’m sure we’ll get to the bottom of this”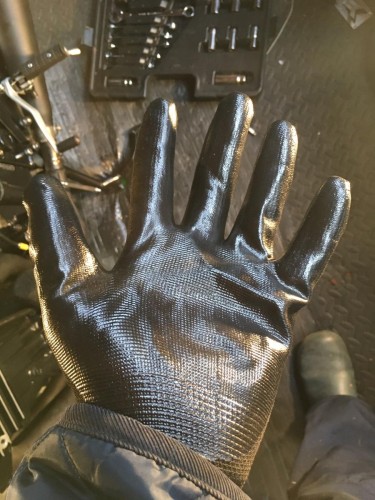
-
I do like the Village Inn at Arrochar From what I remember there was a warming open fire, good food & excellent ale. Went there when we were staying in Cove on the SE of Loch Long.
-
Triumph Trophy Engine Strip
Mickly replied to Mickly's topic in Old Motorbikes, Projects and Restorations
Yep, coolant, Swarfega & anti bacterial gel stings a tad -
Triumph Trophy Engine Strip
Mickly replied to Mickly's topic in Old Motorbikes, Projects and Restorations
I did the shims when when I took the cam cover off to pretty it up. -
Triumph Trophy Engine Strip
Mickly replied to Mickly's topic in Old Motorbikes, Projects and Restorations
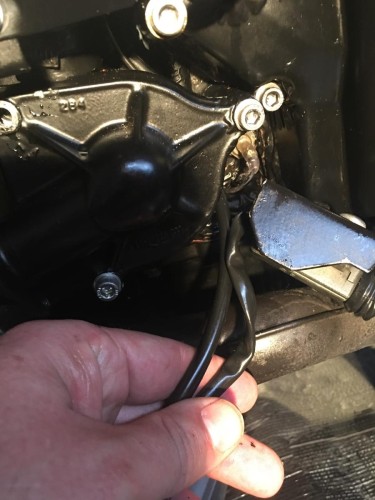
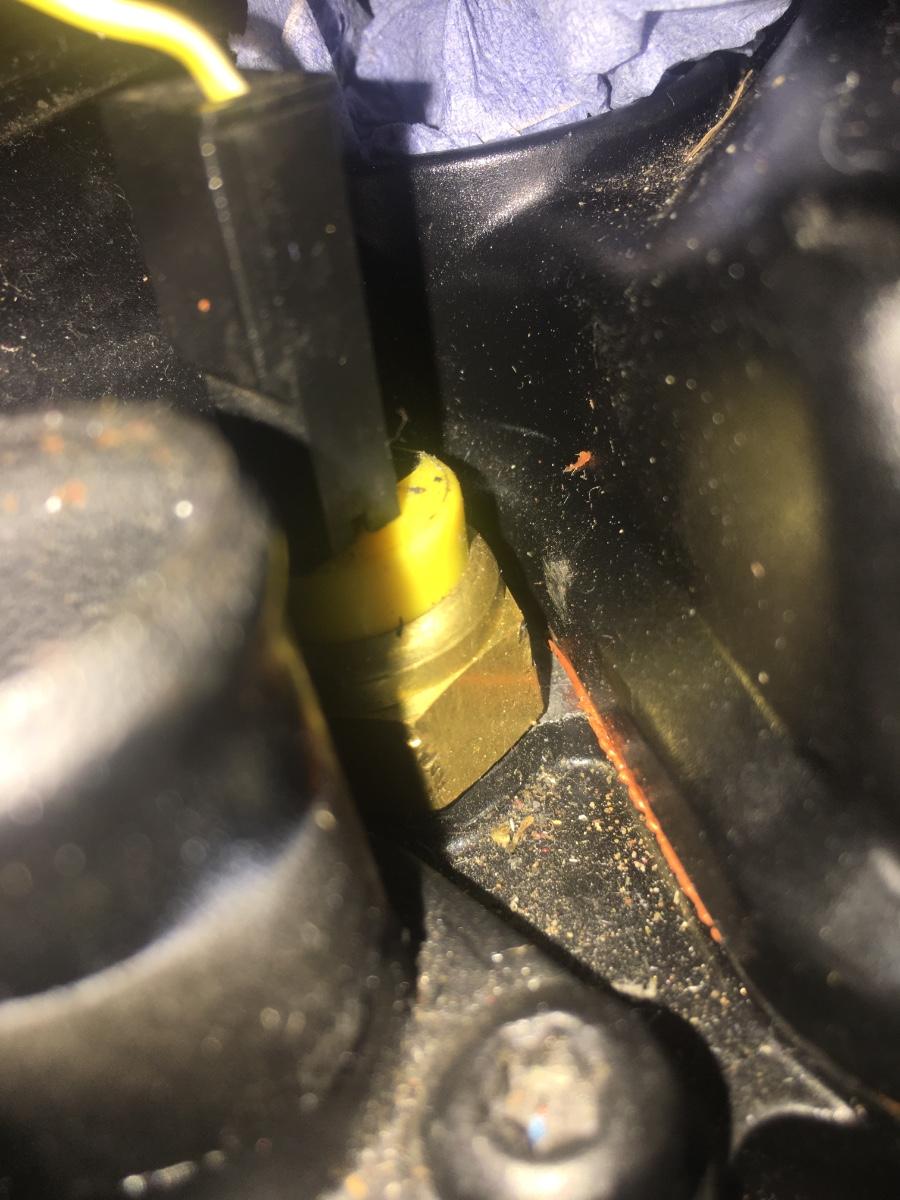
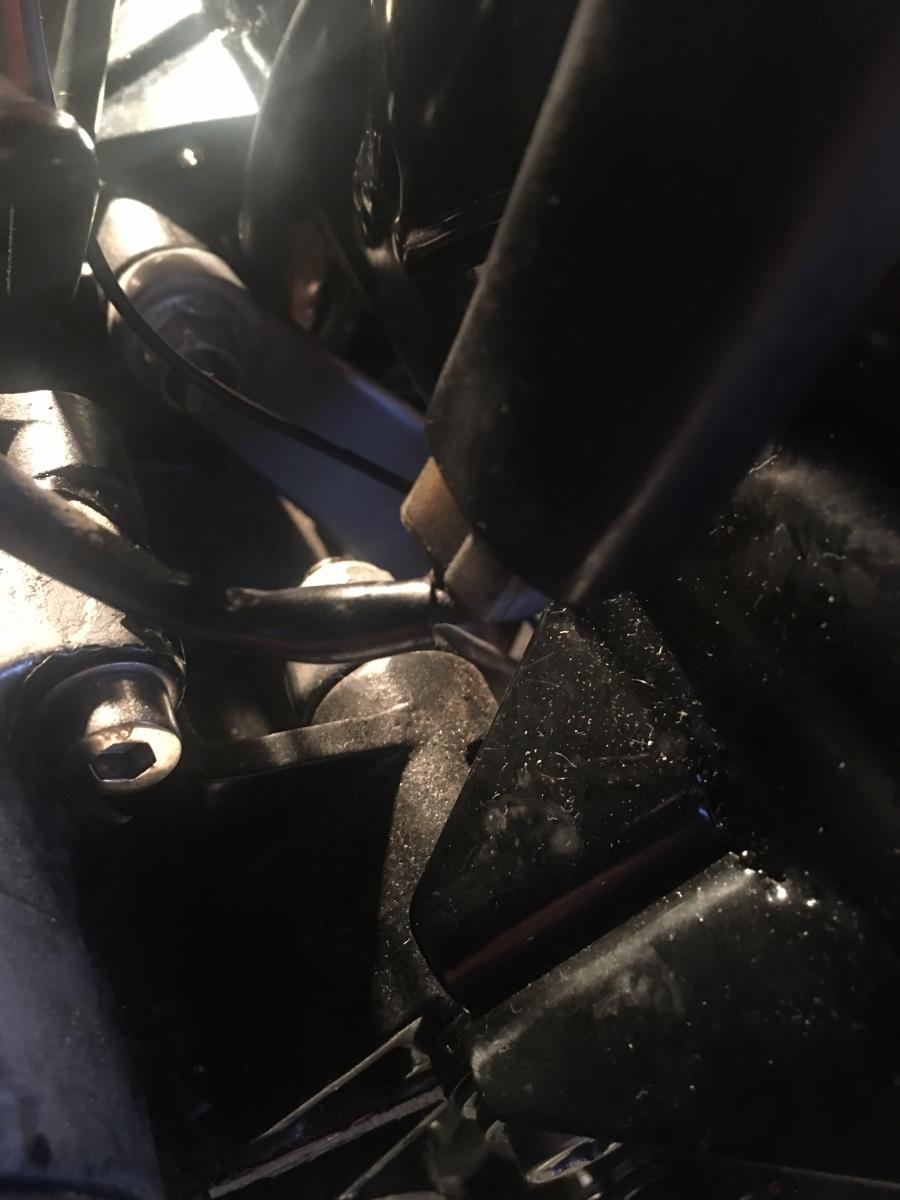
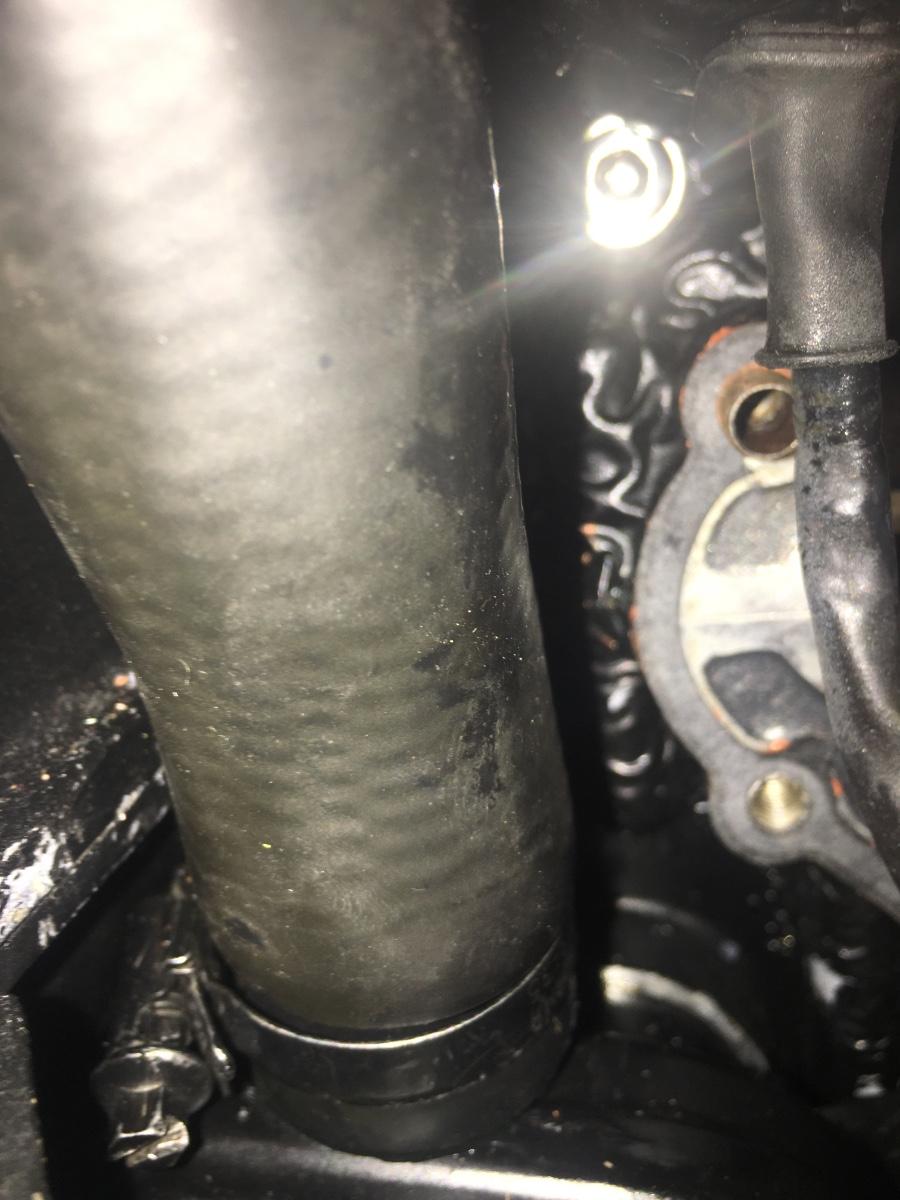
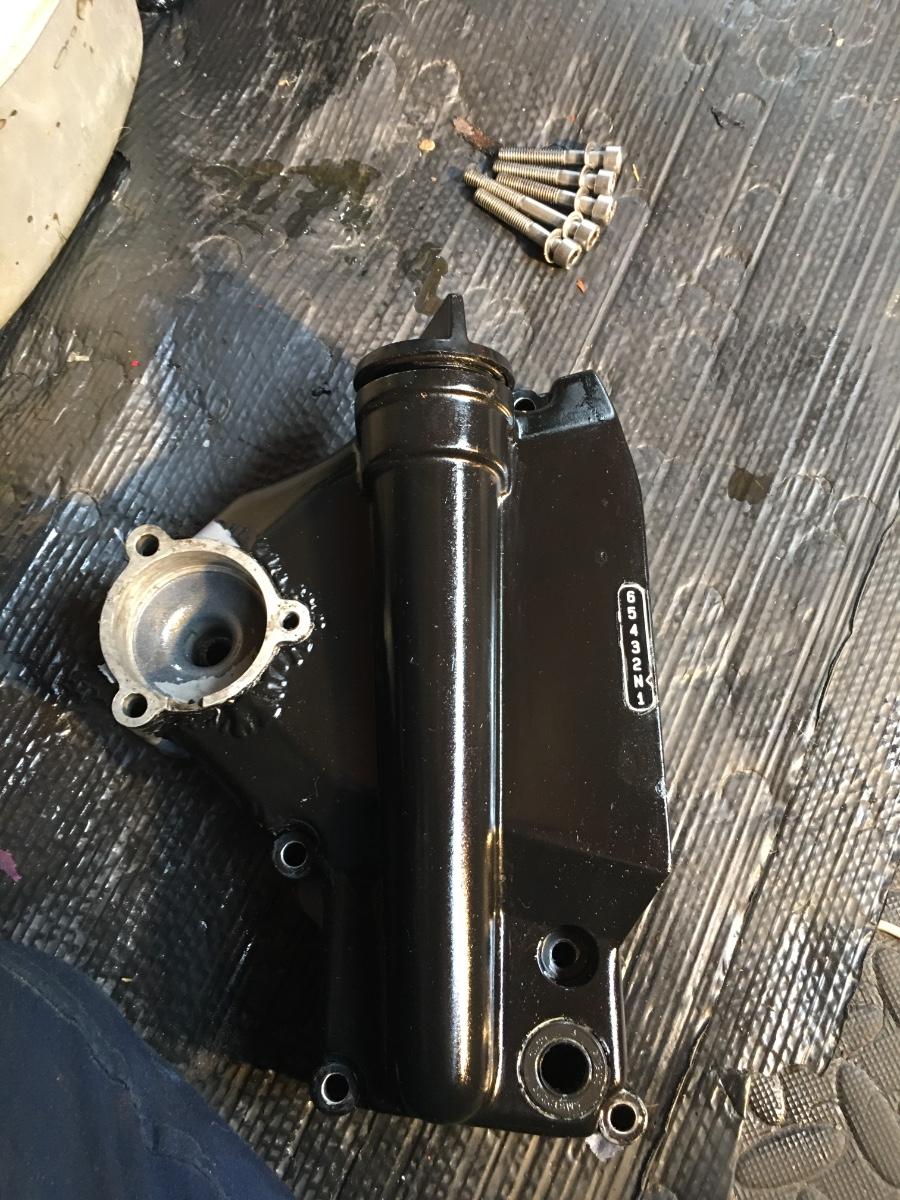
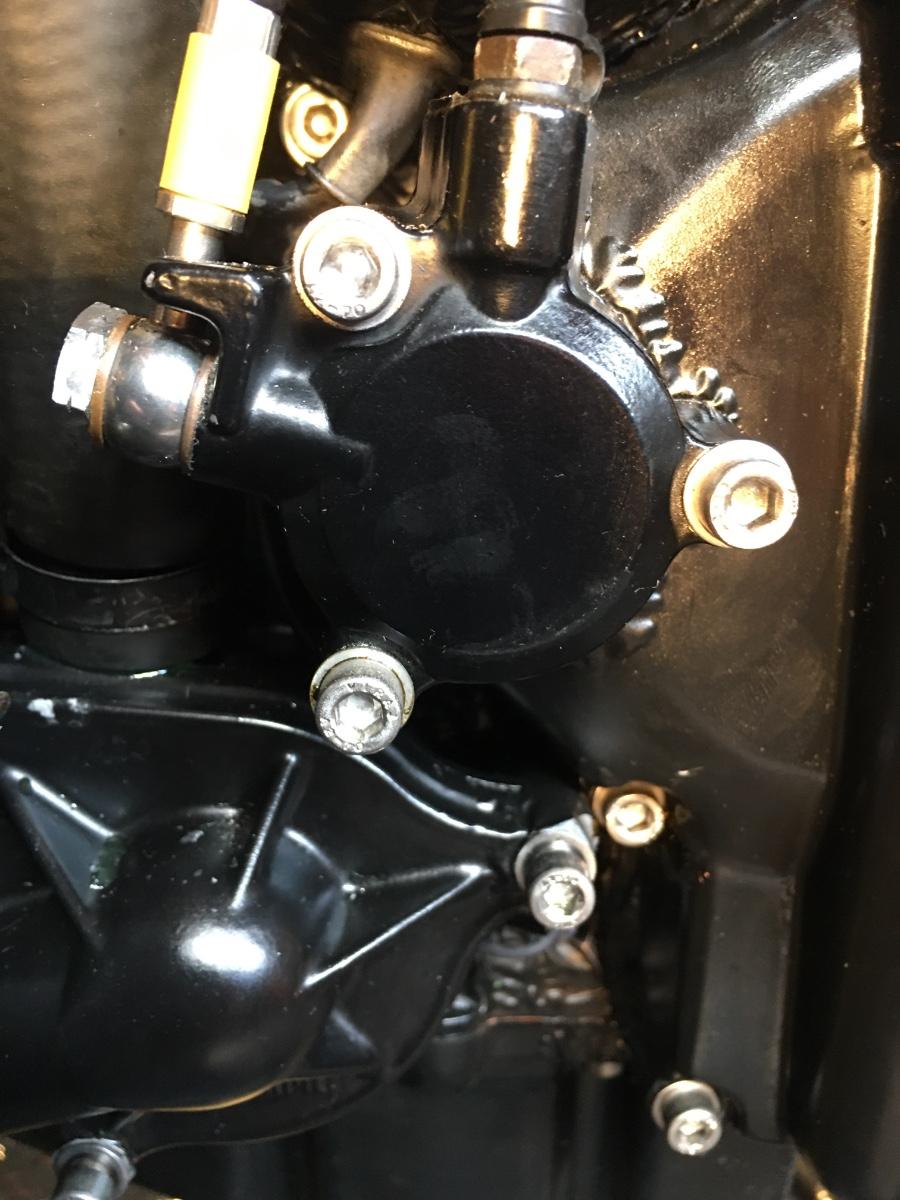
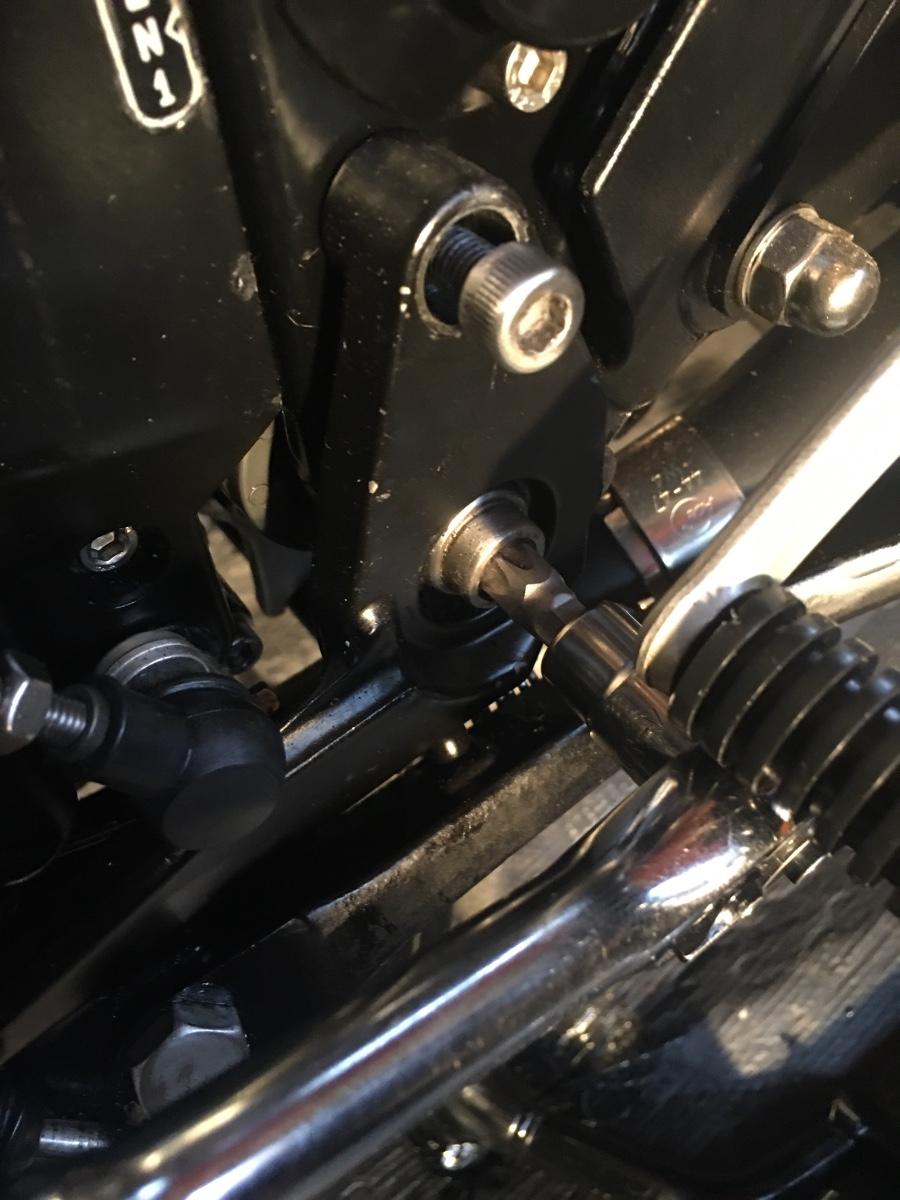
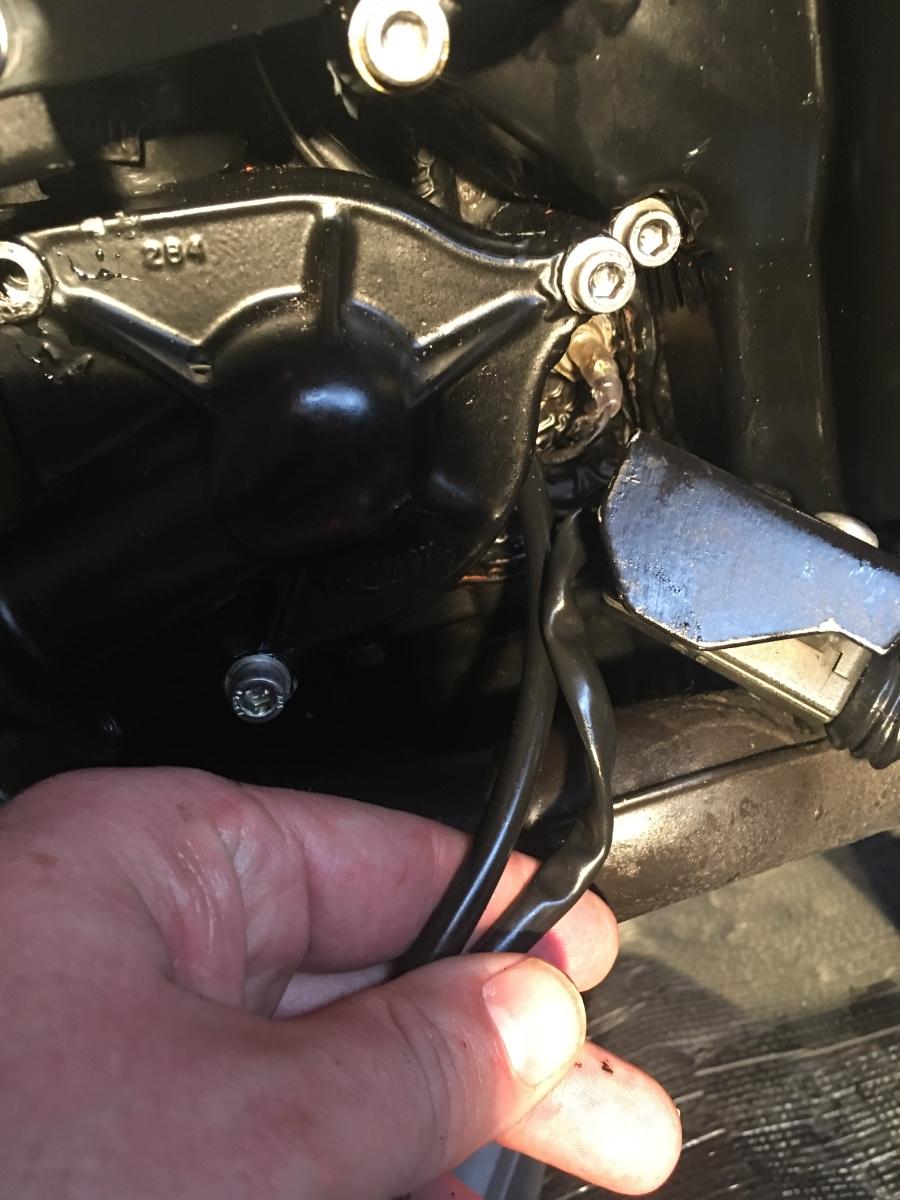
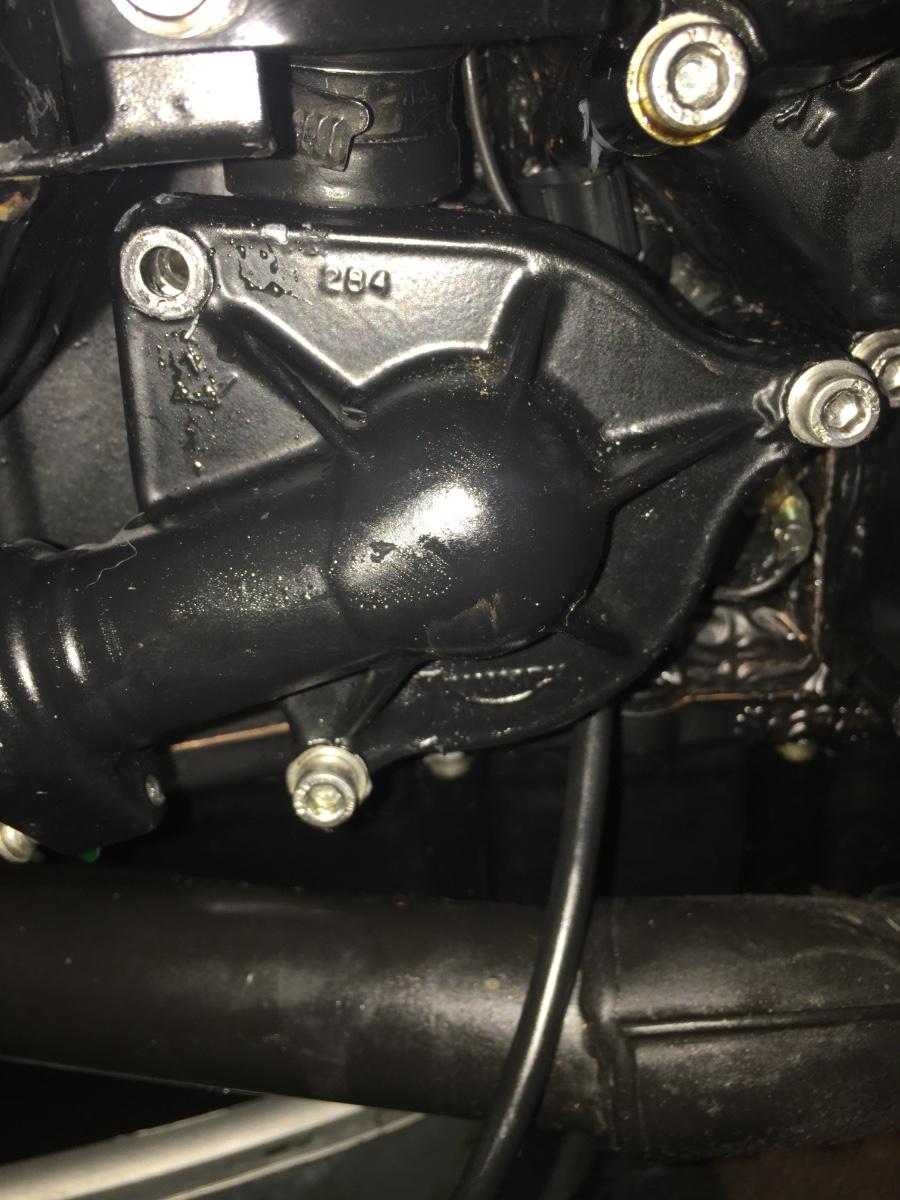
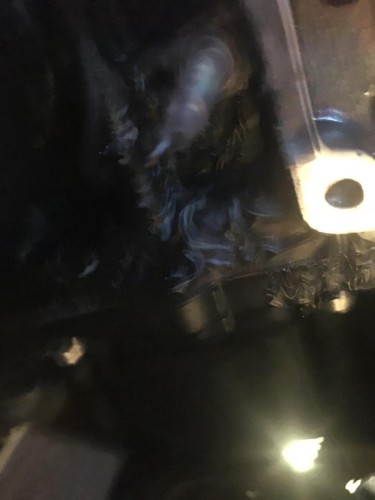
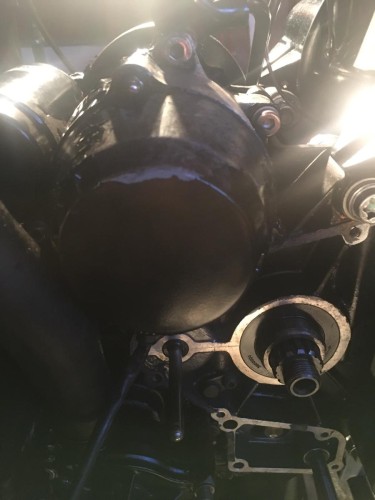
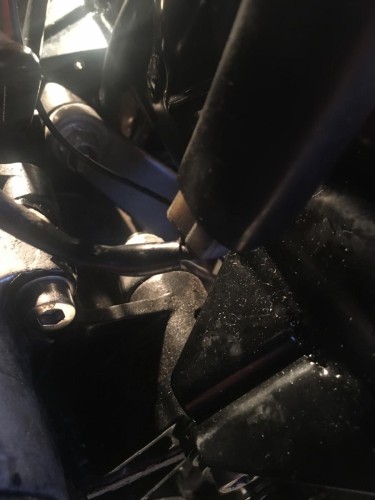
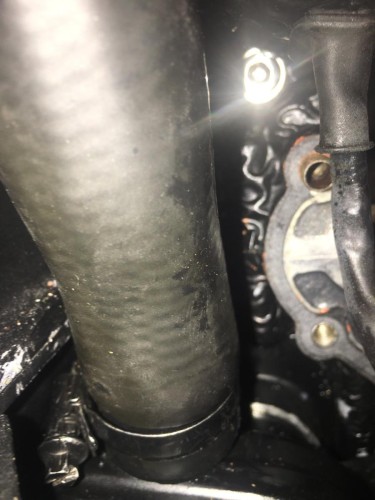
Right the side stand needs to be removed next. Top side stand bracket mounting removed Side stand switch connector undone Gear change linkage rod undone & moved to allow access to lower engine mounting bolt that also holds the side stand Lower engine mounting bolt removal - what Haynes don’t say is that you need 6” long fingers & the dexterity of Dynamo to get to the nut at the back. It’s hidden by a plastic plug. And remove the side stand .... but no, what Haynes failed to say is that the harness routes behind the water pump & the bloody connector doesn’t fit through the gap !! Water pump loosened & withdrawn a tad releasing the connector, also need to remove the water pump upper hose cover to wiggle the water pump out. Water pump Hose Cover Side stand removed & stored in an old shoebox. Hose cover wrapped & put with tin with other fixings ( danger of this turning into a biscuit thread ) Watch this space ( or not ) for the next instalment.... removing the exhaust oooooooh