Mickly
-
Posts
2,561 -
Joined
-
Last visited
-
Days Won
28
Content Type
Profiles
Forums
Events
Store
Gallery
Community Map
Everything posted by Mickly
-
My Mums Fugly ( Ford Fusion ) broke a front spring at the weekend, she didn’t notice until reversing off the drive & it made a nasty noise, so she doesn’t know where, when or why it happened.
-
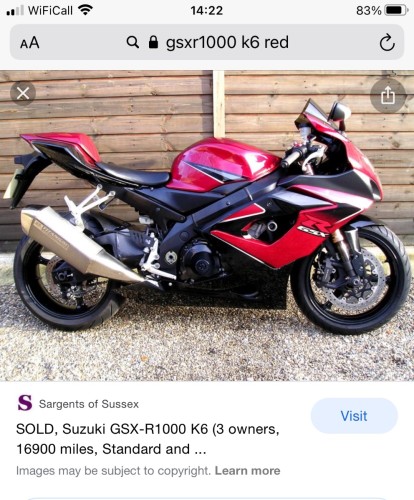
I’m thinking that as the odo is in kph then the speedo might be as well, where 160kph = approx 100mph which would be more like it. I think the only way to really tell, is to look at the overall condition of the bike & see if it rally’s up with the km’s it’s supposed to have done.
-
@Fish @S-Westerly I know you’re both quite a distance away but if you’re that bored I need some slabs laying
-
 What about slicing it down the middle length ways & butterflying it on the wall - maybe mount each side on a piece of wood?
 -
Right!! A packet of chocolate Bourbons, large bag of Chilli Doritos ( partially eaten ) & a party bag of Haribo Starmix .... I hope I haven’t out bid the market
-
Triumph Trophy Engine Strip
Mickly replied to Mickly's topic in Old Motorbikes, Projects and Restorations
Haha, too late for @linuxrob The one I’m using is still unsullied by paint, it was looking at the pic of his that gave me the idea. -
Triumph Trophy Engine Strip
Mickly replied to Mickly's topic in Old Motorbikes, Projects and Restorations
Thanks for the tip, reckon I’ll do the same. Also, as the rad has been ‘borrowed’ from domestic management I might throw a cloth over it to prevent any paint getting on it. -
Triumph Trophy Engine Strip
Mickly replied to Mickly's topic in Old Motorbikes, Projects and Restorations
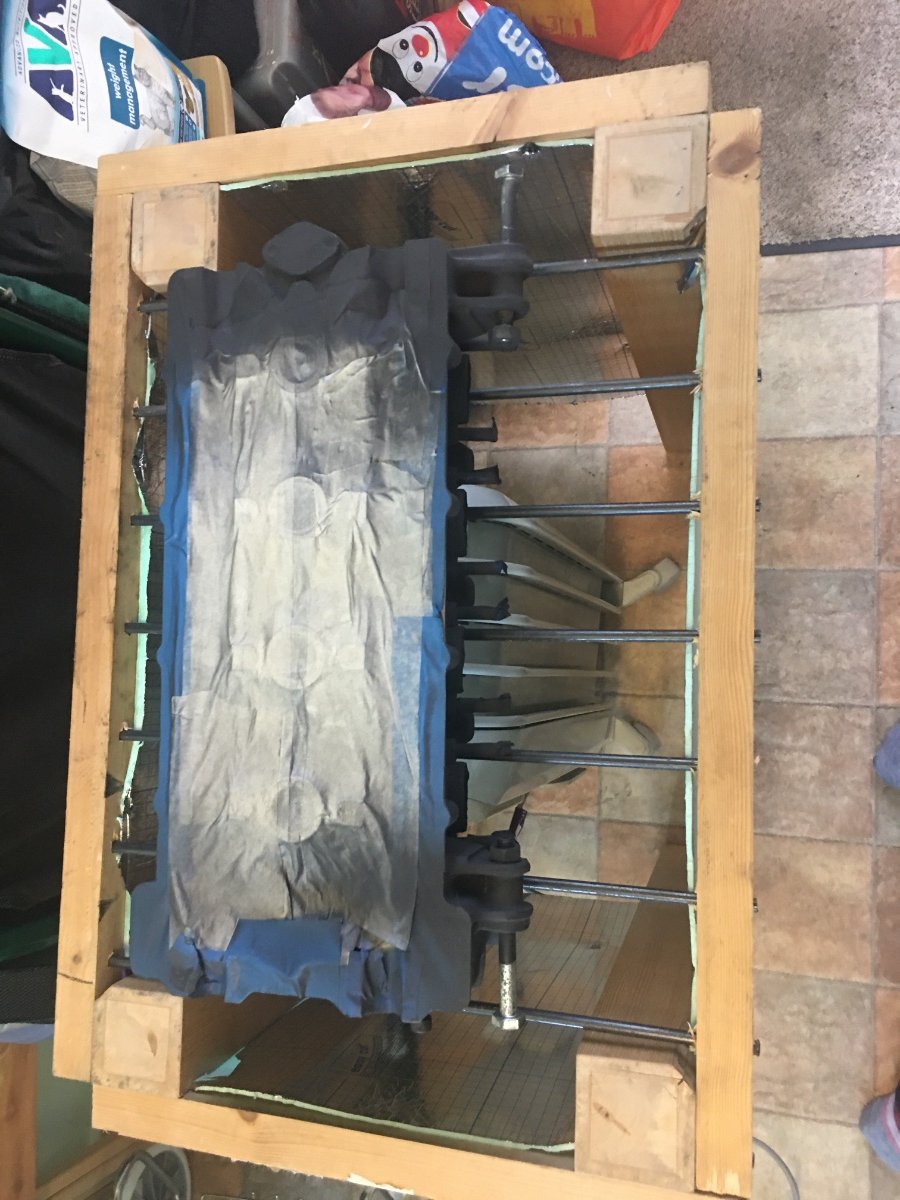
Right I’m sick of waiting for the temperature to raise enough to continue painting Trophy engine parts, and having investigated a few methods I’ve knocked up a table that goes over an oil filled radiator just using stuff I’d got hanging around - it seems to be doing the job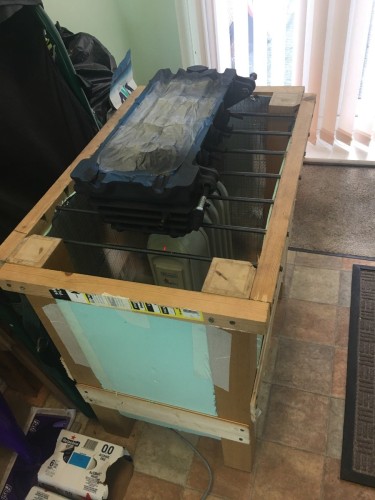

-
Glad to help. If you’re going to buy your husband one of those as a gift, you really are a keeper
-
Is it this?
-
Not everyone can afford to travel on their bike with just a credit card stuffed into their surf shorts
-
I wonder what excuse HGV drivers will come up with when they use their size & relative invincibility to bully other road users, now the “I couldn’t see you” excuse has been taken away? .... Maybe “ I was pissing into a Lucozade at the time “ will replace it
-
This is a classic case of ‘Just because you can, doesn’t mean you should’ Its probably justified through an infinitesimal increase in fuel economy due to the reduced drag caused by the old mirrors
-
I really can’t understand why anyone is at all interested in the royal family squabble. That kind of “he said” “she said” shit happens all the time and is unsurprising and part of life. Why does anyone care what the f*ck either side says or thinks? I’m inclined to believe that it’s a sign that people are so bored and disinterested with their own unfulfilled existences they can only find excitement vicariously through others misfortunes, witness the sea of ‘my real story’ magazines on the supermarket shelves & augmented reality tv shows. Also there seems to be only two sides: for & against, with no reasonable middle ground - again it’s a sign of the polarisation of society on any issue: “ you’re with me or against me” Quite frankly I’m sick to the back teeth of it.
-
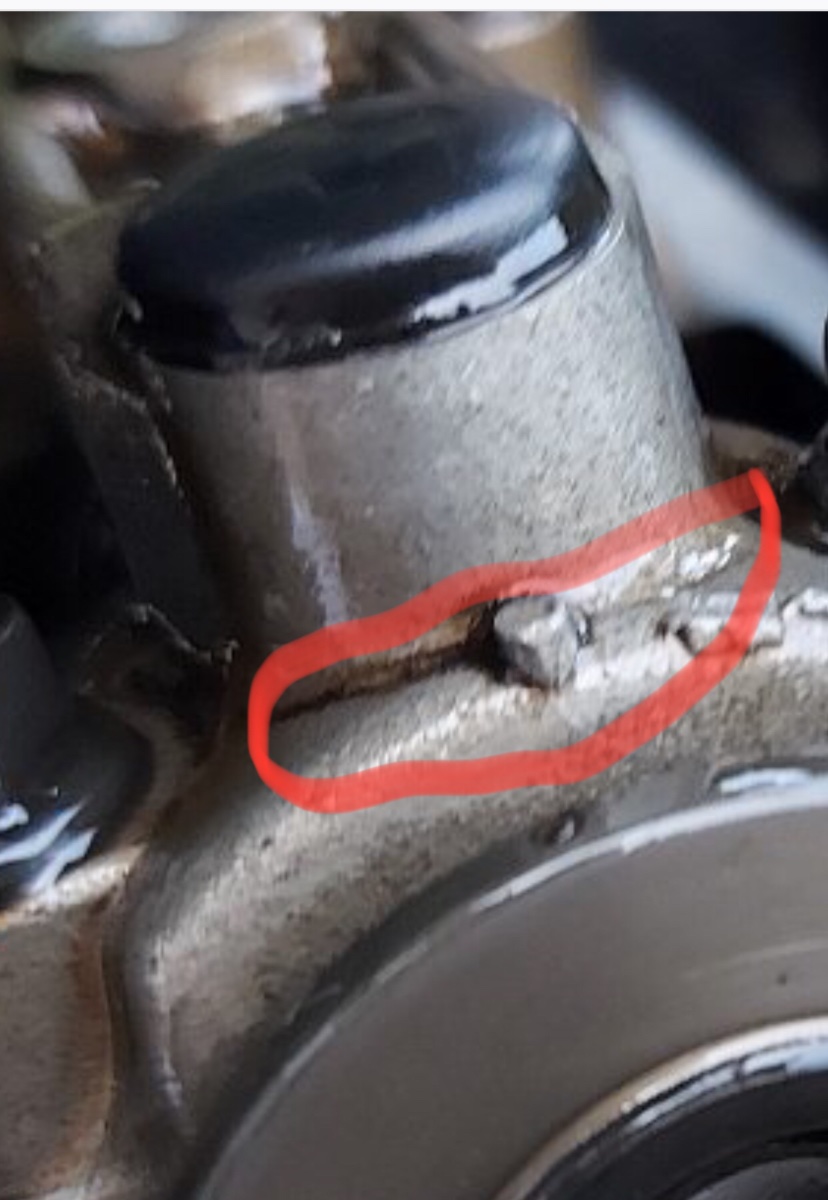
This isn’t a crack is it?

-

-
TBH it doesn’t look like a fresh cut.
-
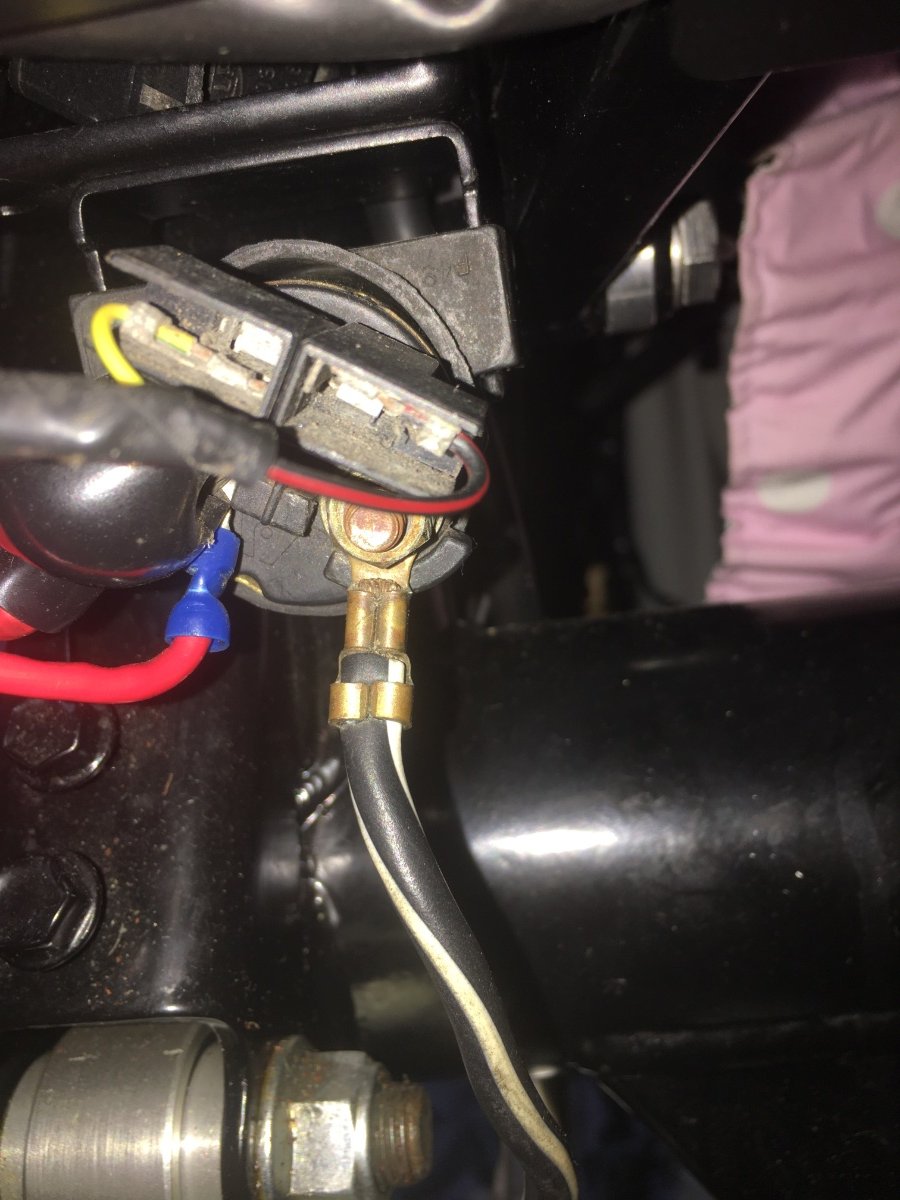
Triumph Trophy Wiring Replacement
Mickly replied to onesea's topic in Old Motorbikes, Projects and Restorations
Does this help?
-
Had a poster of that bike in that colour on my bedroom wall as a kid
-
Probably cost a Buck or two
-
Loosely bike related & filled a few moments, but it WILL induce shed envy... you have been warned!!

-
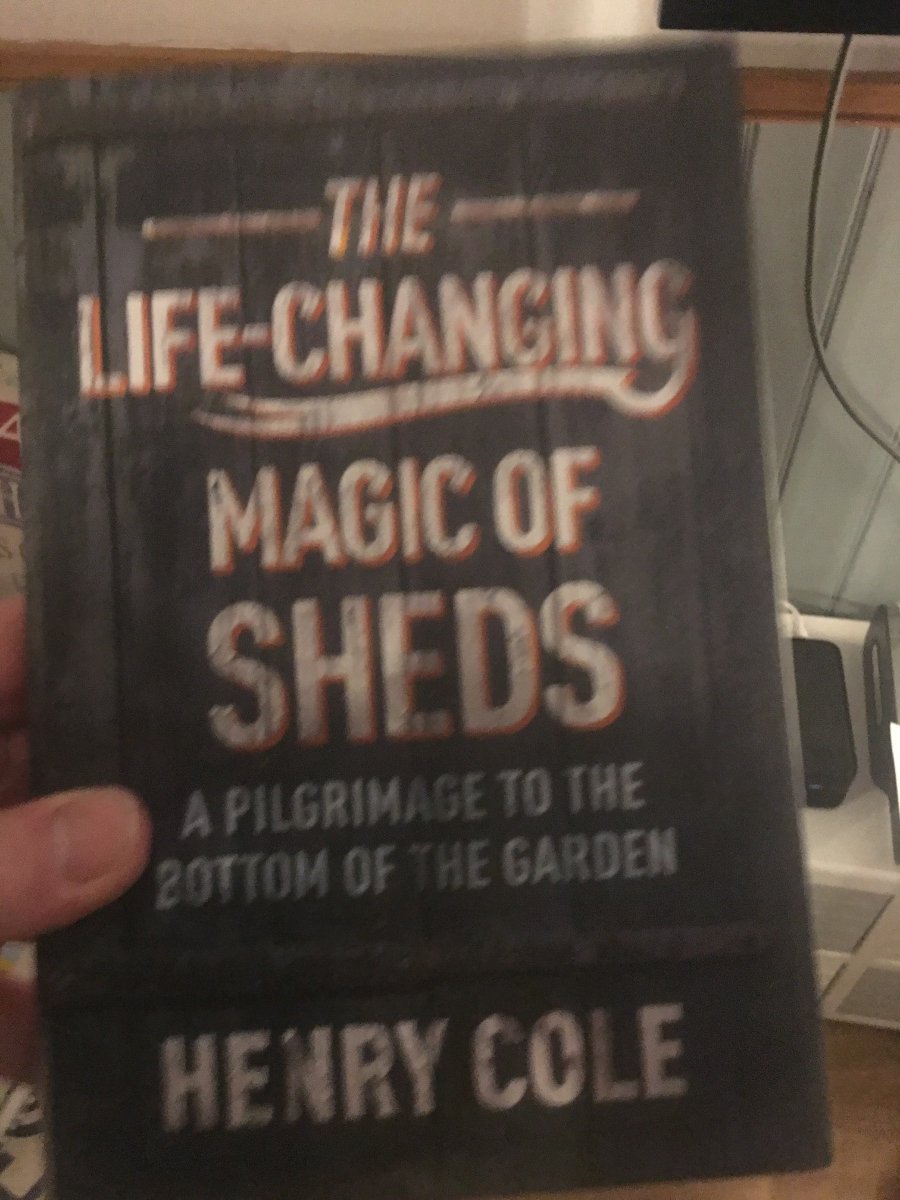
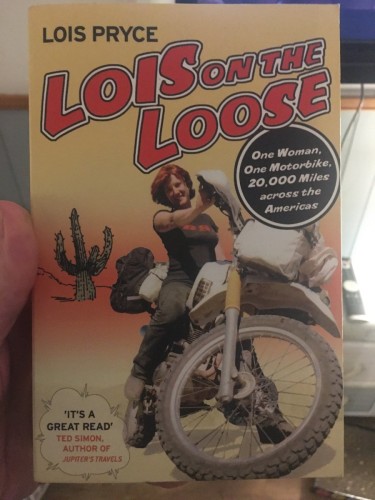
Got this for Xmas ... recommended
-
Yep, even better read in a mild haze of herbal goodness Mind you I lent it to a mate who wasn’t impressed. I originally read a borrowed copy as a wide eyed lad & thought it was the bollox, now with a more cynical mind I’m not sure Hunter S Thompson is all he’s made up to be. Not sure if that’s a recommendation or not. Or did you mean the bookshop ?
-
I’ve got that, not the same cover though, found it in a second hand book shop in Glastonbury.